최종 목표는
express, vanillaJS, sass
webpack, babel, 절대경로, prettier, eslint
heroku 무료배포이다.
한번에 모든 것을 세팅하기 보단 과정을 기록해보았다.
프로젝트 세팅하기
mkdir vanilla-web-server
cd vanilla-web-server

yarn init -y
yarn add express
yarn add -D nodemon
app.js 파일 생성
const express = require('express');

const app = express();
const PORT = process.env.PORT || 3000;

app.get('/', (req, res) => {
  res.json({ message: 'hello vanilla web server' });
});

app.listen(PORT, () => {
  console.log(`
  ┏━━━━━━━━━━━━━━━━━━━━━━━━━━━━━━━━━━━━━┓
  ┃   Server listening on port: ${PORT}    ┃
  ┃     http://localhost:${PORT}/          ┃
  ┗━━━━━━━━━━━━━━━━━━━━━━━━━━━━━━━━━━━━━┛
  `);
});
package.json 수정
{
  "name": "vanilla-web-server",
  "version": "1.0.0",
  "main": "app.js",
  "license": "MIT",
  "dependencies": {
    "express": "^4.17.2"
  },
  "devDependencies": {
    "nodemon": "^2.0.15"
  },
  "scripts": {
    "dev": "nodemon app.js"
  }
}nodemon은 코드가 수정되면 바로 express을 재실행해준다.
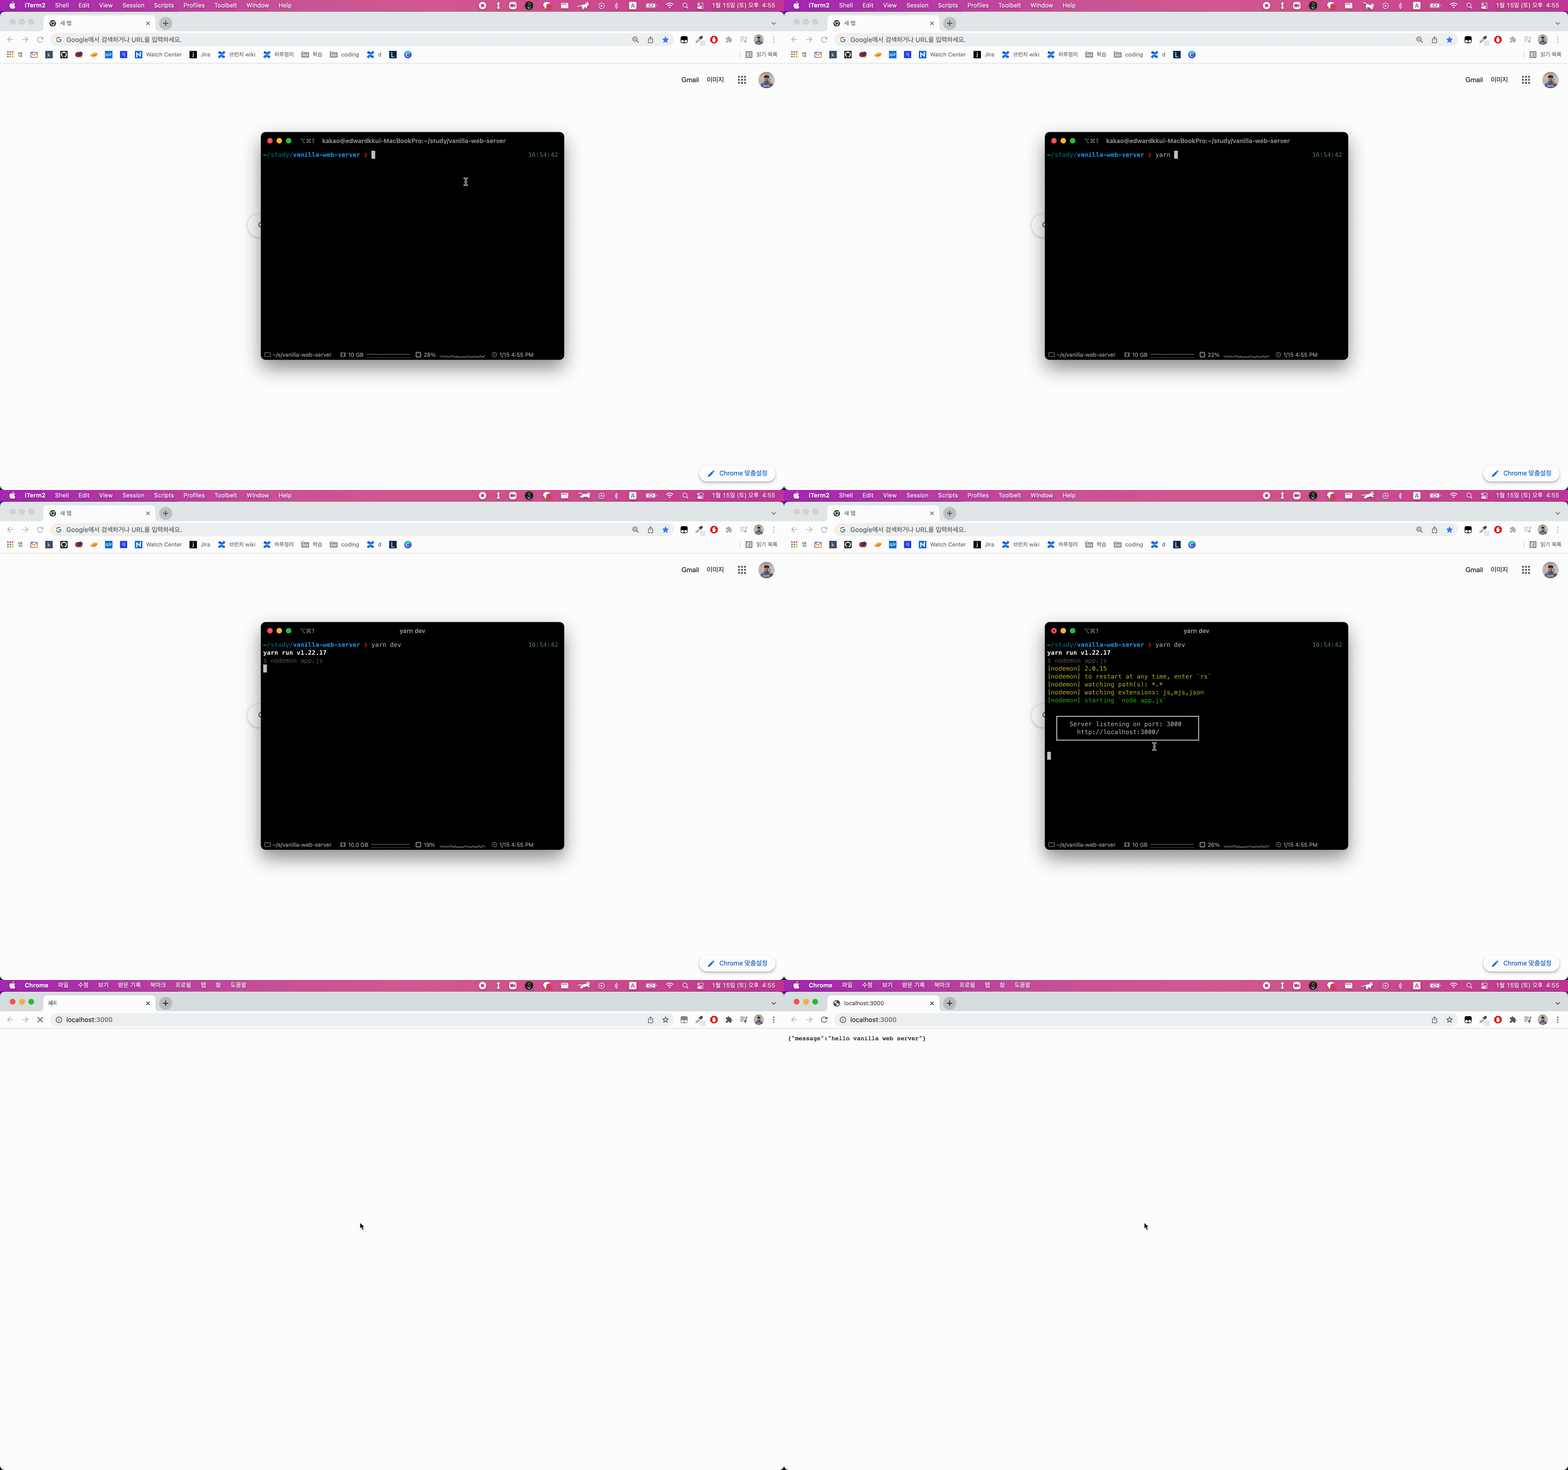
yarn dev
벌써 express 서버가 실행이 된다 🎉🎉 git 저장소에 코드를 저장하자
.gitignore 파일 생성
/node_modules
/dist
.DS_Store

.env
.env.*
.env.*.**
git init
git remote add origin 레포지토리URL
git add .
git commit -m "feat. init"
git branch -M main
git push -u origin main웹 페이지 만들기
간단한 웹 페이지를 만들어 보자. src 디랙토리를 만들고 아래 3 파일을 생성하자.
src/index.css 파일 생성
body {
  background-color: yellow;
}
src/home.js 파일 생성
console.log("hello world");
document.querySelector("#app").innerHTML = "hello world";
src/home.html 파일 생성
<!DOCTYPE html>
<html lang="ko">
  <head>
    <meta charset="UTF-8" />
    <meta http-equiv="X-UA-Compatible" content="IE=edge" />
    <meta name="viewport" content="width=device-width, initial-scale=1.0" />
    <title>Home</title>
    <link rel="stylesheet" type="text/css" href="./index.css" />
  </head>

  <body>
    <div id="app"></div>

    <script type="module" src="home.js"></script>
  </body>
</html>
app.js 파일 수정
app.use(express.static("src"));

app.get("/", (req, res) => {
  res.sendFile(__dirname + "/src/home.html");
});
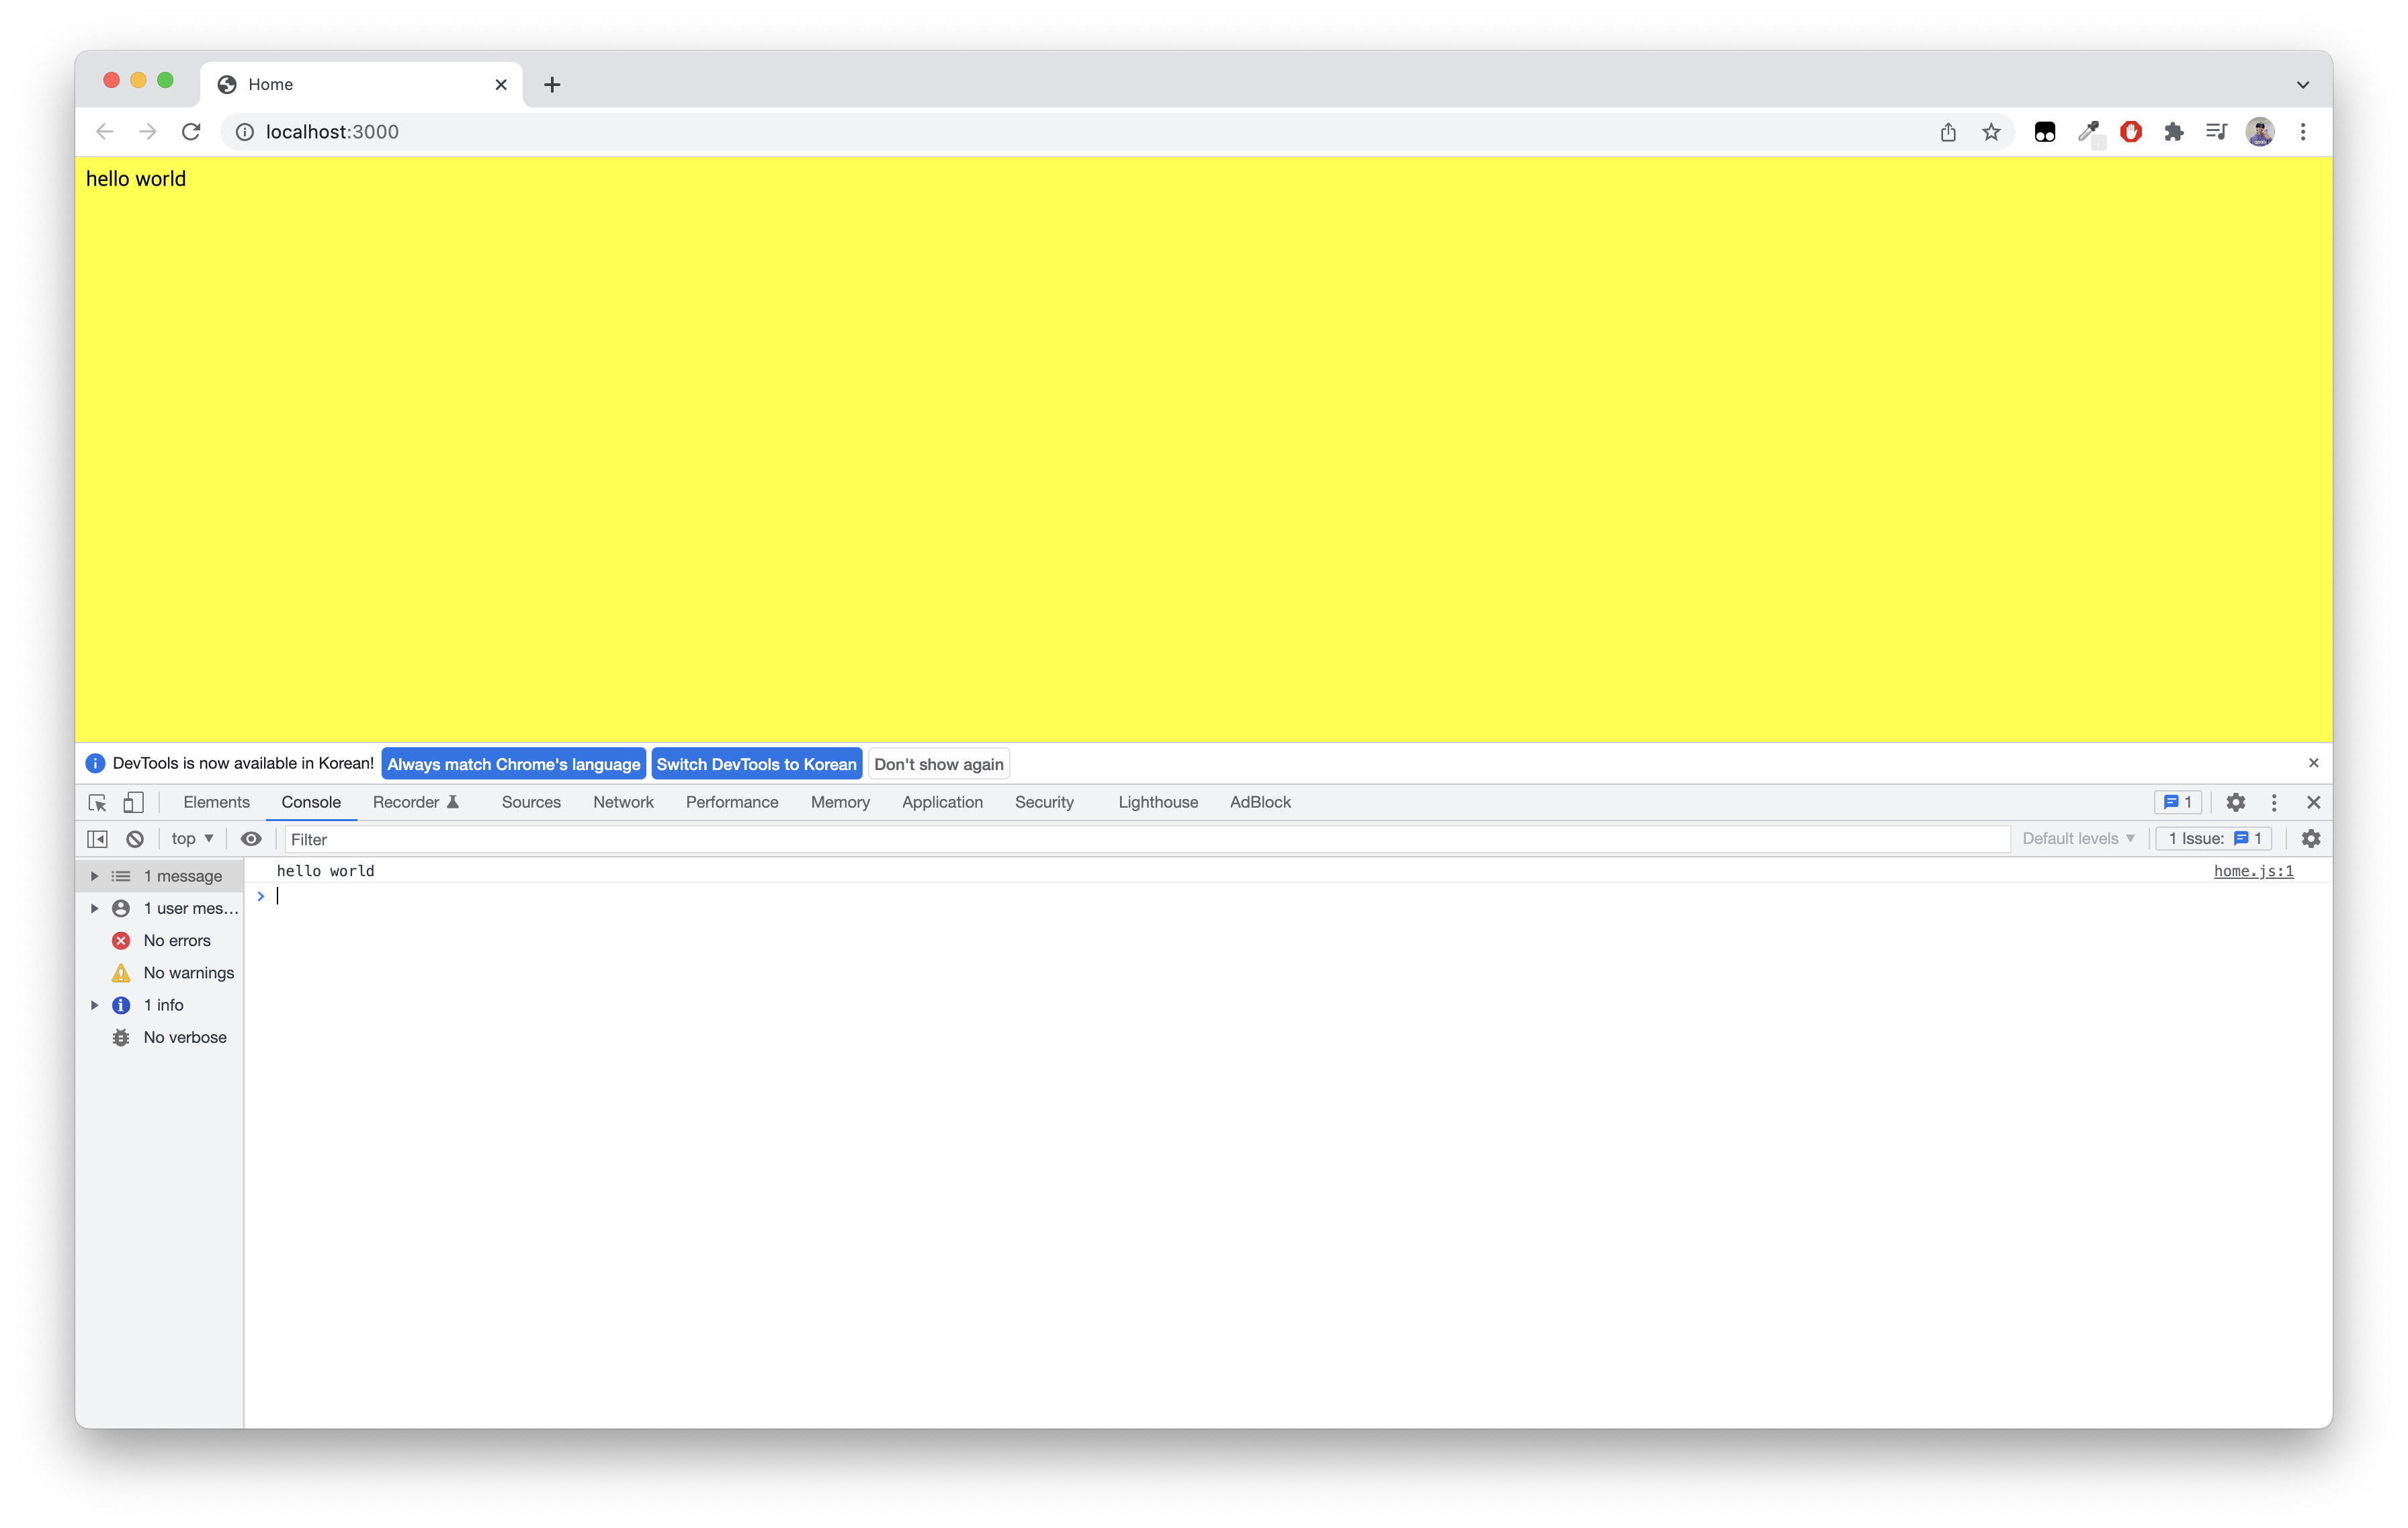
요청이 들어왔을 때 우리가 작성한 html 파일을 보내주게 된다!

css와 js 모두 잘 실행되고 있음을 알 수 있다 🎉🎉
다음 포스트에서 본격적으로 세팅을 시작해보자.
