🤦♂️우리의 목표
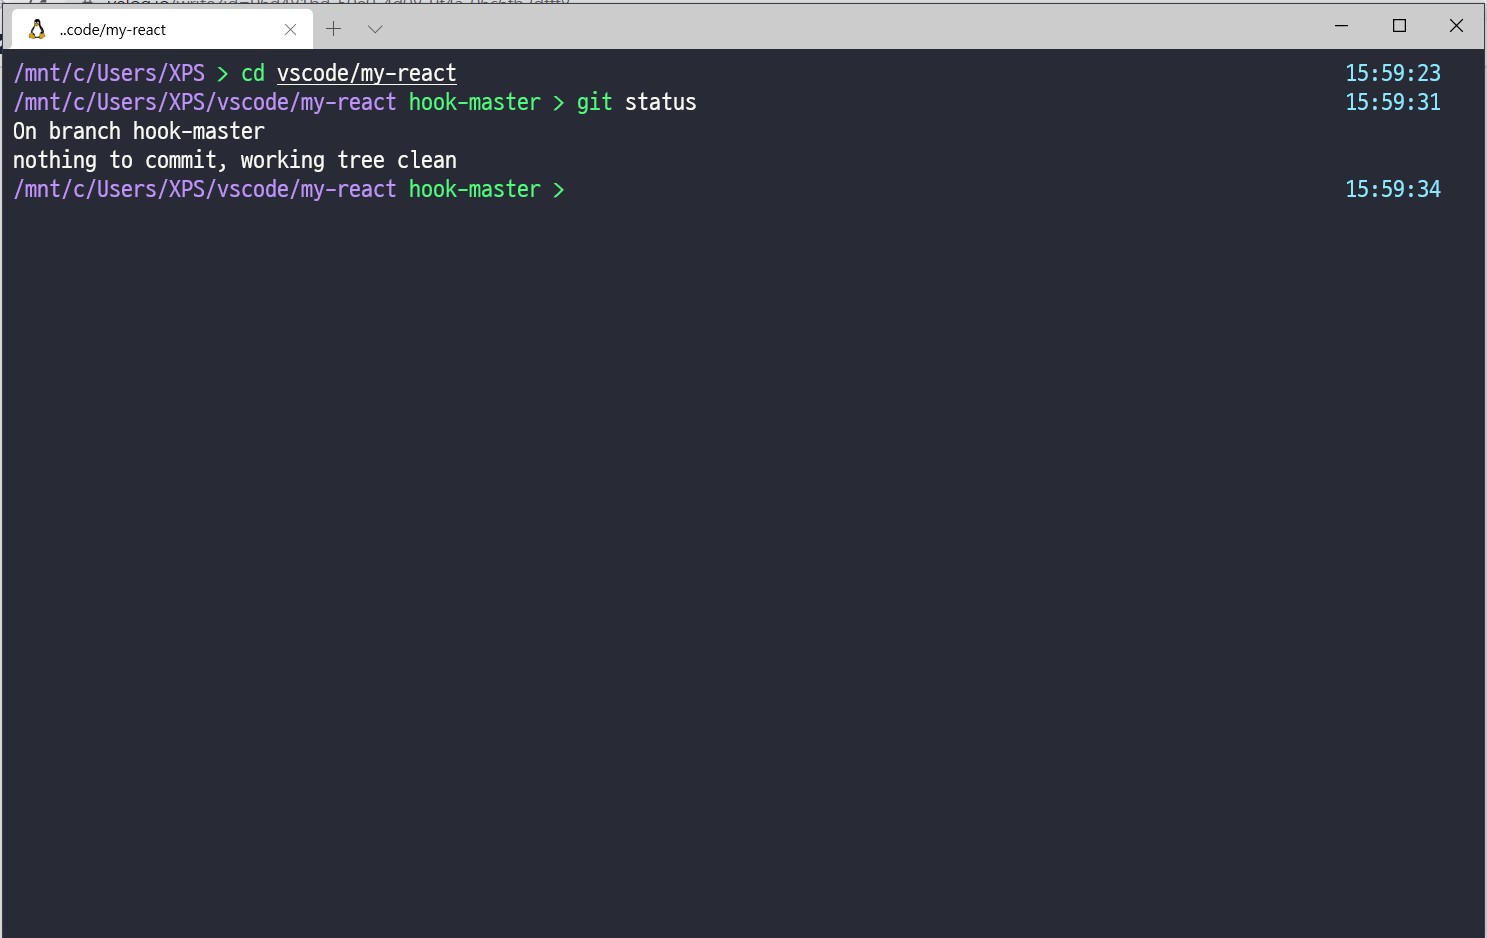
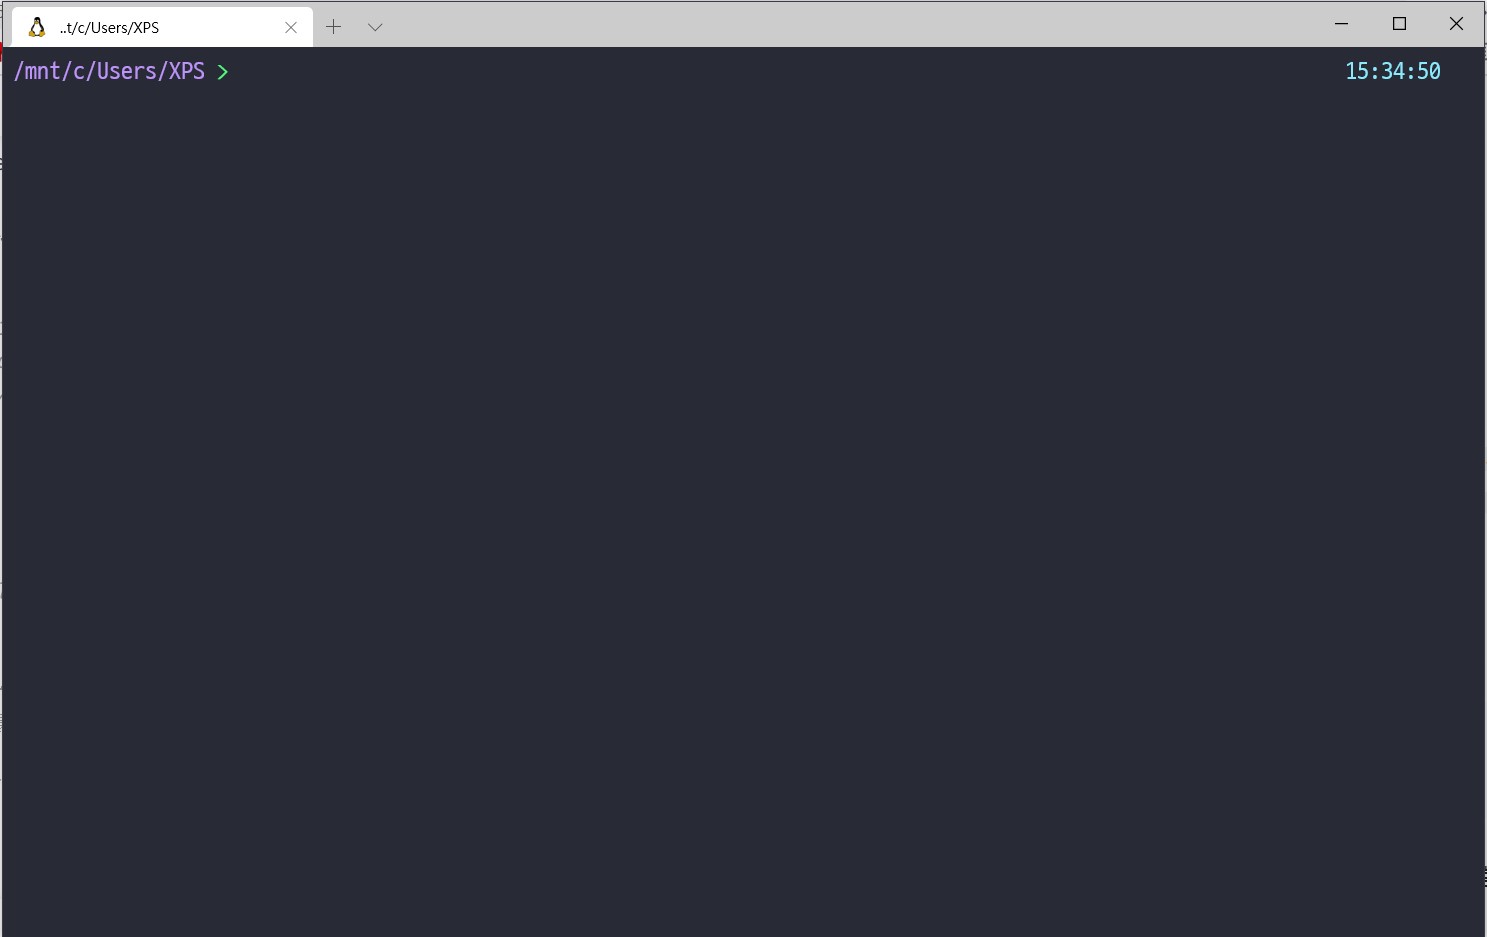
Windows Terminal 로 Ubuntu Prompt (+oh my zsh)
Window Terminal
1. Window Store에서 windows Termial 설치
- Preview 버전 말고 기본 버전 쓰자.
2. 글씨 변경하기
.png)
-
setting.json파일이 열릴 것이다. 메모장으로 봐도 무방하다. -
우린 글씨 정보를 넣으면 된다.
D2Coding 글꼴 을 사용하도록 하자
    {
    	// ...
        "profiles":
        {
            "defaults":
            {
                "fontFace": "D2Coding",
                "fontSize": 14
            },
            "list":
            [
               // ...
            ]
        },
    }
3. 더 설정할 수 있는 것들
- 기본 Shell 설정
- 창 크기 및 시작 위치
    "defaultProfile": "{61c54bbd-c2c6-5271-96e7-009a87ff44bf}",
    "initialPosition": "0, 0",   // 시작 위치
    "initialRows": 79,   // 화면에 보이는 줄 수
"initialCols": 120, // 화면에 보이는 글자 수- 창 배경화면 변경
    {
        // Make changes here to the powershell.exe profile.
        "guid": "{61c54bbd-c2c6-5271-96e7-009a87ff44bf}",
        "name": "Windows PowerShell",
        "commandline": "powershell.exe",
        "hidden": false,
        "background": "#262835"
},- 단축키 변경
    "keybindings": [
    	{
    	    "command": "newTab",
    	    "keys": ["ctrl+t"]
    	},
    	{
    	    "command": "closeTab",
    	    "keys": ["alt+q"]
    	}
    ]
4. Dracula로 테마 변경
https://draculatheme.com/windows-terminal/
setting.json파일 열어서schemes을 수정하자
"schemes": [
  {
    "name": "Dracula",
    "cursorColor": "#F8F8F2",
    "selectionBackground": "#44475A",
    "background": "#282A36",
    "foreground": "#F8F8F2",
    "black": "#21222C",
    "blue": "#BD93F9",
    "cyan": "#8BE9FD",
    "green": "#50FA7B",
    "purple": "#FF79C6",
    "red": "#FF5555",
    "white": "#F8F8F2",
    "yellow": "#F1FA8C",
    "brightBlack": "#6272A4",
    "brightBlue": "#D6ACFF",
    "brightCyan": "#A4FFFF",
    "brightGreen": "#69FF94",
    "brightPurple": "#FF92DF",
    "brightRed": "#FF6E6E",
    "brightWhite": "#FFFFFF",
    "brightYellow": "#FFFFA5"
  }
]profiles에 기본 테마를 설정하자.
    "profiles": {
        "defaults": {
            "colorScheme" : "Dracula"
        }
    }
Ubuntu Prompt
1. WSL 설치
WSL ( Windows Subsystem for Linux )
네이티브로 리눅스 실행 파일(ELF)을 실행하기 위한 호환성 계층
Windows 10에서 WSL을 이용하여 Linux 배포판을 설치할 수 있다.
제어판 → 프로그램 제거 → WINDOWS 기능 켜기/끄기 →
→ [ Linux용 Windows 하위 시스템 ] 체크
⇒ 설치 완료 되면 다시 시작
2. Ubuntu 20.04 LTS 설치
Microsoft Store
- wsl 검색하면 설치할 수 있는 배포만 나온다.
- 이중에서 Ubuntu 20.04 LTS를 설치하자
- 설치 후 실행하여 username, password 지정
3. Windows Terminal 에서 기본 콘솔로 설정
setting.json 에서
"defaultProfile": "{07b52e3e-de2c-5db4-bd2d-ba144ed6c273}",부분을 아래 Ubuntu guid로 덮어 쓴다.
{
  "guid": "{07b52e3e-de2c-5db4-bd2d-ba144ed6c273}",
  "hidden": false,
  "name": "Ubuntu-20.04",
  "source": "Windows.Terminal.Wsl"
}
OH-MY-ZSH
1. ZSH 설치하기
sudo apt update
sudo apt install git zsh -y
sh -c "$(curl -fsSL https://raw.githubusercontent.com/ohmyzsh/ohmyzsh/master/tools/install.sh)"2. zsh 플러그인 설치
# zsh-syntax-highlighting
git clone https://github.com/zsh-users/zsh-syntax-highlighting.git ${ZSH_CUSTOM:-~/.oh-my-zsh/custom}/plugins/zsh-syntax-highlighting

# zsh-autosuggestions
git clone git://github.com/zsh-users/zsh-autosuggestions $ZSH_CUSTOM/plugins/zsh-autosuggestions
~/.zshrc 파일 수정
vim 수정법
i 편집모드, esc 누르면 기본모드
:w 저장
:wq 저장하고 종료
vi ~/.zshrcplugins=(
git
zsh-syntax-highlighting
zsh-autosuggestions
). ~/.zshrc3. Prompt 테마 설정
기본 테마: robbyrussell
추천: powerlevel10k, agnoster, spaceship, pure
-
git clone --depth=1 https://github.com/romkatv/powerlevel10k.git ${ZSH_CUSTOM:-~/.oh-my-zsh/custom}/themes/powerlevel10k -
~/.zshrc파일 수정 -
ZSH_THEME="powerlevel10k/powerlevel10k"
저장 후 새 탭 열기해서 테마를 설정할 수 있다,
p10k configure를 통해 설정을 언제든 수정할 수 있다.
디폴트 경로에 /mnt/c/ 적힌 이유는 리눅스에서 윈도우 파일 접근하는 법이라함


도움이 많이 됐습니다! 감사합니다!