Hello World.
void main() {
  //runApp은 void이며 하나의 Widget타입 인자를 필요로 함.
  //Widget은 react의 컴포넌트라고 보면 됨.
  //플러터 docs에는 widget of the week라는 카테고리에서
  // 여러 공식 위젯을 소개해줌.

  // App은 root widget이라고 보면 됨.
  runApp(App());
}
Widget을 만드는 방법
- 가장 기초적 Widget: StatelessWidget
- 필요 개념 classes 링크
class App extends StatelessWidget {
  // StatelessWidget의 build 메서드를 구현하라는 에러
  //build메서드가 return하는 것을 화면에 보여줌.

  @override
  Widget build(BuildContext context) {
    //root widget은 두 개의 옵션 중 하나를 선택해야 함.
    // 1. material 앱을 return(구글 디자인시스템)
    //2. cupertino 앱을 return(애플 디자인시스템)

    // scaffold (구조를 정렬해줌.)
    return MaterialApp(
      //home: 사용자가 앱의 home에 있을 때 보여짐
      home: Scaffold(
        appBar: AppBar(
          // named parameter 사용하고 있는 것.
          centerTitle: true,
          title: Text('Hello flutter!'),
    //Text의 data 프로퍼티만 필수이기 때문에 positional parameter 사용중.
   //(Text에 커서 올려보면 나머지는 옵셔널 표시)
        ),
        body: Center(
          child: Text("hello world!"),
        ),
      ),
    );
  }
}❗️😽중요 포인트
모든 Widget은 클래스의 인스턴스!
각 위젯에 커서를 올려보며 required와 optional을 볼 수 있으며 required 파라미터를 넣지 않으면 에러가 뜬다.
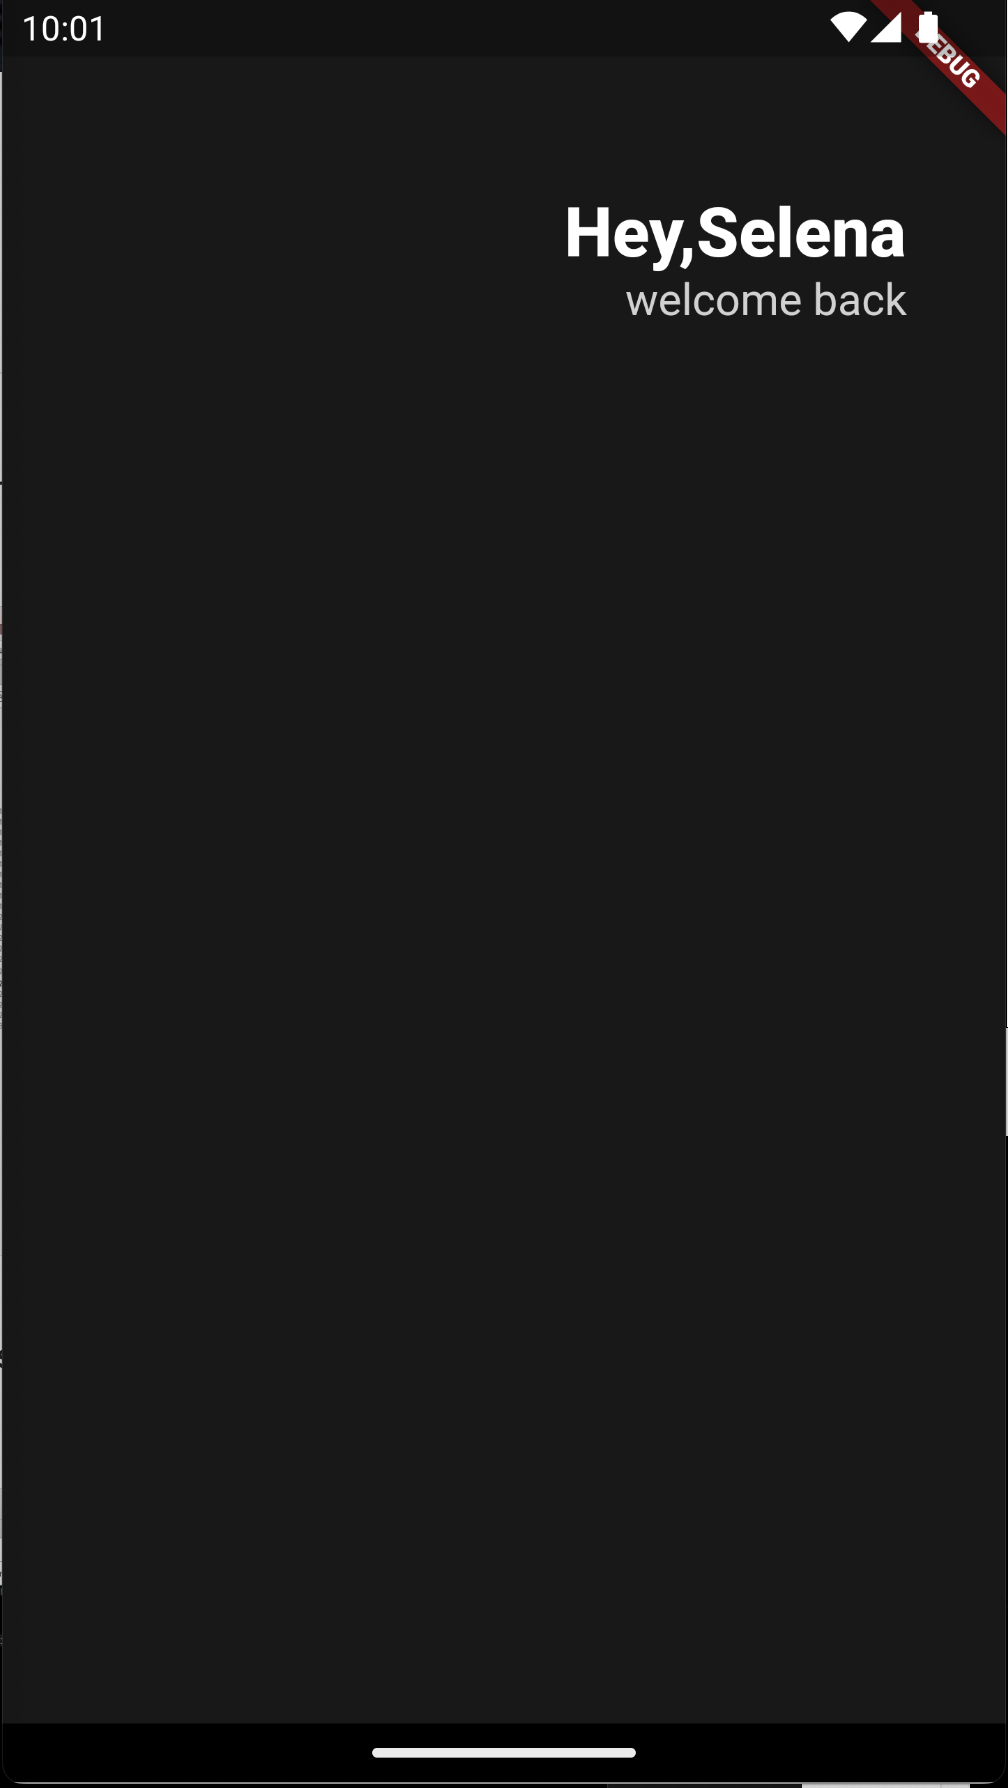
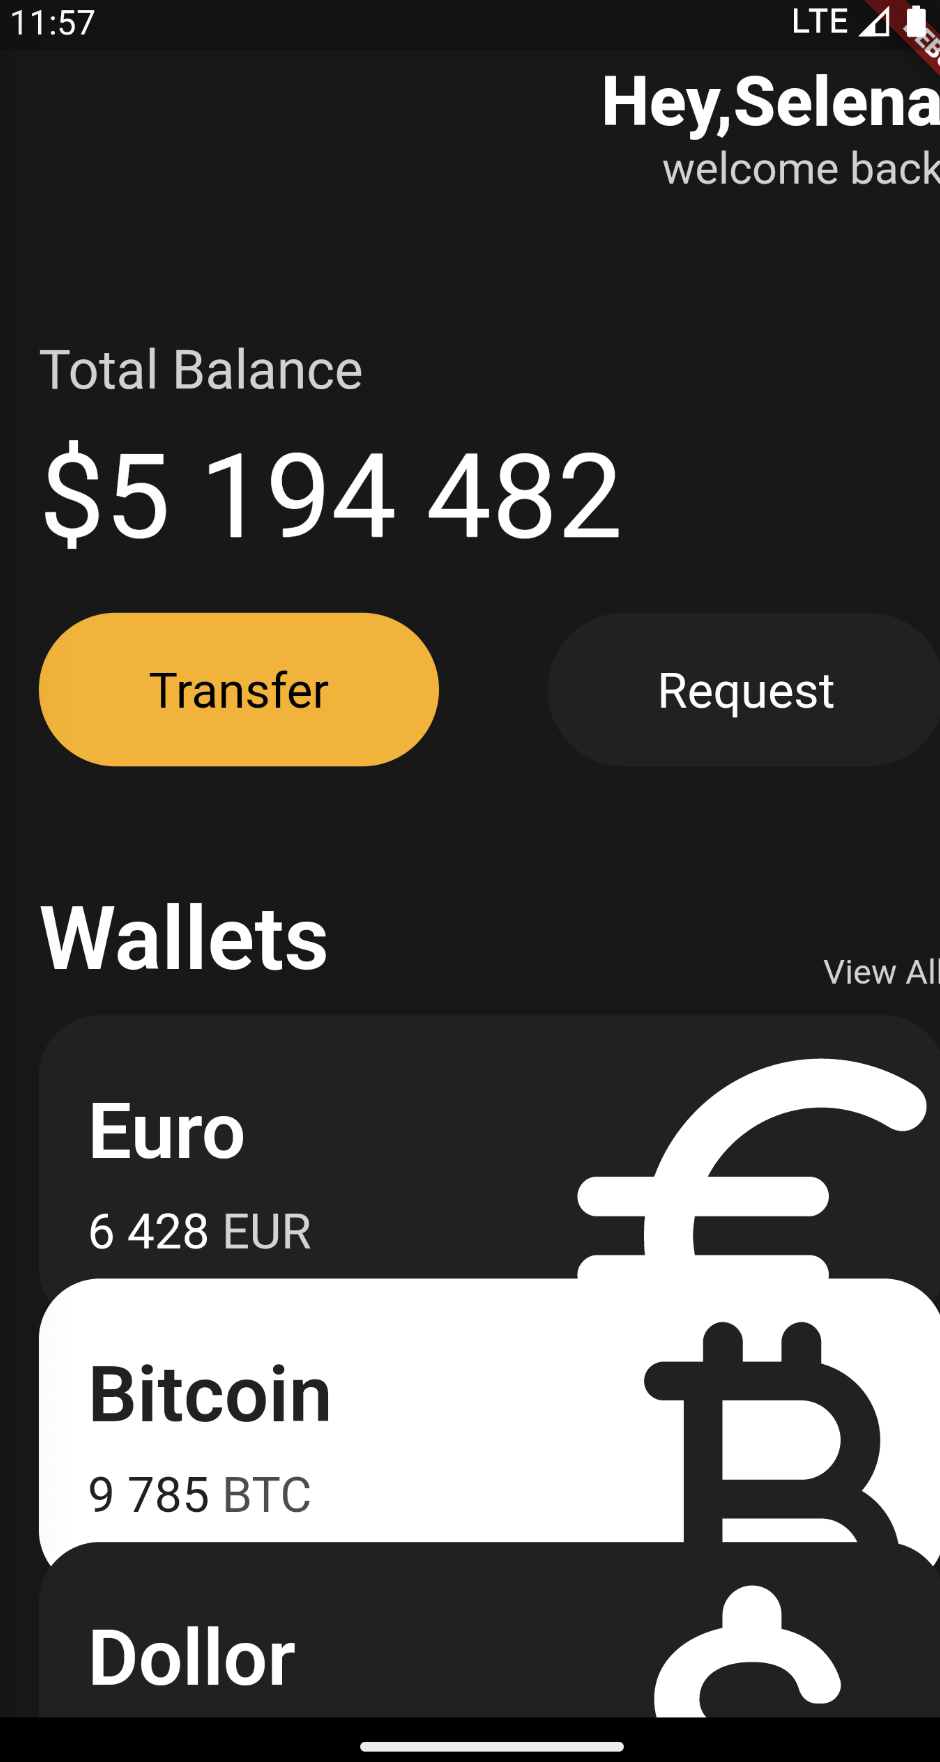
UI 구성해보기!
Header
- padding
- row, column
- sizedBox
- Text
class App extends StatelessWidget {
  @override
  Widget build(BuildContext context) {
    return MaterialApp(
      home: Scaffold(

////Color.fromRGBO(255, 255, 255, 0.8),
          backgroundColor: Color(0xFF181818),
          // Padding 위젯
          body: Padding(
            // EdgeInsets.all(모두) , only(r,b...)
            padding: EdgeInsets.symmetric(
              horizontal: 40,
            ),
            child: Column(
              children: [
                //SizedBox 공간 창출(padding 같음)
                SizedBox(
                  height: 80,
                ),
                Row(
                  //mainAxisAlignment: Row의 main은 수평
                  // colum의 메인은 수직 방향.
                  mainAxisAlignment: MainAxisAlignment.end,
                  children: [
                    Column(
                      crossAxisAlignment: CrossAxisAlignment.end,
                      children: [
                        Text(
                          "Hey,Selena",
                          style: TextStyle(
                            fontSize: 28,
                            fontWeight: FontWeight.w800,
                            color: Colors.white,
                          ),
                        ),
                        Text(
                          "welcome back",
                          style: TextStyle(
                            color: Colors.white.withOpacity(0.8),
                            fontSize: 18,
                          ),
                        ),
                      ],
                    )
                  ],
                )
              ],
            ),
          )),
    );
  }
}
Developer Tools
레이아웃이 어떻게 적용되고 있는지 궁금할 헷갈릴 때는 파란색 돋보기를 누르면 widget inspector 창 나옴

- 맨 왼쪽 커서 : 누르고 에뮬레이터 요소 클릭하면 해당 요소 검사 가능
- |<->| : 전체적 레이아웃 표시해줌.
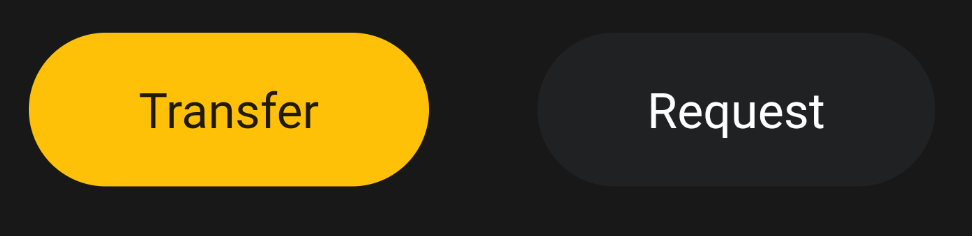
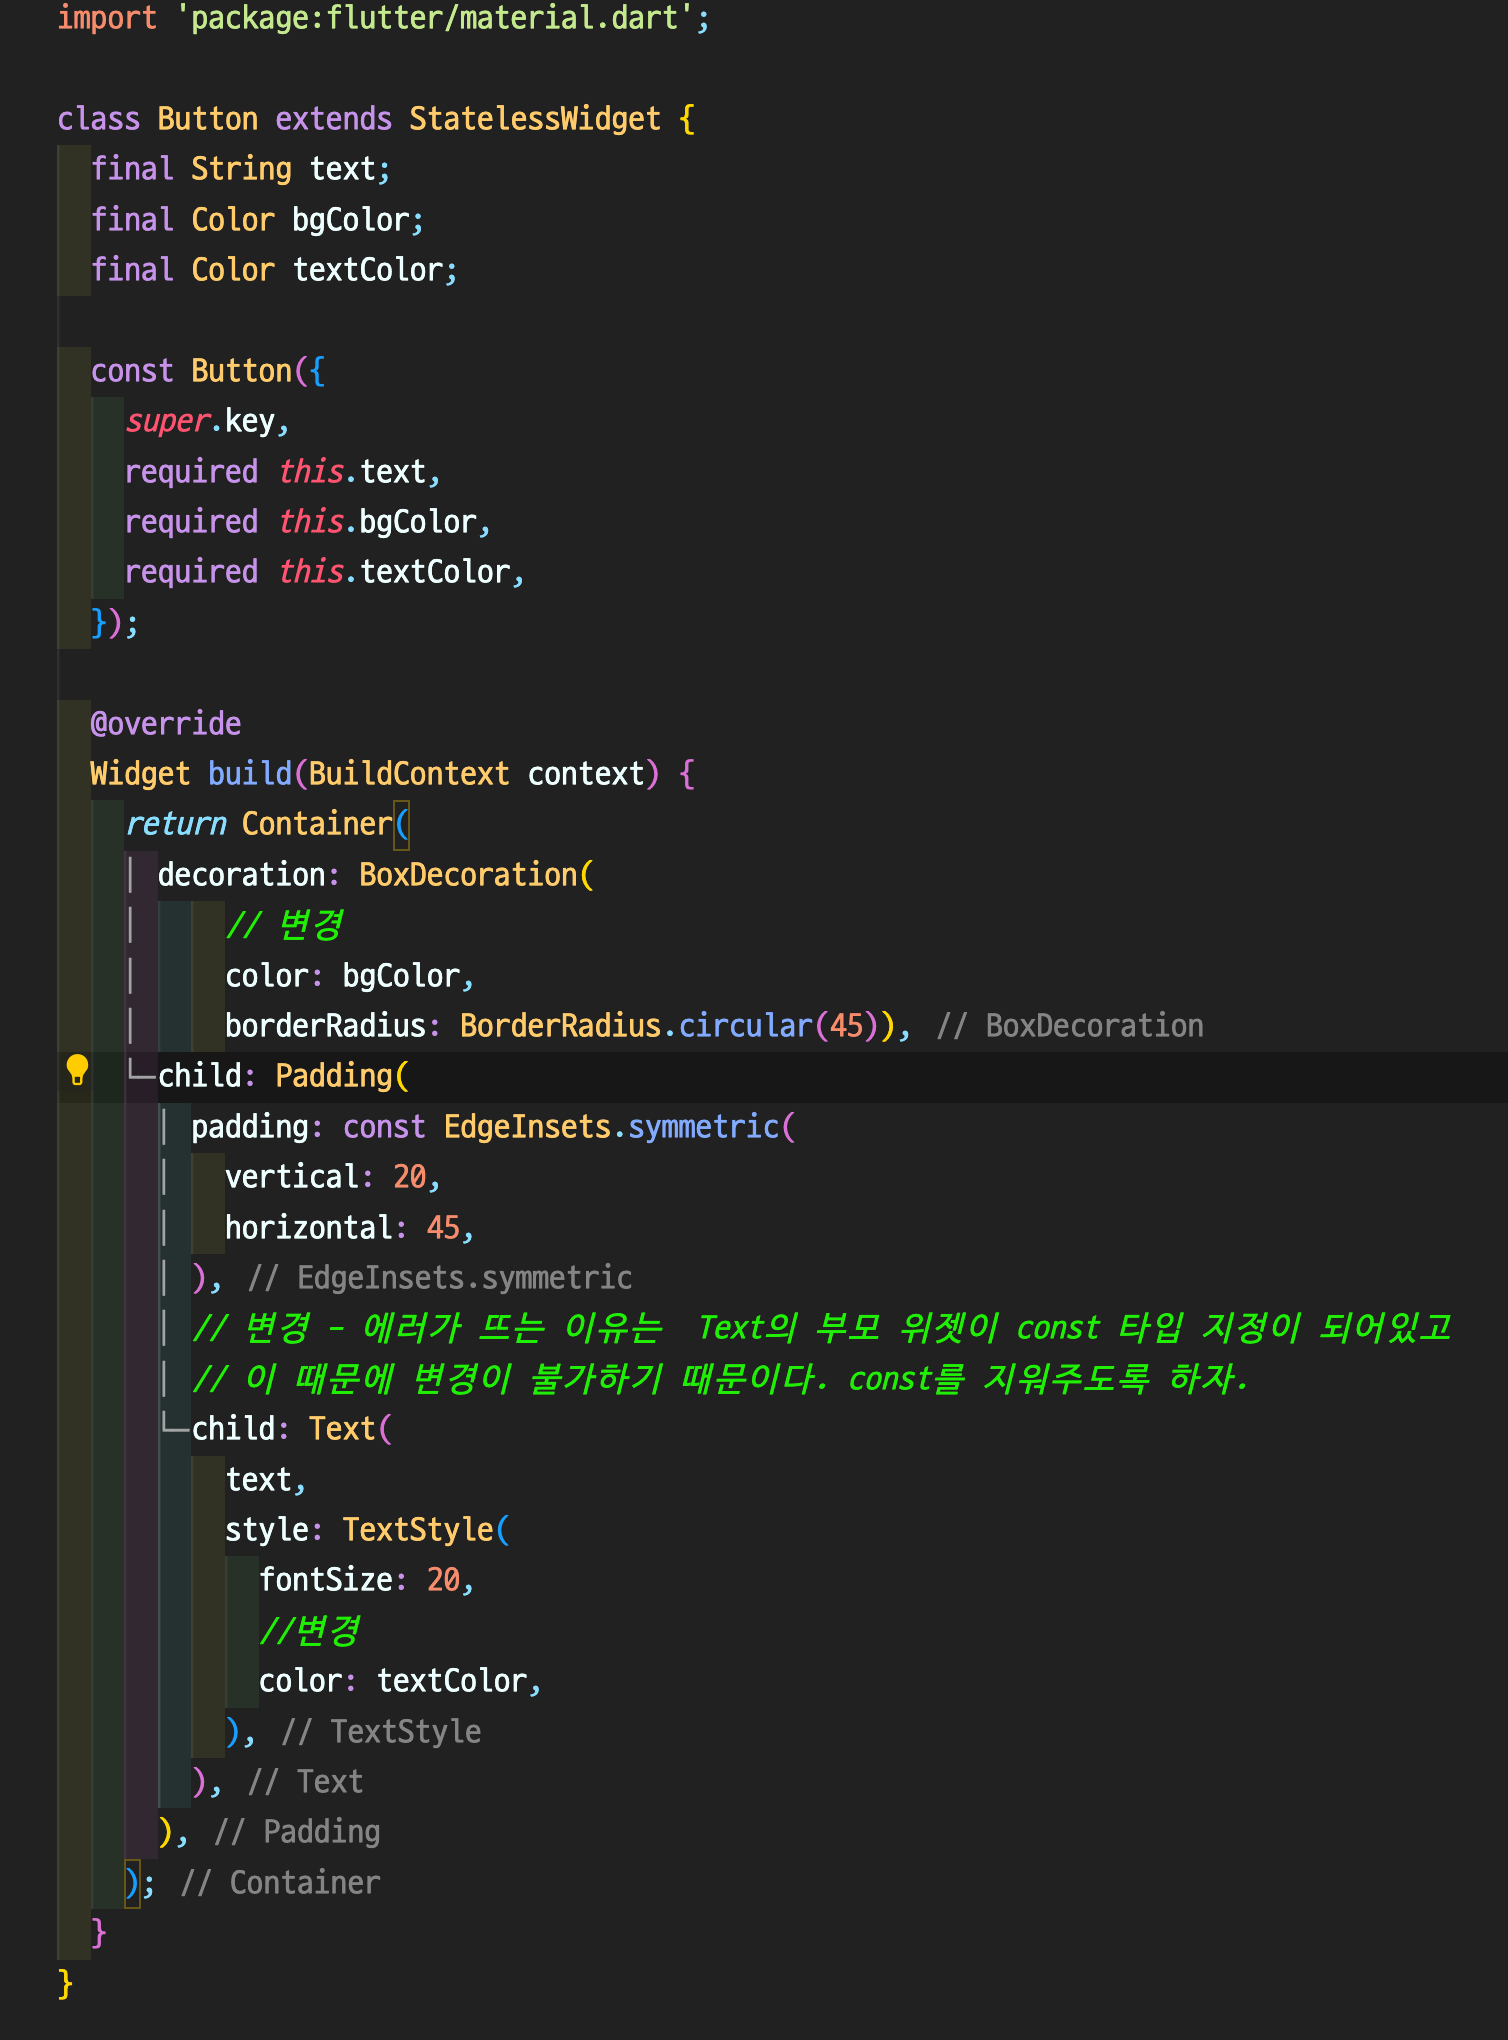
Buttons
    Row(
             children: [
               Container(
                 decoration: BoxDecoration(
                     color: Colors.amber,
                       borderRadius: BorderRadius.circular(45)),
                      child: Padding(
                        padding: EdgeInsets.symmetric(
                          vertical: 20,
                          horizontal: 45,
                        ),
                        child: Text(
                          'Transfer',
                          style: TextStyle(
                            fontSize: 20,
                          ),
                        ),
                      ),
                    )
                  ],
                )
VSCODE 세팅
prefer const with constant constructors

=
- 하지만 모든 것을 const 지정해주는 것은 실수를 유발할 수 있다. 따라서 세팅을 해보자.
- const 자동 지정
// (command palette) open user setting
// 아래 코드 추가
  "editor.codeActionsOnSave": {
    "source.fixAll": true
}- 파란줄 떴던 것들 앞에 const 타입 지정이 알아서 추가됨.
- 부모/자식 위젯 표시
"dart.previewFlutterUiGuides": true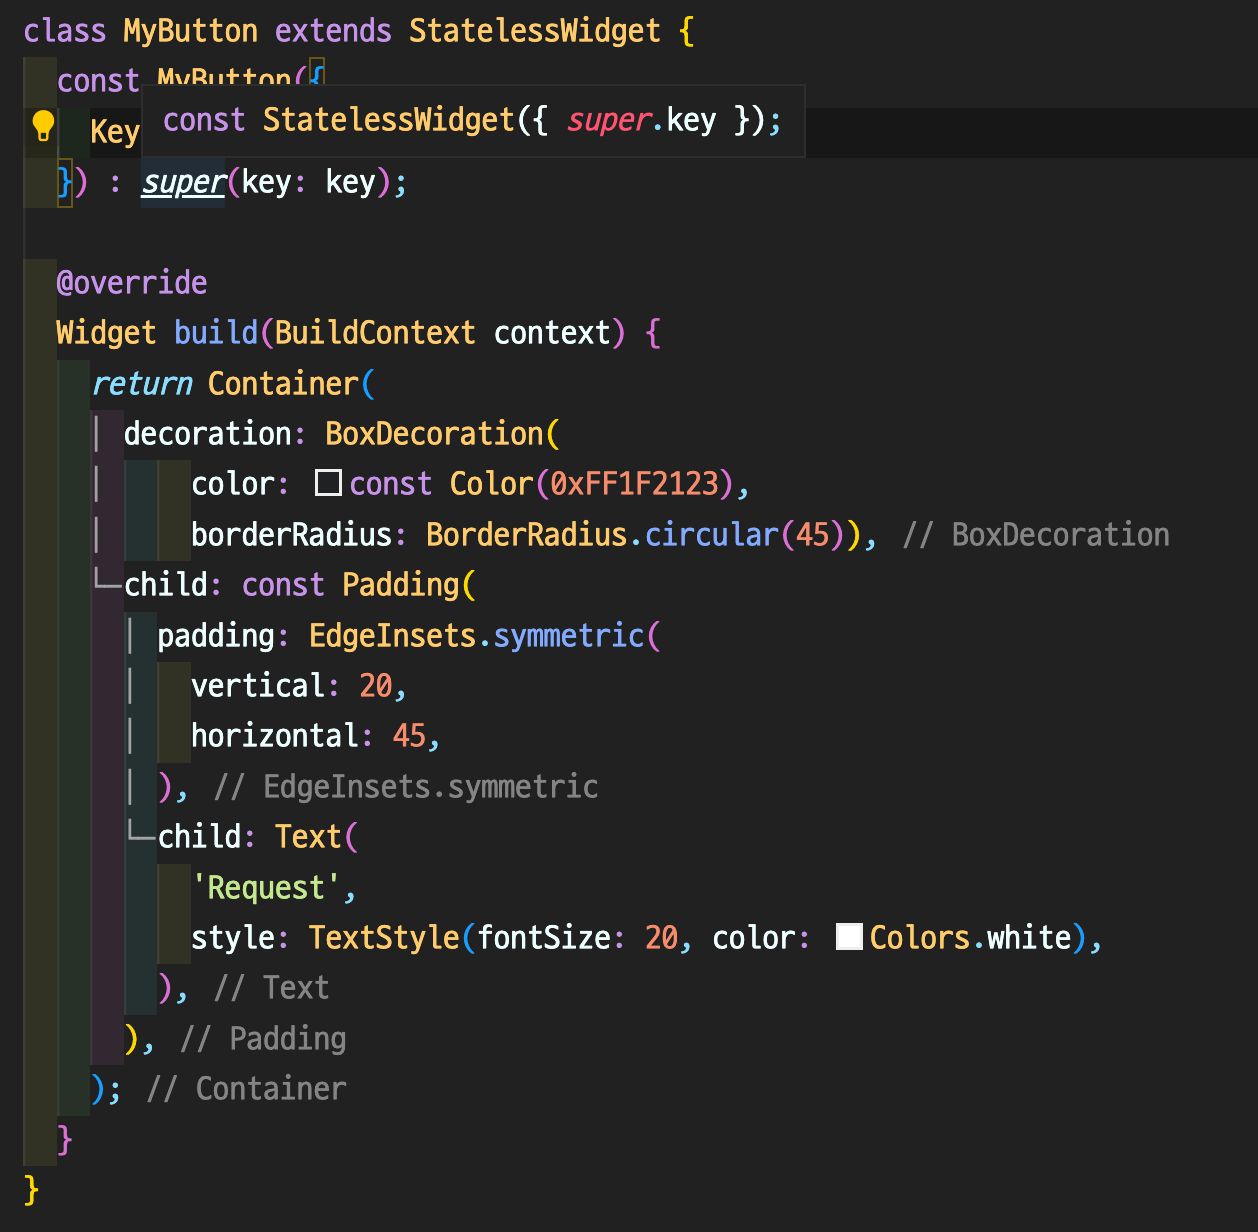
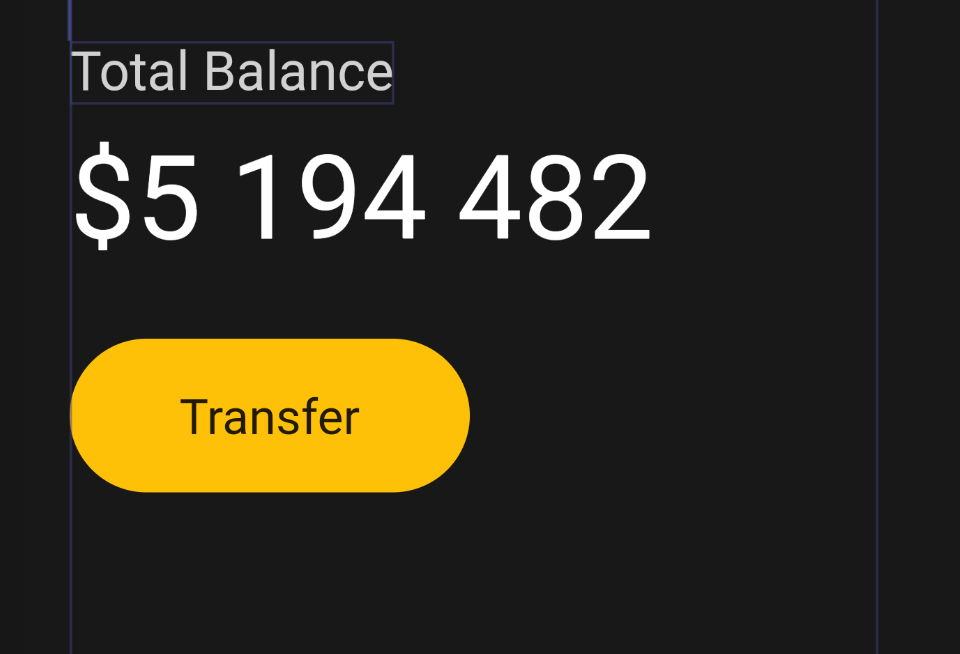
Code Actions
코드 왼쪽 전구 모양 클릭하면!
//
Text(
          'Total Balance',
             style: TextStyle(
             fontSize: 22,
             color: Colors.white.withOpacity(0.8),
                  ),
        ),
Text위젯을 Container 위젯으로 감싸고 싶다거나 할 때 클릭만으로 간단하게 자동으로 변경해준다.
Container(
                  child: Text(
                    'Total Balance',
                    style: TextStyle(
                      fontSize: 22,
                      color: Colors.white.withOpacity(0.8),
                    ),
                  ),
),- 부모 위젯 없애는 remove widget도 가능.
재사용 가능한 위젯
- 중복되는 두개의 Container가 있고 이 Container를 두 번 반복하여 사용하는 것은 코드 낭비.
- 따라서 위젯으로 만들어서 재사용할 수 있도록 하자
- (자동)Container의 전구를 클릭하여 Extract Widget
- 그럼 이렇게 위젯으로 만들어 줌.
- 직접 만들기
- lib폴더에 widget폴더를 만들고 button.dart파일을 생성하자.
-
위젯 생성!
-
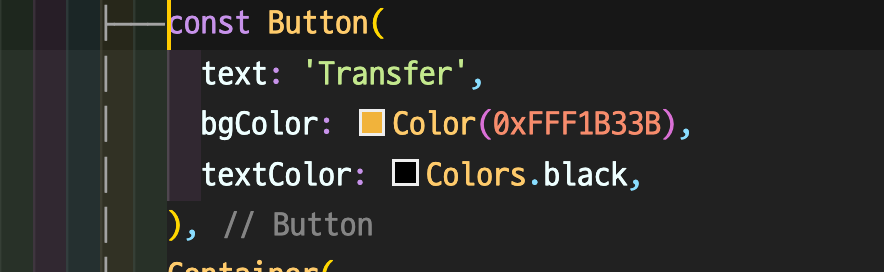
main.dart에서 Button 입력하면 자동으로 받아와줌.

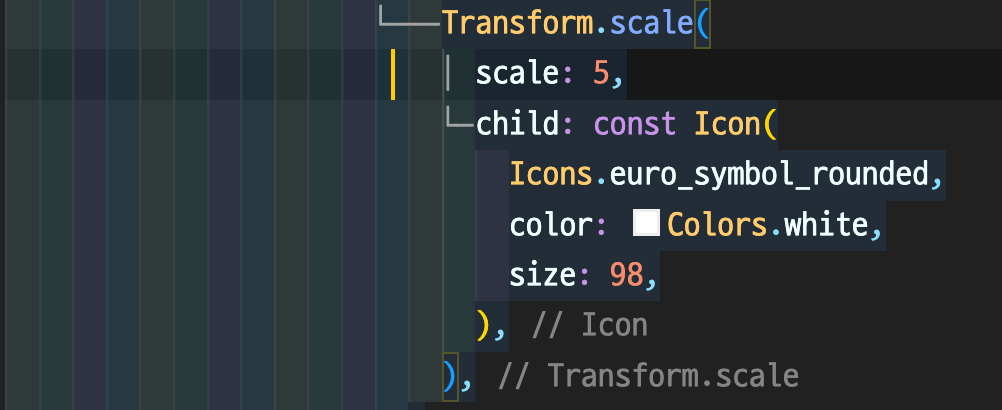
Icons & Transform
- Icon 위젯
      const Icon(
        //아이콘 이름
             Icons.euro_symbol_rounded,
        // 아이콘 색깔
             color: Colors.white,
        //아이콘 사이즈
             size: 98,
         )
사이즈를 키우면 사이즈에 따라 카드의 넓이도 함께 증가한다. 카드 넓이는 그대로 아이콘의 크기만 키우고 싶을 때 Transform을 사용한다.
- Transform 적용
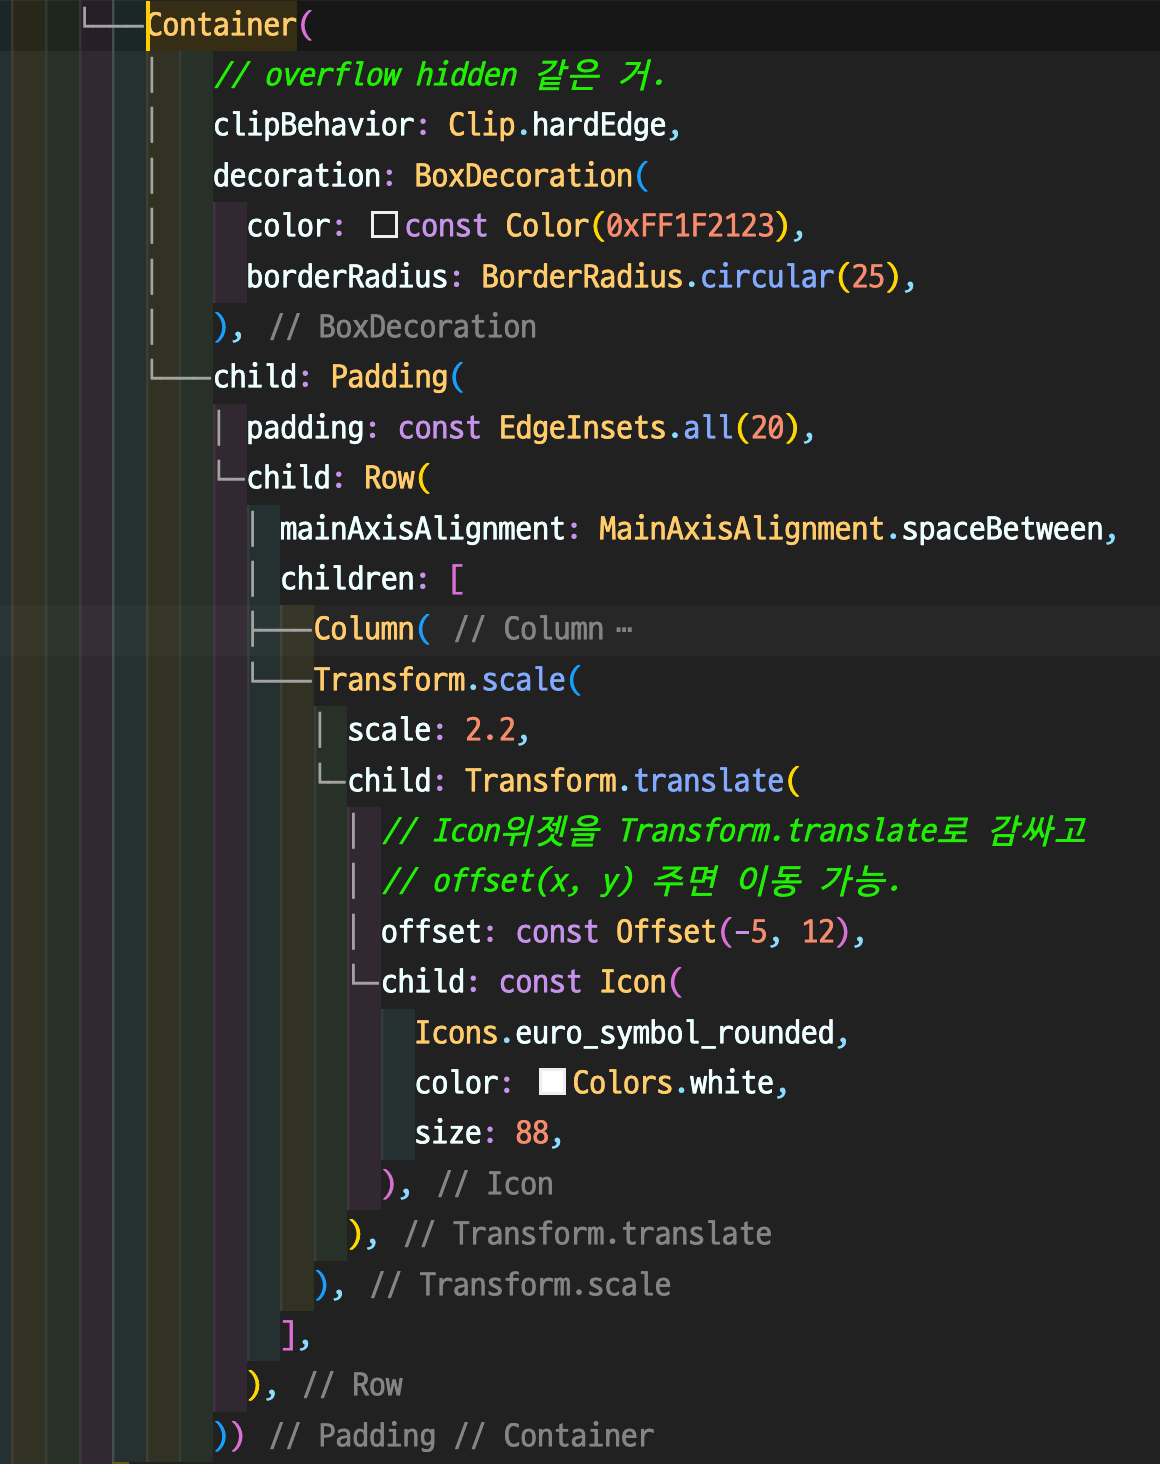
- Transform.scale
- Transform.translate
stateless 위젯 완성본!
코드 참고하기 Github Link
주먹구구식은 버리고 Why & How를 고민하며 프로그래밍 하는 개발자가 되자!