fetch 정의
특정 정보가 필요할 때 클라이언트는 서버에 HTTP 통신으로 요청을 보내고 정보를 응답 받을 수 있음. 이를 위한 메서드가 fetch임.
CRUD할 수 있음 :create, read, update, delete
fetch 요청(request)
fetch 메서드를 호출할 때 첫 번째 인자로 전달한 API 주소에 정보를 요청하고 응답을 받는다.
fetch 메서드를 호출할 때, 인자 2개를 전달할 수 있다. 한개는 API 주소를 두 번째 인자는 요청의 옵션 값들로 필요에 따라 객체 형태로 넣을 수 있다.
(method, headers, body, mode, credentials, omit, same-origin, include, cache, redirect, referrer, referrerPolicy, integrity, keepalive, signal 등의 key와 각각 해당하는 value를 넣을 수 있습니다)
fetch의 요청(request)
// fetch 전문 예시

fetch('api주소', {
  method: '...', //생략해도 기본적으로 GET
  headers: { 'key': 'value' },
  body: JSON.stringify({ 'key': 'value' }),
})                                     //요청
  .then((response) => response.json())
  .then((data) => console.log(data));
                                      //응답
첫번째 인자(API 주소)- 필수
fetch()의 첫 번째 인자 자리에 정보를 요청할 API 주소를 입력.
API 주소는 서버(백엔드)에서 받아야 한다. API 주소는 http:// 혹은 https://, IP 주소(with port 번호), 도메인주소, 엔드 포인트 등으로 구성되어 있음.
// 첫번째 인자 예시

fetch('http://10.58.113.116:8000/signin');

fetch('https://jsonplaceholder.typicode.com/posts');
두번째 인자(method)-선택사항
어떤 method로 요청할지 적는다(GET/POST/PUT/PATCH/DELETE)
// method 예시

fetch('https://jsonplaceholder.typicode.com/posts', {
  method: 'POST',
});
두번째 인자(headers)-선택사항
headers는 서버에 요청할 때 보낼 부가적인 정보를 담습니다. (Host, user-Agent, Authorization, Content-Type 등등)
// headers 예시

fetch('https://jsonplaceholder.typicode.com/posts', {
  method: 'POST',
  headers: {
    'Content-Type': 'application/json;charset=utf-8',
  },
});
두번째 인자(body)- 선택사항
body는 서버에 요청할 때 보낼 실질적 정보를 포함
1) 요청 body가 있는 경우
서버에 보낼 정보가 있는 경우, 요청 body에 담아서 보냄. 그런데 body value를 보면 JSON.stringify라는 메서드에 담아서 보냄
//POST - body 예시
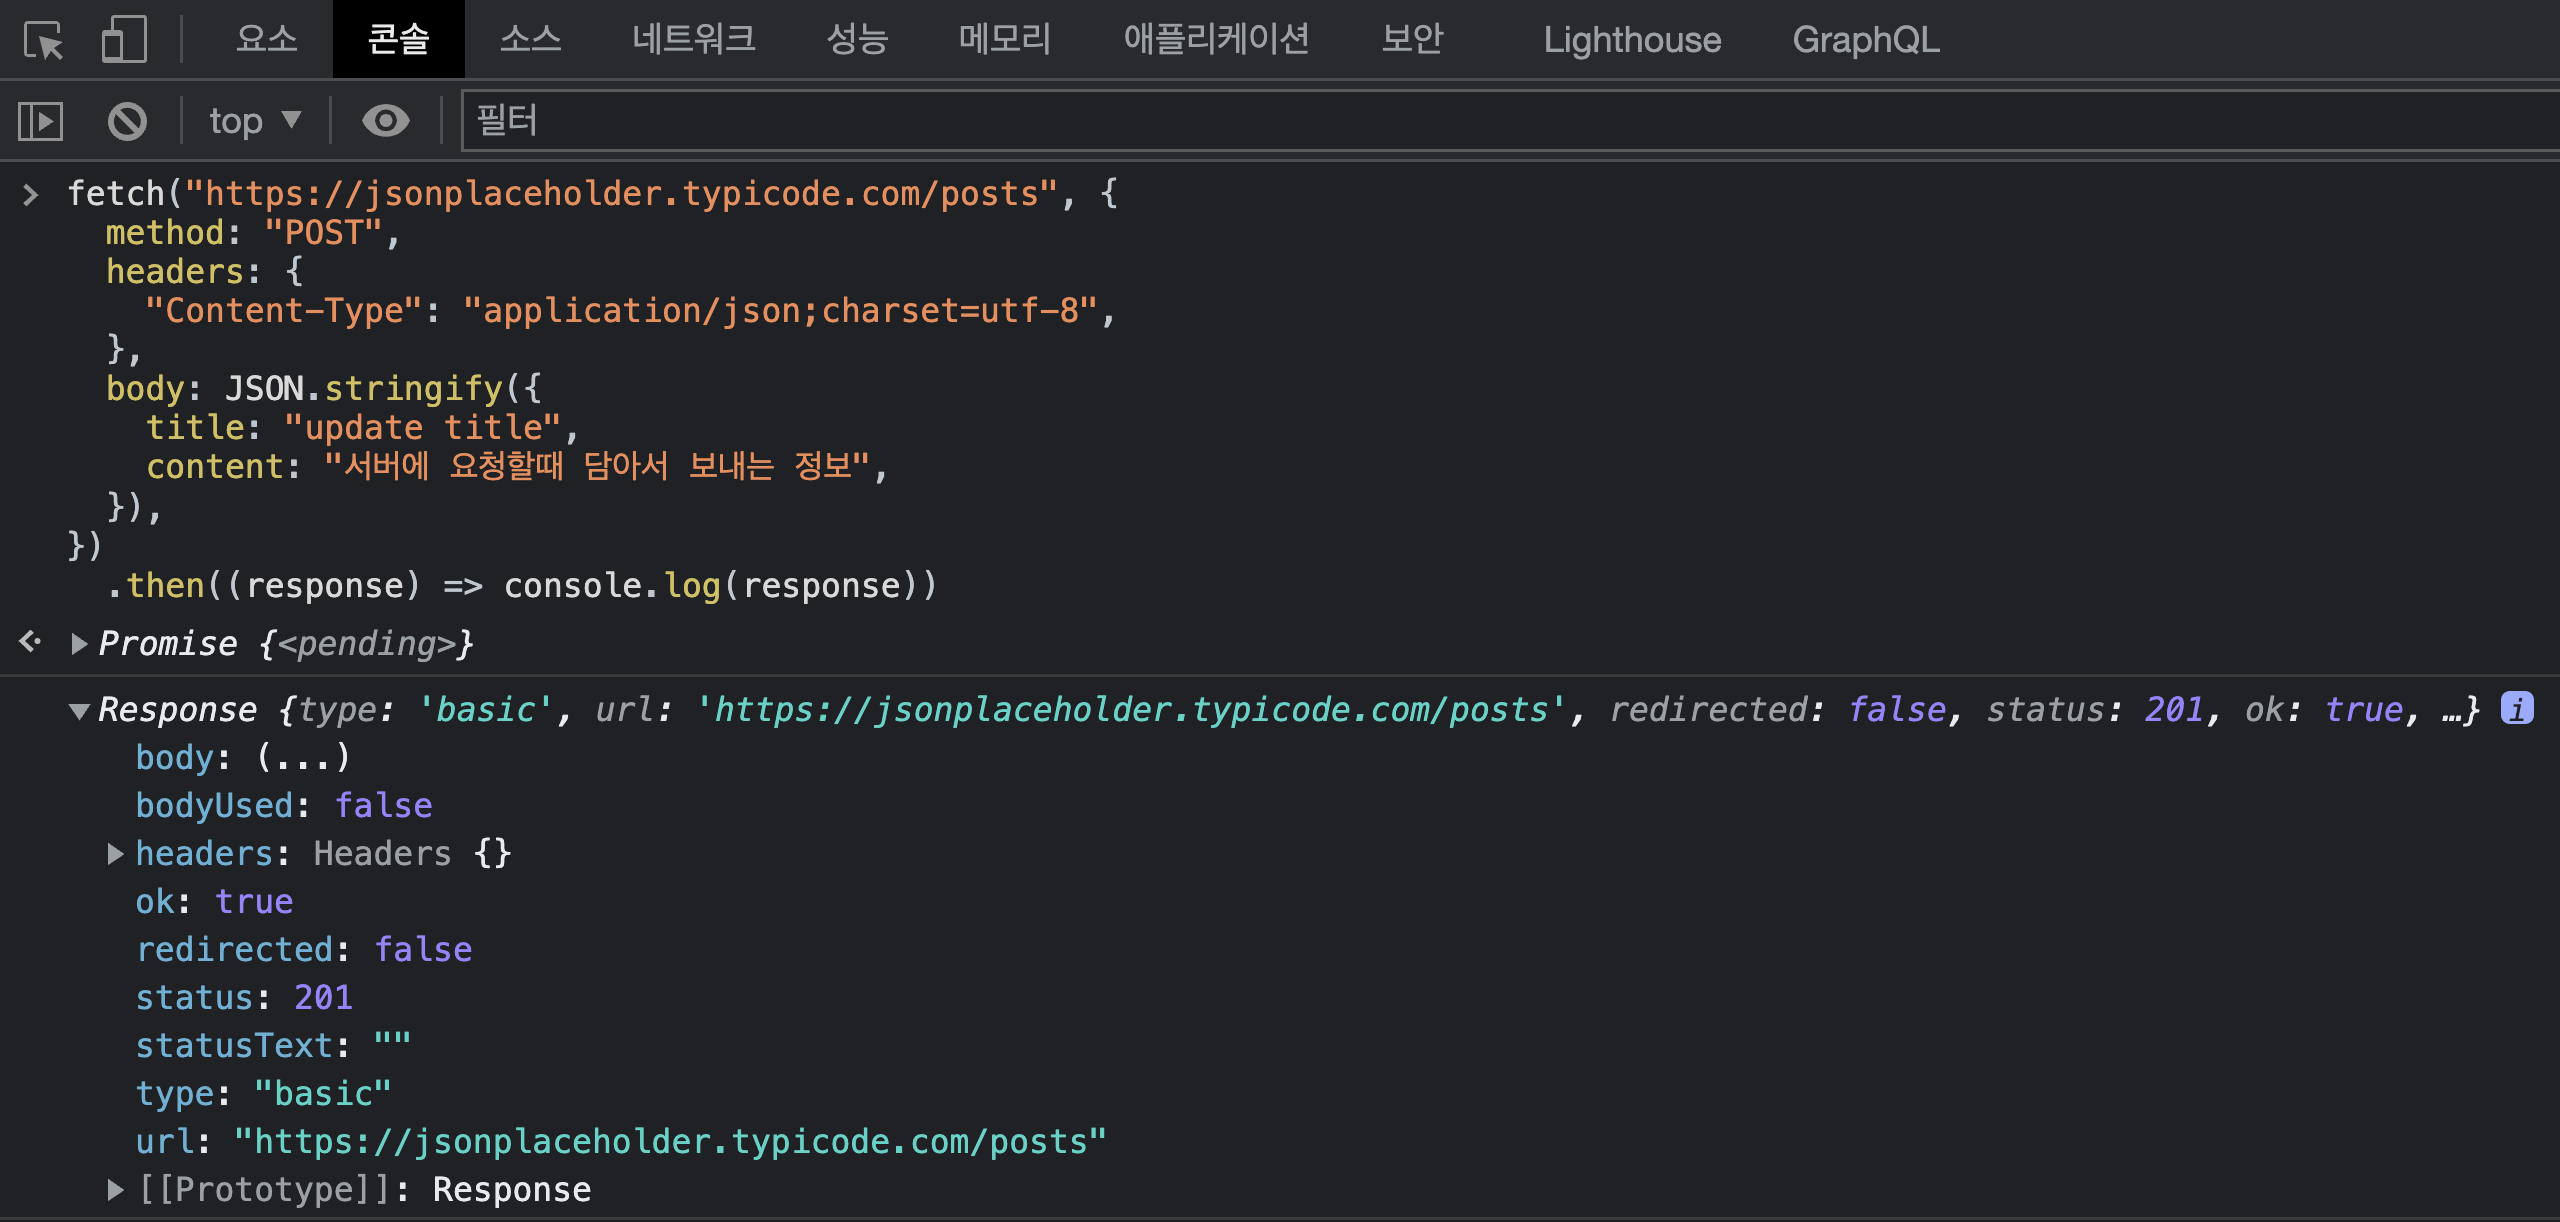
fetch('https://jsonplaceholder.typicode.com/posts', {
method: 'POST',
headers: {
'Content-Type': 'application/json;charset=utf-8',
},
body: JSON.stringify({
title: 'update title',
content: '서버에 요청할때 담아서 보내는 정보',
}),
});body에 담긴 정보를 서버에 보낼 때는 JSON 형태의 데이터로 주고 받는데 형변환 메서드가 JSON.stringify
JSON 형태로 보내면 다른 언어의 서버와 클라이언트라도 이 객체형태와 유사한 JSON 형태는 서로 읽고 쓸 수 있다.
이 메서드를 사용하면 데이터가 JSON 문자열로 반환된다.
//JSON.stringify로 변환된 body 형태 예시

// object
{
  title: 'update title',
  content: '서버에 요청할때 담아서 보내는 정보',
};

// JSON
{ "title": "update title", "content": "서버에 요청할때 담아서 보내는 정보" }

// JSON.stringify 형 변환 예시

console.log(JSON.stringify({ x: 5, y: 6 }));
// expected output: "{"x":5,"y":6}"

console.log(
  JSON.stringify([new Number(3), new String('false'), new Boolean(false)])
);
// expected output: "[3,"false",false]"

console.log(JSON.stringify({ x: [10, undefined, function () {}, Symbol('')] }));
// expected output: "{"x":[10,null,null,null]}"

console.log(JSON.stringify(new Date(2006, 0, 2, 15, 4, 5)));
// expected output: ""2006-01-02T15:04:05.000Z""
참고: 서버에서 string으로 원할 경우 JSON.stringify 메서드 없이 string으로 요청 가능.
2) 요청 body가 없는 경우
요청 body가 없는 경우는 서버에 전달해 줄 정보 없이 정보를 달라고 요청만 함.
//body가 없는 요청 예시

fetch('https://jsonplaceholder.typicode.com/users/1', { method: 'GET' });
fetch 응답(response)
.then() 메서드는 Promise를 처리할 수 있는 메서드이다
.then() 은 Promise를 return하고 두 개의 콜백 함수를 인자로 받는다. 하나는 Promise가 이행됐을 때 다른 하나는 거부했을 때를 위한 콜백 함수.
.then() 메서드는 Promise를 리턴하기 때문에 첫 then 에서 반환된 값을 두 번째 then에서 이어서 처리할 수 있는 메서드 chaning이 가능하다.
// .then() 메서드 문법

.then(function onFullfilled, [function onRejected])
요청을 했으면 응답받을 차례. 응답을 보면 then() 메서드가 2번 나옴
// fetch 요청 전문 예시

fetch('https://jsonplaceholder.typicode.com/posts', {
  method: 'POST',
  headers: {
    'Content-Type': 'application/json;charset=utf-8',
  },
  body: JSON.stringify({
    title: 'update title',
    content: '서버에 요청할때 담아서 보내는 정보',
  }),
})
                                              //요청
  .then((response) => response.json())
  .then((data) => console.log(data));
                                              //응답
첫 번째 응답을 반환하는. then()의 콜백에 response라고 하는 매개변수를 console.log로 실행해 보면 이런 값이 반환되는 걸 알 수 있음
// 첫번째 응답 형태 예시

fetch('https://jsonplaceholder.typicode.com/posts', {
  method: 'POST',
  headers: {
    'Content-Type': 'application/json;charset=utf-8',
  },
  body: JSON.stringify({
    title: 'update title',
    content: '서버에 요청할때 담아서 보내는 정보',
  }),
}).then((response) => console.log(response));
첫번째 then에서 반환된 값.
status code에 따른 첫번째 분기 처리
첫번째 response 객체에는 여러가지 key가 반환됨.
status : 통신의 실패, 성공 여부
(200~299) - ok 값 true
(400~499(client Error) or 500~599(server error) -ok 값 false
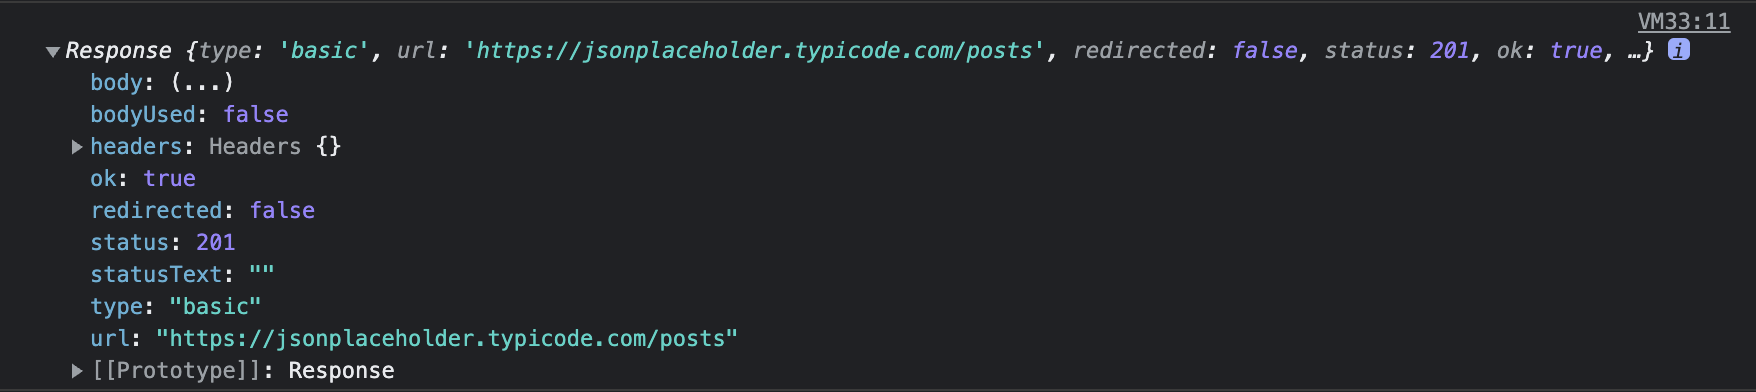
 위 이미지는 201(create) ok(true) - 요청 성공, body에 담아 보낸 정보가 서버에 수정 혹은 추가됐음을 의미
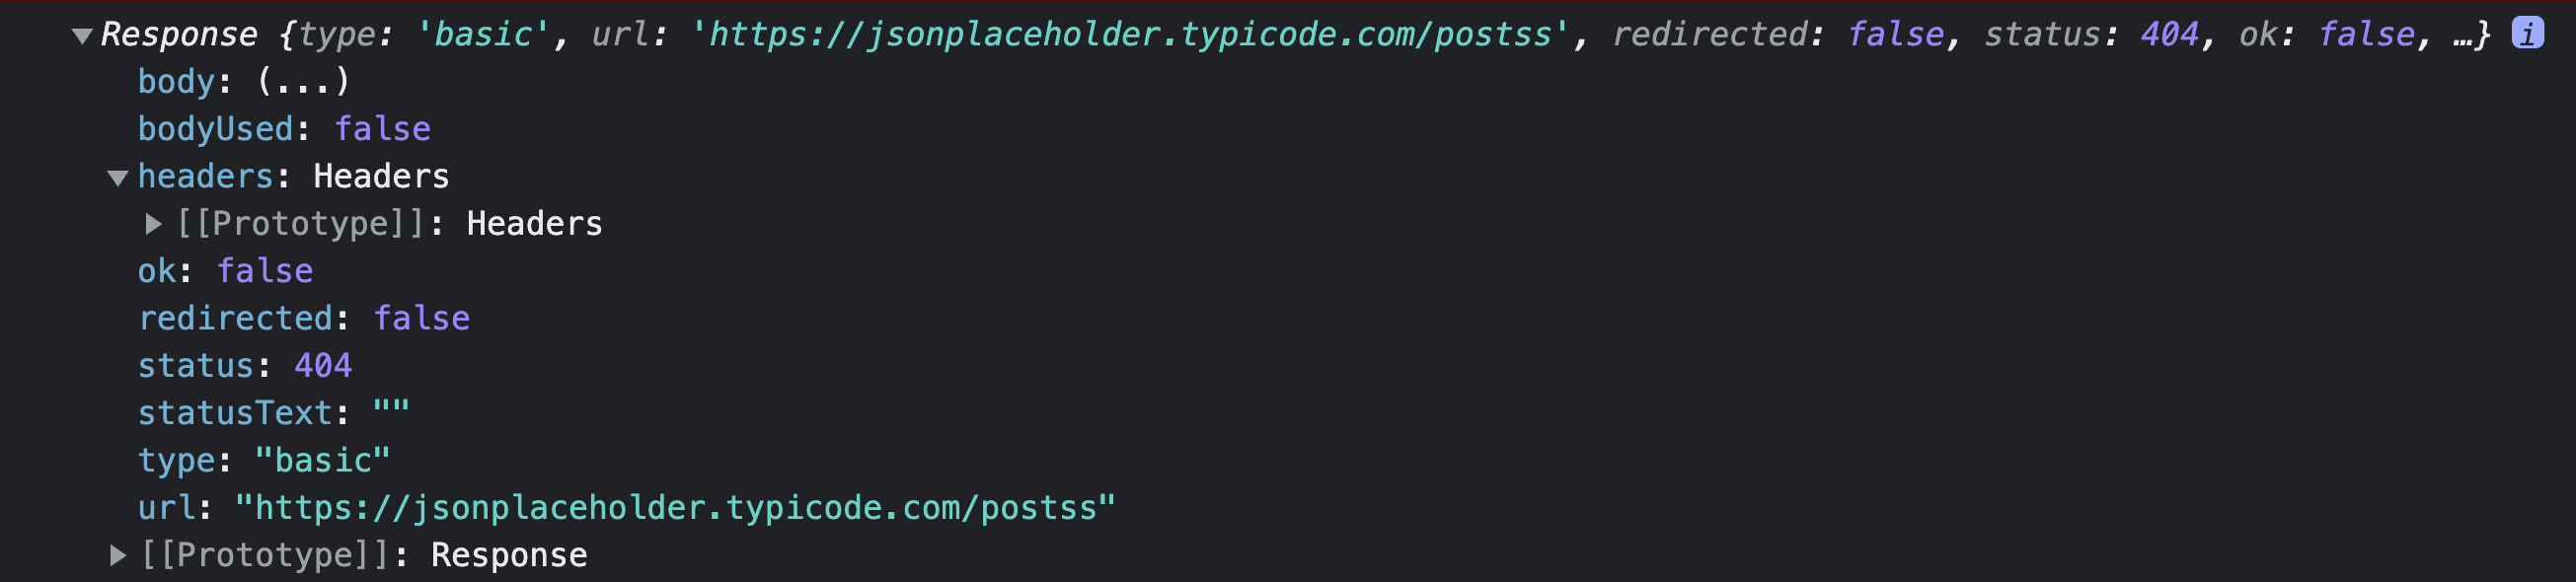 위 이미지는 404(not found)- 요청하는 API 주소가 틀렸거나, 이용할 수 없는 웹페이지나 서버를 가리킬 경우 반환되는 코드
- 통신 성공 - response의 body를 객체로 만드는 메서드 호출, 통신에 실패하면 console에 메시지 출력하는 예시
//첫번째 응답 분기처리 예시

fetch('https://jsonplaceholder.typicode.com/posts', {
  method: 'POST',
  headers: {
    'Content-Type': 'application/json;charset=utf-8',
  },
  body: JSON.stringify({
    title: 'update title',
    content: '서버에 요청할때 담아서 보내는 정보',
  }),
})
  .then((response) => {
    if (response.ok === true) {
      return response.json();
    }//response가 성공이면 json을 자바스크립트 데이터로 가공
    throw new Error('에러 발생!'); //reponse.ok가 true가 아닐 경우 error를 throw
  })
  .catch((error) => console.log(error)); //throw된 error를 받아서 console에 출력
첫번째 응답에서 반환된 객체로 두번째 응답에서 분기 처리
통신에 성공해서 JSON을 객체로 변환했으면 변환된 객체를 활용해서 분기 처리 가능
//두번째 응답 분기처리 예시

fetch('로그인 API', {
  method: 'post',
  body: JSON.stringify({
    id: 'qawsedrf',
    password: '123456',
  }),
})
  .then((response) => {
    if (response.ok === true) {
      return response.json();
    }
    throw new Error('에러 발생!');
  })
  .catch((error) => console.log(error))
  .then((data) => {
    if (data.message === 'login success') {
      localStorage.setItem('TOKEN', data.token);
      alert('로그인 성공');
    } else {
      alert('로그인 실패');
    }
  });

//data 예시
  data: {
    message: 'login success',
    token:    'eyJ0eXAiOiJKV1QiLCJhbGciOiJIUzI1NiJ9.eyJ1c2VyX2lkIjo1fQ.Dy3PPHIOFFe3ScGTb8x3hewItnpOcgC9YDdW7v27XHg',
  },