앱스토어에 런칭 시 애플 로그인이 반드시 수반되어야 함.
client_id, team_id 등 AuthKey를 받기 위한 과정은
https://idmsa.apple.com/IDMSWebAuth/signin?appIdKey=891bd3417a7776362562d2197f89480a8547b108fd934911bcbea0110d07f757&path=%2Faccount%2F&rv=1
이곳에서 진행 가능!
애플 로그인은 구글,카카오랑 구조가 다르다.
애플로그인 팝업에서 로그인을 하면 Apple로 정보를 보내고, Apple은 redirectURL로 인증 결과가 포함된 HTTP POST 를 request한다.
받은 내용은 state, code, id_token, user 4개로 json형태이다.
User 키는 최초 가입 할 때만 받을 수 있다. (code는 5분 유효)
id_token을 디코딩해서 얻은 토큰들의 유효성을 검사하고 서명을 검증한다.
그리고 https://appleid.apple.com/auth/keys 에서 얻어온 개인키로, id_token을 디코딩해서 나온 값과, code를 이용해 client_secret를 생성한다. 그리고 https://appleid.apple.com/auth/token 로 client_secret을 보내, refreshToken과 accessToken을 받는다.
위의 번거로운 과정은 apple-auth 가 자동으로 처리해준다.
전반적인 과정을 살펴보자면,
1. The user taps the "Sign in with Apple" button on the app or website's login page.
사용자는 애플 로그인 하기 버튼을 누름.
2. The app or website makes a request to Apple's authorization server, asking for permission to access the user's Apple ID information.
앱 또는 웹 사이트는 Apple 인증 서버에 사용자의 Apple ID 정보에 액세스할 수 있는 권한을 요청.
3. The user is prompted to authenticate their Apple ID by entering their password or using Touch ID or Face ID.
암호를 입력하거나 터치 ID 또는 얼굴 ID를 사용하여 Apple ID를 인증하라는 메시지가 표시됨.
4. If the user successfully authenticates, the authorization server returns an authorization code to the app or website.
사용자가 성공적으로 인증되면 인증 서버는 인증 코드를 앱 또는 웹 사이트로 반환.
5. The app or website exchanges the authorization code for an access token and a refresh token. The access token is a short-lived token that can be used to access the user's Apple ID information, and the refresh token is a long-lived token that can be used to refresh the access token when it expires.
앱 또는 웹 사이트는 액세스 토큰 및 새로 고침 토큰에 대한 인증 코드를 교환합니다. 액세스 토큰은 사용자의 Apple ID 정보에 액세스하는 데 사용할 수 있는 단기 토큰이고, 새로 고침 토큰은 만료 시 액세스 토큰을 새로 고치는 데 사용할 수 있는 장기 토큰.
6. The app or website uses the access token to make API requests to Apple's API server, in order to retrieve information about the user's Apple ID, such as their email address and name.
앱 또는 웹 사이트는 액세스 토큰을 사용하여 사용자의 전자 메일 주소 및 이름과 같은 Apple ID에 대한 정보를 검색하기 위해 Apple의 API 서버에 API 요청을 수행합니다.
7. If the user decides to share their email address with the app or website, they will receive an email address that is specifically created for that app or website, and is managed by Apple.
사용자가 자신의 전자 메일 주소를 앱 또는 웹 사이트와 공유하기로 결정하면 해당 앱 또는 웹 사이트용으로 특별히 생성되고 Apple에서 관리하는 전자 메일 주소를 받게 됨.
8. The app or website can use the information obtained from the API requests to create or log in the user's account on their platform.
앱 또는 웹 사이트는 API 요청에서 얻은 정보를 사용하여 플랫폼에서 사용자 계정을 만들거나 로그인 가능.
STEP 1.
npm install apple-auth
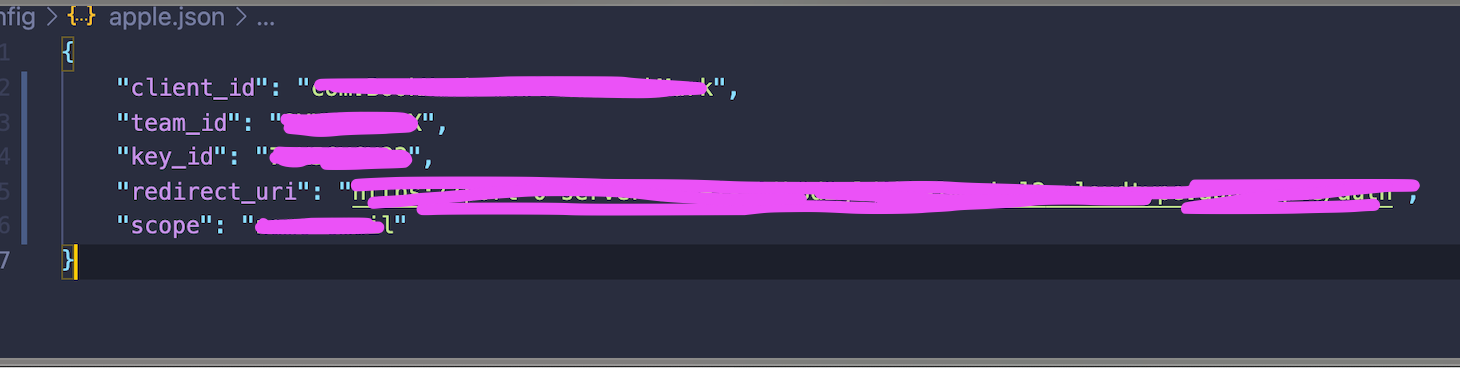
npm install apple-auth 설치후 위에서 Apple Developer 에서 생성한 값들을 apple.json 형태의 파일로 채워줍니다.
(파일명은 무관)
또한 AuthKey.p8 의 private_key_path를 기록해놓은 파일 역시 만들어 줍니다.

STEP 2. 로그인 구현


module.exports.authAppleLogin = async(req,res) => {

    try {
         //authenticate our code we recieved from apple login with our key file
        const response = await appleAuth.accessToken(req.body.code);

        // decode our token
        const idToken = jwt.decode(response.id_token);

        const user = {};
        user.id = idToken.sub;
        const id = user.id;

        //extract email from idToken
        if(idToke.email) user.email = idToken.email;
        const email = user.email;

        //check if user exists in the returned response from Apple
        //Apple returns the user only once, so you might want to save their details
        // in a database for future logins

        if(req.body.user) {
        const { name } = JSON.parse(req.body.user);
        user.name = name; // name = { firstname: , lastname: }
        const username = name.lastname + name.firstname;

        const appleLoginUserInfo = await appleSign(id, username, email);

        // Respond with the user
        return res.status(200).json({ appleLoginUserInfo })

        };

    } catch (err) {
        console.log("Err", err)
    }
};
appleAuth.accessToken이 client_secret을 만들고, 보내는 과정을 대신 처리해준다
reference : https://jukyyoon.tistory.com/10