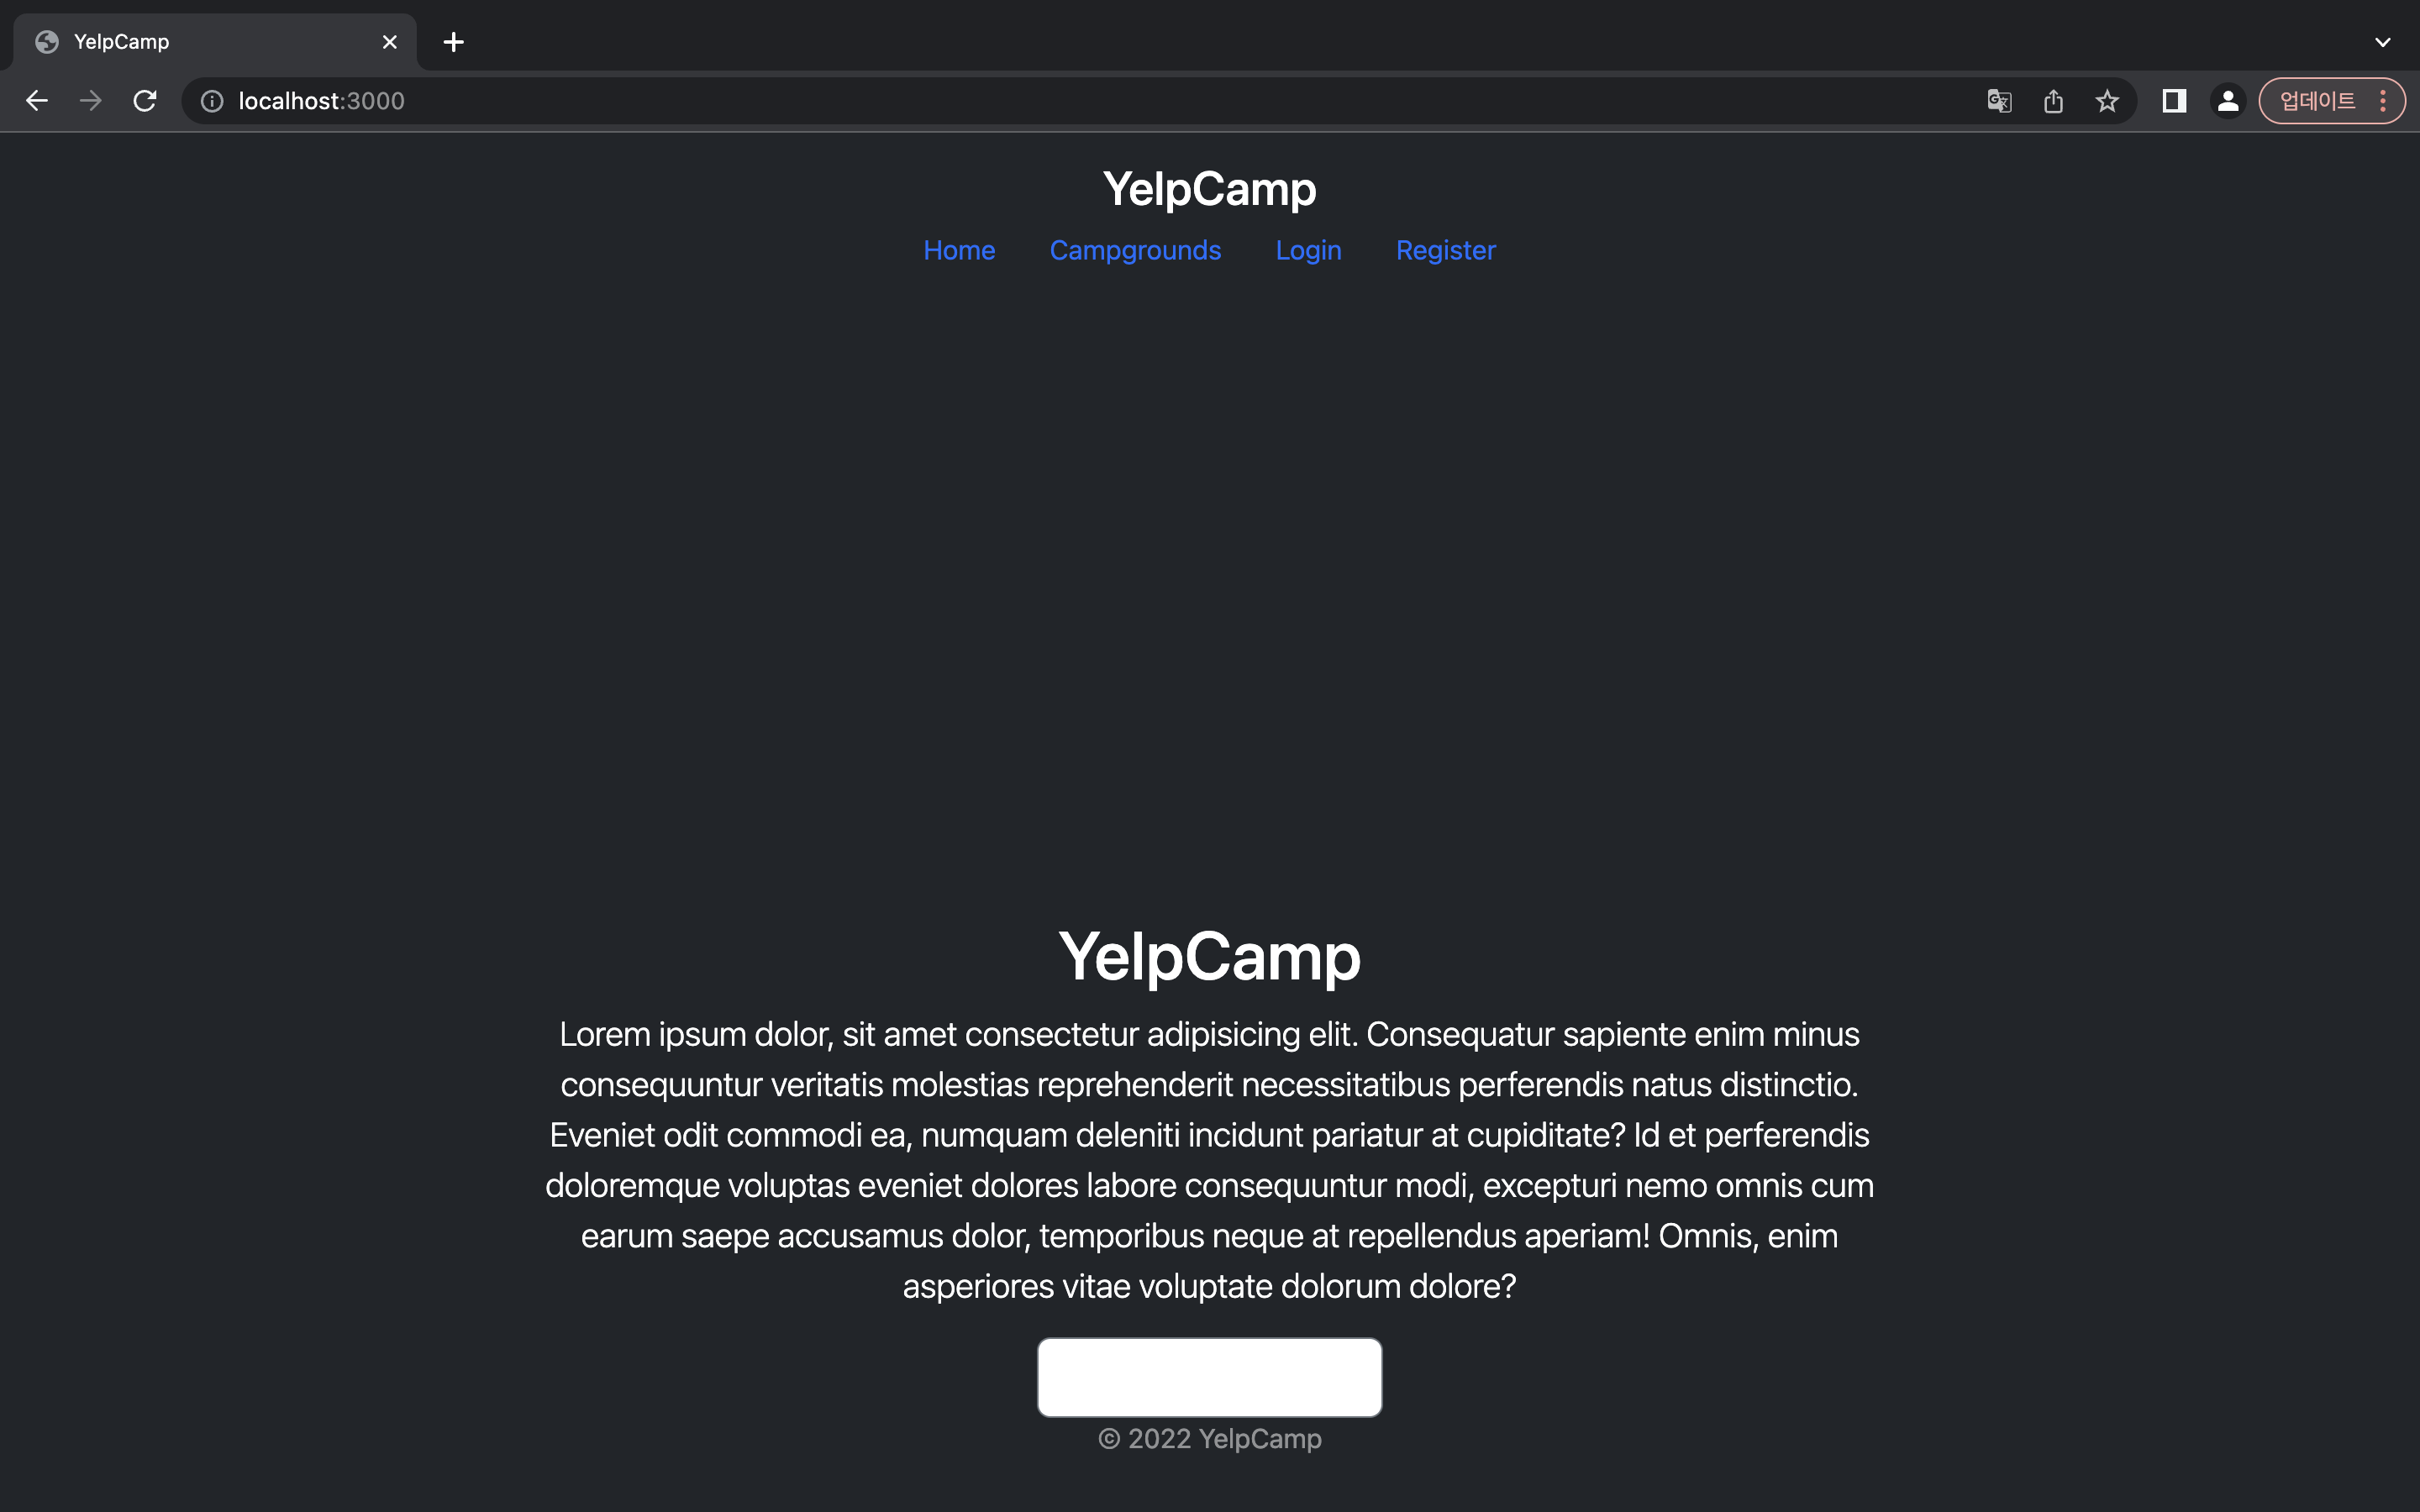
1) 홈페이지 스타일링
home.ejs
<!DOCTYPE html>
<html lang="en">
<head>
<meta charset="UTF-8" />
<meta http-equiv="X-UA-Compatible" content="IE=edge" />
<meta name="viewport" content="width=device-width, initial-scale=1.0" />
<title>YelpCamp</title>
<link
href="https://cdn.jsdelivr.net/npm/bootstrap@5.2.0/dist/css/bootstrap.min.css"
rel="stylesheet"
integrity="sha384-gH2yIJqKdNHPEq0n4Mqa/HGKIhSkIHeL5AyhkYV8i59U5AR6csBvApHHNl/vI1Bx"
crossorigin="anonymous"
/>
<link rel="stylesheet" href="/stylesheets/home.css" />
</head>
<body class="d-flex text-center text-white bg-dark">
<div class="cover-container d-flex w-100 h-100 p-3 mx-auto flex-column">
<header class="mb-auto">
<div>
<h3 class="float-md-left mb-0">YelpCamp</h3>
<nav class="nav nav-masthead justify-content-center float-md-right">
<a class="nav-link active" aria-current="page" href="#">Home</a>
<a class="nav-link" href="/campgrounds">Campgrounds</a>
<% if(!currentUser) { %>
<a class="nav-link" href="/login">Login</a>
<a class="nav-link" href="/register">Register</a>
<% } else { %>
<a class="nav-link" href="/logout">Logout</a>
<% } %>
</nav>
</div>
</header>
<main class="px-3">
<h1>YelpCamp</h1>
<p class="lead">
Lorem ipsum dolor, sit amet consectetur adipisicing elit. Consequatur
sapiente enim minus consequuntur veritatis molestias reprehenderit
necessitatibus perferendis natus distinctio. Eveniet odit commodi ea,
numquam deleniti incidunt pariatur at cupiditate? Id et perferendis
doloremque voluptas eveniet dolores labore consequuntur modi,
excepturi nemo omnis cum earum saepe accusamus dolor, temporibus neque
at repellendus aperiam! Omnis, enim asperiores vitae voluptate dolorum
dolore?
</p>
<a
href="/campgrounds"
class="btn btn-lg btn-secondary font-weight-bold text-white bg-white"
>View Campgrounds</a
>
</main>
<footer class="mt-auth text-white-50">
<p>© 2022 YelpCamp</p>
</footer>
</div>
<script
src="https://cdn.jsdelivr.net/npm/@popperjs/core@2.11.5/dist/umd/popper.min.js"
integrity="sha384-Xe+8cL9oJa6tN/veChSP7q+mnSPaj5Bcu9mPX5F5xIGE0DVittaqT5lorf0EI7Vk"
crossorigin="anonymous"
></script>
<script
src="https://cdn.jsdelivr.net/npm/bootstrap@5.2.0/dist/js/bootstrap.min.js"
integrity="sha384-ODmDIVzN+pFdexxHEHFBQH3/9/vQ9uori45z4JjnFsRydbmQbmL5t1tQ0culUzyK"
crossorigin="anonymous"
></script>
</body>
</html>
home.css
body {
  height: 100vh;
}
.cover-container {
  max-width: 60vw;
}
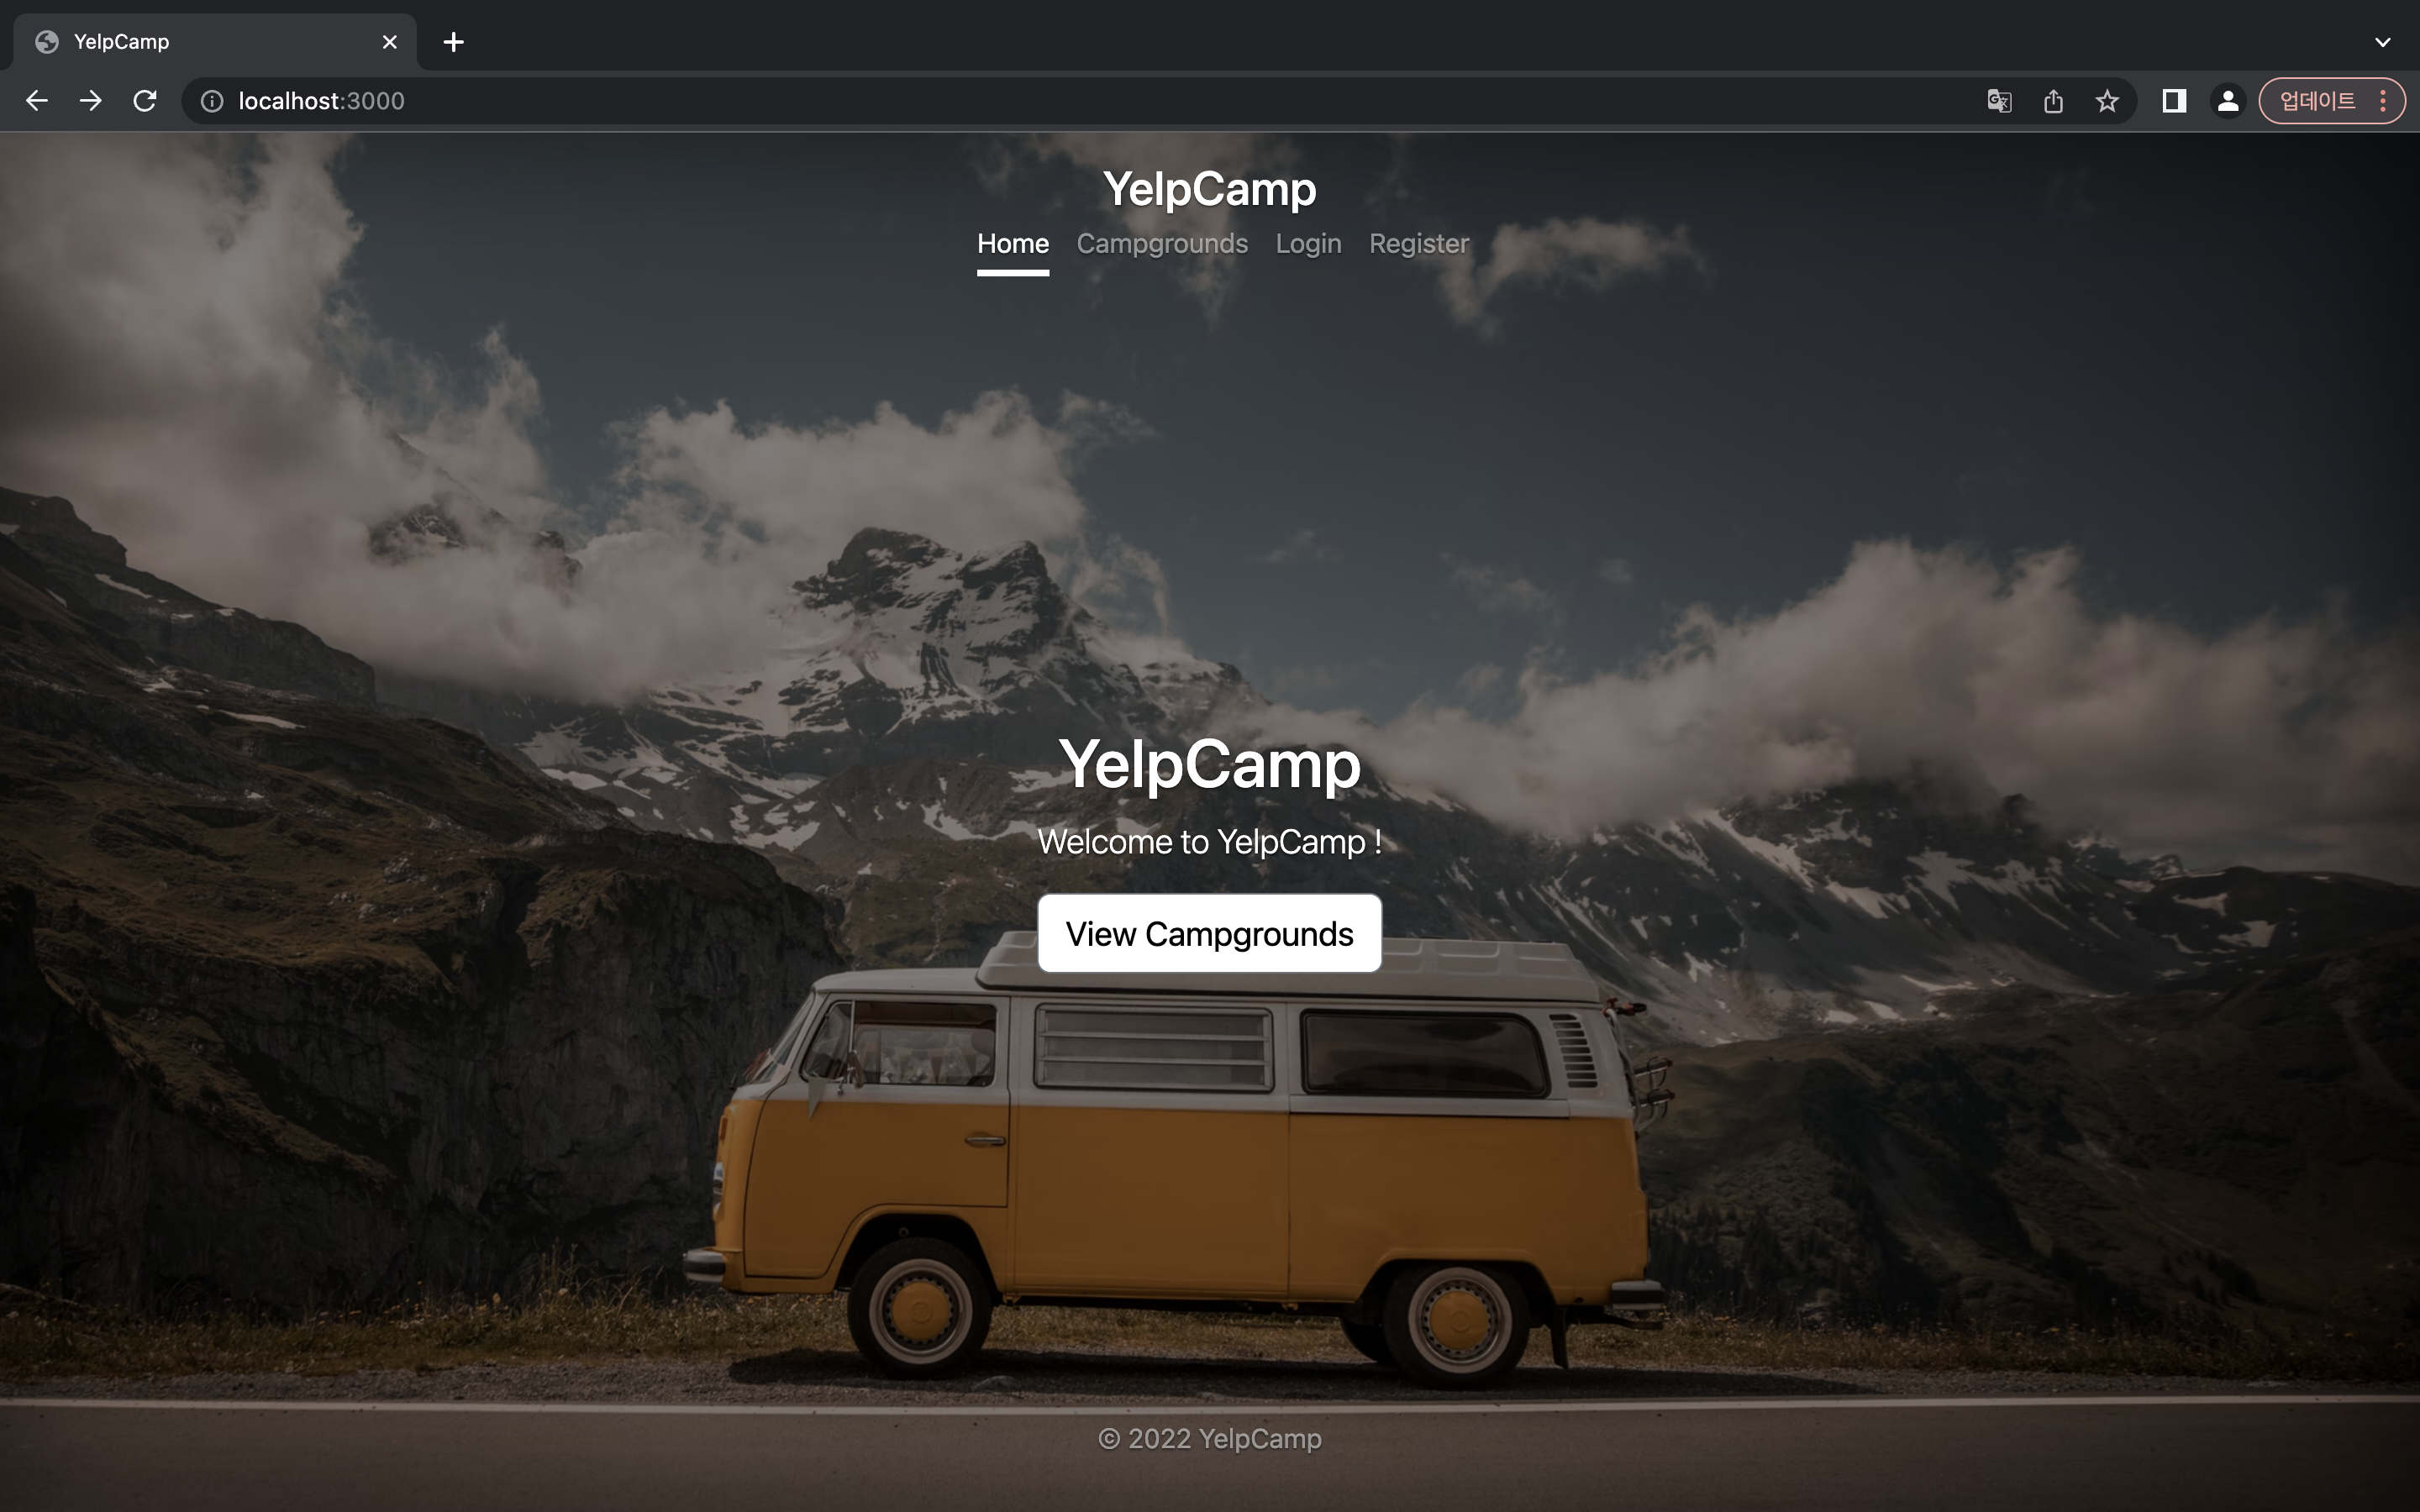
2) 홈페이지 스타일링 더 알아보기
home.css
body {
  height: 100vh;
  background-image: linear-gradient(rgba(0, 0, 0, 0.5), rgba(0, 0, 0, 0.5)),
    url("https://images.unsplash.com/photo-1594495894542-a46cc73e081a?ixlib=rb-1.2.1&ixid=MnwxMjA3fDB8MHxwaG90by1wYWdlfHx8fGVufDB8fHx8&auto=format&fit=crop&w=2071&q=80");
  background-size: cover;
  background-position: center;
  text-shadow: 0 0.05rem 0.1rem rgba(0, 0, 0, 0.5);
  box-shadow: inset 0 0 5rem rgba(0, 0, 0, 0.5);
}
.cover-container {
  max-width: 60vw;
}

.nav-link {
  padding: 0.25rem 0;
  color: rgba(255, 255, 255, 0.5);
  margin-left: 1rem;
  border-bottom: 0.25rem solid transparent;
}

.nav-link:hover {
  color: rgba(255, 255, 255, 0.5);
  border-bottom-color: rgba(255, 255, 255, 0.5);
}

.nav-link.active {
  color: white;
  border-bottom-color: white;
}

.btn-secondary,
.btn-secondary:hover {
  color: black;
  text-shadow: none;
}
home.ejs
<!DOCTYPE html>
<html lang="en">
<head>
<meta charset="UTF-8" />
<meta http-equiv="X-UA-Compatible" content="IE=edge" />
<meta name="viewport" content="width=device-width, initial-scale=1.0" />
<title>YelpCamp</title>
<link
href="https://cdn.jsdelivr.net/npm/bootstrap@5.2.0/dist/css/bootstrap.min.css"
rel="stylesheet"
integrity="sha384-gH2yIJqKdNHPEq0n4Mqa/HGKIhSkIHeL5AyhkYV8i59U5AR6csBvApHHNl/vI1Bx"
crossorigin="anonymous"
/>
<link rel="stylesheet" href="/stylesheets/home.css" />
</head>
<body class="d-flex text-center text-white bg-dark">
<div class="cover-container d-flex w-100 h-100 p-3 mx-auto flex-column">
<header class="mb-auto">
<div>
<h3 class="float-md-left mb-0">YelpCamp</h3>
<nav class="nav nav-masthead justify-content-center float-md-right">
<a class="nav-link active" aria-current="page" href="#">Home</a>
<a class="nav-link" href="/campgrounds">Campgrounds</a>
<% if(!currentUser) { %>
<a class="nav-link" href="/login">Login</a>
<a class="nav-link" href="/register">Register</a>
<% } else { %>
<a class="nav-link" href="/logout">Logout</a>
<% } %>
</nav>
</div>
</header>
<main class="px-3">
<h1>YelpCamp</h1>
<p class="lead">Welcome to YelpCamp !</p>
<a
href="/campgrounds"
class="btn btn-lg btn-secondary font-weight-bold bg-white"
>View Campgrounds</a
>
</main>
<footer class="mt-auto text-white-50">
<p>© 2022 YelpCamp</p>
</footer>
</div>
<script
src="https://cdn.jsdelivr.net/npm/@popperjs/core@2.11.5/dist/umd/popper.min.js"
integrity="sha384-Xe+8cL9oJa6tN/veChSP7q+mnSPaj5Bcu9mPX5F5xIGE0DVittaqT5lorf0EI7Vk"
crossorigin="anonymous"
></script>
<script
src="https://cdn.jsdelivr.net/npm/bootstrap@5.2.0/dist/js/bootstrap.min.js"
integrity="sha384-ODmDIVzN+pFdexxHEHFBQH3/9/vQ9uori45z4JjnFsRydbmQbmL5t1tQ0culUzyK"
crossorigin="anonymous"
></script>
</body>
</html>
3) 로그인 양식 스타일링
login.ejs
<% layout('layouts/boilerplate')%>

<div class="container d-flex justify-content-center align-items-center mt-5">
  <div class="row">
    <div class="col-md-6 offset-md-3 col-xl-11 offset-xl-4">
      <div class="card shadow">
        <img src="/img/login.jpeg" alt="" class="card-img-top" />
        <div class="card-body">
          <h5 class="card-title">Login</h5>
          <form action="/login" method="POST" class="validated-form" novalidate>
            <div class="mb-3">
              <label class="form-label" for="username">Username</label>
              <input
                class="form-control"
                type="text"
                id="username"
                name="username"
                autofocus
                required
              />
              <div class="valid-feedback">Looks good!</div>
            </div>

            <div class="mb-3">
              <label class="form-label" for="password">Password</label>
              <input
                class="form-control"
                type="password"
                id="password"
                name="password"
                required
              />
              <div class="valid-feedback">Looks good!</div>
            </div>
            <button class="btn btn-success btn-block">Login</button>
          </form>
        </div>
      </div>
    </div>
  </div>
</div>
4) 등록 양식 스타일링
new.ejs
<% layout('layouts/boilerplate')%>
<div class="row">
  <h1 class="text-center">New Campground</h1>
  <!-- 열의 절반을 차지하되 왼쪽으로 쏠리지 않고 가운데로 오게끔 3만큼 ㅇffset 시키는것.-->
  <div class="col-md-6 offset-md-3">
    <!-- 해당 제출 폼의 클래스와 JS에서 불러오는 클래스명이 동일해야함.-->
    <!-- 또한 폼의 모든 인풋들이 'required'로 맞쳐줘야 필수로 입력하라는 문구 나옴.-->
            <form
          action="/campgrounds"
          method="POST"
          novalidate
          class="validated-form"
          enctype="multipart/form-data"
        >
          <!-- mb-3 : css 파일을 따로 만드는것보다 부트스트랩 클래스를 이용하는것이 더 효율적-->
          <div class="mb-3">
            <label class="form-label" for="title">Title</label>
            <!-- campground[title]처럼 중괄호사이에 이름이나 위치등을 넣으면 데이터가 POST 요쳥을 해서
          Express 앱을 지나 서버로 갈 때 <body>에 포함된게 campground라고 정렬됨.
              콘텐츠를 그룹화 할 수 있는 좋은 방법.-->
            <input
              class="form-control"
              type="text"
              id="title"
              name="campground[title]"
              required
            />
            <!-- 올바른 입력을 했을 때 Looks good!이 뜨게 만듦.-->
            <div class="valid-feedback">Looks good!</div>
          </div>
          <div class="mb-3">
            <label class="form-label" for="location">Location</label>
            <input
              class="form-control"
              type="text"
              id="location"
              name="campground[location]]"
              required
            />
            <div class="valid-feedback">Looks good!</div>
          </div>
          <!-- <div class="mb-3">
        <label class="form-label" for="image">Image URL</label>
        <!-- campground[title]처럼 중괄호사이에 이름이나 위치등을 넣으면 데이터가 POST 요쳥을 해서
          Express 앱을 지나 서버로 갈 때 <body>에 포함된게 campground라고 정렬됨.
              콘텐츠를 그룹화 할 수 있는 좋은 방법.
        <input
          class="form-control"
          type="text"
          id="image"
          name="campground[image]"
          required/>
        <div class="valid-feedback">Looks good!</div>
      </div> -->
          <div class="mb-3">
            <label class="form-label" for="price">Campground Price</label>
            <div class="input-group">
              <span class="input-group-text">$</span>
              <input
                type="text"
                class="form-control"
                aria-label="price"
                id="price"
                placeholder="0"
                name="campground[price]"
                required
              />
              <span class="input-group-text">.00</span>
              <div class="valid-feedback">Looks good!</div>
            </div>
          </div>
          <div class="mb-3">
            <label class="form-label" for="description">Description</label>
            <!-- campground[title]처럼 중괄호사이에 이름이나 위치등을 넣으면 데이터가 POST 요쳥을 해서
          Express 앱을 지나 서버로 갈 때 <body>에 포함된게 campground라고 정렬됨.
              콘텐츠를 그룹화 할 수 있는 좋은 방법.-->
            <textarea
              class="form-control"
              type="text"
              id="description"
              name="campground[description]"
              required
            >
            </textarea>
            <div class="valid-feedback">Looks good!</div>
          </div>
          <div class="mb-3">
            <div class="form-file custom-file">
              <input
                type="file"
                class="form-file-input"
                id="image"
                name="image"
                multiple
              />
              <label class="form-file-label" for="image">
                <span class="form-file-text custom-file-label"
                  >Choose image(s)...</span
                >
                <span class="form-file-button">Browse</span>
              </label>
            </div>
          </div>
          <div class="div mb-3">
            <button class="btn btn-primary">Submit</button>
          </div>
        </form>
        <a href="/campgrounds">All Campgrounds</a>
      </div>
    </div>
  </div>
</div>
eidt.ejs
<% layout('layouts/boilerplate')%>
<div class="row">
  <h1 class="text-center">Edit Campground</h1>
  <!-- 열의 절반을 차지하되 왼쪽으로 쏠리지 않고 가운데로 오게끔 3만큼 ㅇffset 시키는것.-->
  <div class="col-md-6 offset-md-3">
    <form
      action="/campgrounds/<%=campground._id%>?_method=PUT"
      method="POST"
      class="validated-form"
      novalidate
    >
      <!-- mb-3 : css 파일을 따로 만드는것보다 부트스트랩 클래스를 이용하는것이 더 효율적-->
      <div class="mb-3">
        <label class="form-label" for="title">Title</label>
        <!-- campground[title]처럼 중괄호사이에 이름이나 위치등을 넣으면 데이터가 POST 요쳥을 해서
          Express 앱을 지나 서버로 갈 때 <body>에 포함된게 campground라고 정렬됨.
              콘텐츠를 그룹화 할 수 있는 좋은 방법.-->
        <input
          class="form-control"
          type="text"
          id="title"
          name="campground[title]"
          value="<%=campground.title %>"
          required
        />
        <div class="valid-feedback">Looks good!</div>
      </div>
      <div class="mb-3">
        <label class="form-label" for="location">Location</label>
        <input
          class="form-control"
          type="text"
          id="location"
          name="campground[location]]"
          value="<%=campground.location%>"
          required
        />
        <div class="valid-feedback">Looks good!</div>
      </div>
      <div class="mb-3">
        <label class="form-label" for="image">Add Images</label>
        <!-- campground[title]처럼 중괄호사이에 이름이나 위치등을 넣으면 데이터가 POST 요쳥을 해서
          Express 앱을 지나 서버로 갈 때 <body>에 포함된게 campground라고 정렬됨.
              콘텐츠를 그룹화 할 수 있는 좋은 방법.-->
        <input type="file" name="image" id="image" multiple />
      </div>
      <div class="mb-3">
        <label class="form-label" for="price">Campground Price</label>
        <div class="input-group">
          <span class="input-group-text">$</span>
          <input
            type="text"
            class="form-control"
            aria-label="price"
            id="price"
            placeholder="0"
            name="campground[price]"
            value="<%=campground.pirce%>"
            required
          />
          <span class="input-group-text">.00</span>
        </div>
        <div class="valid-feedback">Looks good!</div>
      </div>
      <div class="mb-3">
        <label class="form-label" for="description">Description</label>
        <!-- campground[title]처럼 중괄호사이에 이름이나 위치등을 넣으면 데이터가 POST 요쳥을 해서
          Express 앱을 지나 서버로 갈 때 <body>에 포함된게 campground라고 정렬됨.
              콘텐츠를 그룹화 할 수 있는 좋은 방법.-->
        <textarea
          class="form-control"
          type="text"
          id="description"
          name="campground[description]"
          required
        >
          <%=campground.description%>
        </textarea>
        <div class="valid-feedback">Looks good!</div>
      </div>
      <div class="mb-3">
        <% campground.images.forEach(function (img, i) { %>
        <img src="<%img.thumbnail%>" class="img-thumbnail" alt="" />
        <div class="form-check-inline">
          <input
            type="checkbox"
            id="image-<%=i%>"
            name="deleteImages[]"
            value="<%=img.filename%>"
          />
        </div>
        <label for="image-<%=i%>">Delete</label>
        <% }) %>
      </div>
      <div class="div mb-3">
        <button class="btn btn-primary">Submit</button>
      </div>
    </form>
    <a href="/campgrounds/<%=campground._id%>">Back to Campgrounds</a>
  </div>
</div>
5) 맵 컨트롤 추가하기
map.addControl(new mapboxgl.NavigationControl());


WILL is ALL