✅ 오늘 한 일
- Project BCA
- 블로그 페이지네이션 적용
📝 배운 것들
🏷️ Unity : Start() 초기화, 필드 초기화 차이
   int layerMask = LayerMask.GetMask("Piece");

    // Start is called once before the first execution of Update after the MonoBehaviour is created
    void Start()
    {

    }
이거 start에 하는거랑 바로 적는거랑 무슨 차이임
필드에서 바로 초기화
✅ 장점:
layerMask값이 항상 존재하므로 Start() 실행 전에 접근 가능Awake()에서layerMask값을 사용할 수 있음
❌ 단점:
LayerMask.GetMask()는 Unity 엔진이 완전히 로드된 후에만 정상적으로 동작하는데,
필드 초기화가 너무 이른 시점에서 실행될 경우 예기치 않은 오류가 발생할 수 있음LayerMask.GetMask()가 내부적으로 Unity API를 호출하므로,
비-Unity 클래스에서 사용하면 Null Reference 문제가 발생할 가능성이 있음
Start()에서 초기화
✅ 장점:
LayerMask.GetMask()가 Unity 엔진이 완전히 로드된 후에 실행되므로 안정성이 보장됨- 다른 스크립트에서
layerMask값을Awake()에서 초기화한 후 사용할 수 있음
❌ 단점:
Start()가 실행되기 전까지는layerMask값을 사용할 수 없음
🏷️ C# : bool[,]과 bool[][] 차이점
bool[,] (다차원 배열, Rectangular Array)
- 고정된 행과 열을 가진 2차원 배열
- 모든 행의 길이가 동일해야 함
- 배열 요소가 연속된 메모리에 저장됨 (메모리 접근 속도가 빠름)
✅ 행과 열의 크기가 고정됨
✅ 연속된 메모리 블록에 저장되어 캐시 효율이 높음
❌ 행마다 다른 크기를 가질 수 없음
bool[][] (가변 배열, Jagged Array)
- 각 행이 다른 길이를 가질 수 있는 "가변형" 배열
- 각 행이 독립적인 배열로 생성됨 (즉, 메모리가 따로 할당됨)
- 각 행의 크기를 다르게 설정할 수 있어 유연성이 높음
✅ 각 행이 독립적이라 유연함 (각 행마다 다른 길이 가능)
❌ 메모리가 비연속적으로 할당됨 (성능이 bool[,]보다 낮을 수 있음)
🎮 Project BCA
계획
(1,1)부터 (8,8)까지의 칸에서 체스를 한다
폰 : 한 칸 전진 가능하다. 적을 잡을 땐 대각선 가능하다. 첫 턴이면 두 칸 전진 가능하다. 끝까지 가면 승급한다.
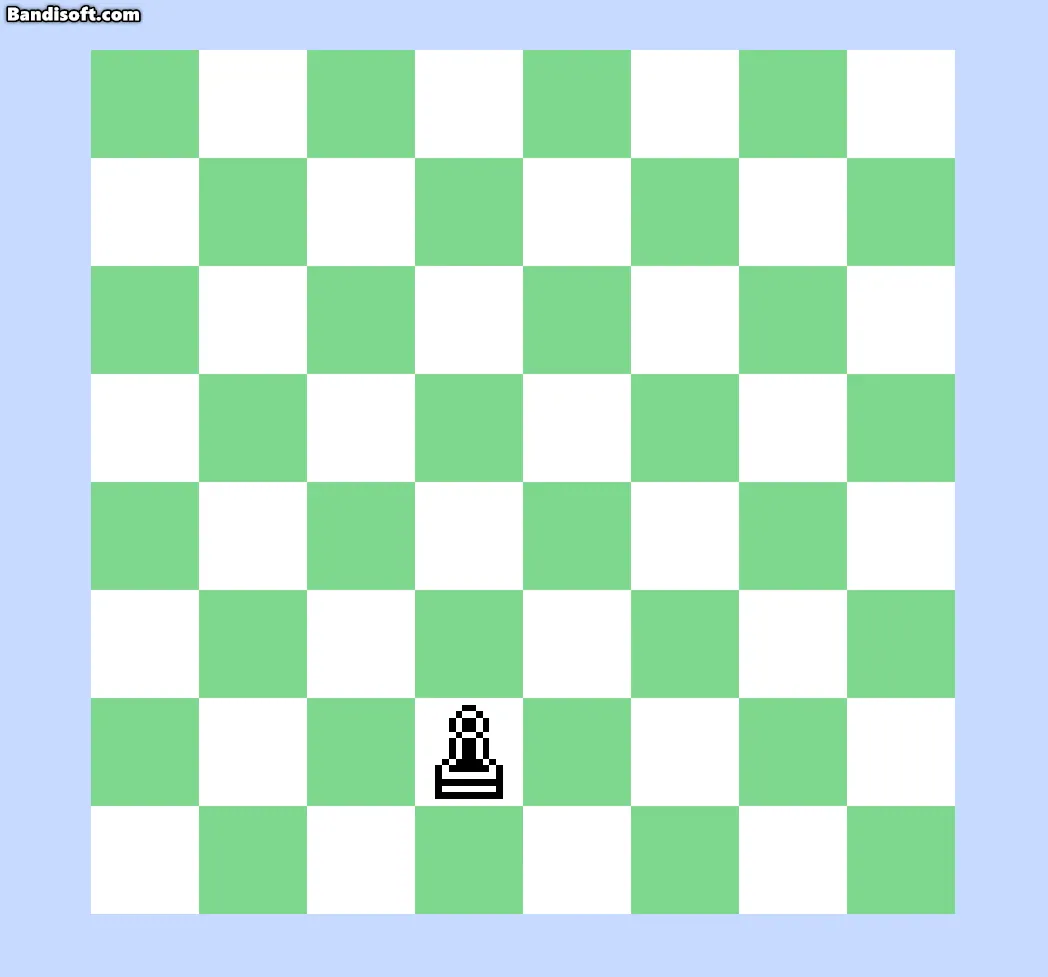
이동하기
- 기물을 클릭하면 기물이 선택되고, 이동 가능한 모든 칸에 있던 강조 표시 스프라이트들이 활성화된다
- 기물을 다시 클릭하거나 이동 불가능한 칸을 누르면 선택이 해제되고, 강조 표시 스프라이트들이 비활성화된다
- 이동 가능한 칸을 누르면 선택된 기물의 위치가 해당 칸으로 이동되고, 잡을 수 있다면 잡는다.
- 자신의 턴일 때, 마우스를 클릭하면 레이캐스트를 쏜다. 좌표가 (0,5,0.5)에서 (8.5,8.5) 사이가 아니라면 무시한다. 좌표를 그리드에 맞게 변환하고 변수에 저장한다.
- 현재 선택된 기물이 없는데 해당 칸에 기물이 있다면 게임 매니저에 변수로 게임 오브젝트를 넣고, 기물의 select_init()을 호출한다.
- select_init()에서 기물은 자신이 오버라이드한 룰 기반으로 갈 수 있는 위치를 배열에 저장하고 순회하며 해당 칸에 있는 강조 표시 오브젝트들을 활성화한다.
- 현재 선택된 기물이 있는데 클릭한거라면, 클릭한 좌표로 이동한다.
이동
    void Update()
    {
        if (Input.GetMouseButtonDown(0)) HandleClick();
    }

    void HandleClick()
    {
        GameObject clickedObject = ClickObject();
        if (selectedPiece == null)
        {
            selectedPiece = clickedObject;
        }
        else
        {
            Vector2 clickedPosition = Camera.main.ScreenToWorldPoint(Input.mousePosition);
            clickedPosition = new Vector2(Mathf.Round(clickedPosition.x), Mathf.Round(clickedPosition.y));

            if (clickedPosition.x < 1 || clickedPosition.x > 8 || clickedPosition.y < 1 || clickedPosition.y > 8)
            {
                selectedPiece = null;
                return;
            }
            else
            {
                MoveTo(selectedPiece, clickedPosition);
                selectedPiece = null;
            }

        }
    }

    GameObject ClickObject()
    {
        Vector2 worldPoint = Camera.main.ScreenToWorldPoint(Input.mousePosition);
        RaycastHit2D hit = Physics2D.Raycast(worldPoint, Vector2.zero, 0f, targetLayer);

        if (hit.collider != null)
        {
            return hit.collider.gameObject;
        }

        return null;
    }

    void MoveTo(GameObject piece, Vector2 position)
    {
        piece.transform.position = position;
        selectedPiece = null;
    }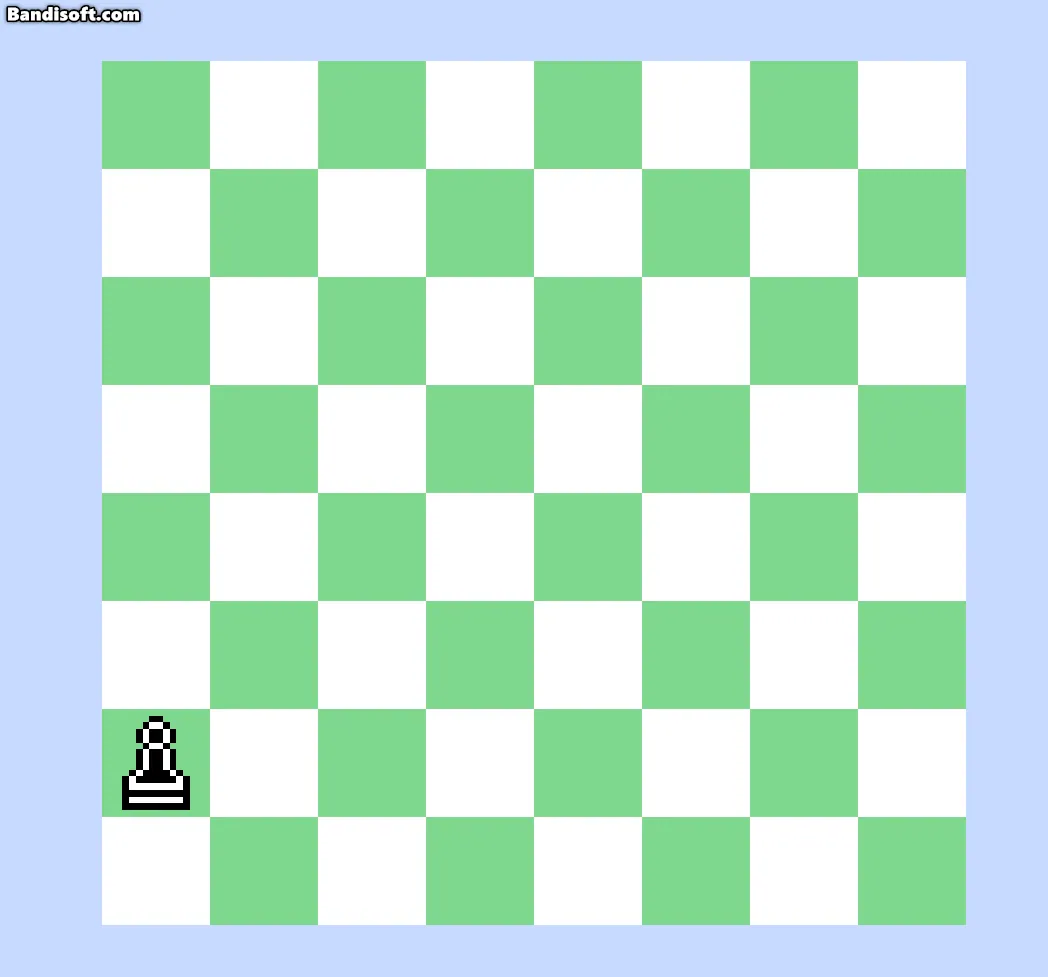
좌측 하단의 좌표를 1,1로 맞춰서 일종의 하드 코딩
향후 턴 로직 신경쓰지 않고 일단 클릭하면 선택, 선택하면 이동 가능
경로 표시
- 시작할 때 각 좌표마다 highlight를 instantiate하고, 해당되는 배열에 넣은 뒤, 비활성화
- select_init()에서 해당되는 좌표에 있는 highlight들이 활성화되고, 활성화했던 모든 highlight들이 select_exit()에서 비활성화됨
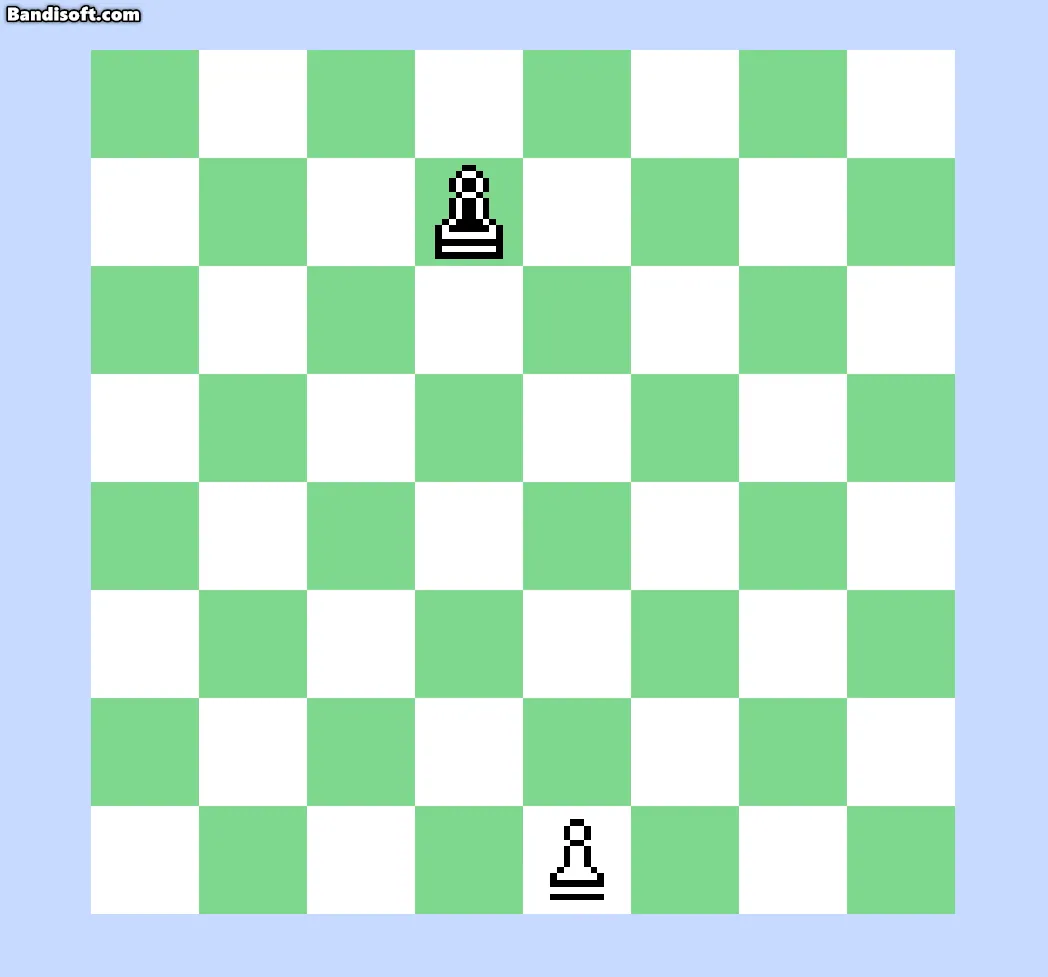
public class Pawn : Piece
{
    public override List<(int, int)> PossibleMove()
    {
        List<(int, int)> moves = new List<(int, int)>(); // List of possible moves

        int x = (int)transform.position.x;
        int y = (int)transform.position.y;

        moves.Add((x, y + 1));

        return moves;
    }
}
piece라는 추상 클래스 생성
각 기물마다 이동 로직만 오버라이드
작동 확인을 위한 임시 로직
    void SelectPiece(GameObject clickedObject)
    {
        selectedPiece = clickedObject;
        SetHighlights(selectedPiece);
    }

    void DeselectPiece()
    {
        selectedPiece = null;
        ResetHighlights();
    }

    void SetHighlights(GameObject piece)
    {
        Piece pieceScript = piece.GetComponent<Piece>();
        Vector2 position = piece.transform.position;
        List<(int, int)> moves = pieceScript.PossibleMove();

        foreach (var move in moves)
        {
            highlights[move.Item1, move.Item2].SetActive(true);
        }
    }

    void ResetHighlights()
    {
        // TODO :: Reset only necessary highlights
        for (int i = 1; i <= 8; i++)
        {
            for (int j = 1; j <= 8; j++)
            {
                highlights[i, j].SetActive(false);
            }
        }
    }
강조 표시 로직
턴 배분
public class BlackTurnState : IGameState
{
    private GameManager gameManager;

    public BlackTurnState(GameManager gameManager)
    {
        this.gameManager = gameManager;
    }

    public void EnterState()
    {
        Debug.Log("Entering Black Turn");
    }

    public void UpdateState()
    {
        Debug.Log("Black Turn Update");

        if (Input.GetMouseButtonDown(0))
        {
            bool moved = gameManager.HandleClick();

            if (moved)
            {
                gameManager.whiteTurn = true;
                gameManager.ChangeState(gameManager.whiteTurnState);
            }
        }
    }

    public void ExitState()
    {
        Debug.Log("Exit Black Turn");
    }
}
fsm으로 턴 관리
유니티 프로젝트 깃 생성 자동화
➀ Github CLI 설치하고 로그인
C:\Users\dbwjaud>gh auth login
? Where do you use GitHub? GitHub.com
? What is your preferred protocol for Git operations on this host? HTTPS
? Authenticate Git with your GitHub credentials? Yes
? How would you like to authenticate GitHub CLI? Login with a web browser
➁ setup_unity_git.bat 생성
@echo off
setlocal

:: 리포지토리 이름 입력받기
set /p repoName="Enter repository name: "

if "%repoName%"=="" (
    echo ❌ 리포지토리 이름을 입력하세요.
    exit /b 1
)

echo 🔧 Setting up Git for Unity project...

:: Git 초기화
git init
git branch -m main

:: Unity .gitignore 다운로드
echo 📄 Downloading Unity .gitignore...
curl -sS https://raw.githubusercontent.com/github/gitignore/main/Unity.gitignore -o .gitignore
git add .gitignore
git commit -m "Add Unity .gitignore"

:: GitHub에 리포지토리 생성
echo 🌍 Creating GitHub repository...
gh repo create "%repoName%" --private --source . --remote origin

echo ✅ Git setup complete!
pause
➂ 프로젝트 디렉토리에 .bat 파일 넣고 실행
➃ Github Desktop에서 프로젝트 add하고 push
