✅ What I did today
- Project BCA
📝 Things I Learned
🏷️ Unity :: Render Mode of UI Canvas
1. Screen Space - Overlay
- The UI is rendered on top of everything in the game, directly onto the screen.
- The Canvas is always the same size as the screen, and UI elements are positioned relative to the screen resolution.
- Does not require a Camera, as it automatically adjusts to the screen size.
- UI elements remain in the same position regardless of camera movement.
- Best for: Static UI like HUD, menus, score displays.
Example:
- Health bar, inventory, minimap that should always be visible.
2. Screen Space - Camera
- The UI is rendered by a specific Camera at a defined distance.
- Requires a Render Camera to be assigned in the Canvas component.
- Can interact with depth (e.g., can appear behind 3D objects if set correctly).
- Can be affected by Post Processing effects applied to the Camera.
- UI elements can be affected by perspective, depending on the camera’s FOV and settings.
- Best for: UI elements that should feel more immersive (e.g., floating HUD, UI with depth effects).
Example:
- UI elements that should be slightly tilted or appear like they're part of the world.
3. World Space
- The UI behaves like a 3D object in the game world.
- Requires manual positioning, scaling, and rotation.
- Affected by lighting, shadows, and physics in the scene.
- Can be interacted with in 3D space, making it useful for in-world displays.
- Best for: Diegetic UI (e.g., in-game computer screens, floating interaction prompts, VR interfaces).
Example:
- A shop UI that appears in a 3D world, a floating health bar above an enemy.
🏷️ Unity :: Rect Transform : Size vs Scale
1. Width & Height (Size)
- What it does:
- Defines the absolute size of the UI element in pixels.
- Determines the actual dimensions of the Rect Transform’s bounding box.
- How it works:
- Changing Width and Height directly affects the size of the UI element without altering its scale.
- If the parent object has Anchors set dynamically (e.g., stretch mode), Width and Height may be automatically adjusted.
Example:
- A UI button has
Width = 200andHeight = 100. It will always be this size unless resized explicitly.
2. Scale (X, Y, Z)
- What it does:
- Multiplies the element’s Width & Height values, effectively scaling the entire UI element.
- Changing Scale affects the visual size, but the original Width & Height remain unchanged.
- How it works:
- Scale (1,1,1) → The object appears at its normal size.
- Scale (2,2,2) → The object appears twice as large, but its Width and Height remain the same internally.
- Scale (0.5,0.5,0.5) → The object appears smaller, but Width and Height still store the original values.
Example:
- A
200x100button withScale (2,2,1)will appear as400x200visually, but the RectTransform’s Width and Height values remain at 200x100.
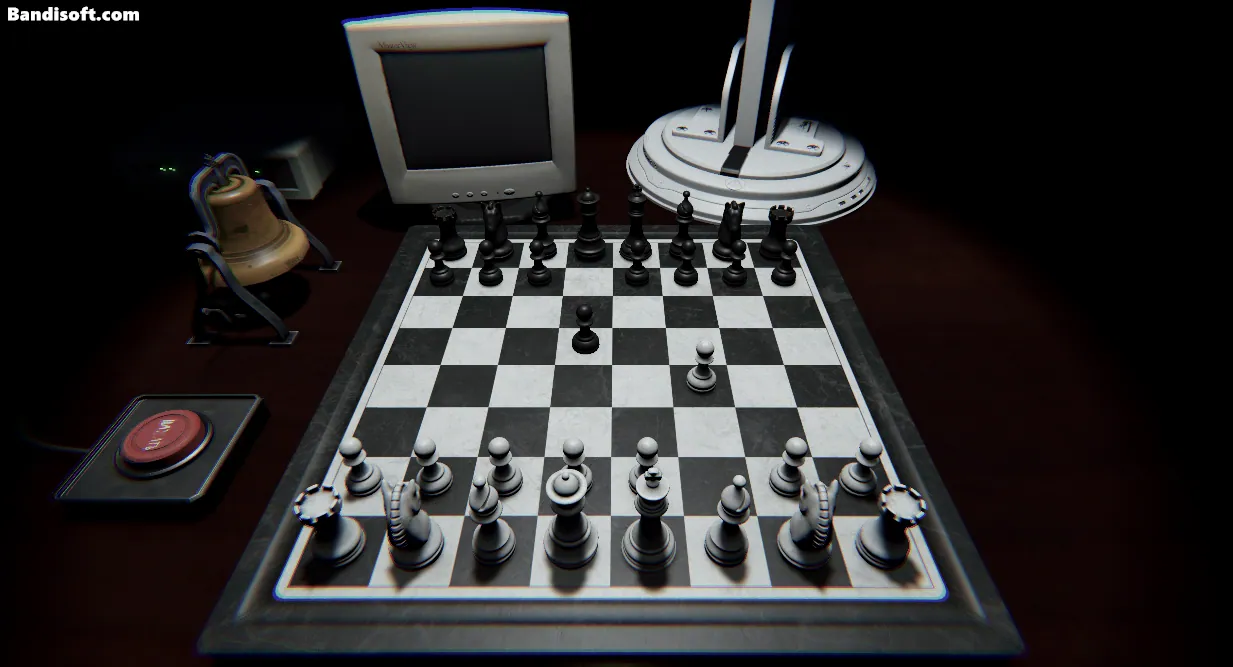
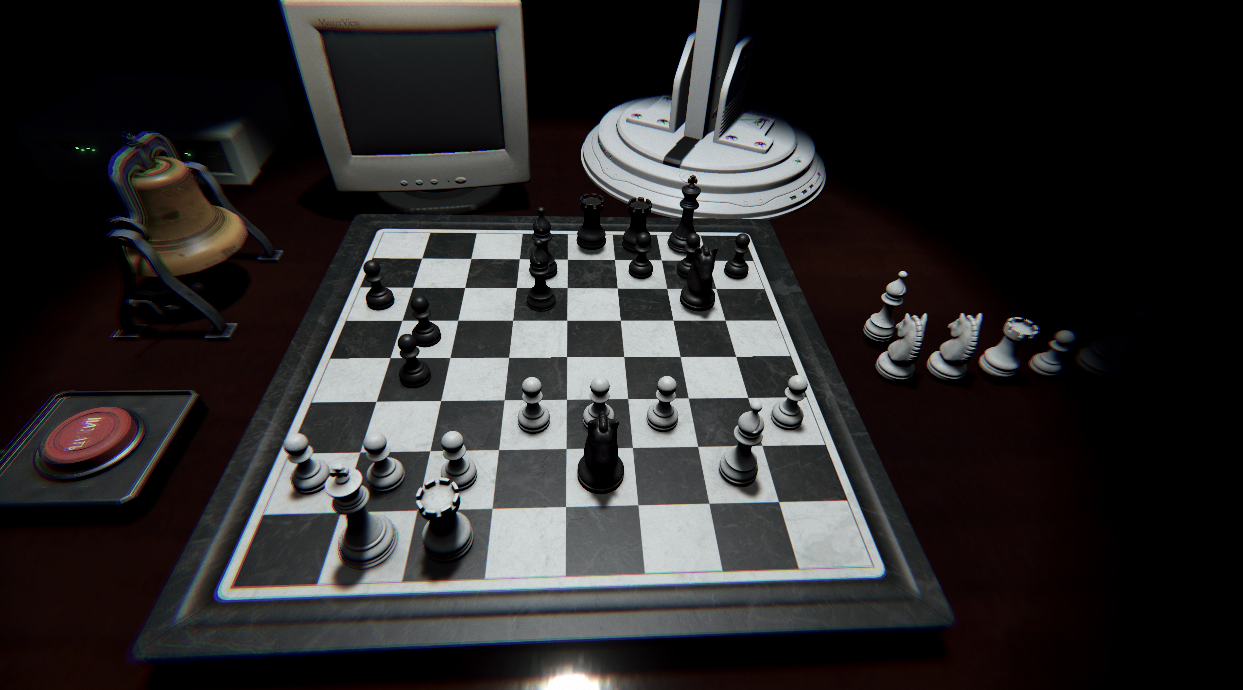
🎮 Project BCA
Queueing moves
삭제나 캐슬링 같은 경우 여러 개의 기물을 옮겨야 하고
턴이 끝나는 타이밍도 맞춰야 하기 때문에
커맨드 패턴과 큐를 이용하여 이동 제어
나중에 플레이어측 이동은 InvisibleCommand를 활용할 예정
삭제하는 경우의 수
- 삭제 모드일 때 ai 기물 삭제 (InvisibleHandCommand.cs에서 처리)
- 기본적으로 움직일 때 적의 기물 삭제 (RoboticArmCommand, InvisibleHandCommand에서 처리)
- 승진했을 때 자신의 기물 삭제한 뒤 새로운 기물 들이기 (RoboticArmCommand, InvisibleHandCommand에서 처리)
- 앙파상 했을 때 폰 파괴 (RoboticArmCommand, InvisibleHandCommand에서 처리)
기존 DestoryPieceAt()에 현재 턴에 따라 누가 지울지 결정
public class RoboticArmCommand : ICommand
{
    private RoboticArm roboticArm;
    private GameObject piece;
    private Vector3 targetPos;
    private float time;

    public RoboticArmCommand(GameObject piece, Vector3 targetPos, float time, RoboticArm roboticArm)
    {
        this.piece = piece;
        this.targetPos = targetPos;
        this.time = time;
        this.roboticArm = roboticArm;
    }

    public void Execute()
    {
        roboticArm.MovePieceToPos(piece, targetPos, time);
    }
}
move commmand를 만들고
public class PieceCommandManager : MonoBehaviour
{
    private Queue<ICommand> moveQueue = new Queue<ICommand>();
    [SerializeField] private RoboticArm roboticArm;
    private GameManager gameManager;
    private bool isWorking = false;

    void Start()
    {
        GameObject serviceLocator = GameObject.FindGameObjectWithTag("ServiceLocator");
        gameManager = serviceLocator.GetComponentInChildren<GameManager>();
    }

    /// <summary>
    /// 각 명령이 끝나면 호출되어 다음 명령을 실행하는 함수
    /// </summary>
    public void ExecuteNextCommand()
    {
        if (isWorking) return;

        if (moveQueue.Count > 0)
        {
            moveQueue.Dequeue().Execute();
            isWorking = true;
        }
        else
        {
            gameManager.EndTurn();
        }
    }

    public void CompleteCommand()
    {
        isWorking = false;
        ExecuteNextCommand();
    }

    public void EnQueueRoboticArmMove(GameObject piece, Vector3 targetPos, float time)
    {
        moveQueue.Enqueue(new RoboticArmCommand(piece, targetPos, time, roboticArm));
        ExecuteNextCommand();
    }
}
외부에선 EnQueueRoboticArmMove()를 호출하여 명령 예약.
roboticArm.MovePieceToPos() 마지막에 CompleteCommand()를 넣어놓음.
락으로 동시 실행 방지.
Grave for pieces
public class PieceGrave : MonoBehaviour
{
    private float dx;
    private float dz;
    private int xIdx = 0;
    private int zIdx = 0;
    private List<GameObject> dead_pieces = new List<GameObject>();

    public void InitPieceGrave(float dx, float dz)
    {
        this.dx = dx;
        this.dz = dz;
    }

    public void ResetGrave()
    {
        xIdx = 0;
        zIdx = 0;

        foreach (GameObject piece in dead_pieces)
        {
            Destroy(piece);
        }
    }

    /// <summary>
    /// AI 기물 앞에 있는 무덤 위치 반환하면서 리스트에도 넣어놓는다
    /// </summary>
    public Vector3 GetAIGravePos(GameObject piece)
    {
        dead_pieces.Add(piece);

        Vector3 gravePos = transform.position + new Vector3(xIdx * dx, 0, zIdx * dz);
        xIdx++;
        if (xIdx > 4)
        {
            xIdx = 0;
            zIdx++;
        }
        return gravePos;
    }
}
board에서 DestroyPieceAt() 호출할 때 EnQueueRoboticArmMove()에 넣을 정보에 GetAIGravePos() 반환 값 넣는다.
게임을 리셋할 때 무덤에 있는 것들도 지워주기 위해 리스트에 넣어놓는다.
transform.position 부분은 ai와 플레이어 별도로 오브젝트를 설정하는 것으로 바꿀 예정.
    public bool DestroyPieceAt(int x, int z)
    {
        if (pieces[x, z] == null) { return false; }

        bool isWhiteNow = gameManager.whiteTurn; // 백이 플레이어

        if (isWhiteNow)
        {
            Destroy(pieces[x, z]);
        }
        else
        {
            pieceCommandManager.EnQueueRoboticArmMove(pieces[x, z], piece_grave.GetAIGravePos(pieces[x, z]), 1.0f);
        }

        pieces[x, z] = null;

        return true;
    }
CRT Monitor
https://www.youtube.com/watch?v=dPdmJ0RDLSI
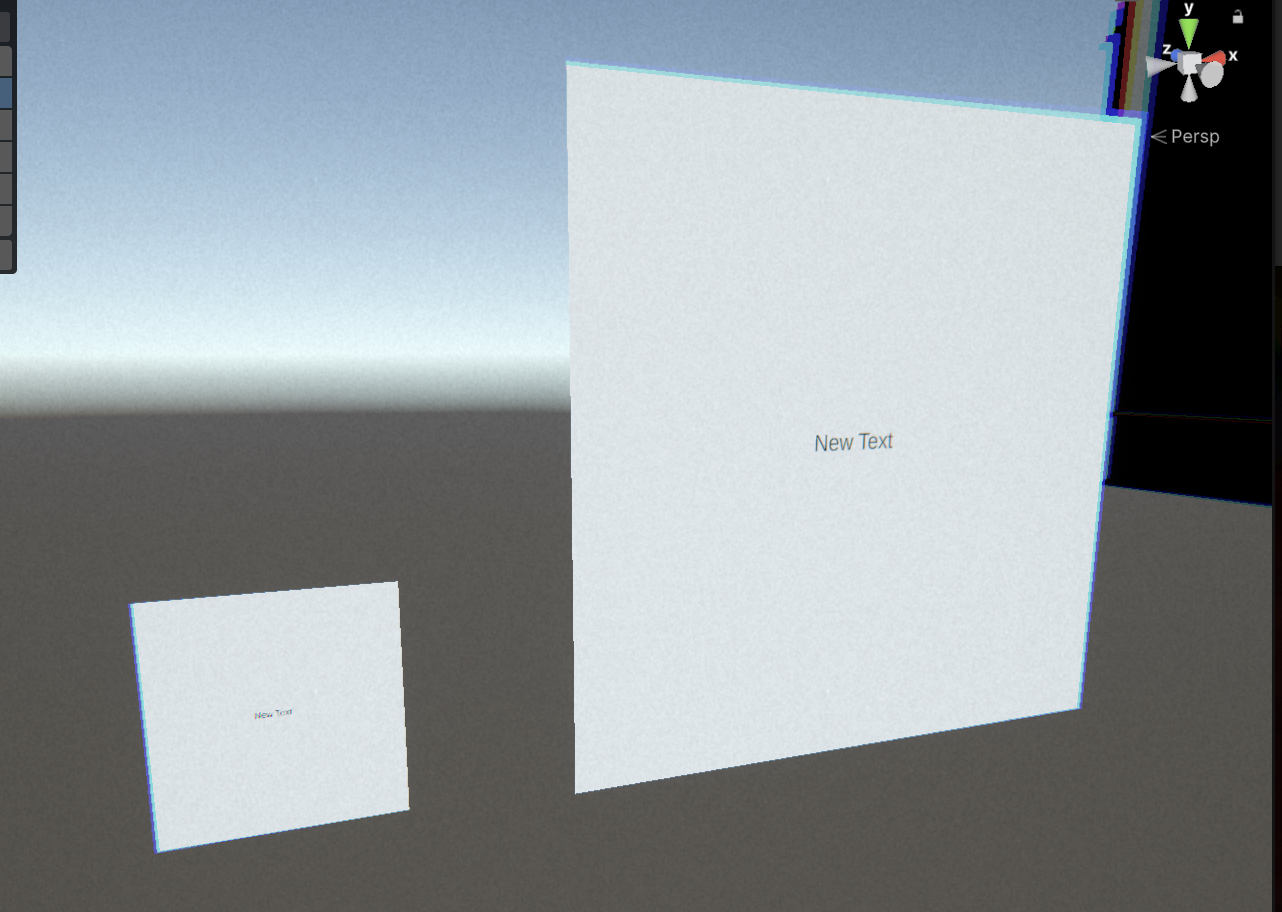
- 오른쪽의 Canvas를 그보다 작은 왼쪽의 Quad에 손실 없이 넣는데는 성공
- 카메라 새로 만든 후에 Projection을 Orthographic을 설정
- Output Texture에 Render Texutre 설정
- Render Texture Size를 1000x1000로 설정 (필요 없을수도)
- Camera > Output > Viewport Rect > X, Y > 0, 0으로 설정
- 문제
- 진짜 모니터에는 90도 꺾여서, 위치도 다르게 들어감
- 모델링 자체의 UV가 이상하게 돼있을 가능성 높음
- 블랜더에서 UV Editing을 수정 (UV는 텍스쳐별로 다른게 아니라 오브젝트에 귀속돼있다는 사실 배움)
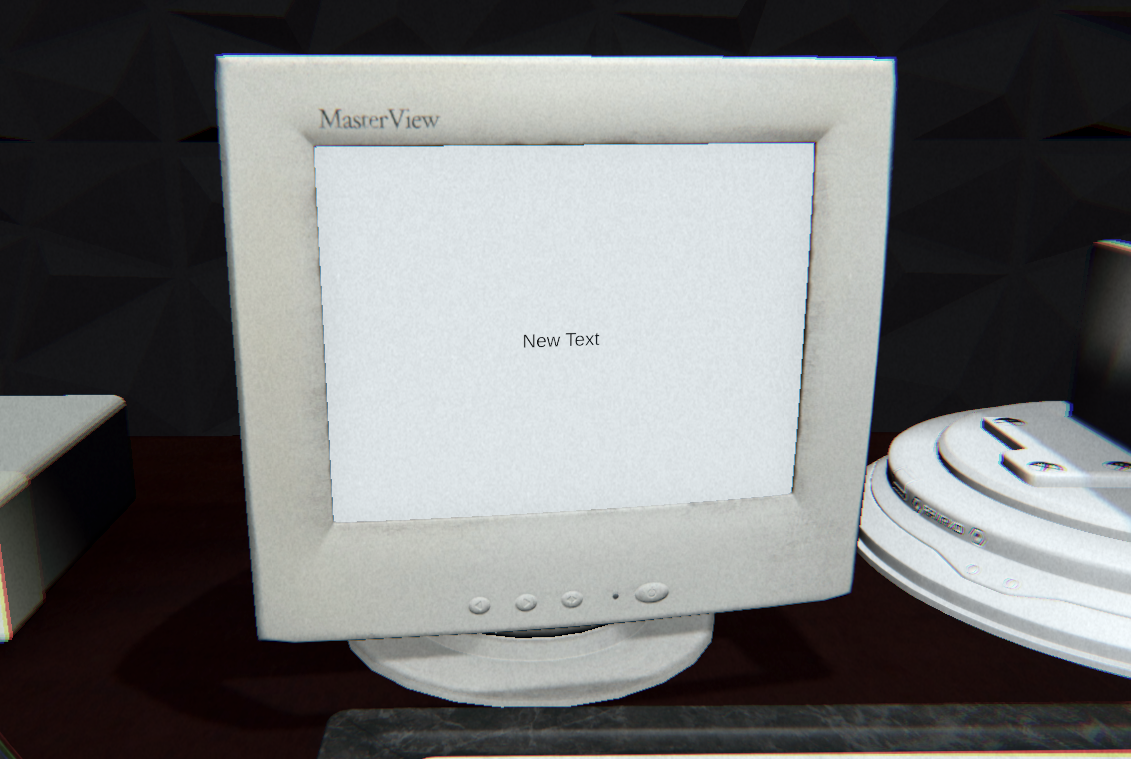
해결 완료.
내일은 레트로 효과 넣기.
