✅ What I did today
- Udemy Course : Unity Shader
- Project Katana
- Project BCA
🎞️ Udemy Course : Unity Shader
Basic vertex shader
struct appdata는 World Space의 데이터를 들고 있다.
vert 함수는 struct appdata를 조작하여 struct v2f로 보낸다.
struct v2f는 Clipping Space의 데이터를 들고 있다.
frag 함수는 struct v2f를 조작하여 최종적으로 렌더링한다.
Shader "Unlit/BasicVF"
{
    Properties
    {
        _MainTex ("Texture", 2D) = "white" {}
    }
    SubShader
    {
        Tags { "RenderType"="Opaque" }
        LOD 100

        Pass
        {
            CGPROGRAM
            #pragma vertex vert
            #pragma fragment frag
            #pragma multi_compile_fog // fog 사용하겠다는 뜻

            #include "UnityCG.cginc" // 셰이더 작성 도와주는 메서드나 변수들 담겨있음

            // vertex shader에서 사용할 구조체
            // appdata는 UnityCG.cginc에 정의되어 있음
            struct appdata
            {
                float4 vertex : POSITION; // 정점의 3차원 위치
                // (x,y,z,w)에서 w는 homogeneous coordinate
                // homogeneous coordinate를 통해 클립 공간을 계산함
                float2 uv : TEXCOORD0; // 정점의 2차원 uv 좌표
            };

            // fragment shader에서 사용할 구조체
            // v2f는 vertex to fragment의 약자
            // vertex shader에서 fragment shader로 넘겨줄 데이터 구조체
            struct v2f
            {
                float2 uv : TEXCOORD0; // vertex shader에서 계산한 텍스쳐 좌표
                // TEXCOORD1은 두 번째 텍스쳐 uv
                UNITY_FOG_COORDS(1) // fog coordinate를 사용하기 위한 매크로
                float4 vertex : SV_POSITION; // clip space에서의 정점 위치
                // clip space 좌표는 화면에 그려질 위치를 결정함
            };

            sampler2D _MainTex;
            float4 _MainTex_ST; // 텍스쳐 scale, offset 정보

            v2f vert (appdata v)
            {
                v2f o;
                o.vertex = UnityObjectToClipPos(v.vertex);
                o.uv = TRANSFORM_TEX(v.uv, _MainTex);
                UNITY_TRANSFER_FOG(o,o.vertex);
                return o;
            }

            fixed4 frag (v2f i) : SV_Target
            {
                fixed4 col = tex2D(_MainTex, i.uv);
                UNITY_APPLY_FOG(i.fogCoord, col);
                return col;
            }
            ENDCG
        }
    }
}
appdata 구조체 (버텍스 셰이더 입력 데이터)
float4 vertex : POSITION;: 정점의 위치float3 normal : NORMAL;: 정점의 법선 벡터float4 tangent : TANGENT;: 정점의 탄젠트 벡터float2 uv : TEXCOORD0;: 첫 번째 텍스처 좌표float2 uv1 : TEXCOORD1;: 두 번째 텍스처 좌표float4 color : COLOR;: 정점의 색상
v2f 구조체 (버텍스 셰이더에서 프래그먼트 셰이더로 전달되는 데이터)
float4 vertex : SV_POSITION;: 클립 공간에서의 정점 위치float2 uv : TEXCOORD0;: 보간된 텍스처 좌표float3 normal : NORMAL;: 보간된 법선 벡터float4 color : COLOR;: 보간된 색상UNITY_FOG_COORDS(1);: 안개 효과를 위한 좌표float3 worldPos : TEXCOORD2;: 월드 공간에서의 정점 위치
Color with vertex

v2f vert (appdata v)
{
    v2f o;
    o.vertex = UnityObjectToClipPos(v.vertex);
    o.color.r = (v.vertex.x+5)/20;
    return o;
}
fixed4 frag (v2f i) : SV_Target
{
    fixed4 col = i.color;
    col.r = (i.vertex.x+10)/10;
    col.g = (i.vertex.y+10)/10;
    return col;
}
frag 함수로 같은 코드를 짜면
clipping space에 있기 때문에 +10, /10으로는 0~1 값을 얻어낼 수 없다.
그리고 가로, 세로, 높이 순서가
world space에선 x,z,y 순이라면
clipping space에서는 x,y,z 순이다.
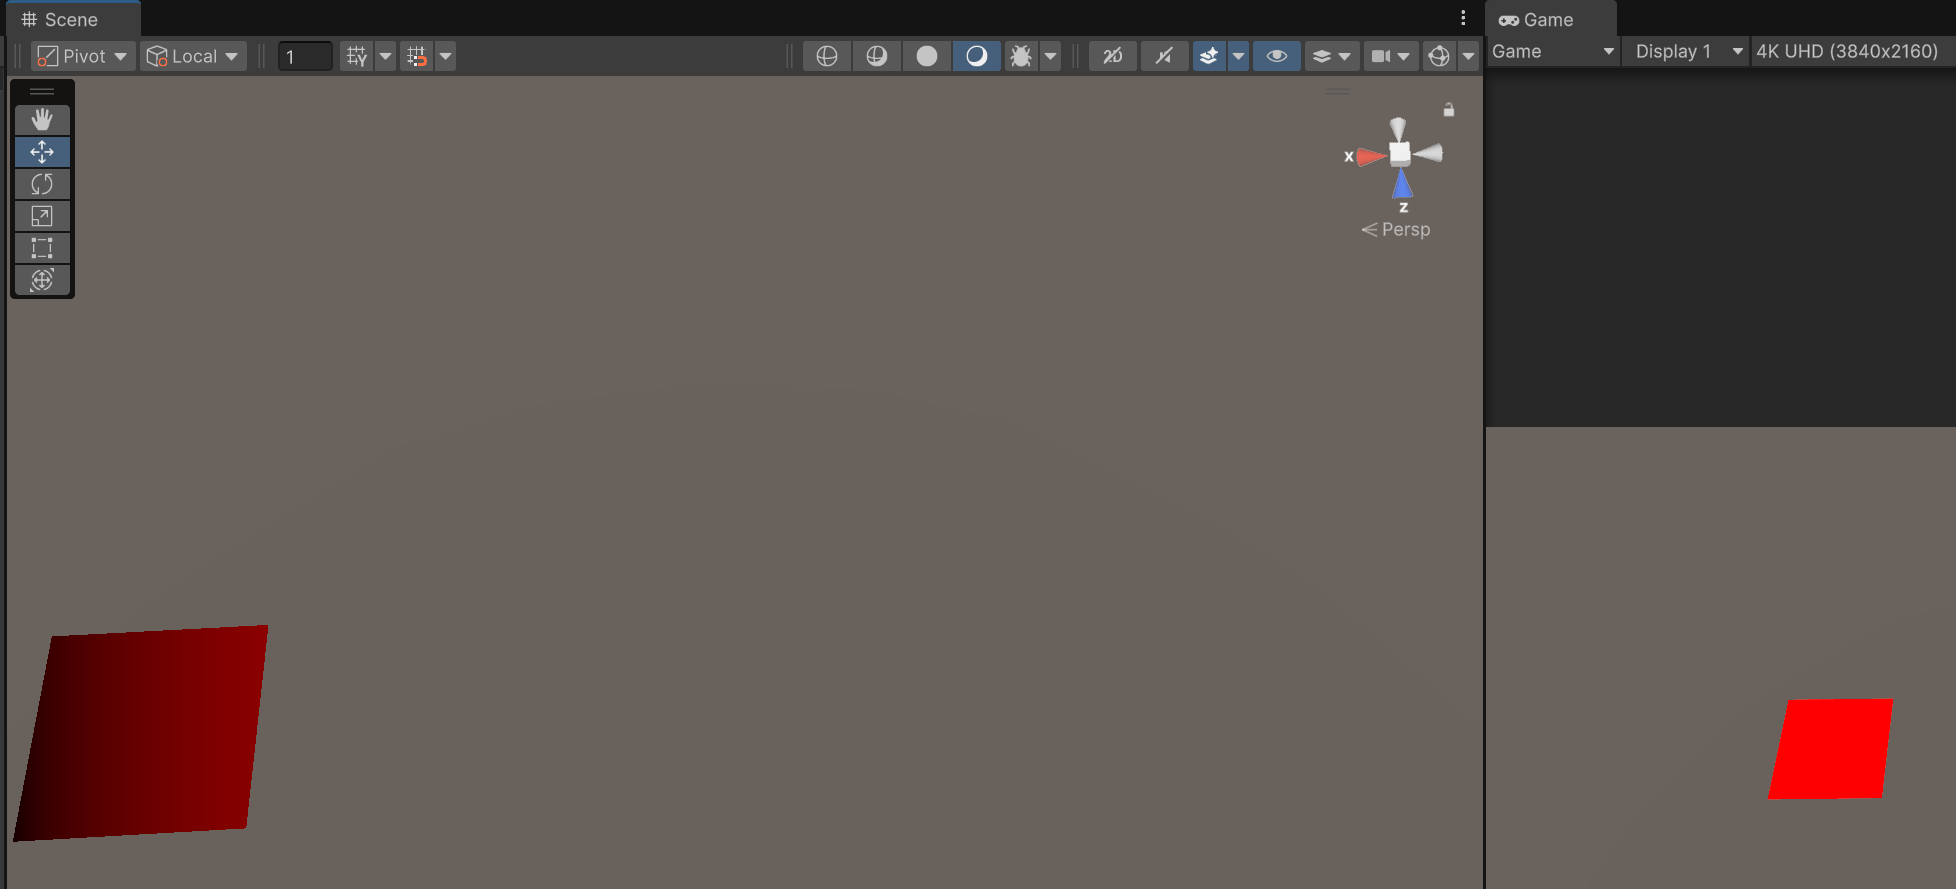
fixed4 frag (v2f i) : SV_Target
{
    fixed4 col;
    col.r = i.vertex.x/1000;
    return col;
}
같은 오브젝트여도 scene view와 game view의 clipping space가 달라
다른 색깔이 표현되는 것을 볼 수 있다.
Material use
v2f vert (appdata v)
{
v2f o;
o.vertex = UnityObjectToClipPos(v.vertex);
o.uv = TRANSFORM_TEX(v.uv, _MainTex);
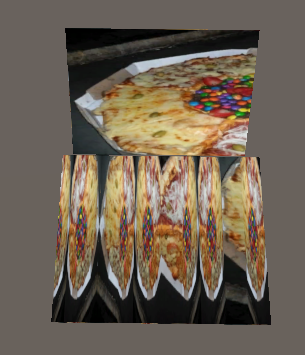
o.uv.x = sin(o.uv.x * _ScaleUVX);
return o;
}위는 quad, 아래는 plane이다.
plane의 uv는 0~10까지 있고, 텍스쳐가 반복되도록 설계돼있다.
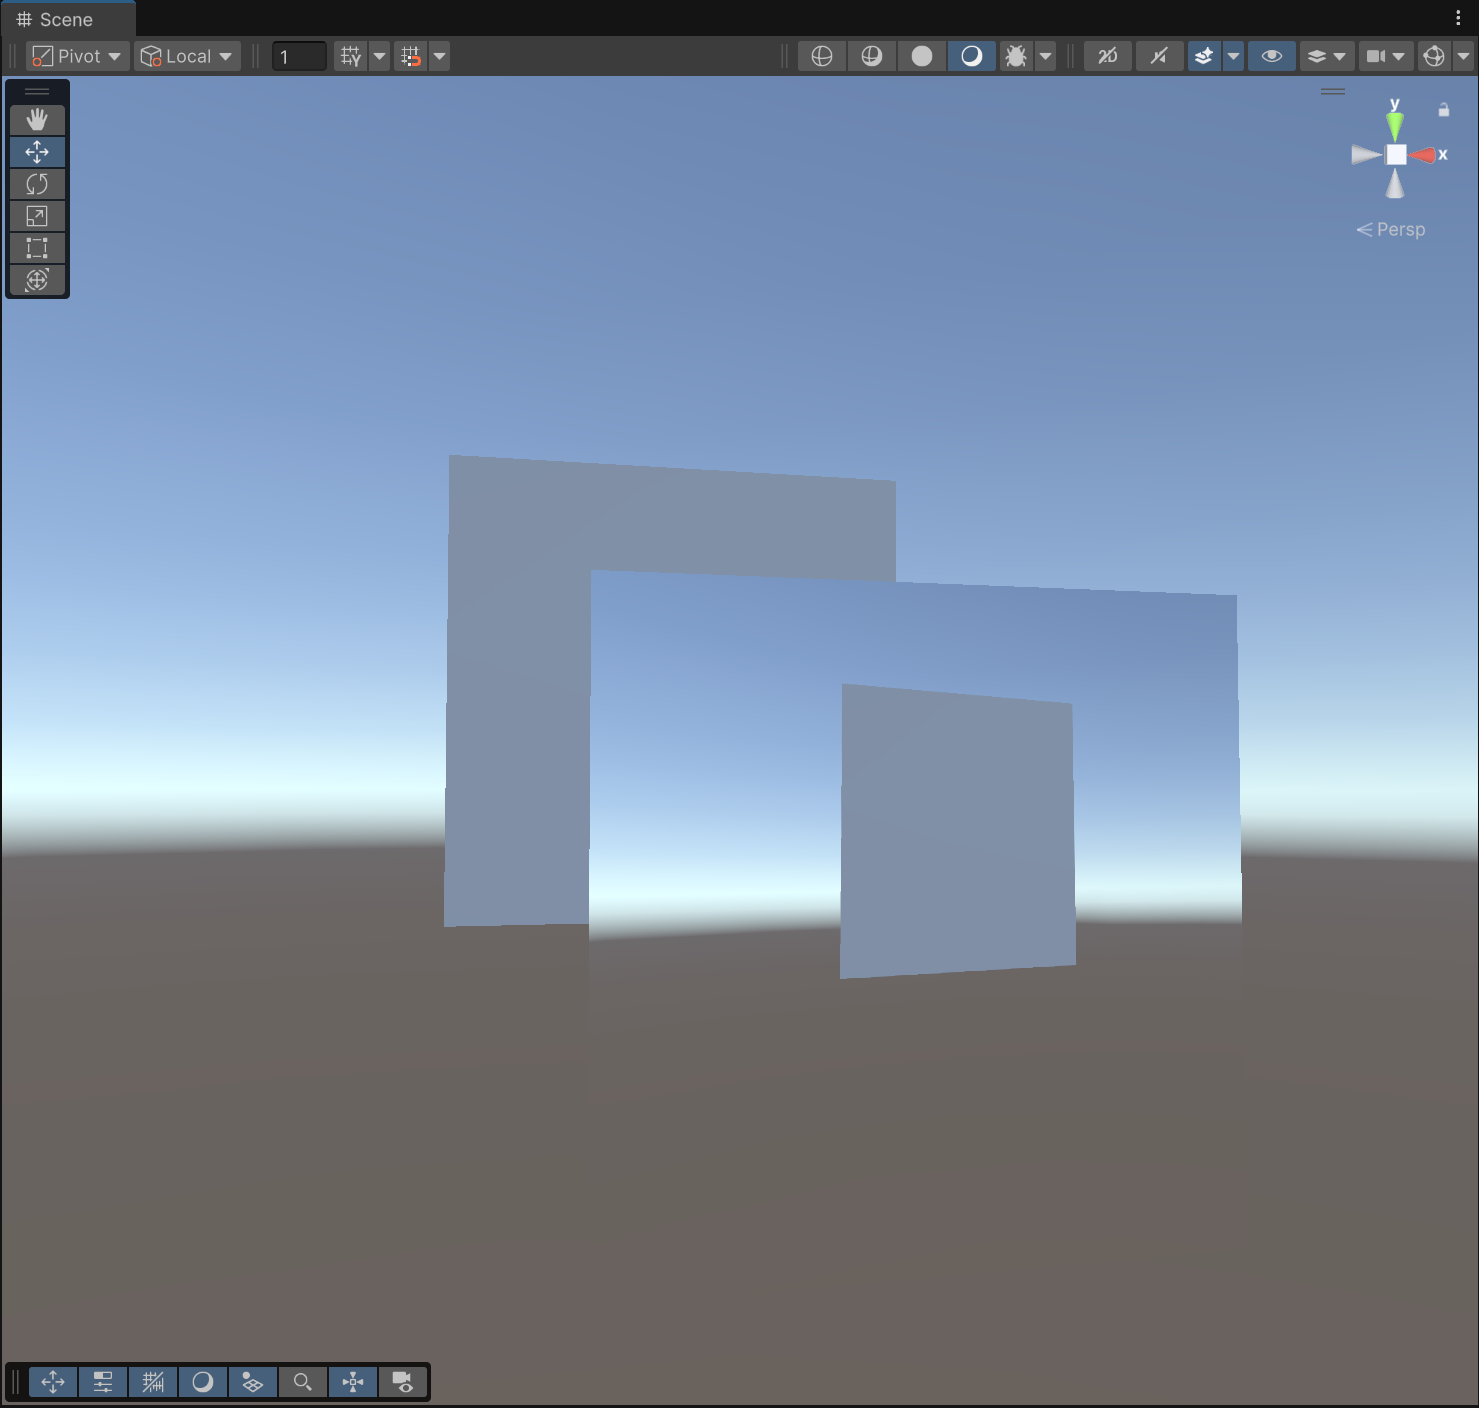
	SubShader
	{
		Tags{ "Queue" = "Transparent"}
		GrabPass{}
		Pass
		{
			(생략)

			fixed4 frag (v2f i) : SV_Target
			{
				fixed4 col = tex2D(_GrabTexture, i.uv);
				return col;
			}
			ENDCG
		}
}GrabPass{}를 앞에 삽입하면 _GrabTexture로 화면을 찍을 수 있다.
render queue는 Transparent로 설정하여 뒤에 있는 물체도 찍게 함.
🎮 Project Katana
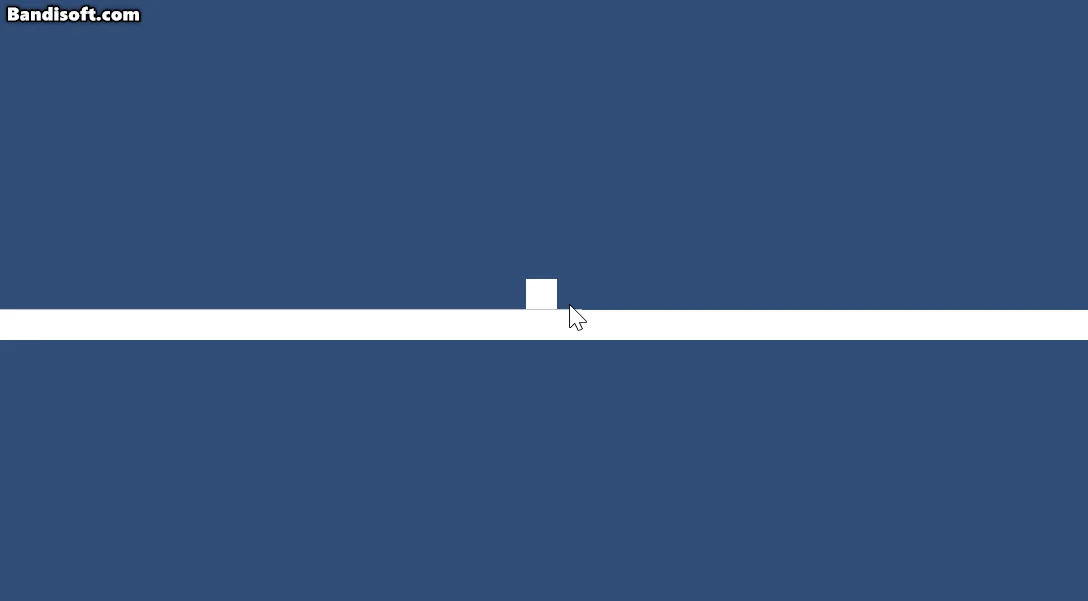
    void Update()
    {
        if (isClicking)
        {
            if (Input.GetMouseButtonUp(0)) isClicking = false;

            Vector2 deltaPos = (Vector2)Input.mousePosition - lastFramePos;
            player.GetComponent<Rigidbody2D>().AddForce(deltaPos * power);
            lastFramePos = (Vector2)Input.mousePosition;
        }
        else if (Input.GetMouseButtonDown(0) && IsPlayer())
        {
            isClicking = true;
            clickStartPos = Input.mousePosition;
        }
    }

    private bool IsPlayer()
    {
        Ray ray = Camera.main.ScreenPointToRay(Input.mousePosition);
        RaycastHit2D hit = Physics2D.GetRayIntersection(ray);

        if (hit.collider != null)
        {
            if (hit.collider.CompareTag("Player"))
            {
                player = hit.collider.gameObject;
                lastFramePos = Input.mousePosition;
                return true;
            }
        }
        print("false");
        return false;
    }
🎮 Project BCA
- 스테이지별 난이도 조절
- 인트로 방문 바꾸기 : https://sketchfab.com/3d-models/elevator-building-406ac9aa824e44399e57ce9a82256c54
- 다른 사운드를 아무리 찾아도 어색했는데 원인이 '현실에 그런 철제 문은 없으니까'인 것 같음. 그나마 현실감 있는 철제문은 엘레베이터. 이를 위해 입구 너비도 넓혔다.
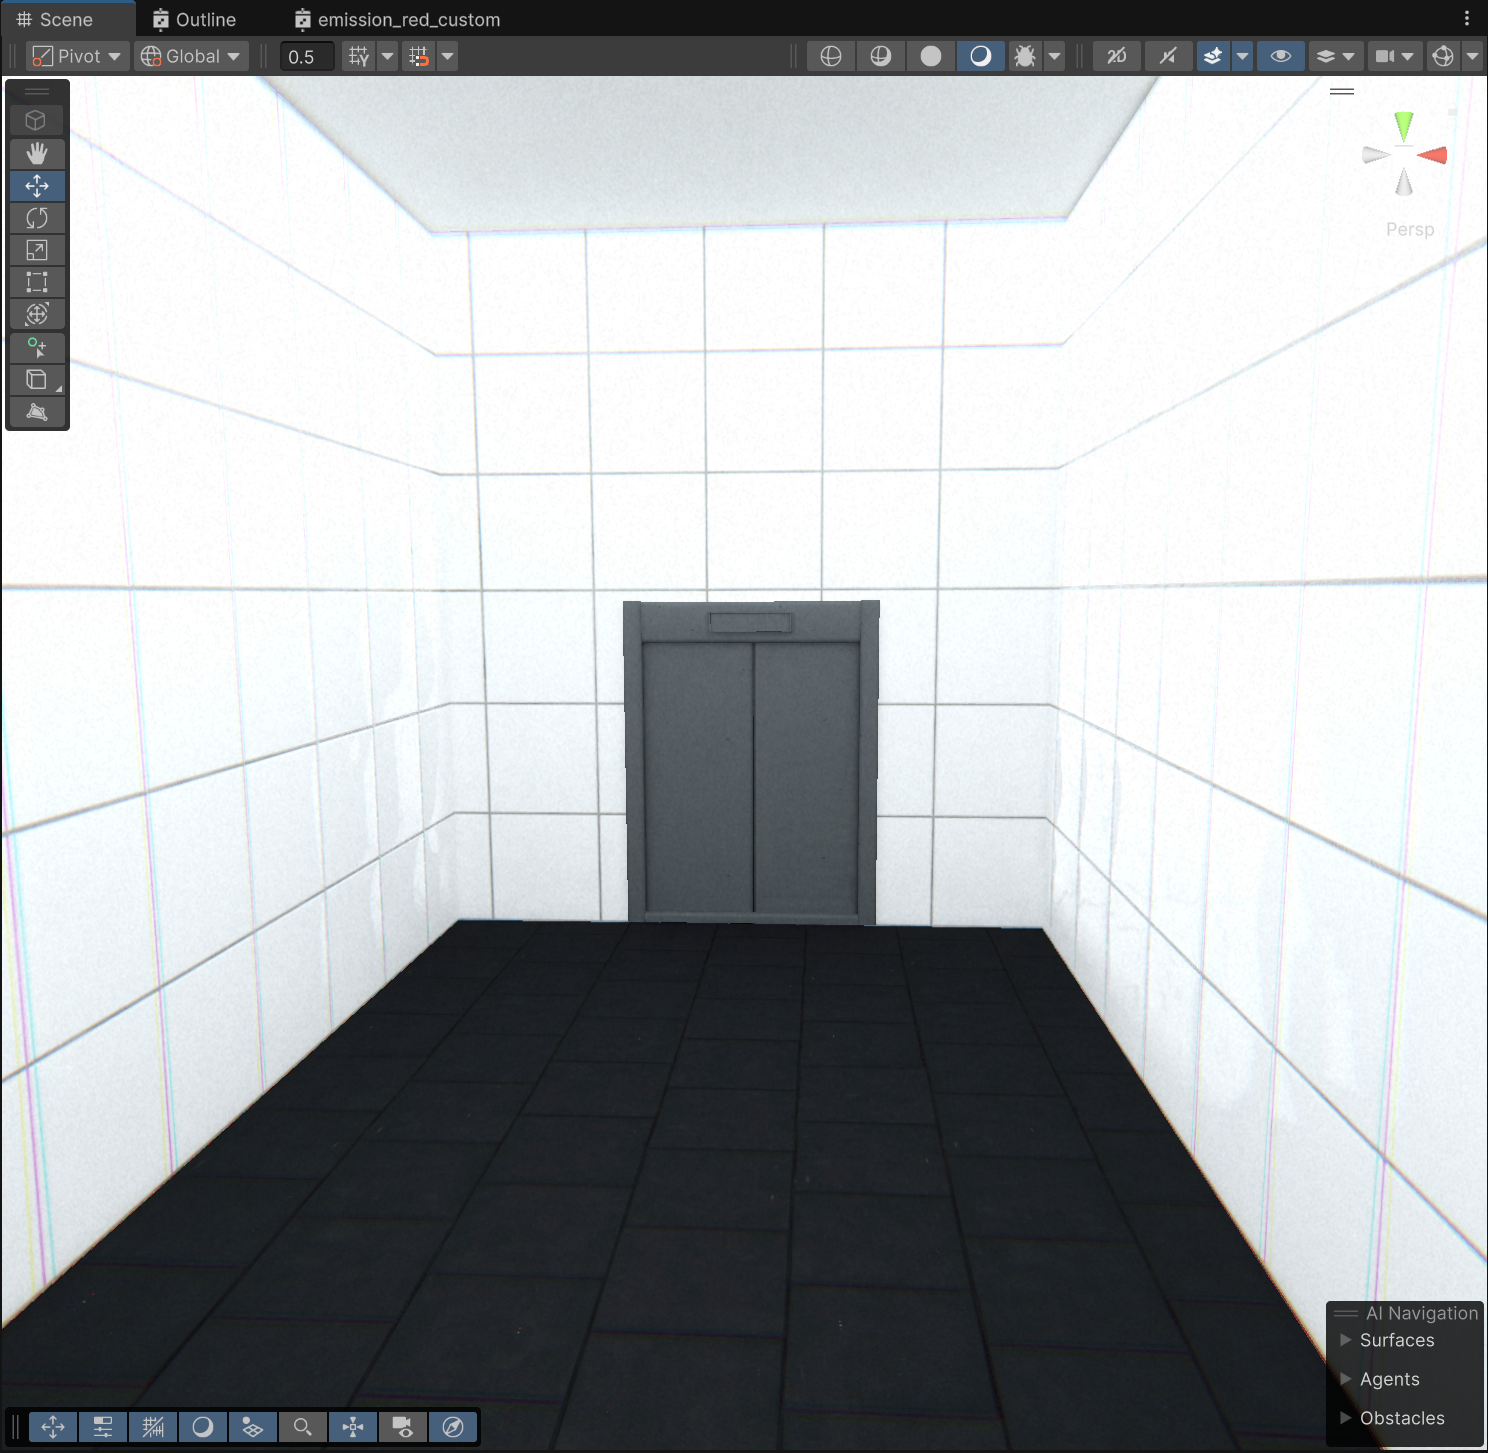
약간 애매해서 또 한참 폴리싱을 해야할 것 같다.
어제 게임의 완성에 집중하자고는 했는데,
기획을 변경해서 게임 볼륨이 축소되어 폴리싱에 쓸 시간이 늘어나기도 했고,
트레일러 뽑으려면 인트로까지는 완성해야한다.
