LifeSports Application(ReactNative & Nest.js) - 28. 홈화면 연동
#1 Home
다음과 같이 홈 화면을 수정하도록 하겠습니다.
- ./src/pages/home/HomeScreen.js
import * as React from 'react';
import { StyleSheet, ScrollView } from 'react-native';
import palette from '../../styles/palette';
import HomeFragment from './components/HomeFragment';

const HomeScreen = () => {
    return(
        <ScrollView style={ styles.container }>
            <HomeFragment />
        </ScrollView>
    );
};

const styles = StyleSheet.create({
    container: {
        flex: 1,
        backgroundColor: palette.white[0],
    },
});

export default HomeScreen;- ./src/pages/home/HomeFragment.js
import React from 'react';
import { StyleSheet, View } from 'react-native';
import CategoryIcon from '../../../styles/common/CategoryIcon';
import ImageIcon from '../../../styles/common/ImageIcon';
import palette from '../../../styles/palette';

const HomeFragment = () => {
    const categoryIcon = [
        { name: "ios-baseball-outline", text: "야구", type_nm: "야구장" },
        { name: "ios-basketball-outline", text: "농구", type_nm: "생활체육관" },
        { name: "ios-basketball", text: "야외농구", type_nm: "농구장" },
        { name: "ios-football-outline", text: "축구", type_nm: "축구장" },
        { name: "ios-bicycle", text: "자전거", type_nm: "산악자전거장" },
        { name: "ios-school", text: "학교체육", type_nm: "학교체육시설" },
        { name: "ios-football", text: "풋살", type_nm: "풋살장" }
    ];
    const imageIcon = [
        { name: "arrow", text: "양궁", type_nm: "국궁장" },
        { name: "badminton" ,text: "배드민턴", type_nm: "배드민턴장" },
        { name: "climb" ,text: "클라이밍", type_nm: "클라이밍장" },
        { name: "gateball", text: "게이트볼", type_nm: "게이트볼장" },
        { name: "ice_skate", text: "스케이트", type_nm: "빙상장" },
        { name: "inline_skate", text: "인라인", type: "인라인스케이트장" },
        { name: "pingpong", text: "탁구" , type_nm: "탁구장"},
        { name: "sepak_takraw", text: "족구", type_nm: "족구장" },
        { name: "shoot", text: "사격", type_nm: "사격장" },
        { name: "swim", text: "수영", type_nm: "수영장" },
        { name: "volleyball", text: "배구", type_nm: "구기체육관" },
        { name: "volleyball", text: "야외배구", type_nm: "배구장" },
        { name: "tennis", text: "테니스", type_nm: "테니스장" }
    ];

    return(
        <View style={ styles.container }>
            {
                categoryIcon.map(item => {
                    return <CategoryIcon name={ item.name }
                                         text={ item.text }
                                         type_nm={ item.type_nm }
                           />
                })
            }
            {
                imageIcon.map(item => {
                    return <ImageIcon name={ item.name }
                                      text={ item.text }
                                      type_nm={ item.type_nm }
                           />;
                })
            }
        </View>
    );
};

const styles = StyleSheet.create({
    container: {
        flex: 1,
        flexDirection: 'row',
        flexWrap: 'wrap',
        marginTop: 30,
        backgroundColor: palette.white[0],
    },
});

export default HomeFragment;
하드 코딩으로 아이콘과 관련된 데이터를 나누었습니다. 그래서 각 배열을 map함수를 이용해 화면에 보이도록 하였습니다.
- ./src/styles/common/Category.js
import React from 'react';
import {
    StyleSheet,
    View,
    Text,
    TouchableOpacity
} from 'react-native';
import Icon from 'react-native-vector-icons/Ionicons';
import { useNavigation } from '@react-navigation/core';
import palette from '../palette';
import { useDispatch } from 'react-redux';
import { listType } from '../../modules/maps';

const CategoryIcon = ({
    name,
    text,
    type_nm,
}) => {
    const navigation = useNavigation();
    const dispatch = useDispatch();
    const onClick = e => {
        dispatch(listType(type_nm));

        navigation.navigate("Map")
    };

    return(
        <View style={ styles.container }>
            <TouchableOpacity onPress={ onClick }>
                <Icon size={ 48 }
                      name={ name }
                      color={ palette.blue[4] }
                />
            </TouchableOpacity>
            <Text style={ styles.font }>
                { text }
            </Text>
        </View>
    );
};

const styles = StyleSheet.create({
    container: {
        alignItems: 'center',
        justifyContent: 'center',
        width: 60,
        height: 60,
        margin: 20,
    },
    font: {
        fontWeight: 'bold',
    },
});

export default CategoryIcon;- ./src/styles/common/ImageIcon.js
import React from 'react';
import {
    StyleSheet,
    View,
    TouchableOpacity,
    Image,
    Text
} from 'react-native';
import palette from '../palette';
import arrow from '../../assets/img/arrow.png';
import badminton from '../../assets/img/badminton.png';
import climb from '../../assets/img/climb.png';
import gateball from '../../assets/img/gateball.png';
import ice_skate from '../../assets/img/ice_skate.png';
import inline_skate from '../../assets/img/inline_skate.png';
import pingpong from '../../assets/img/pingpong.png';
import sepak_takraw from '../../assets/img/sepak_takraw.png';
import shoot from '../../assets/img/shoot.png';
import swim from '../../assets/img/swim.png';
import volleyball from '../../assets/img/volleyball.png';
import tennis from '../../assets/img/tennis.png';
import { useDispatch } from 'react-redux';
import { listType } from '../../modules/maps';
import { useNavigation } from '@react-navigation/core';

const ImageIcon = ({
    name,
    text,
    type_nm
}) => {
    const dispatch = useDispatch();
    const navigation = useNavigation();
    const onClick = e => {
        dispatch(listType(type_nm));

        navigation.navigate("Map");
    };

    if(name === "arrow") name = arrow
    else if(name === "badminton") name = badminton
    else if(name === "climb") name = climb
    else if(name === "gateball") name = gateball
    else if(name === "ice_skate") name = ice_skate
    else if(name === "inline_skate") name = inline_skate
    else if(name === "pingpong") name = pingpong
    else if(name === "sepak_takraw") name = sepak_takraw
    else if(name === "shoot") name = shoot
    else if(name === "swim") name = swim
    else if(name === "volleyball") name = volleyball
    else if(name === 'tennis') name = tennis;

    return(
        <View style={ styles.container }>
            <TouchableOpacity onPress={ onClick }>
                <Image style={ styles.icon }
                       source={ name }
                />
            </TouchableOpacity>
            <Text style={ styles.font }>
                { text }
            </Text>
        </View>
    );
};

const styles = StyleSheet.create({
    container: {
        alignItems: 'center',
        justifyContent: 'center',
        width: 60,
        height: 60,
        margin: 20,
    },
    icon: {
        tintColor: palette.blue[4],
    },
    font: {
        fontWeight: 'bold',
    },
});

export default ImageIcon;
ImageIcon, CategoryIcon에서는 onClick메서드를 활용하여 listType 메서드를 호출하도록 합니다. 결과적으로 maps state에 맵 데이터들이 담기게 되고 navigation을 이용하여 naver map으로 이동하는 구조이죠. 테스트를 진행해보겠습니다.
#2 테스트
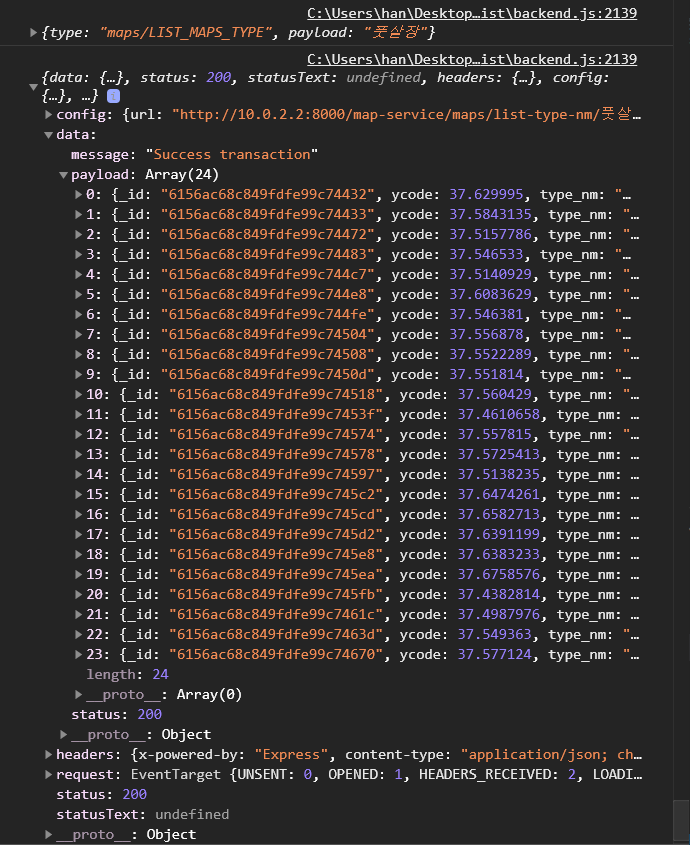
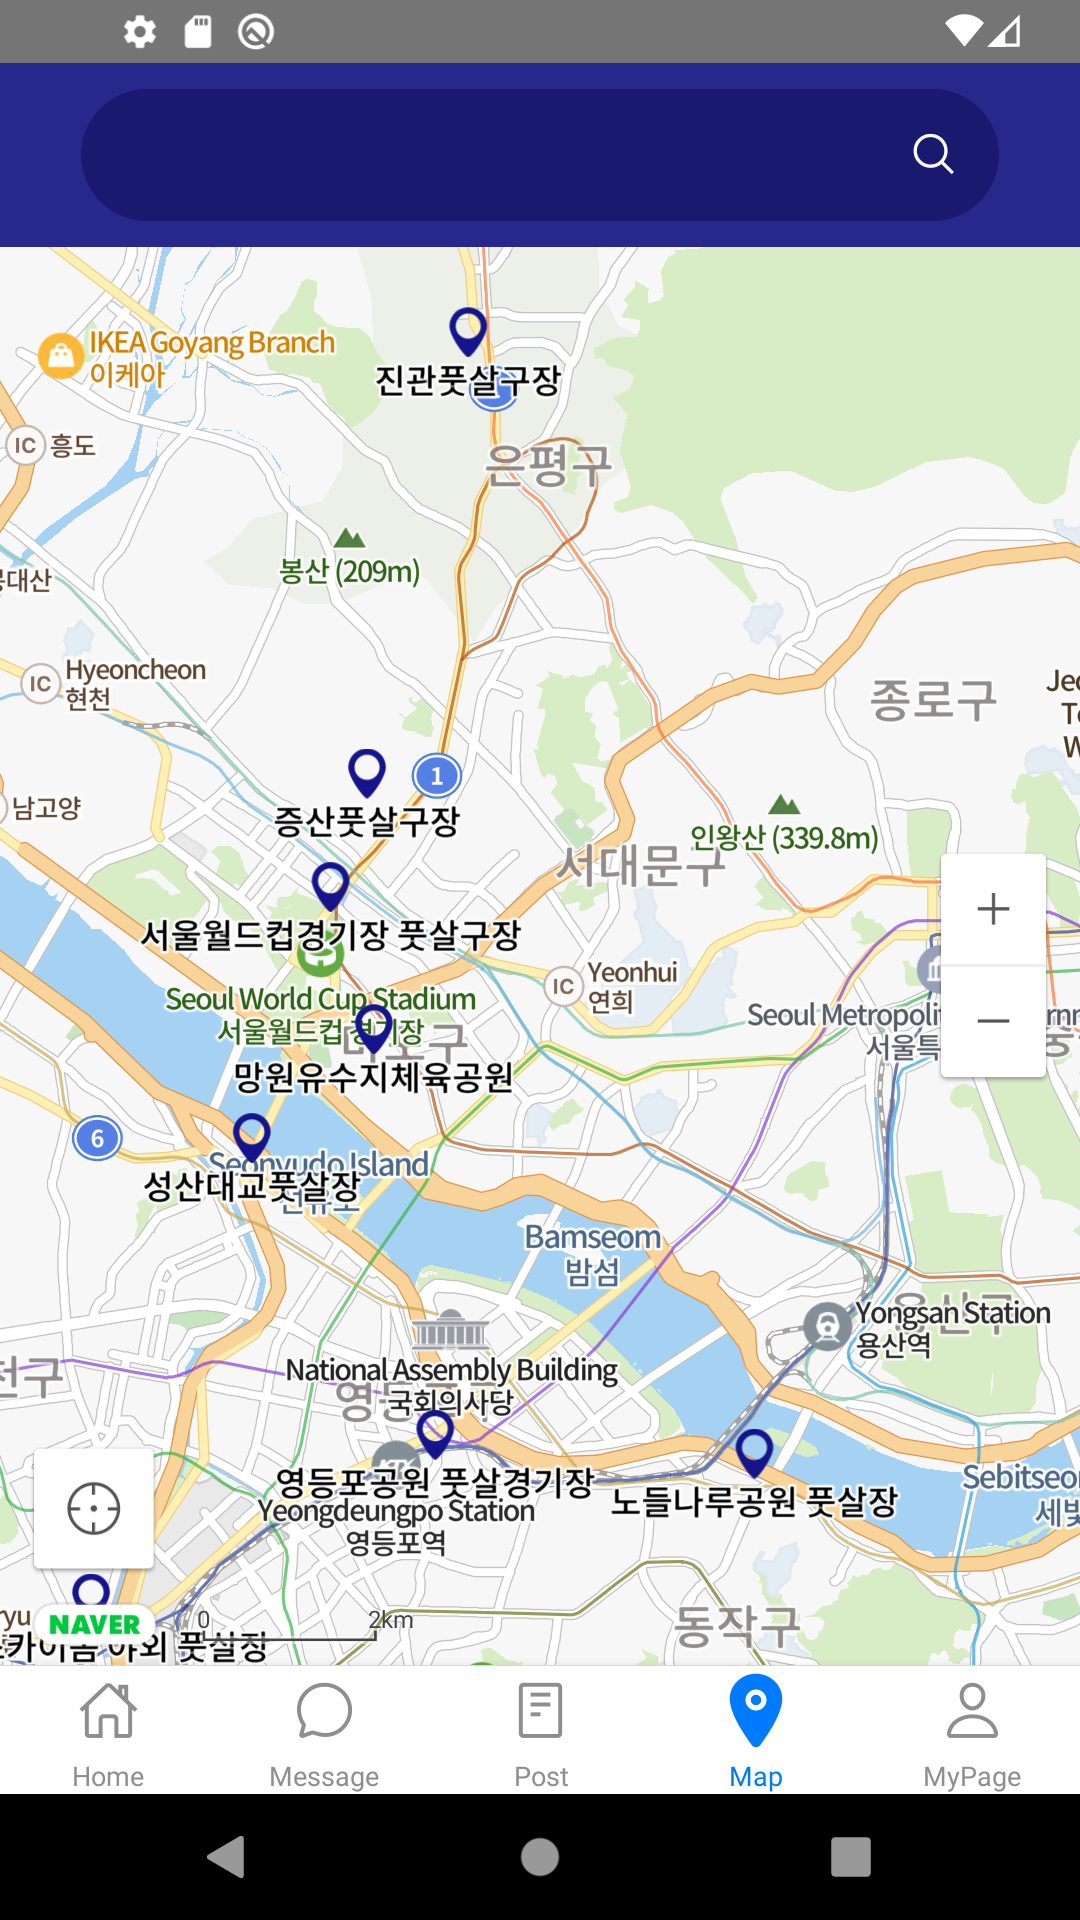
1) 풋살장 데이터
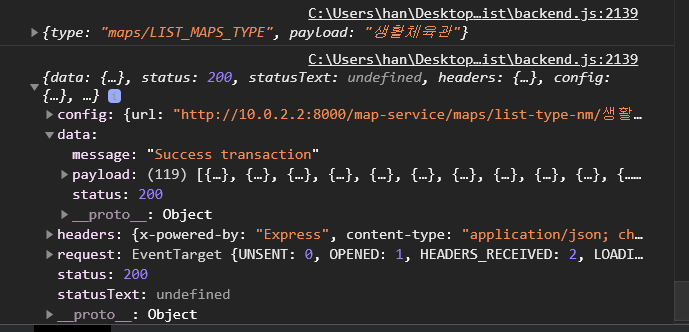
2) 농구장 데이터
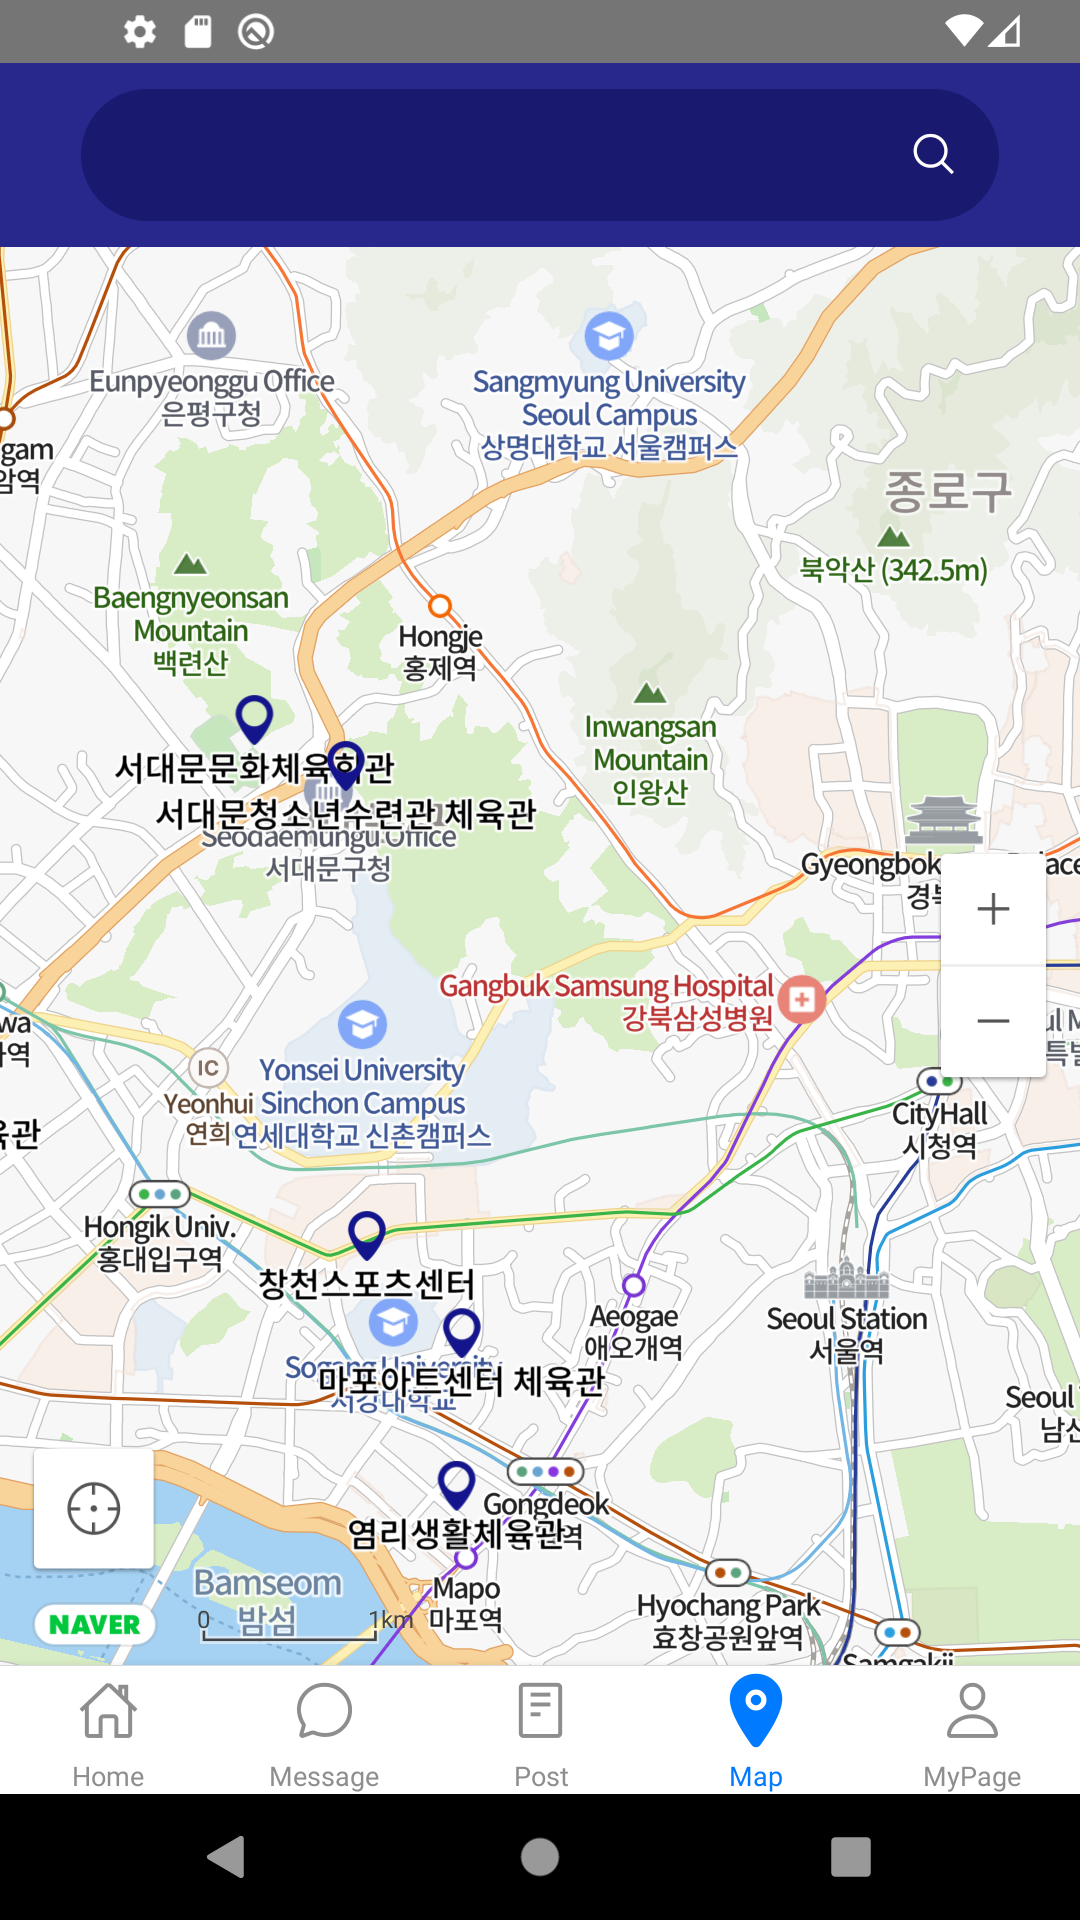
- 아이콘을 클릭하게 되면 렌더링에 대한 문제인지, naver map api가 온전하지 못한 api라 그런지 어떤 이유에서인지 정확히는 알 수 없지만 간혹가다가 마커가 나타나지 않는 에러가 생기곤 합니다. 결과적으로 데이터 자체는 잘 받아오니 렌더링에 대한 문제라 생각하고 넘어가도록 하겠습니다.
이로써 LifeSports 애플리케이션도 전부 마무리가 되었습니다. 나머지 구현하지 못한 검색창이라든지 추후에 작성을 해보도록 하겠습니다.
