JupyterHub 설치 및 관리(on Anaconda, ubuntu)
기준 환경
- Ubuntu 20.04 LTS
- Anaconda3 (multi-users)

구축된 워크스테이션에 멀티 유저가 접속하여 사용하게 되는 만큼 사용자 그룹에 노트북의 기능을 제공하기 위해 jupyterHub를 설치하고 서비스 한다. jupyterhub를 설치하고 운영하는 환경은 다양한데 이번에는 Anaconda 환경에서 bare metal로 구성 한다. (docker 및 k8s 등을 활용하여 container 기술로 배포도 가능함)
jupyterHub 설치
anaconda 환경(base evn)에서 jupyterhub를 설치하는 방법을 설명한다. 자칫 conda환경이 아닌 host환경과 혼동하는 경우가 생길 수 있으니 유의 해야한다.
- 설치
apt install npm nodejs

conda install -c conda-forge jupyterhub- 실행 테스트
sudo /usr/anaconda3/bin/jupyterhub

# if there is configuration file of jupyterhub, then see below.
sudo /usr/anaconda3/bin/jupyterhub -f /etc/jupyterhub/jupyterhub_config.py
sudo 권한으로 실행하지 않으면 jupyterhub를 실행한 유저만 로그인이 가능하기 때문에 유의 해야 한다.
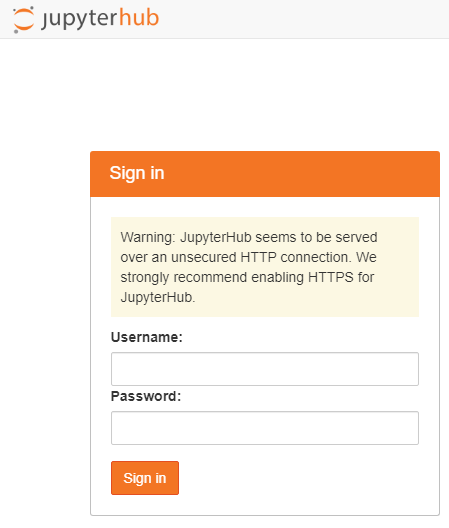
jupyterhub는 옵션 없이 구동한 경우 해당 서버 IP에 8000번 포트로 열리며 계정은 linux 계정과 연동되어 있어서 동일한 계정 정보를 입력하면 접속 가능하다.
Setup
jupyterhub configuration
Jupyterhub - Configuration Basic
create configuration file
설정 파일 생성하고 적절히 설정값을 변경해준다.
sudo mkdir /etc/jupyterhub

jupyterhub --generate-config
sudo mv jupyterhub_config.py /etc/jupyterhub/
접속시 https 적용
ssl 적용시 22.01.01 현재 jupyterhub-jupyterlab 내에 self signed certs(자체서명인증서)를 적용 하는 경우 chrome UI가 간헐적으로 깨지는 발생하는 버그가 있음. 해당 버그로 인해 일시적으로 jupyterhub ui가 깨지면서 아래와 같은 메세지를 확인 할 수도 있다. 임시 해결 방법은 페이지를 리프레시 하다보면 정상적인 UI를 확인 할 수 있다.
Error Loading Theme
Stylesheet failed to load: https://10.0.0.1:58000/user/username/lab/api/themes/@jupyterlab/theme-light-extension/index.css
Running a notebook server - Using SSL for encrypted communication
적절한 위치에 개인 인증서를 생성한다.
openssl req -x509 -nodes -days 365 -newkey rsa:2048 -keyout mykey.key -out mycert.pem생성한 인증서를 jupyterhub config 파일에 입력해준다.
# Set options for certfile, ip, password, and toggle off
# browser auto-opening

c.JupyterHub.ssl_cert = u'/absolute/path/to/your/certificate/mycert.pem'
c.JupyterHub.ssl_key = u'/absolute/path/to/your/certificate/mykey.key'
jupyterhub를 재시작하고 접속시 https://{ip}:{port} 로 접속한다.
Let’s Encrypt 등을 통해 무료 SSL/TLS를 제공 받을 수 있다. 이런 공급업체를 통하지 않고 위와 같이 인증서를 직접 생성해서 적용시 jupyterhub를 접속할때마다 안전하지 않은 사이트라는 경고 등을 볼 수 있을 것이다.
접속시 jupyterlab 환경으로 설정
기본 설정은 기본 노트북 환경으로 lab 환경으로 변경이 필요시 아래와 같이 변경 한다.
# in /etc/jupyterhub/jupyterhub_config.py
c.Spawner.default_url = '/lab'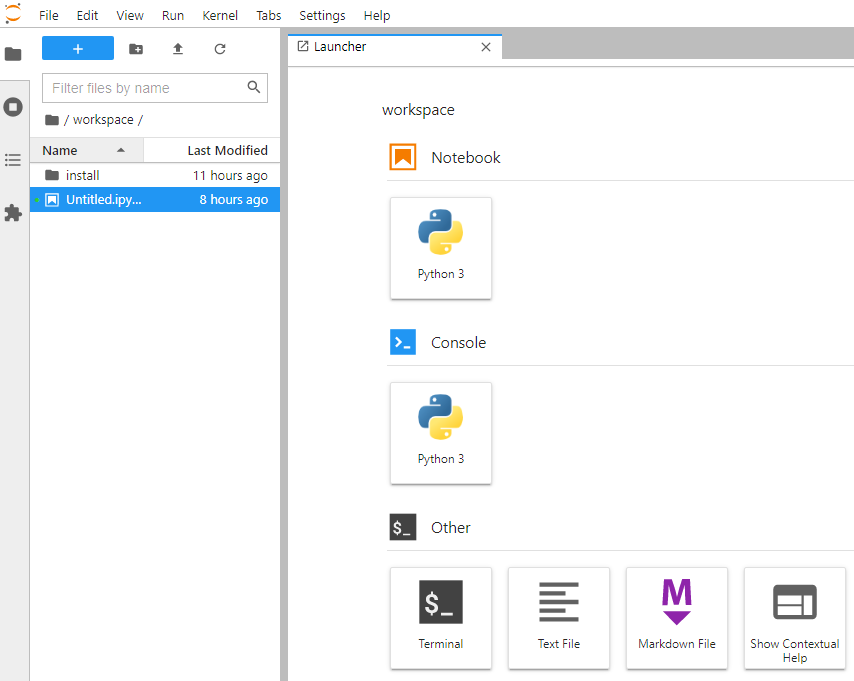
Conda Env (가상환경 생성)
anaconda env와 Jupyter를 연결 시켜줄 패키지 설치가 필요하다.
conda install nb_conda특정 버전의 Tensorflow와 python을 포함하는 가상환경을 만들어 보자. ipykernel은 jupyter에서 해당 가상 환경을 인식하기 위해 매 conda env를 생성할때 넣어주어야 한다.
# create new conda Env include tensorflow 2.4, python 3.8
conda create -n tf24_py38 python=3.8 tensorflow=2.4 ipykernel

# check created Env
conda env list
아래와 같이 신규 생성된 Env를 확인 할 수 있다.
# conda environments:
#
base                  *  /usr/anaconda3
tf24_py38                /usr/anaconda3/envs/tf24_py38
또한 jupyterhub Launcher에 신규 Env Notebook과 Console이 활성화 된것을 확인 할 수 있다.
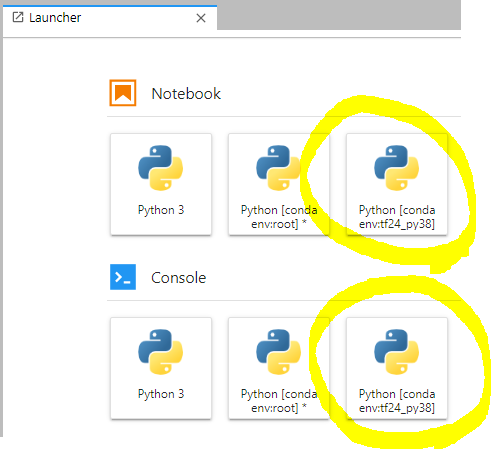
생성한 가상환경 이름으로 잘 생성 되었다.
jupyter kernelspec list에는 생성한 가상 환경이 보이지 않는데, 당장 사용하는데 큰 지장이 없어서 따로 이슈 처리하지 않음.
jupyterhub service 등록
server 시작과 함께 자동으로 jupyterhub가 구동하도록 서비스에 등록한다.
sudo vim /etc/systemd/system/jupyterhub.service아래와 같이 작성후 저장한다.
[Unit]
Description=Jupyterhub
After=syslog.target network.target
[Service]
User=root
Environment="PATH=/bin:/usr/local/sbin:/usr/local/bin:/usr/sbin:/usr/bin:/usr/anaconda3/bin:/usr/anaconda3/
condabin:/sbin"
ExecStart=/usr/anaconda3/bin/jupyterhub -f /etc/jupyterhub/jupyterhub_config.py
[Install]
WantedBy=multi-user.target
# register service
sudo systemctl enable jupyterhub.service
# start service
sudo systemctl start jupyterhub
# check the service
sudo systemctl status jupyterhub시스템 reboot를 통해 정상 작동하는지 확인 한다.
- service log 확인 방법
journalctl -u {service-name}

# to see only log msg for the current boot
journalctl -u {service-name} -b
Troubleshooting
Extension Installation Error
An error occurred installing <code>@jupyterlab/git</code>.

Error message:

Please install nodejs >=12.0.0 before continuing. nodejs may be installed using conda or directly from the nodejs website.
- https://antilibrary.org/2663
- https://parading.tistory.com/50
anaconda base에도 nodejs 가 설치 되어 있고 host에도 nodejs가 깔려있음을 인지하고 apt install 대신 conda 를 활용해서 삭제/설치를 진행한다.conda uninstall --force nodejs conda install nodejs -c conda-forge --repodata-fn=repodata.json
