React Native 나만의 템플릿 만들기
RN 앱을 개발할때 기본적으로 세팅하는 react-navigation, typescript 그리고 babel 세팅등을 매번 새 프로젝트마다 설정하는건 여간 귀찮은일이 아니다.
react-native init initApp --template typescript 이런식으로 프로젝트를 만드는데 이걸 나만의 템플릿을 만든다면 그런 수고를 덜수 있을것 같아 문서를 찾아보고 시도해보았습니다.
1. 내 템플릿이 들어갈 저장소 만들기
github에 내 템플릿을 저장해놓을 레포를 생성합니다.
2. react native 프로젝트 생성
프로젝트를 생성할때 ProjectName 으로 생성합니다.
꼭 ProjectName으로 생성할 필요는 없지만, 예제 설명을 위해 ProjectName으로 진행합니다.
타입스크립트 템플릿을 그대로 사용하기 위해 아래 명령어로 프로젝트를 생성했습니다.
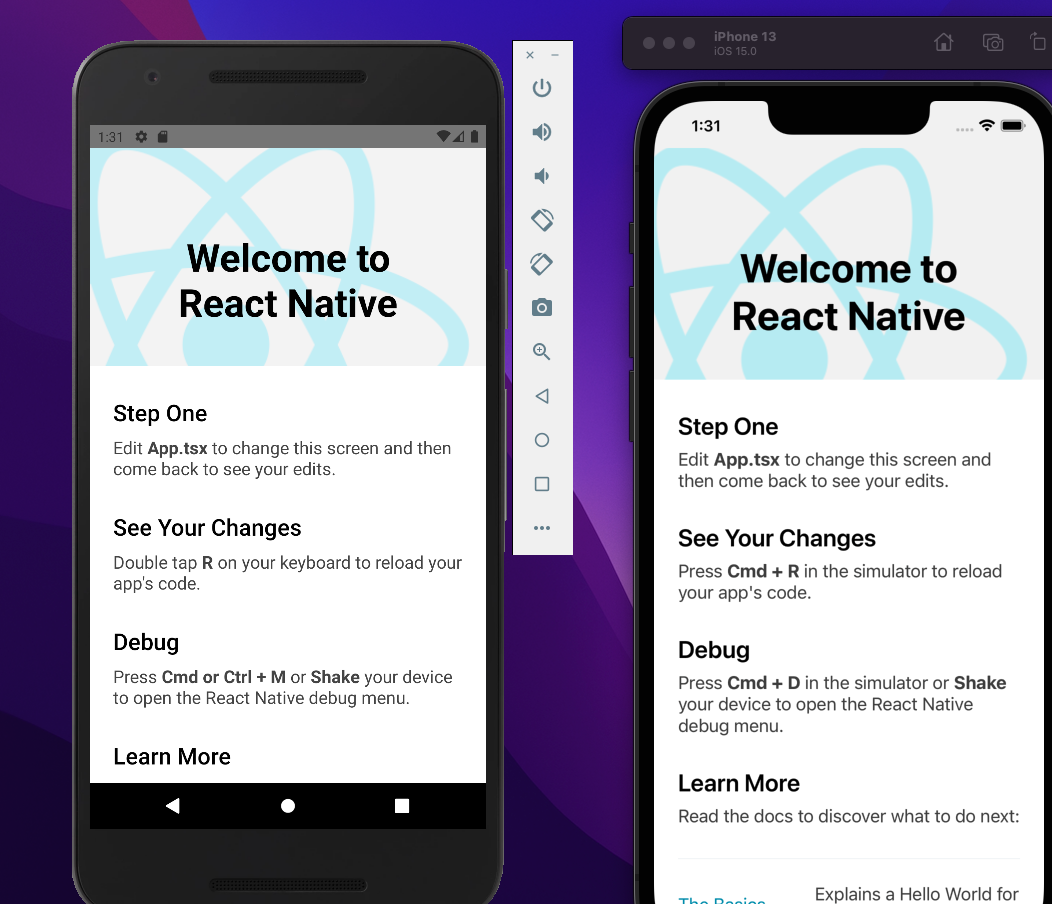
react-native init initApp --template typescript3. 잘 실행되는지 확인
yarn android, yarn ios 로 잘 실행되는지 확인합니다.

4. Template 형태로 수정한다.
https://github.com/Esemesek/react-native-new-template
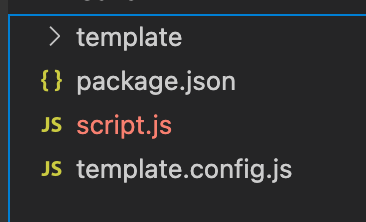
이 폴더구조로 변경해줍니다.

모든 커스텀 템플릿은 template.config.js 를 따릅니다.
module.exports = {
  // Placeholder의 이름을 모두 replace 합니다.
  // 명령어로 npx react-native init [앱이름] -- template react-native-seonpark-template 을 실행하면
  // ProjectName을 모두 [앱이름] 으로 바꿉니다.
  // 바꾸는 파일들 => package.json, index.json, android/, ios/
  placeholderName: "ProjectName",

  // values.xml and Info.plist 에 있는 title 값을 변경합니다.
  // rn 초기 스플래시 화면에서 나오는 타이틀을 변경합니다.
  titlePlaceholder: 'Hello Seonpark Template',
  // 템플릿 폴더를 지정합니다.
  templateDir: "./template",

  // init 완료후 실행할 스크립트 파일입니다.
  postInitScript: "./script.js"
};
script.js 는 간단하게 console.log만 찍어두었고 package.json은 이 패키지에 대한 설명을 작성했습니다.
script.js
console.log("This is post init script");package.json
{
  "name": "react-native-seonpark-template",
  "version": "0.0.1",
  "description": "Typescript, react-navigation@6, redux-toolkit, thunk, template",
  "author": "seonpark <pksung1@gmail.com>",
  "license": "MIT"
}
5. 템플릿을 생성한 깃허브에 푸시합니다.
https://github.com/pksung1/fast-react-native
깃허브에 푸시한 후 이제 템플릿을 설치해봅니다
6. 올려놓은 템플릿으로 프로젝트를 생성합니다.
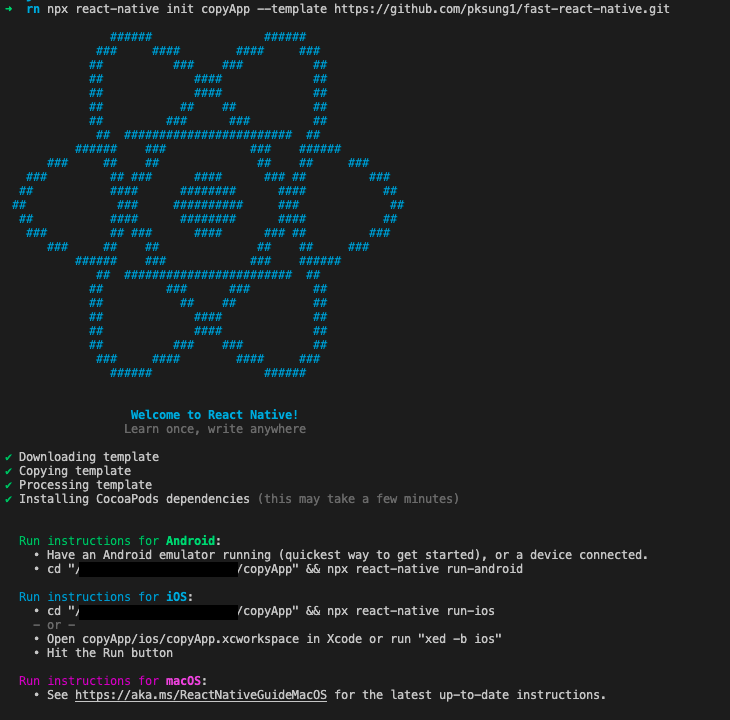
npx react-native init [앱이름] --template https://github.com/pksung1/fast-react-native.gitspawn ... script.js EACCES 에러가 발생하는데 이 문제는 해결하지 못했네요 ㅠㅠ
react-native-typescript-template 를 확인해보니 template.config.js 에 script부분을 아예 빼놓고 실행하고 있었습니다.
7. 자신의 템플릿 만들기
이제 자주 쓸 템플릿에는 폴더구조와 기술스택을 적용하여 예제 프로젝트를 생성할 생각입니다.
폴더 구조를 아래와 같이 구성하였습니다.
- @/assets : 이미지, lottie 를 관리합니다.
- @/components : 앱의 컴포넌트를 관리합니다.
  - /atoms : 기본 컴포넌트를 모아두었습니다
  - /molecules : 기본 컴포넌트를 활용해 만든 순수 컴포넌트입니다.
  - /organisms : atom, molecules 를 활용해 만든 컴포넌트입니다. (헤더, 푸터 등)
  - /screens : navigation 에서 사용되는 스크린입니다.
- @/hooks : react hooks 를 관리합니다. (타어머 등..)
- @/i18n : 다국어를 관리합니다.
- @/lib : 라이브러리를 생성하거나 관리합니다.
- @/navigation : 네비게이션 코드를 작성합니다.
- @/store : 앱 상태관리를 위한 redux store 입니다.
- @/themes : 테마 색상, 폰트등을 관리합니다.
자세한 내용은 README.md 에 작성했습니다.
https://github.com/pksung1/fast-react-native/tree/master/template
8. 만든 템플릿 다시 받아서 테스트


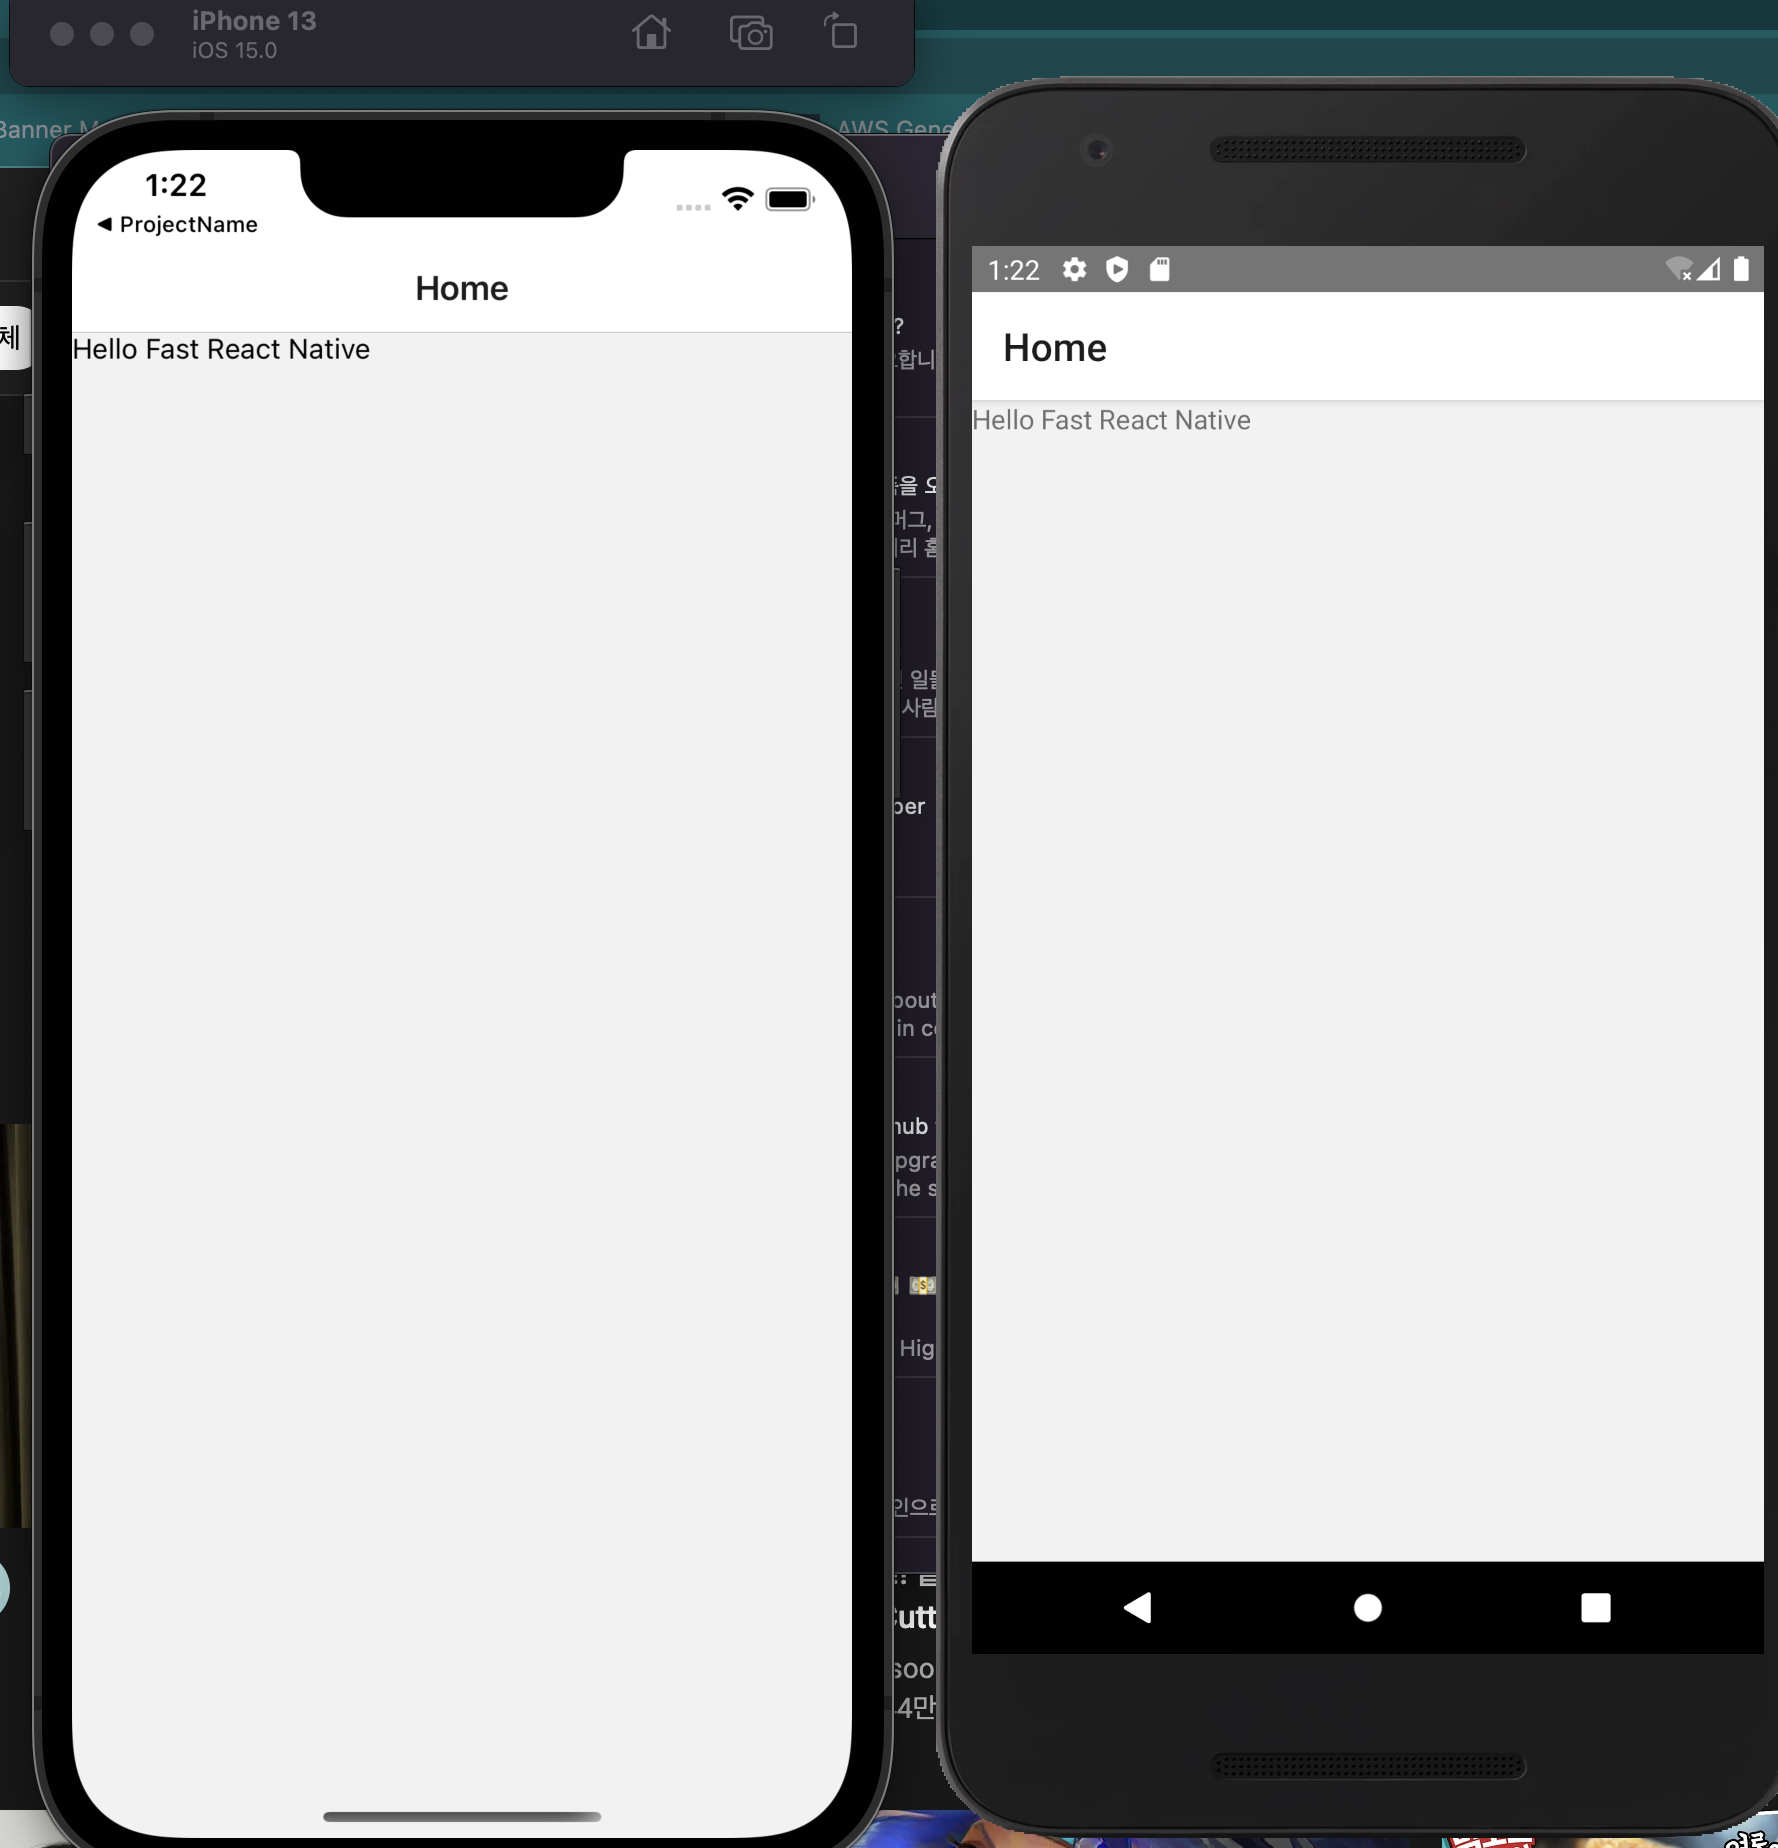
세팅한대로 정상적으로 잘 나오는걸 확인할수 있었다.
추가 메모
babel alias 작업
yarn add -D babel-plugin-module-resolverbable.config.js
module.exports = {
  presets: ['module:metro-react-native-babel-preset'],
  plugins: [
    [
      'module-resolver',
      {
        root: ['./app'],
        alias: {
          '@': './app',
        },
      },
    ],
  ],
};
참고
https://dev.to/roycechua/how-to-make-your-own-custom-react-native-templates-2021-20l5
https://github.com/react-native-community/cli/blob/master/docs/init.md#creating-custom-template
