학원에서 공부한 내용을 다시 한 번 정리해봤습니다.
요소 가져오기
1) getElementById : 아이디로 접근
2) getElementBy
1) 아이디로 접근 (getElementById)
아이디로 요소 접근하기
document.getElementById("아이디명");
<!DOCTYPE html>
<html lang="ko">
<head>
<meta charset="UTF-8">
<title>요소 가져오기</title>
<!--테스트 결과 출력할 공간을 만들기 위해 설정한 style-->
<style>
.area{
width: 300px;
height: 100px;
border: 1px solid black;
}
</style>
</head>
<body>
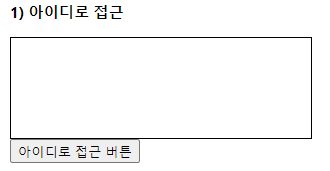
<h3>1) 아이디로 접근</h3>
<div id="area1" class="area"></div>
<button onclick="accessId();">아이디로 접근 버튼</button>
<script>
function accessId(){
// 아이디로 요소 접근하기
// document.getElementById("아이디명");
var area1 = document.getElementById("area1");
console.log(area1);
console.dir(area1);
// 선택된 요소의 속성들에 접근하여 값을 가져오거나 변경 가능
// 속성에 접근하려면 요소.접근할속성명
area1.style.backgroundColor="blue";
}
</script>
</body>
</html>버튼 클릭 전
버튼 클릭 후
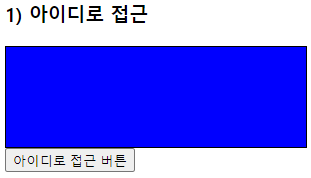
버튼을 클릭하면 id가 'area1'인 요소를 선택하여 배경색을 변경한 모습이다.
# 색상 선택 후 변경 버튼을 클릭하면 색상 변경하기
input 태그를 사용하여 입력받아서 색상 변경하기
<!DOCTYPE html>
<html lang="ko">
<head>
<meta charset="UTF-8">
<title>요소 가져오기</title>
<!--테스트 결과 출력할 공간을 만들기 위해 설정한 style-->
<style>
.area{
width: 300px;
height: 100px;
border: 1px solid black;
}
</style>
</head>
<body>
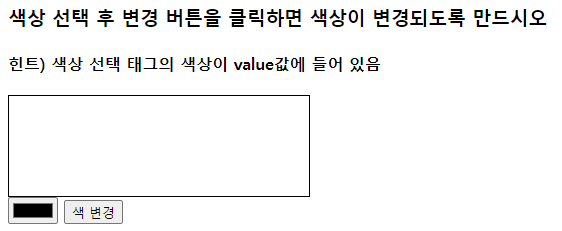
<h3>색상 선택 후 변경 버튼을 클릭하면 색상이 변경되도록 만드시오</h3>
<h4>힌트) 색상 선택 태그의 색상이 value값에 들어 있음</h4>
<div class="area" id="colorArea"></div>
<input type="color" name="" id="colorChoice">
<button onclick="changColor();">색 변경</button>
<script>
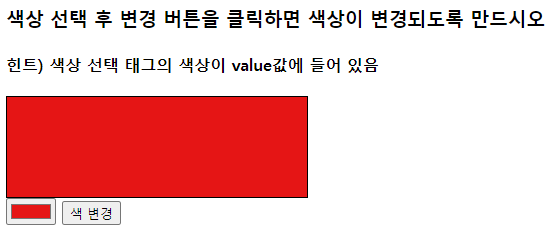
function changColor(){
var aa = document.getElementById("colorChoice").value;
colorArea.style.backgroundColor=aa;
}
</script>
</body>
</html># 색상 선택 후 변경 버튼을 클릭하면 색상 변경하기
버튼을 클릭하면 사이즈가 변경된다.
<!DOCTYPE html>
<html lang="ko">
<head>
    <meta charset="UTF-8">
    <title>요소 가져오기</title>
    <!--테스트 결과 출력할 공간을 만들기 위해 설정한 style-->
    <style>
        .area{
            width: 300px;
            height: 100px;
            border: 1px solid black;
        }

    </style>
</head>
<body>
    <h3>문제2. 버튼에 따른 크기 조절이 가능하게 만드시오</h3>

    <div class="area" id="sizeArea"></div>
    <button onclick="sizeFunc1();">50x50</button>
    <button onclick="sizeFunc2();">100x100</button>
    <button onclick="sizeFunc3();">200x200</button>

    <script>
        var temp =document.getElementById('sizeArea');
        function sizeFunc1(){
            temp.style.width = "50px";
            temp.style.height = "50px";
        }
        function sizeFunc2(){
            temp.style.width = "100px";
            temp.style.height = "100px";
        }
        function sizeFunc3(){
            temp.style.width = "200px";
            temp.style.height = "200px";
        }
    </script>
</body>
</html>
버튼 클릭 전
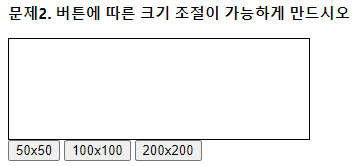
50x50버튼 클릭 후

크기가 50px x 50px로 변경된 모습이다.
2) 태그명으로 접근하기
태그명으로 요소 접근할 때는 다음과 같이 한다.
document.getElementsByTagName("태그명")
선택된 여러개의 요소객체들은 배열에 담겨서 반환된다.
<!DOCTYPE html>
<html lang="ko">
<head>
<meta charset="UTF-8">
<title>요소 가져오기</title>
<!--테스트 결과 출력할 공간을 만들기 위해 설정한 style-->
<style>
.area{
width: 300px;
height: 100px;
border: 1px solid black;
}
</style>
</head>
<body>
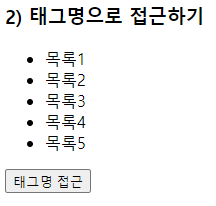
<h3>2) 태그명으로 접근하기</h3>
<ul>
<li>목록1</li>
<li>목록2</li>
<li>목록3</li>
<li>목록4</li>
<li>목록5</li>
</ul>
<button onclick="accessTagName();">태그명 접근</button>
<script>
function accessTagName(){
// 선택된 여러개의 요소객체들은 배열에 담겨서 반환된다.
// (자바스크립트의 배열은 []로 표기)
var list = document.getElementsByTagName("li");
console.log(list);
console.log(list.length);
list[0].innerHTML="<b>안녕하세요</b>";
list[1].innerHTML="<u>허허허허허허</u>";
}
</script>
</body>
</html>버튼 클릭 전
버튼 클릭 후
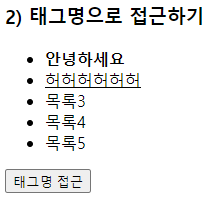
getElementsByTagName 으로 li태그인 요소들을 가져와서 list에 담고
list의 0번 과 1번 인덱스에 해당하는 요소의 innerHTML 속성값을 바꾸었다.
3) name으로 접근(getElementsByName)
name 속성으로 요소 가져오기
document.getElementsByName("name값");
<!DOCTYPE html>
<html lang="ko">
<head>
    <meta charset="UTF-8">
    <title>요소 가져오기</title>
    <!--테스트 결과 출력할 공간을 만들기 위해 설정한 style-->
    <style>
        .area{
            width: 300px;
            height: 100px;
            border: 1px solid black;
        }

    </style>
</head>
<body>
    <h3>3) name으로 접근</h3>

    <form action="">
        <fieldset>
            <legend>취미</legend>
            <input type="checkbox" name="hobby" value="music" id="music">
            <label for="">음악감상</label>
            <input type="checkbox" name="hobby" value="movie" id="movie">
            <label for="">영화감상</label>
            <input type="checkbox" name="hobby" value="walk" id="walk">
            <label for="">산책</label>
            <input type="checkbox" name="hobby" value="football" id="football">
            <label for="">축구</label>
            <input type="checkbox" name="hobby" value="coding" id="coding">
            <label for="">코딩</label>
            <input type="checkbox" name="hobby" value="cycle" id="cycle">
            <label for="">자전거</label>
        </fieldset>
    </form>

    <br>
    <div class="area" id="area3"></div>
    <br>
    <button onclick="accessName();">name으로 접근</button>

    <script>
        function accessName(){
            // 선택된 요소 객체들이 배열에 담겨 반환

            //[input요소객체, input요소객체, input요소객체, ...]
            var hobby = document.getElementsByName("hobby");

            console.log(hobby);

            var checkedItem = "";
            for(var i=0; i<hobby.length; i++){
                if(hobby[i].checked){
                    checkedItem += hobby[i].value + "<br>";
                }
            }
            console.log(checkedItem);

            document.getElementById("area3").innerHTML=checkedItem;
        }
    </script>
</body>
</html>
버튼 클릭 전

버튼 클릭 후

선택한 취미 값을 아래 영역에 출력하였다.
4) 클래스명으로 접근하기(getElementsByClassName)
class명으로 요소 가져오기
document.getElementsByClassName("class속성값");
이번 예제는 console.log로 출력만 해본다.
<!DOCTYPE html>
<html lang="ko">
<head>
<meta charset="UTF-8">
<title>요소 가져오기</title>
<!--테스트 결과 출력할 공간을 만들기 위해 설정한 style-->
<style>
.area{
width: 300px;
height: 100px;
border: 1px solid black;
}
</style>
</head>
<body>
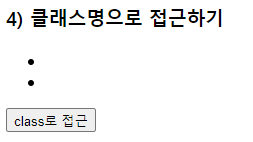
<h3>4) 클래스명으로 접근하기</h3>
<div class="test"></div>
<p class="test"></p>
<ul class="test">
<li></li>
<li></li>
</ul>
<pre class="test test1"></pre>
<button onclick="accessClass();">클래스명으로 접근</button>
<script>
function accessClass(){
// class속성으로 요소를 가져오기
// document.getElementsByClassName("class속성값");
var arr = document.getElementsByClassName("test");
console.log(arr);
}
</script>
</body>
</html>버튼 클릭 전
버튼 클릭 후 console.log 확인
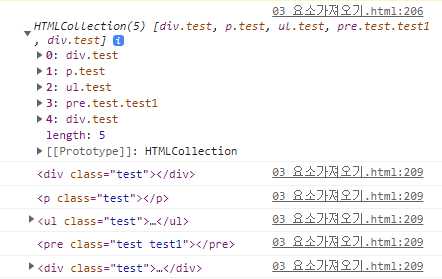
class가 'test'인 요소들을 전부 가져와서 출력한 모습이다.
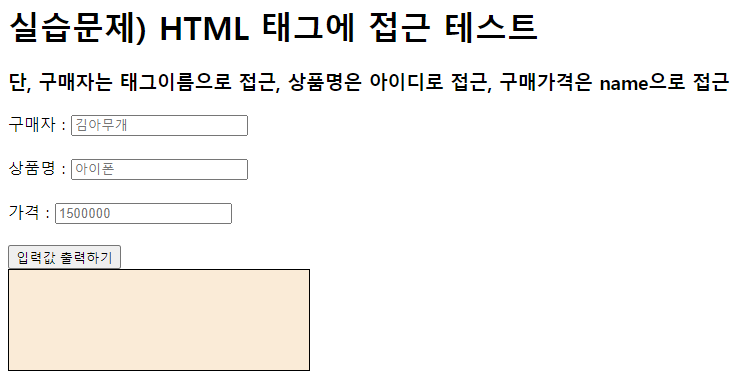
# HTML 태그에 접근하는 연습!
구매자는 태그이름으로 접근, 상품명은 아이디로 접근, 구매가격은 name으로 접근
<!DOCTYPE html>
<html lang="ko">
<head>
    <meta charset="UTF-8">
    <title>요소 가져오기</title>
    <!--테스트 결과 출력할 공간을 만들기 위해 설정한 style-->
    <style>
        .area{
            width: 300px;
            height: 100px;
            border: 1px solid black;
        }
    </style>
</head>
<body>
<h1>실습문제) HTML 태그에 접근 테스트 </h1>
    <h3>단, 구매자는 태그이름으로 접근, 상품명은 아이디로 접근, 구매가격은 name으로 접근</h3>

    구매자 : <input type="text" placeholder="김아무개"><br><br>
    상품명 : <input type="text" id="productName" placeholder="아이폰"><br><br>
    가격 : <input type="text" id="" name="price" placeholder="1500000"><br><br>
    <button onclick="productInfo();">입력값 출력하기</button>

    <div class="area" id="areaExam" style="background-color:antiquewhite;"></div>

    <script>
        function productInfo(){
            var buyerName = document.getElementsByTagName("input");
            var productName = document.getElementById("productName");
            var productPrice = document.getElementsByName("price");
            console.log(buyerName[7].value);
            console.log(productName.value);
            console.log(productPrice[0].value);

            document.getElementById("areaExam").innerHTML="구매자 :"+buyerName[7].value+"<br>상품명 :"+productName.value+"<br>가격 :"+productPrice[0].value;
        }
    </script>
</body>
</html>
버튼 클릭 전
버튼 클릭 후
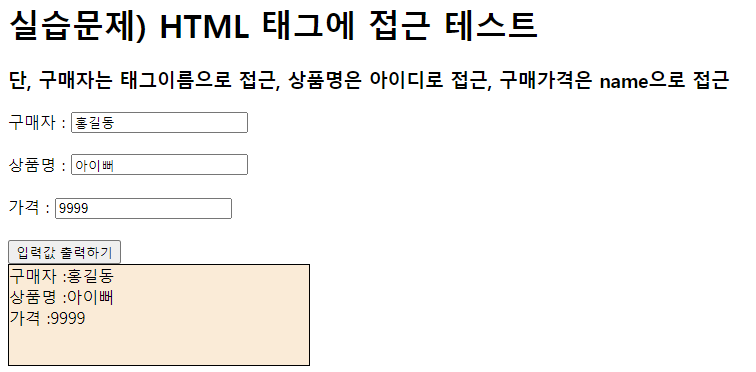
getElementsByName 에서 요소가 여럿잡히니까 Elements인 것에 주의해야 한다.
5) 원하는 요소 선택해서 가져오기
선택자를 이용하여 요소를 가져올 때
document.querySelector("선택자"); - 선택된 요소 하나만 반환
document.querySelectorAll("선택자"); - 선택된 요소 객체들을 배열에 담아 반환
<!DOCTYPE html>
<html lang="ko">
<head>
    <meta charset="UTF-8">
    <title>요소 가져오기</title>
    <!--테스트 결과 출력할 공간을 만들기 위해 설정한 style-->
    <style>
        .area{
            width: 300px;
            height: 100px;
            border: 1px solid black;
        }
    </style>
</head>
<body>
    <div id="test1">테스트1</div>

    <div class="test">
        <h2>테스트1</h2>
        <h2>테스트2</h2>
    </div>
    <span>안녕하세요</span>
    <h2>안녕히가세요</h2>

    <button onclick="accessSelector();">클릭</button>
    <script>
        function accessSelector(){
            var divEl = document.querySelector("#test1");
            console.log(divEl);

            var divEls = document.querySelectorAll("div");
            console.log(divEls);

            var h2El = document.querySelectorAll(".test>h2");
            console.log(divEls);

            var spanEl = document.querySelector(".test+span");
            console.log(spanEl);
        }
    </script>
</body>
</html>
HTMl 화면 모습
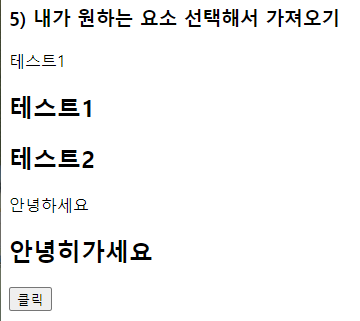
콘솔창에 출력 확인
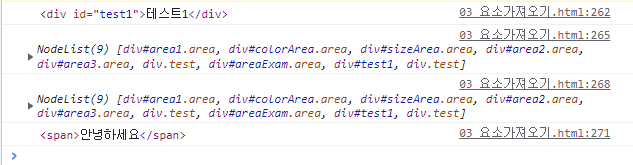
각 요소를 값을 가져와서 콘솔창으로 확인해보았다.