Material-ui Modal
Dialog 관련 속성들을 추가해준다.
import
import Dialog from '@material-ui/core/Dialog'
import DialogActions from '@material-ui/core/DialogActions'
import DialogTitle from '@material-ui/core/DialogTitle'
import DialogContent from '@material-ui/core/DialogContent'
import TextField from '@material-ui/core/TextField'
import Button from '@material-ui/core/Button'
import {withStyles} from '@material-ui/core/styles'
styles
const styles= theme=>({
    hidden:{
        display:'none'
    }
})
style 설정을 해준다.
state
class CustomerAdd extends Component{
    constructor(props){
        super(props)
        this.state={
            name:'',
            age:'',
            gender:'',
            job:'',
            file:null, // byte형태의 data
            fileName:'', // 이미지의 이름
            open:false
        }
    }
state에 open변수를 추가해준다. open 값이 false면 dialog창이 꺼져있는 것
functions
    handleFormSubmit = (e)=>{
        e.preventDefault()
        this.addCustomer().then(()=>{
            this.props.stateRefresh()
        })

        this.setState({
            name:'',
            age:'',
            gender:'',
            job:'',
            file:null, // byte형태의 data
            fileName:'', // 이미지의 이름
            open:false
        })
    }
handleFormSubmit function에도
open:false값을 추가해준다. 추가하기를 눌렀을 때 창이 꺼지게 함을 위함이다.
    handleClickOpen = ()=>{
        this.setState({
            open:true
        })
    }

    handleClose = ()=>{
        this.setState({
            name:'',
            age:'',
            gender:'',
            job:'',
            file:null, // byte형태의 data
            fileName:'', // 이미지의 이름
            open:false
        })
    }
추가하기 버튼을 눌렀을 때 dialog창을 띄우기 위해 open:true 값을 준다. handClose는 닫기를 눌렀을 때를 위한 함수
기존 render 코드
 render(){
        return(
            <form onSubmit={this.handleFormSubmit}>
                <h1>고객 추가</h1>
                프로필 이미지: <input type="file" name="file" file={this.state.file} value={this.state.fileName} onChange={this.handleFileChange}/><br/>
                이름: <input type="text" name="name" value={this.state.name} onChange={this.handleValueChange}/><br/>
                나이: <input type="text" name="age" value={this.state.age} onChange={this.handleValueChange}/><br/>
                성별: <input type="text" name="gender" value={this.state.gender} onChange={this.handleValueChange}/><br/>
                직업: <input type="text" name="job" value={this.state.job} onChange={this.handleValueChange}/><br/>
                <button type="submit">추가하기</button>
            </form>
        )
    }
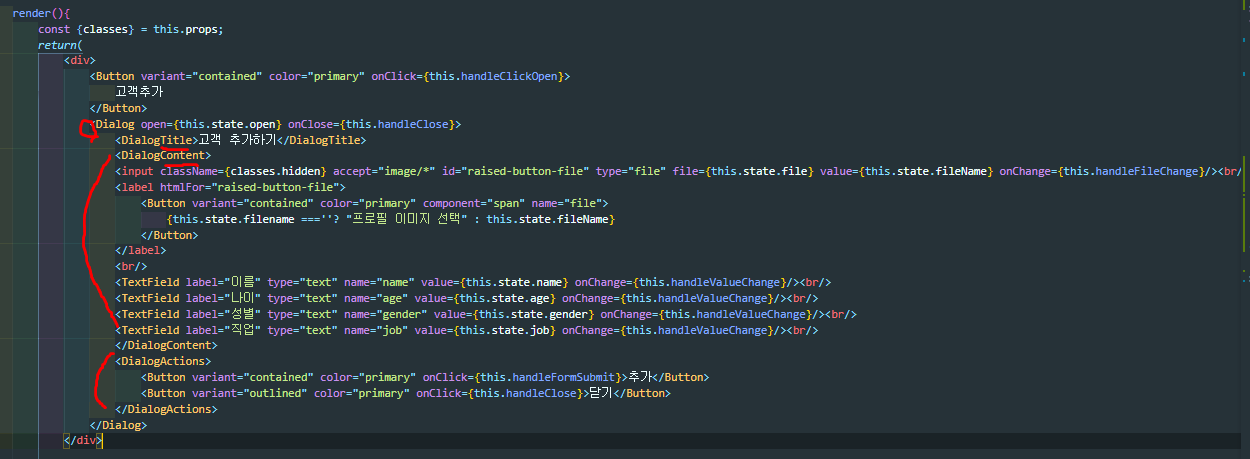
바뀐 render 코드
    render(){
        const {classes} = this.props;
        return(
            <div>
                <Button variant="contained" color="primary" onClick={this.handleClickOpen}>
                    고객추가
                </Button>
                <Dialog open={this.state.open} onClose={this.handleClose}>
                    <DialogTitle>고객 추가하기</DialogTitle>
                    <DialogContent>
                    <input className={classes.hidden} accept="image/*" id="raised-button-file" type="file" file={this.state.file} value={this.state.fileName} onChange={this.handleFileChange}/><br/>
                    <label htmlFor="raised-button-file">
                        <Button variant="contained" color="primary" component="span" name="file">
                            {this.state.filename ===''? "프로필 이미지 선택" : this.state.fileName}
                        </Button>
                    </label>
                    <br/>
                    <TextField label="이름" type="text" name="name" value={this.state.name} onChange={this.handleValueChange}/><br/>
                    <TextField label="나이" type="text" name="age" value={this.state.age} onChange={this.handleValueChange}/><br/>
                    <TextField label="성별" type="text" name="gender" value={this.state.gender} onChange={this.handleValueChange}/><br/>
                    <TextField label="직업" type="text" name="job" value={this.state.job} onChange={this.handleValueChange}/><br/>
                    </DialogContent>
                    <DialogActions>
                        <Button variant="contained" color="primary" onClick={this.handleFormSubmit}>추가</Button>
                        <Button variant="outlined" color="primary" onClick={this.handleClose}>닫기</Button>
                    </DialogActions>
                </Dialog>
            </div>
        )
    }
}

Button(고객추가)을 누르면 Dialog가 생긴다.
Dialog는 open=true일 때만 열리게 설정한다.
TextField는 위의 코드의 재탕이다. input-> label로만 바뀐 것.
  <input className={classes.hidden} accept="image/*" id="raised-button-file" type="file" file={this.state.file} value={this.state.fileName} onChange={this.handleFileChange}/><br/>
                    <label htmlFor="raised-button-file">
                        <Button variant="contained" color="primary" component="span" name="file">
                            {this.state.filename ===''? "프로필 이미지 선택" : this.state.fileName}
                        </Button>
                    </label>
image는 image를 올리기 위해 label과 button을 추가적으로 생성해주었다.
variant = design을 입히는 부분
삭제 버튼
import Dialog from '@material-ui/core/Dialog'
import DialogActions from '@material-ui/core/DialogActions'
import DialogTitle from '@material-ui/core/DialogTitle'
import DialogContent from '@material-ui/core/DialogContent'
import Button from '@material-ui/core/Button'
import Typography from '@material-ui/core/Typography'
CustomerAdd 에서 추가한 import를 그대로 가져온다. (몇개 빼고)
functions
class CustomerDelete extends Component{

    constructor(props){
        super(props)
        this.state={
            open:false
        }
    }

    handleClickOpen = ()=>{
        this.setState({
            open:true
        })
    }

    handleClose = ()=>{
        this.setState({
            open:false
        })
    }

    deleteCustomer(id){
        const url = '/' + id
        api.delete(url).then(()=>{
        this.props.stateRefresh()
        })
    }
state에
open:false를 추가해주고 CustomerAdd에서 썼던 함수들을 가져온다.
기존 render 코드
    render(){
        return(
            <button onClick={(e)=>{this.deleteCustomer(this.props.id)}}>
                삭제
            </button>
        )
    }
바뀐 render 코드
 render(){
        return(
            <div>
             <Button variant="contained" color="secondary" onClick={this.handleClickOpen}>
                삭제
            </Button>
            <Dialog open={this.state.open}>
                <DialogTitle onClose={this.handleClickOpen}>
                    삭제 경고
                </DialogTitle>
                <DialogContent>
                    <Typography gutterBottom>
                        선택한 고객 정보가 삭제됩니다.
                    </Typography>
                </DialogContent>
                <DialogActions>
                    <Button variant="contained" color="primary" onClick={(e)=>{this.deleteCustomer(this.props.id)}}>삭제</Button>
                    <Button variant="contained" color="primary" onClick={this.handleClose}>닫기</Button>
                </DialogActions>
            </Dialog>
            </div>
        )
    }