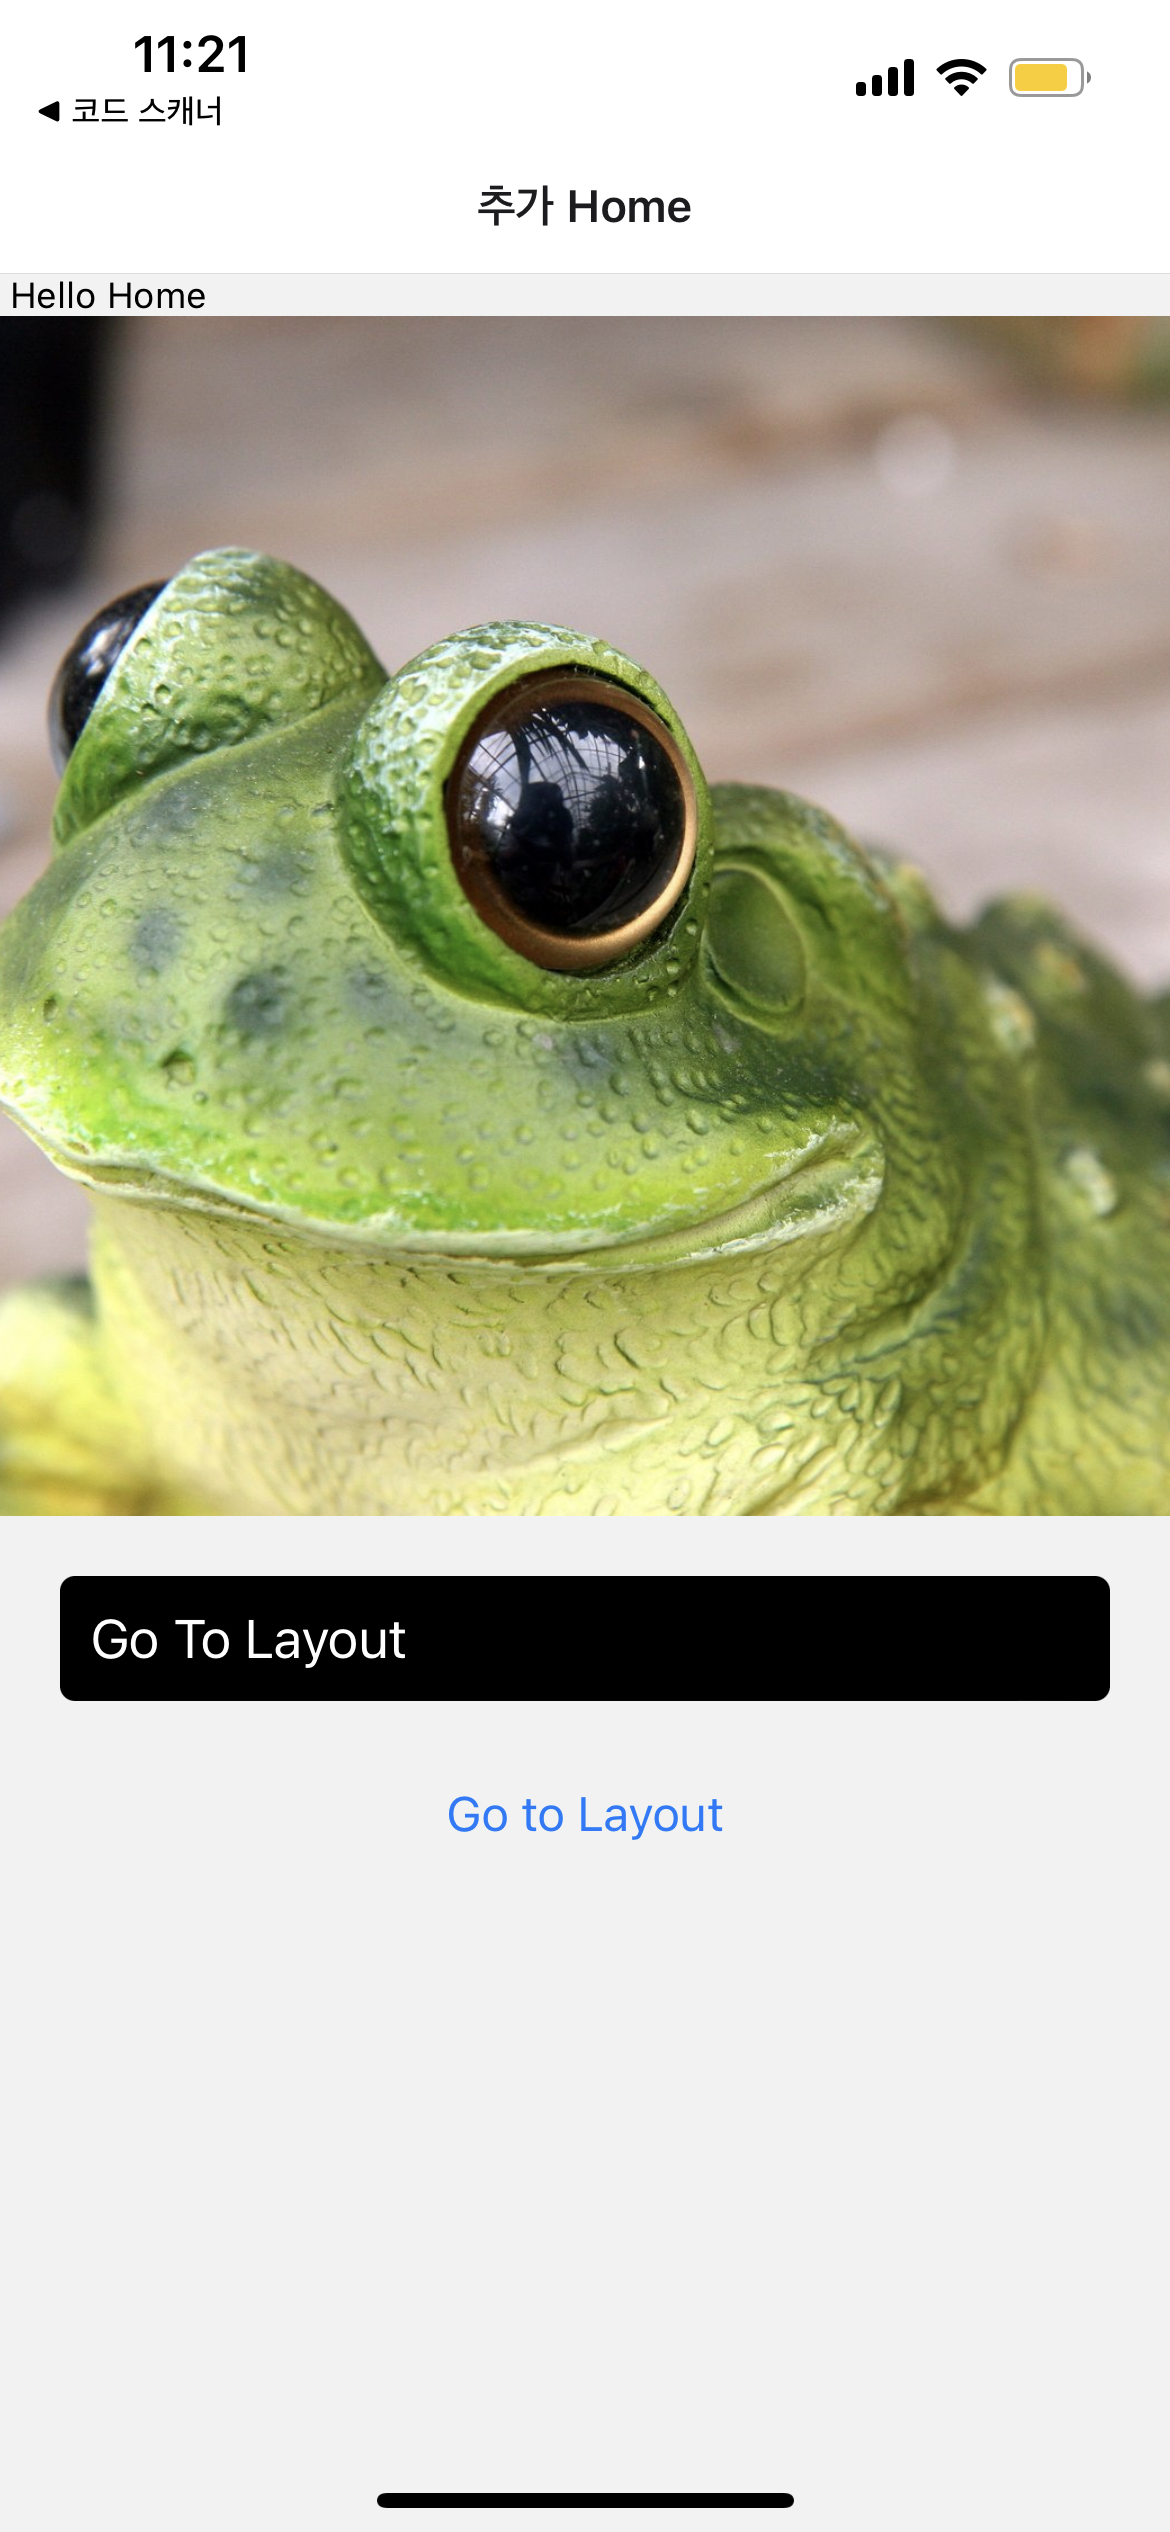
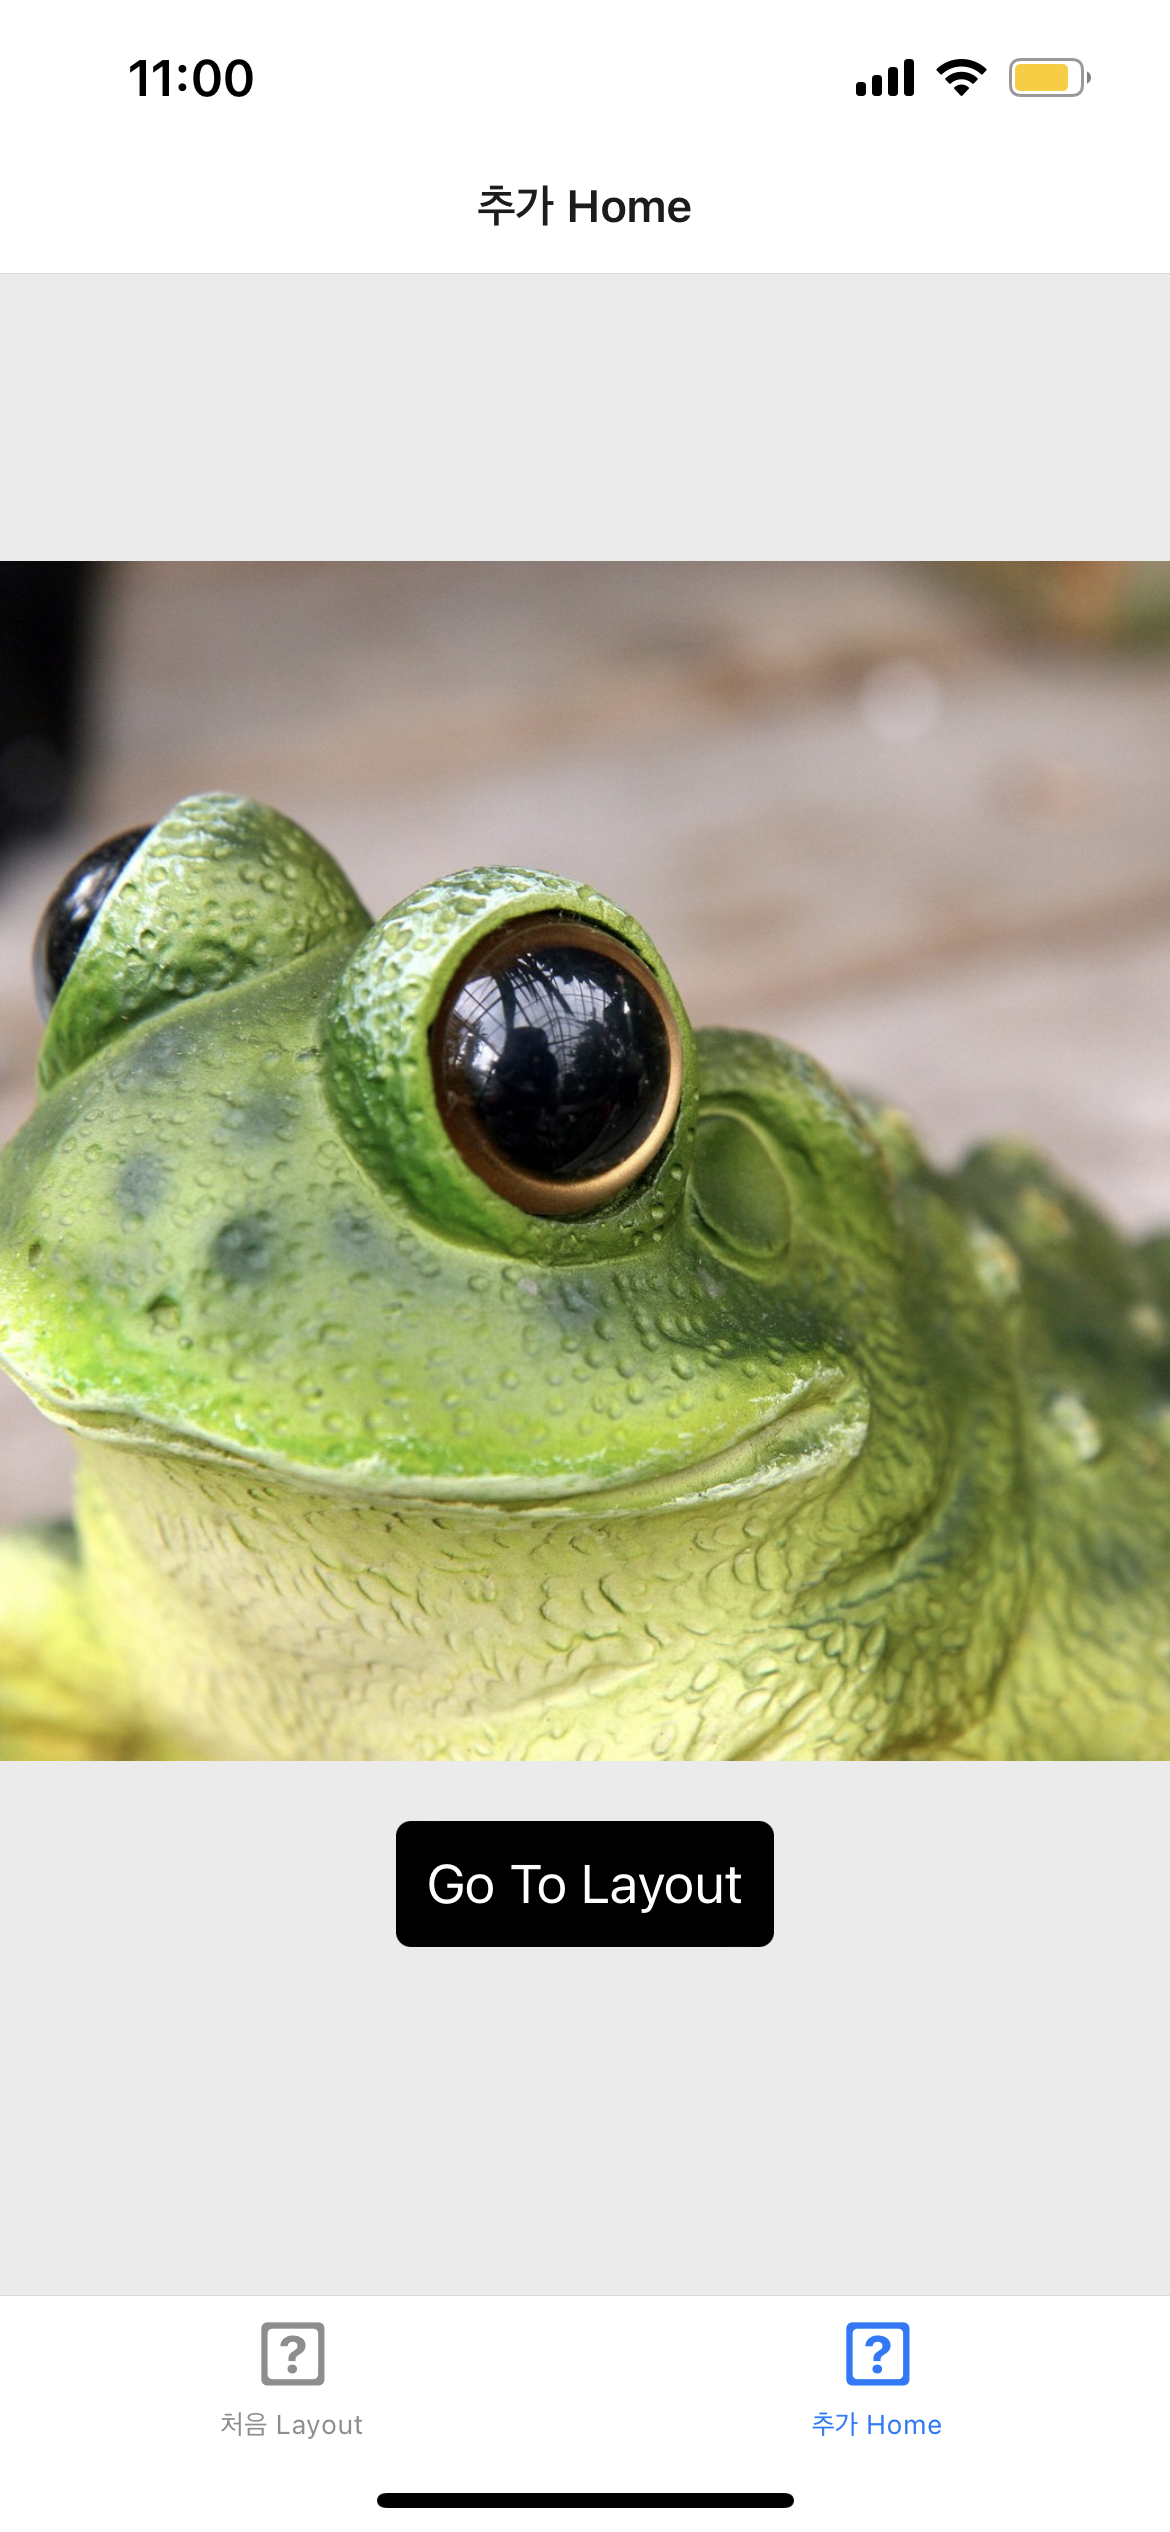
Image 넣기
<Image
        source={require('../assets/frog-1371919.png')}    // 개구리 이미지 삽입
        style={{width:400, height:400}}
      />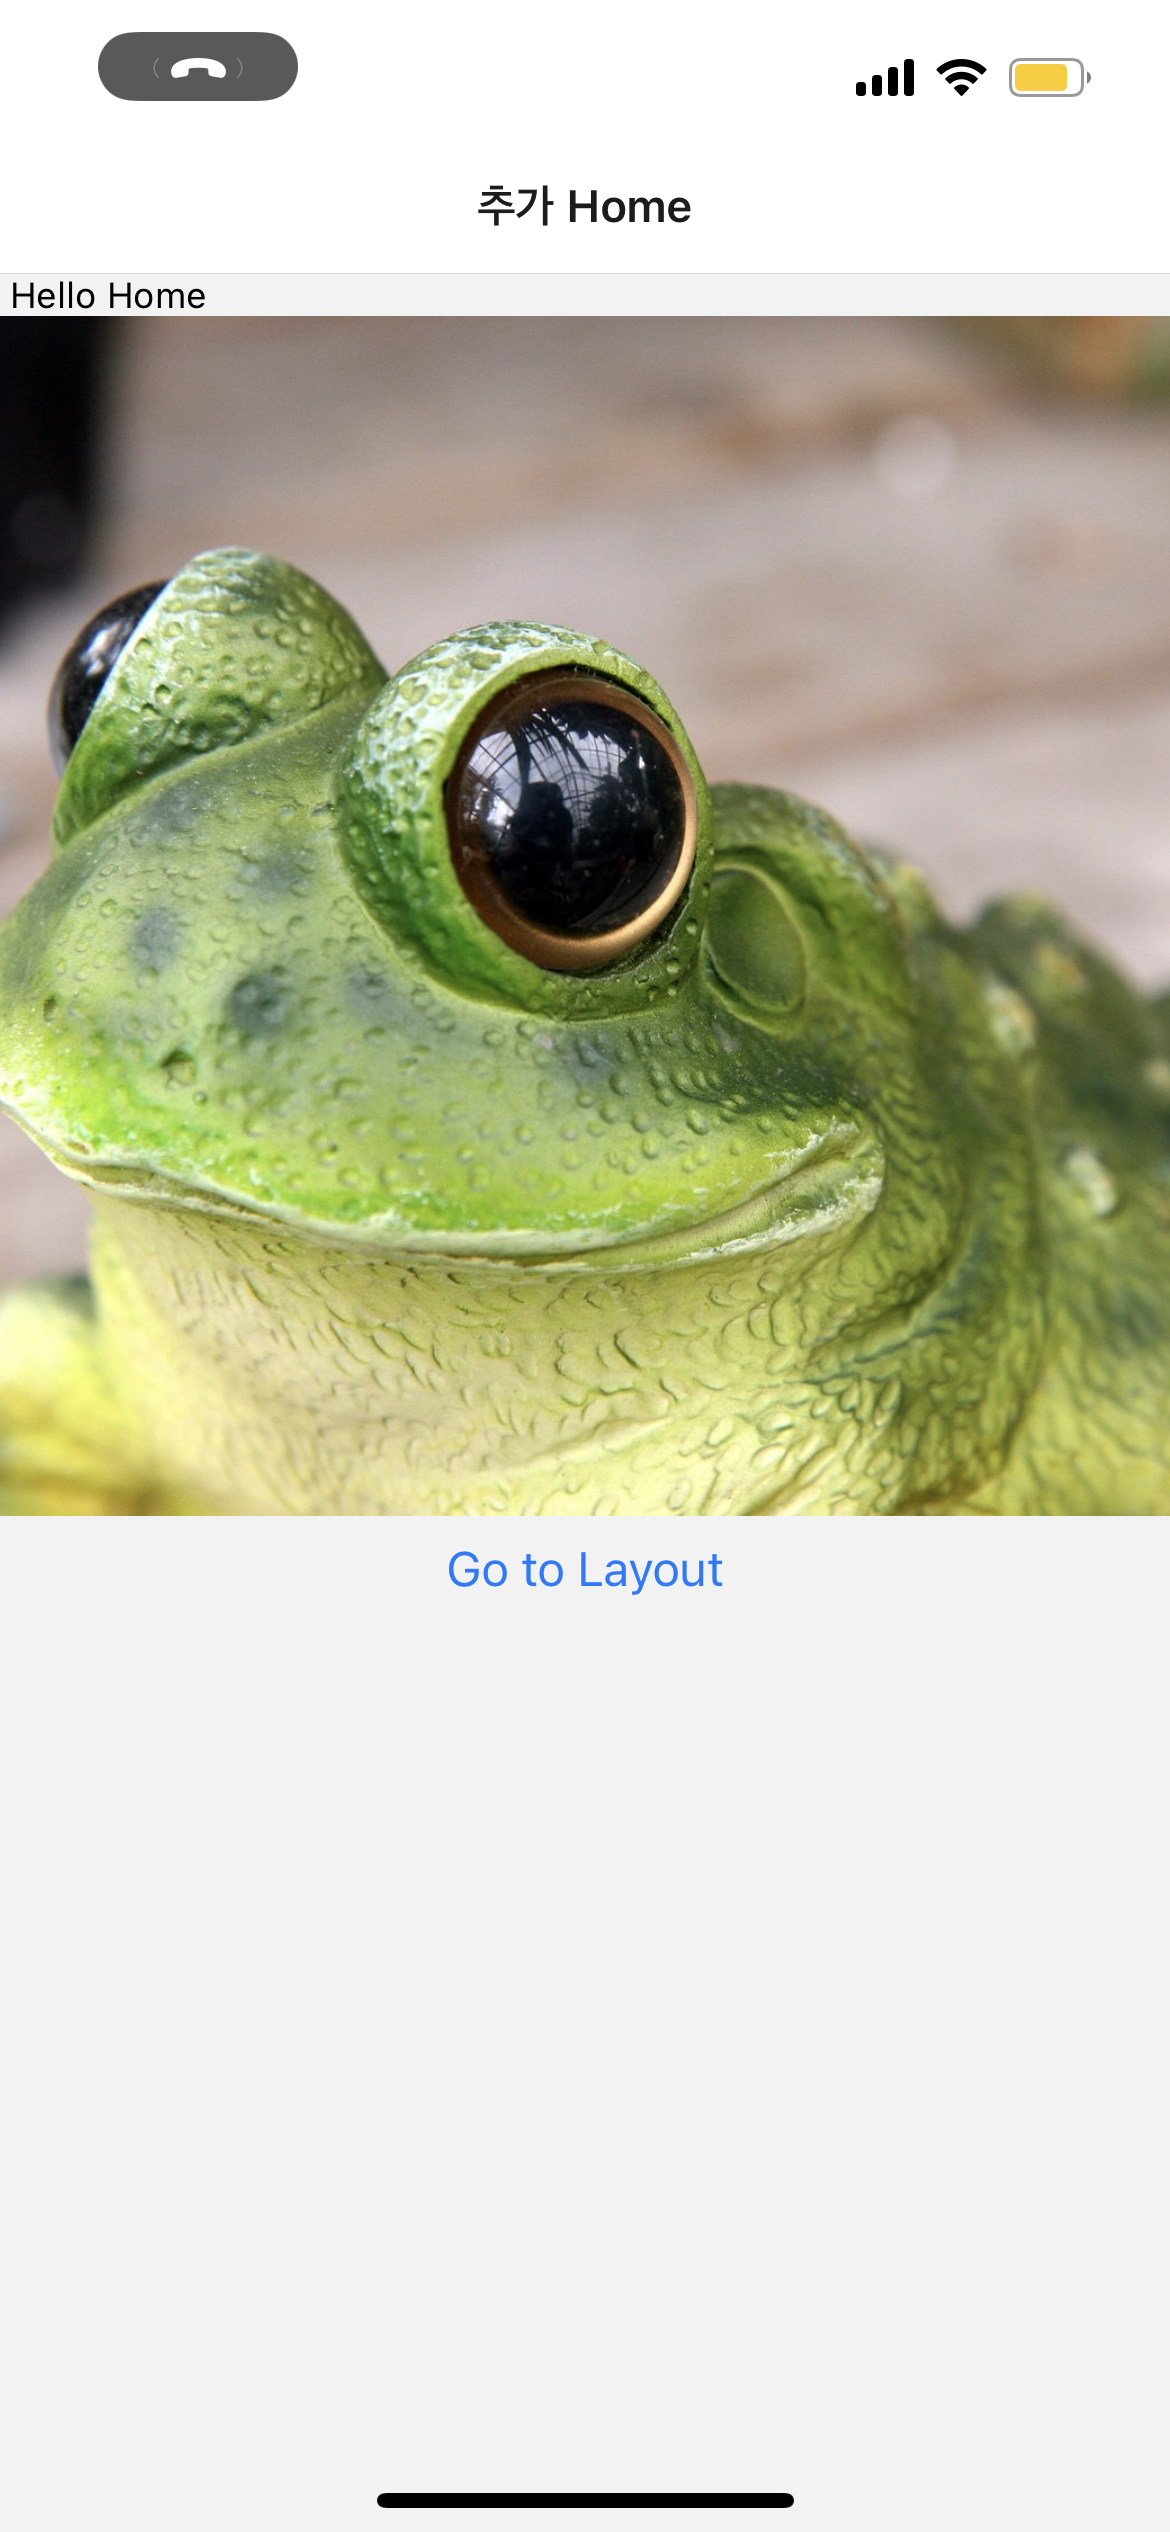
Touchable Opacity - 버튼
- import 해주고
<TouchableOpacity
        style={styles.buttonContainer}                    // 버튼 박스 생성, 스타일은 buttonContainer에서 설정
        onPress={() => navigation.navigate('Layout')}     // 누르면 Layout으로 이동
      >
        <Text style={styles.buttonTest}>Go To Layout</Text>
      </TouchableOpacity>
const styles = StyleSheet.create({
buttonContainer:{
backgroundColor:'black',
borderRadius:5,
padding:10,
margin:20
},
buttonTest:{
fontSize:20,
color:'#fff'
}
})
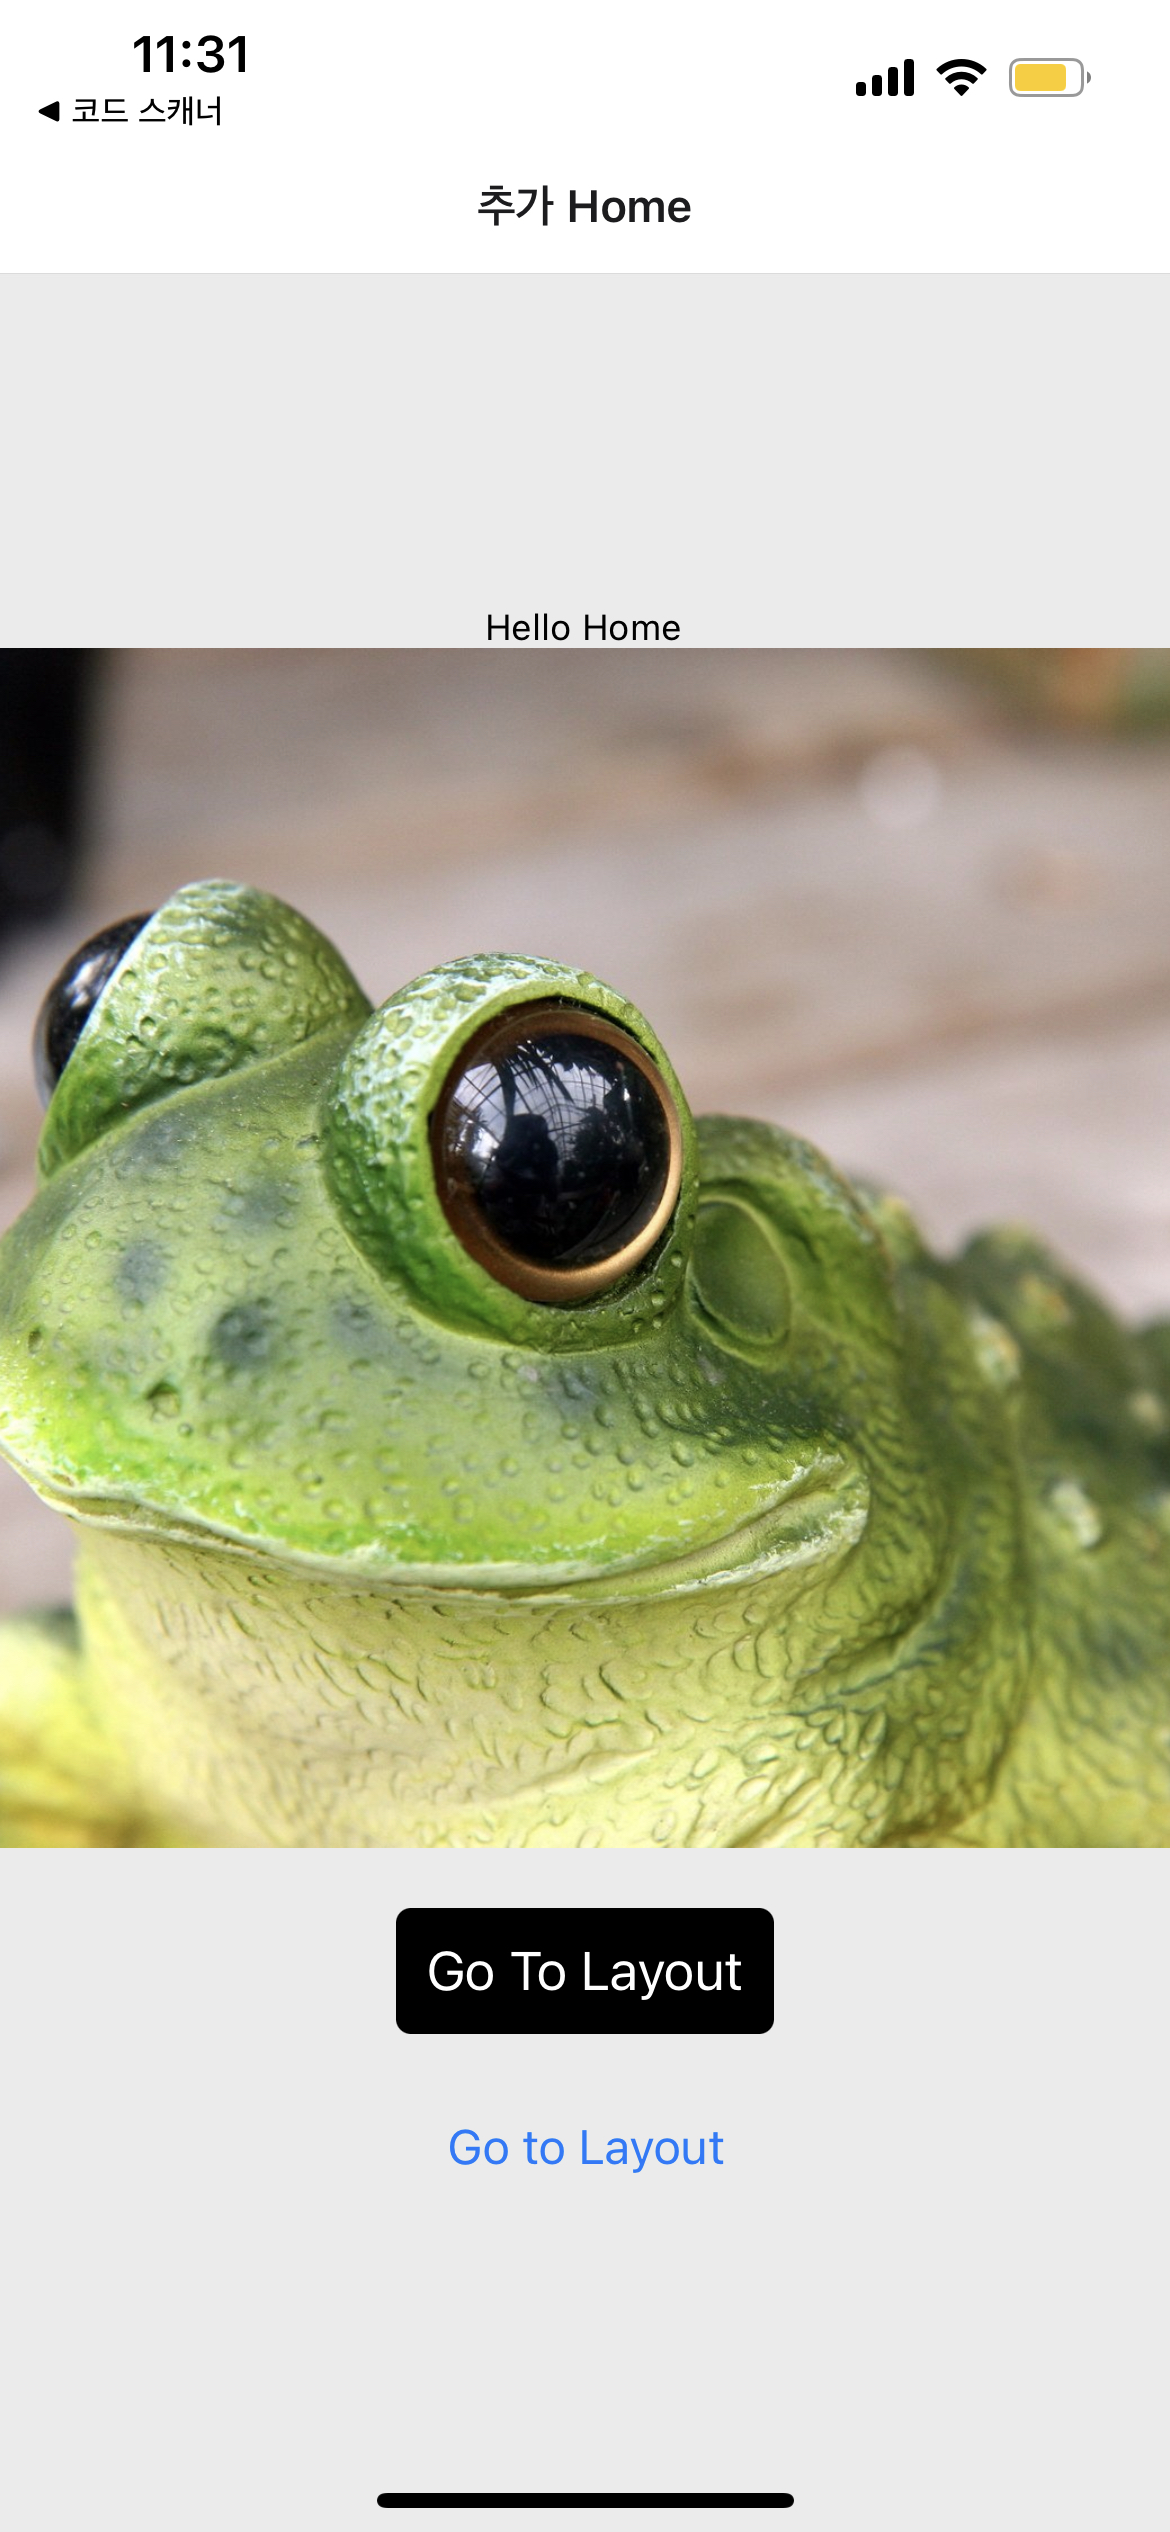
<> ⇒
전체 화면을 기존 <></> 에서 로 바꿔주면 style 적용 가능
const styles에 containter 추가하고 <View style = {styles.container}>
const styles = StyleSheet.create({
  container:{
    flex:1,
    justifyContent:'center',    // 개구리 중앙 정렬
    alignItems:'center',        // 버튼 중앙 정렬
    backgroundColor:'#ebebeb'   // 바탕색 옅은 회색
  }
그리고 이전 버튼은 지워주기
Layout에 ‘Go to home’ 버튼 생성
const {navigation} = props; prop으로 전달받아서 navigation
const Layout = (props) => {
const {navigation} = props;<View style={[styles.buttonView]}>
<Button title="GO TO HOME"
onPress={() => navigation.navigate('Home') }/>
</View>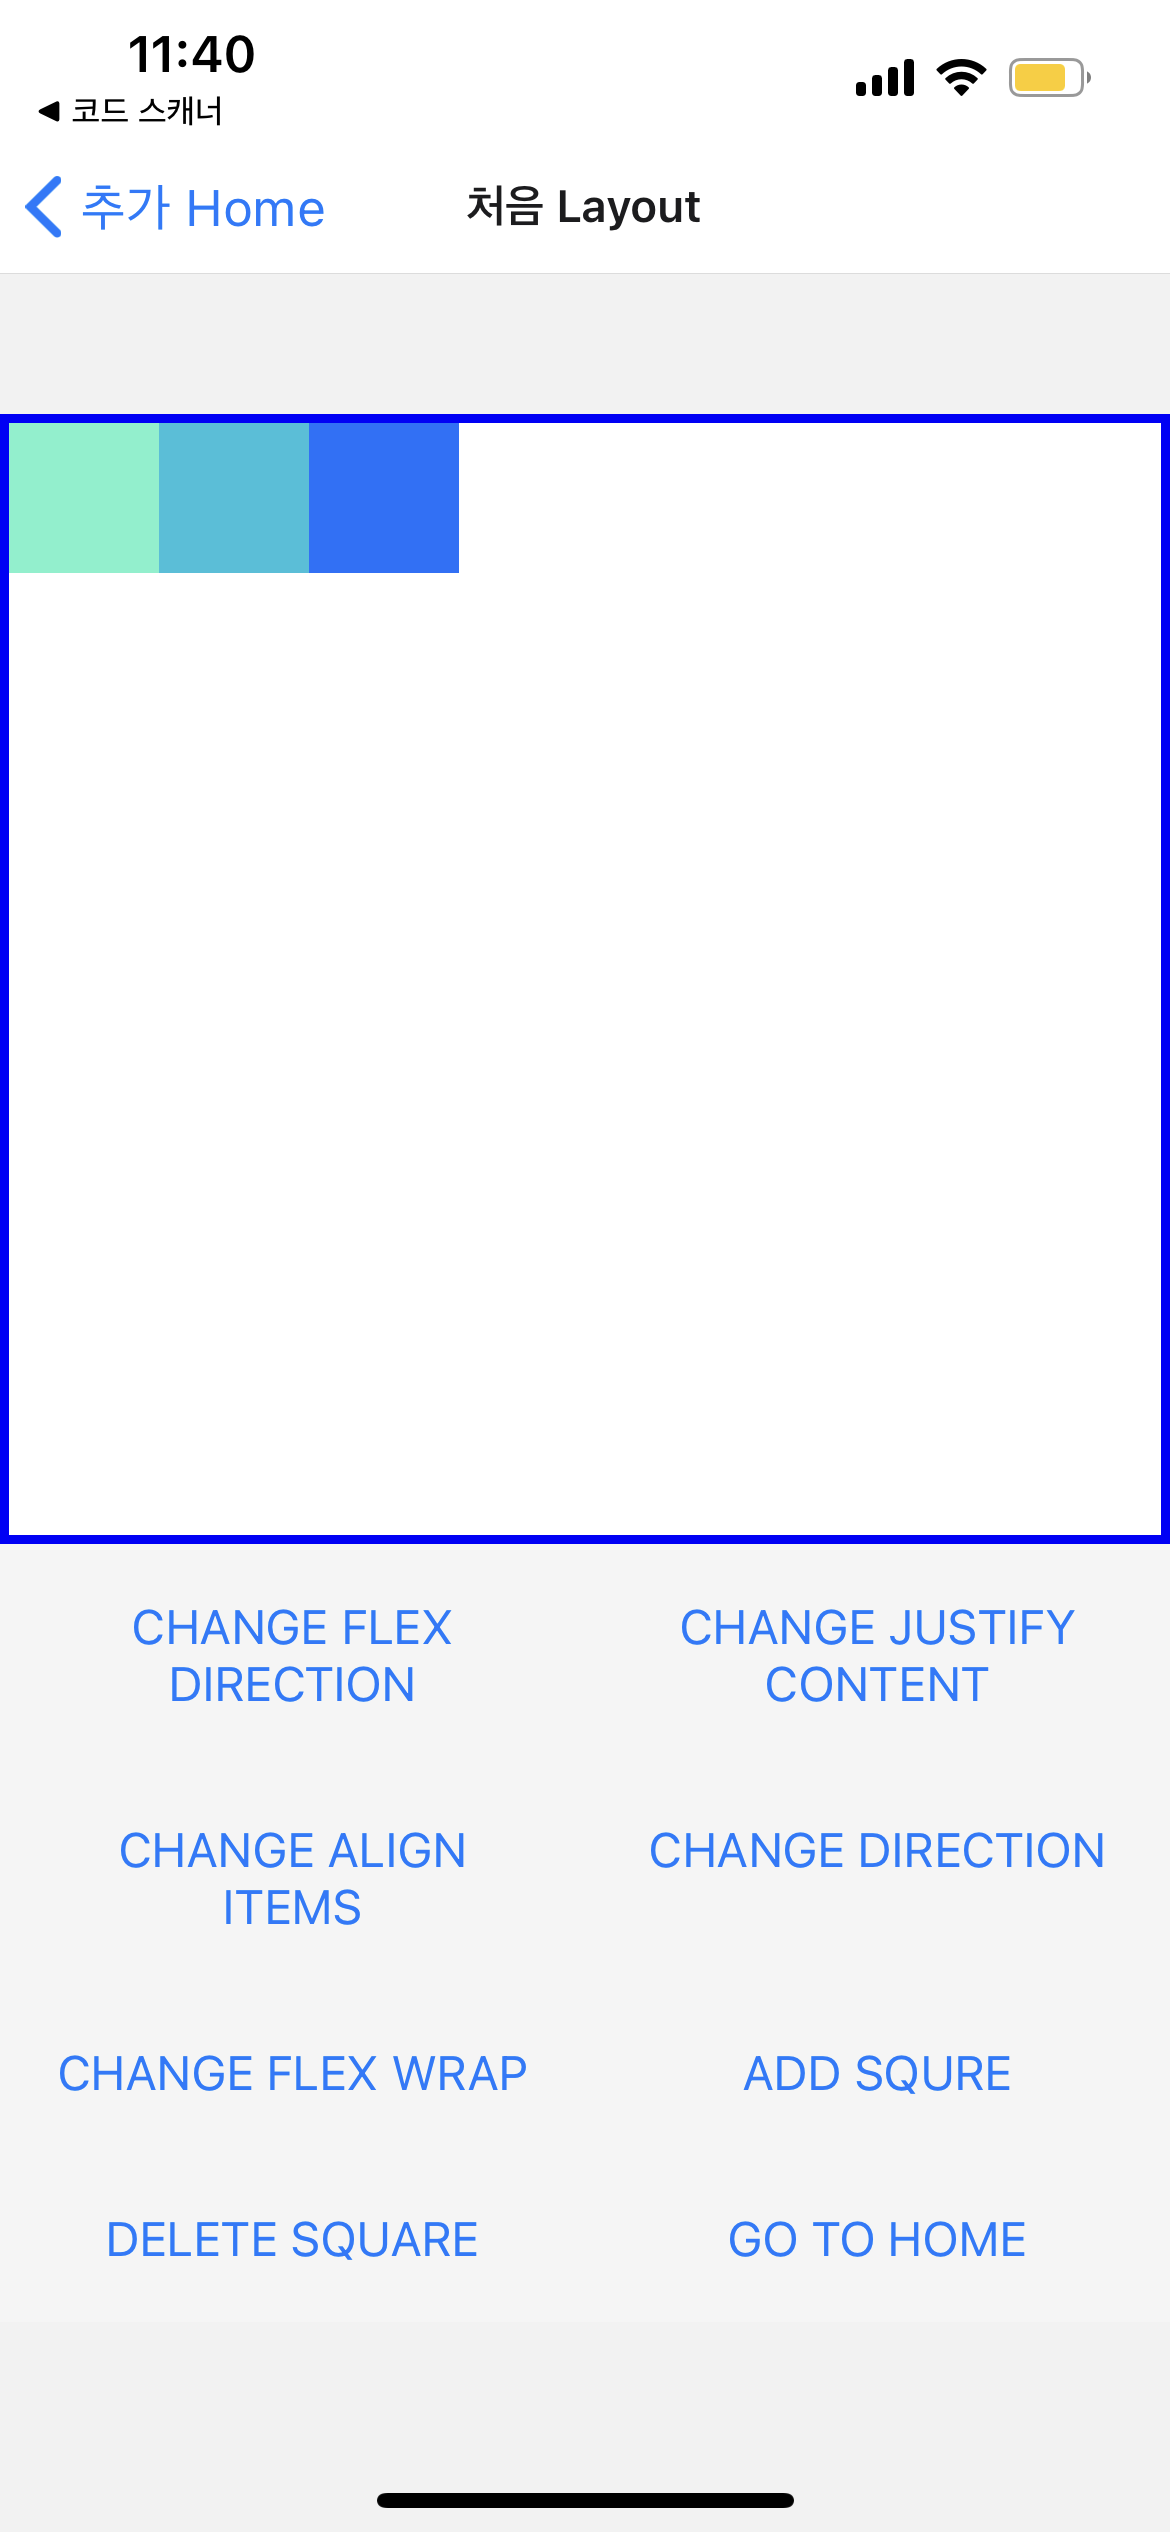
Tap base navigation
npm install @react-navigation/bottom-tabs
MainStackNavigator 에서 Stack → Nav로 기호 이름 바꾸기
MainTabNavigator 추가하고 App.js에서 연결
나는 왜 화살표가 안뜨지 ➡️ 업데이트 하니까 떴음