
JS
visible 클래스로 opacity 조정
visble 기준
- 이미지? 말풍선의 위치를 기준으로 잡기 (쌍을 맞춰야함)
- step과 img를 순서에 맞춰 인덱스 붙이기
- (ex) step이 5면 이미지 5번 보여주기;
-- custom attr.로data-index=""
// 대충 html상에서 이런 느낌으로

<div data-index="0" class="graphic-item">
	<img class="scene-img" src="images/00.png" alt="">
</div>
전역변수 사용을 피하기 위해, 즉시실행 anom. 함수 만들기(보호 )

for(let i = 0; i < stepElms.length; i++){
        // stepElms[i].setAttribute('data-index', i);
        stepElms[i].dataset.index = i;
}dataset.index로 쌍은 다 맞췄다! 이제 스크롤 위치 정할 시간!
(1) 구간 설정
(2) stepElm[i]가 구간 진입시, 해당 index 이미지 보여주기
cf. opacity 0, opacity 1
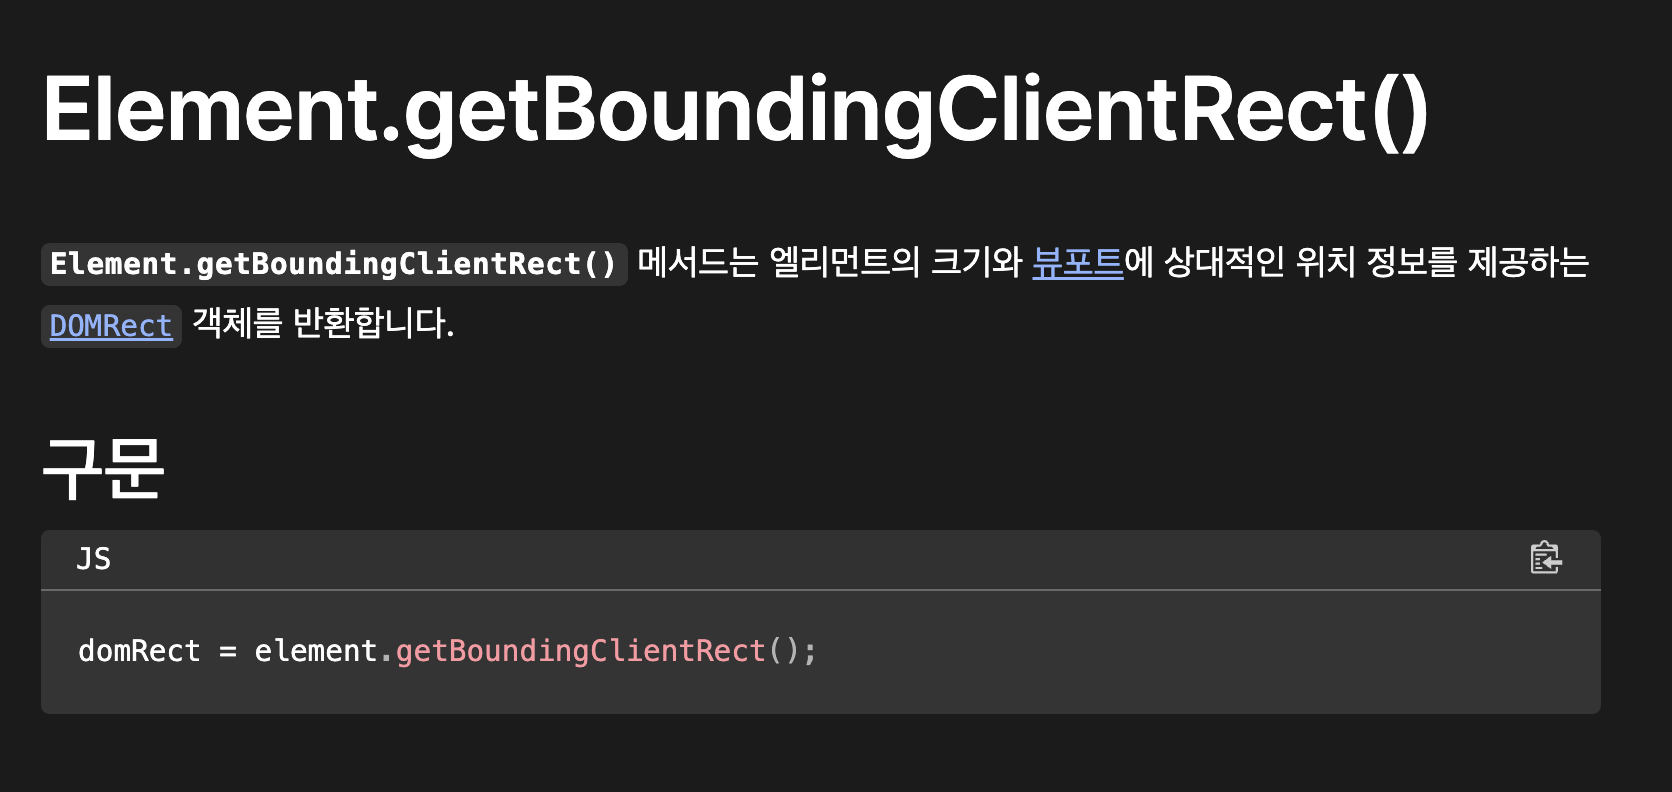
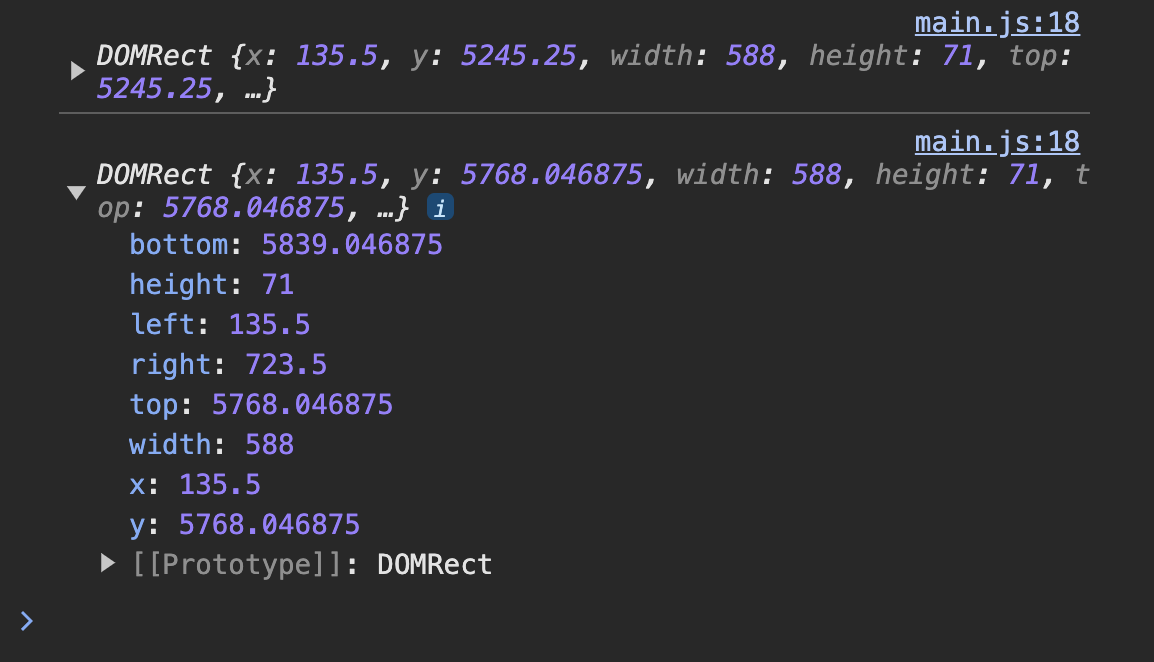
getBoundingClientRect()
위치와 크기를 알려줌. y와top값이 똑같음
10~20% < y < 80%
add / remove
currentItem.classList.add('visible')
currentItem.classList.add('remove')

// active(), inactive() 함수로 쪼개기
첫번째 img는 visible 활성화
let currentItem = graphicElms[0];

...

activate(); // 'visible' 추가
루프 횟수를 줄이자! IntersectionObserver
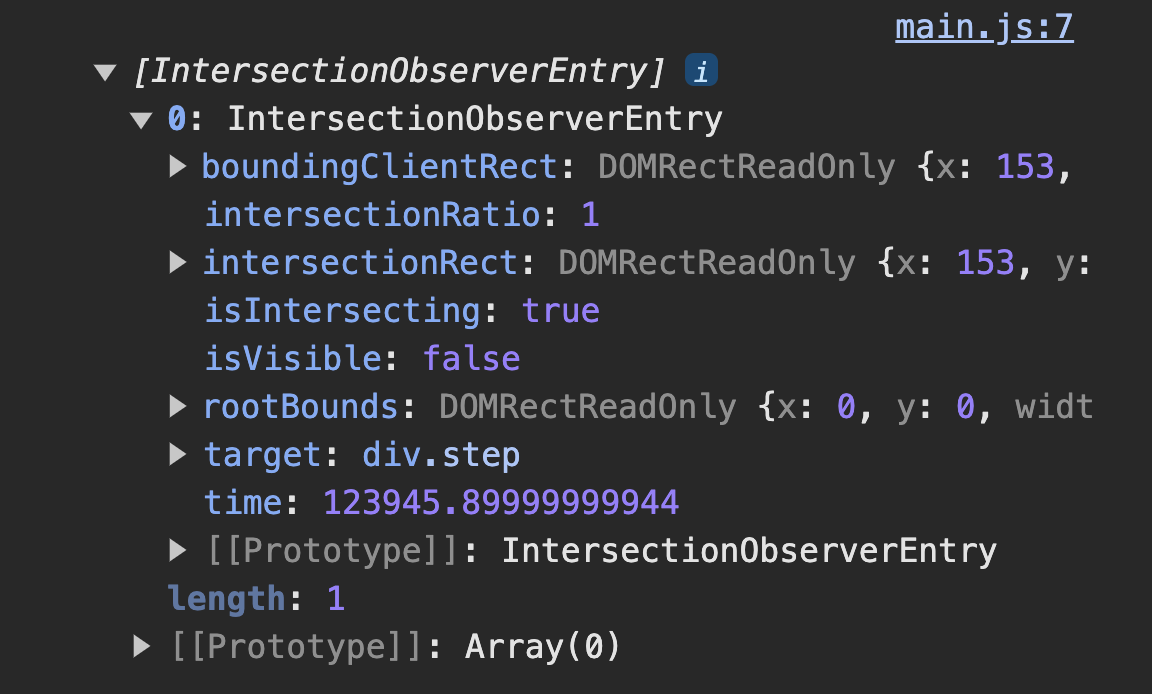
= 관찰대상이 사라지거나 나타날 때, 시점마다 callback 함수 실행됨
비효율적으로 for문 다 돌 필요없이, n-1 , n, n+1인덱스만 체크
위치와 크기를 가지는 boundingClientRect 가지는 등...
HEROPY님 블로그 읽기
우리가 주목할 것은 target

const io = new IntersectionObserver((entries, observer) => {
        console.log(entries[0].target.dataset.index)
});
let ioIndex;
const io = new IntersectionObserver((entries, observer) => {
ioIndex = entries[0].target.dataset.index * 1; // 초기 type string
console.log(ioIndex)
});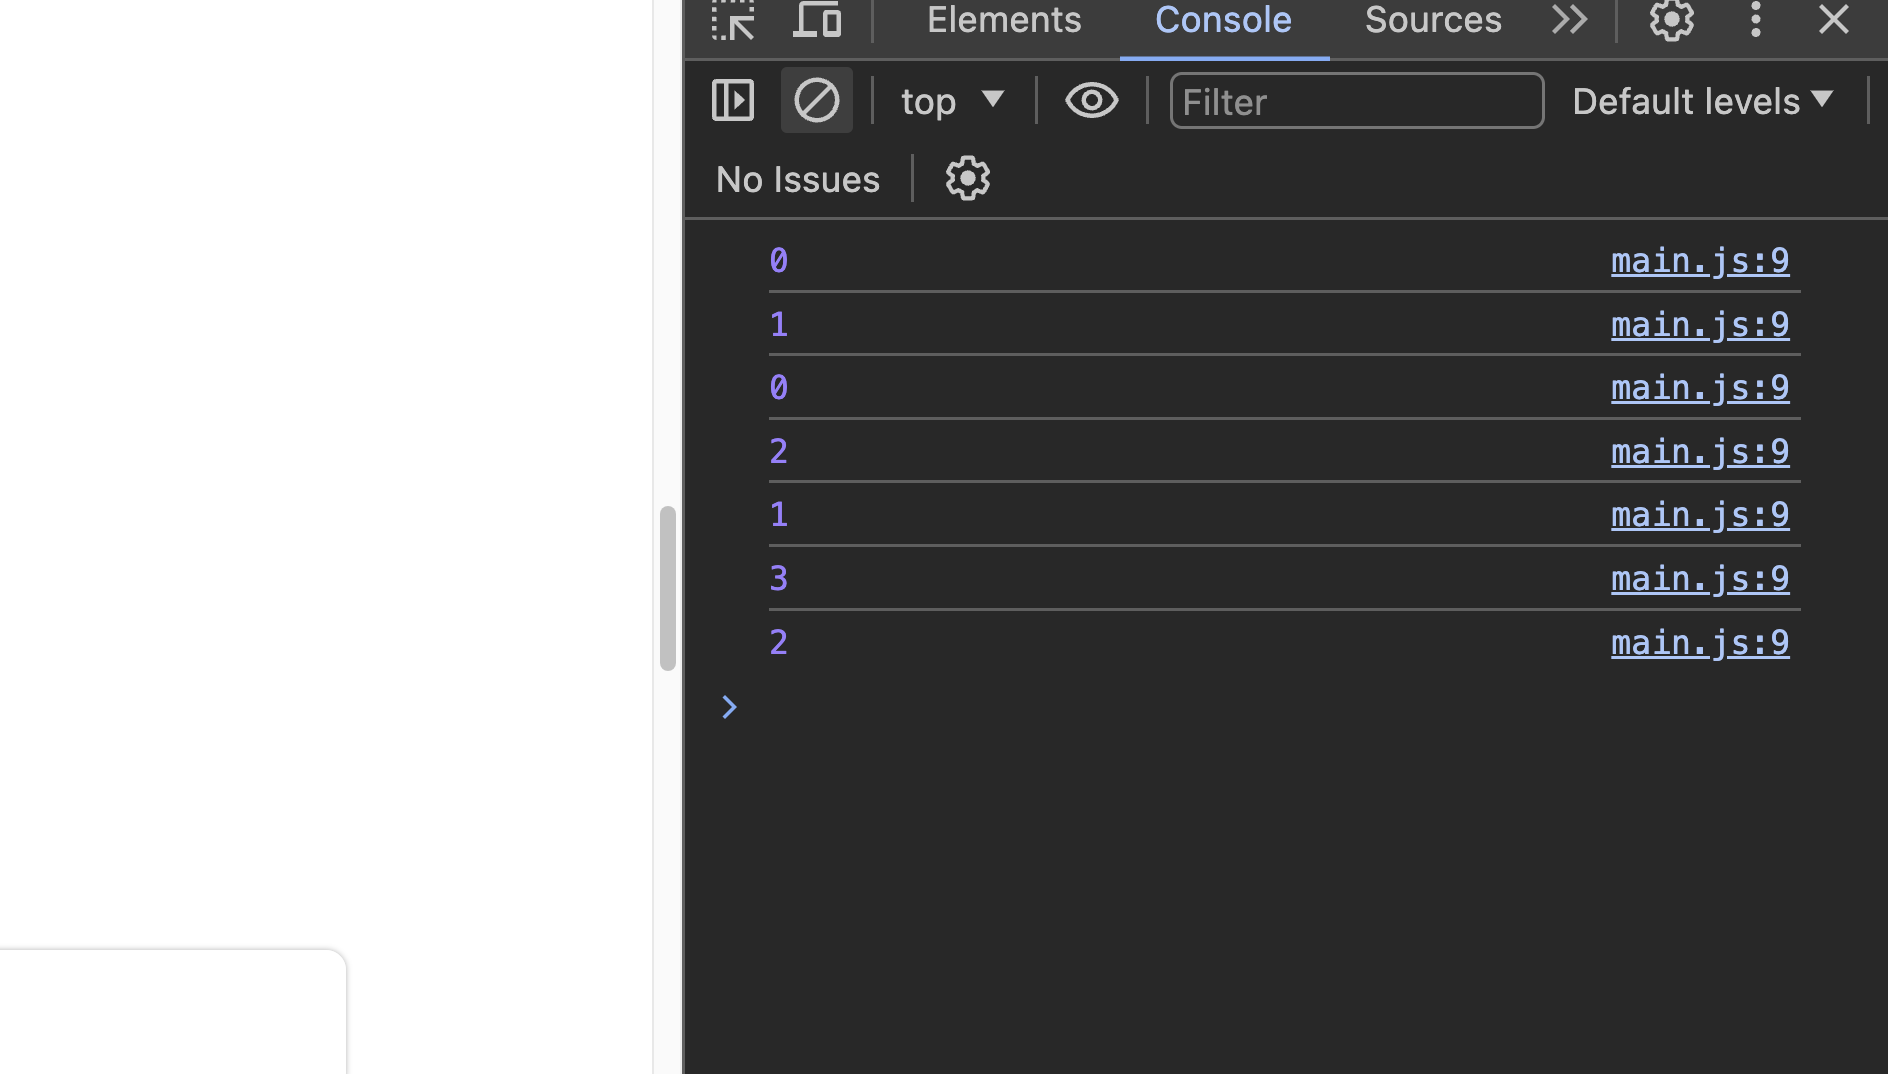
for문 돌리면 진짜 레전드 비효율적임!
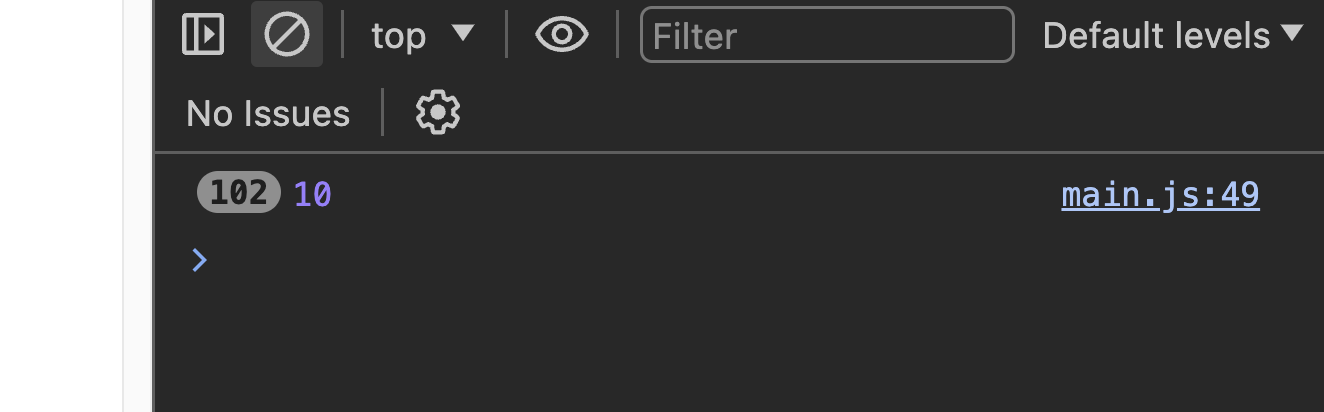
ioIndex를 활용하면 10이 아닌 3이 찍힐 것 굿굿
아래는 콘솔창 비교
1. for문 ver.
 2.
2. ioIndex 활용 ver.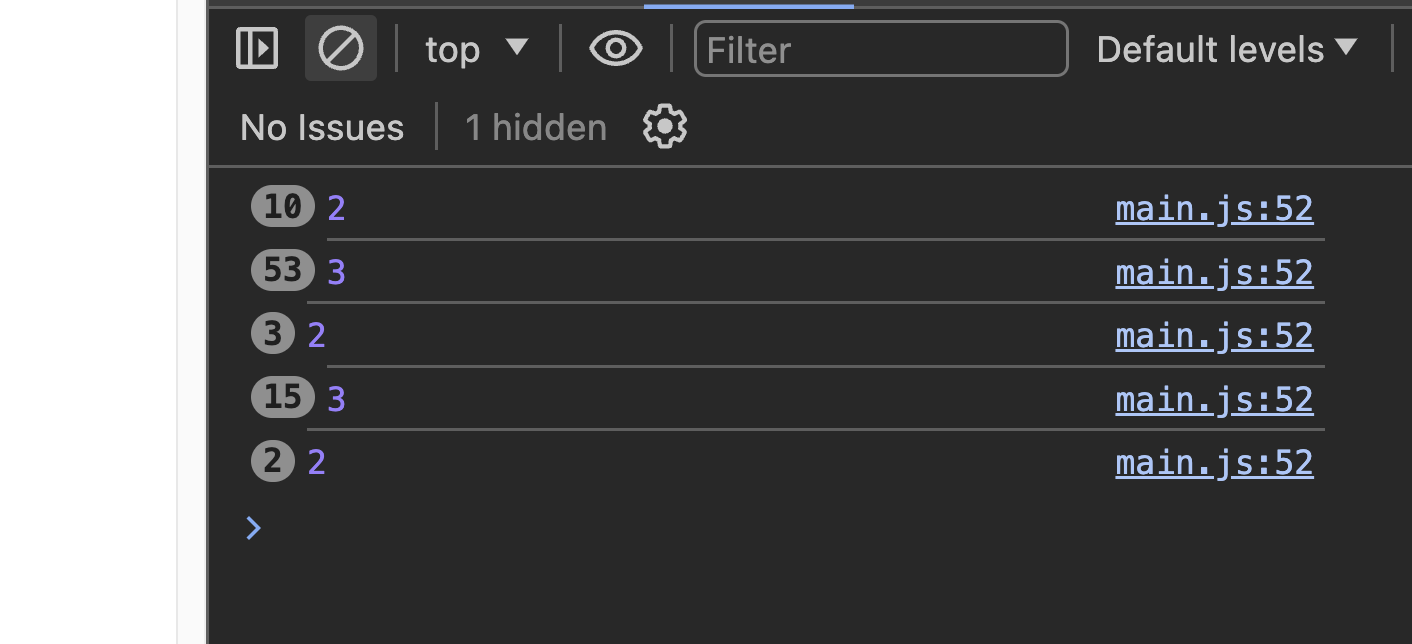

현실적인 몽상가