
📜 NN Build 이해하기
Pytorch로 신경망 모델을 구축할 시 다음 과정을 따름
- Design your model using class with Variables
- Train cycle (forward, backward, update)
https://pytorch.org/tutorials/beginner/pytorch_with_examples.html
📕 신경망 구축하기
📖 1단계. Design your model using class with Variables
PyTorch 모델로 쓰기 위해선 다음 두 가지 조건을 따라야한다.
1. torch.nn.Module을 상속해야한다.
- interitance: 상속; 어떤 클래스를 만들 때 다른 클래스의 기능을 그대로 가지고오는 것.
2. init과 forward()를 override 해야한다.
- override : torch.nn.Module(부모클래스)에서 정의한 메소드를 자식클래스에서 변경하는 것.
- init : 모델에서 사용될 모듈과 활성화함수등을 정의
- module(nn.Linear, nn.Conv2d)
- activation function(nn.functional.relu,nn.functional.sigmoid)
- forward() : 모델에서 실행되어야하는 계산을 정의
- backward 계산은 backward()를 이용하면 PyTorch가 알아서 해주니까 forward()만 정의해주면 된다.
import torch.nn as nn

# 모델 클래스 정의
class NN(nn.Module):
    def __init__(self):
        super(NN,self).__init__()
        self.flatten = nn.Flatten()
        self.linear_relu_stack = nn.Sequential(
            nn.Linear(28*28,512),
            nn.ReLU(),
            nn.Linear(512,512),
            nn.ReLU(),
            nn.Linear(512,10),
        )
    def forward(self,x):
        x = self.flatten(x)
        logits = self.linear_relu_stack(x)
        return logits

# 정의한 모델 클래스를 gpu로 지정후 인스턴스 생성
model = NN().to(device)
📖 2단계. Train cycle (forward, backward, update)
1. Train / Test Loop 지정
2. 하이퍼파라미터 지정
3. Epoch Loop 지정
Train Loop 지정
def train_loop(dataloader,model,loss_fn,optimizer):

    # 입력 데이터세트의 총 길이
    size = len(dataloader.dataset) # 60000

    # 배치 총 개수 (60000/64 = 938) - 학습에서 미사용
    num_batches = len(dataloader)

    # train_loop
    for batch, (X,y) in enumerate(dataloader):

        # 타입 & device 변환
        X = X.type(torch.float32).to(device)
        y = y.to(device)

        # 모델 예측
        pred = model(X)

        # Loss 계산
        loss = loss_fn(pred,y)

        # Backpropagation
        optimizer.zero_grad() # 이전 루프에서 각 파라미터들에 저장된 .grad를 초기화
        loss.backward() # 각 파라미터들의 .grad값에 변화정도가 저장이 됨.
        optimizer.step() # 최적화함수에 맞게, 각 파라미터 업데이트

        # log
        if batch % 450 == 0:
            loss = loss.item() # item()을 통해, 변수에서 값만 가져옴
            current = batch*len(X)
            print(f"loss: {loss:>7f}  [{current:>5d}/{size:>5d}]")
Test Loop 지정
def test_loop(dataloader,model,loss_fn):

    # 입력 데이터세트의 총 길이
    size = len(dataloader.dataset)
    print("size :",size)
    # 배치 총 개수 (예 : 640개를 64개씩 분할 할경우 총 10개)
    num_batches = len(dataloader)
    print("num_batches :",num_batches)
    test_loss = 0
    correct = 0

    # 테스트 단계이므로 gradient 옵션 해제
    with torch.no_grad():
        for X,y in dataloader:

            # 타입통일 & device 변환
            X = X.type(torch.float32).to(device)
            y = y.to(device)

            # 모델 예측
            pred = model(X)

            # Loss 계산
            loss = loss_fn(pred,y)

            # LOSS / CORRECT
            test_loss += loss.item() # item()을 통해, 변수에서 값만 가져옴
            correct_cnt = (pred.argmax(axis=1)==y).type(torch.float).sum().item()
            correct += correct_cnt

    test_loss /= num_batches
    correct /= size
    print(f"Test Error: \n Accuracy: {(100*correct):>0.1f}%, Avg loss: {test_loss:>8f} \n")
하이퍼파라미터 지정
learning_rate = 1e-3
epochs = 30
loss_fn = nn.CrossEntropyLoss()
optimizer = torch.optim.SGD(model.parameters(),lr=learning_rate)
Epoch Loop 지정
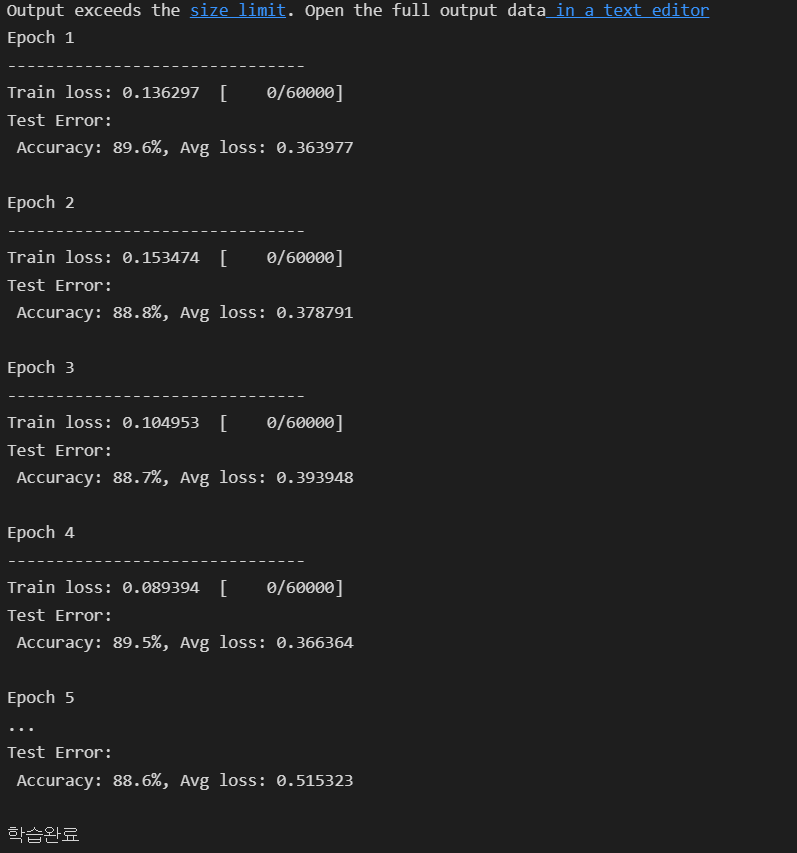
for t in range(epochs):
    print(f"Epoch {t+1}\n-------------------------------")
    train_loop(train_dataloader, model, loss_fn, optimizer)
    test_loop(test_dataloader, model, loss_fn)
print("학습완료")
📖 결과
📕 저장
# 학습된 가중치 - model.state_dict() 로 확인가능
model.state_dict()

#  저장
torch.save(model.state_dict(),'checkpoints/NNtest.pth')

# 가중치 로드
model = NN().to(device)
model.load_state_dict(torch.load('checkpoints/NNtest.pth'))
📚 참고

인공지능 4년차 개발자입니다.