
Jupyter notebook으로 db접근
#라이브러리 설치
!pip install pymysql
!pip install sqlalchemy

## 라이브러리 호출
import pymysql
from sqlalchemy import create_engine
pymysql.install_as_MySQLdb()
import MySQLdb

## db커넥션 선언
conn = pymysql.connect(host = 'localhost',
                      user = 'root',
                      password = 'qwer1234',
                      db = 'std01',
                      charset = 'utf8')

## db활용 및 sql 조회
cur = conn.cursor()
query = "select * from employees"
cur.execute(query)

>>>>
107

## 튜플형태로 데이터 조회
row = cur.fetchall()
print(row)

# 커넥션 종료
conn.close()

## 테이블 만들기
cur = conn.cursor()

## 2. 쿼리 작성
sql = '''
CREATE TABLE users (
        id int(11) NOT NULL AUTO_INCREMENT PRIMARY KEY,
        email varchar(255) NOT NULL,
        password varchar(255) NOT NULL
);'''

## 3. 커서실행
cur.execute(sql)

>>>>
0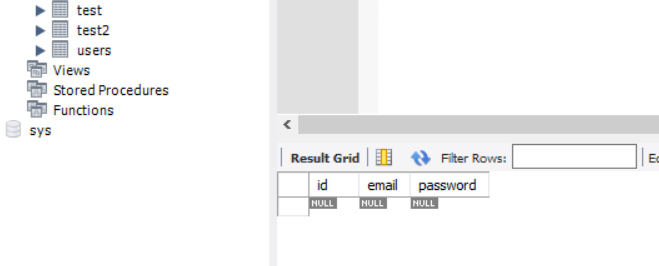
잘 만들어졌다.!!
cur.execute('show tables;')
>>>>
8

cur.fetchall()
>>>>
(('animal_ins',),
 ('departments',),
 ('employees',),
 ('jobs',),
 ('locations',),
 ('test',),
 ('test2',),
 ('users',))

 테이블을 이렇게 확인 할 수 있다!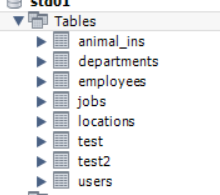
- 똑같쥬~~~?!
## sql 작성
sql = '''Drop table users;'''
cur.execute(sql)
>>>>
0

## users라는 table이 드랍되어서 테이블 갯수가 8개에서 7개로 줄었다.

cur.execute('show tables;')
>>>>
7
- row를 넣어보자 !
## insert sample1

sql1 = '''
            insert into users(email,password)
                    values('abc@naver.com','12345')
'''

cur.execute(sql1)
conn.commit()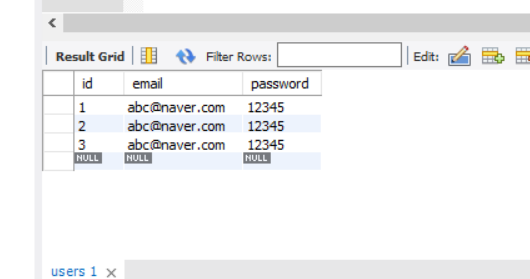
-
네!! 값이 잘 들어왔어요!
-
저는 데이터를 여러 개 밀어넣고 싶어요!!!
-
네 그럼 이렇게 하세요 !
## > 올바른 작성방법
sql2 = '''
insert into users(email,password) values(%s, %s)
'''
cur.execute(sql2,('asas@nate.com','1q2w3e'))
# 항상 밀어넣고는 커밋을 해줘야 한다.
conn.commit()

data = (('rang@google.com','123asd'),
        ('kokoko@kakao.com','12345'),
        ('dodo@naver.com','12332'))

cur.executemany(sql2,data)

conn.commit()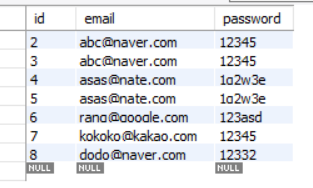
- 짜잔!
판다스로 데이터 유용하게 다루기
import pandas as pd

query = "select * from employees"
## 변수에 query문을 저장을 하세요
a = pd.read_sql(query,conn)
## pd의 내장함수중에 read_sql이 있는데 파라미터로 query문과 ,dbconnection을 받는다.

a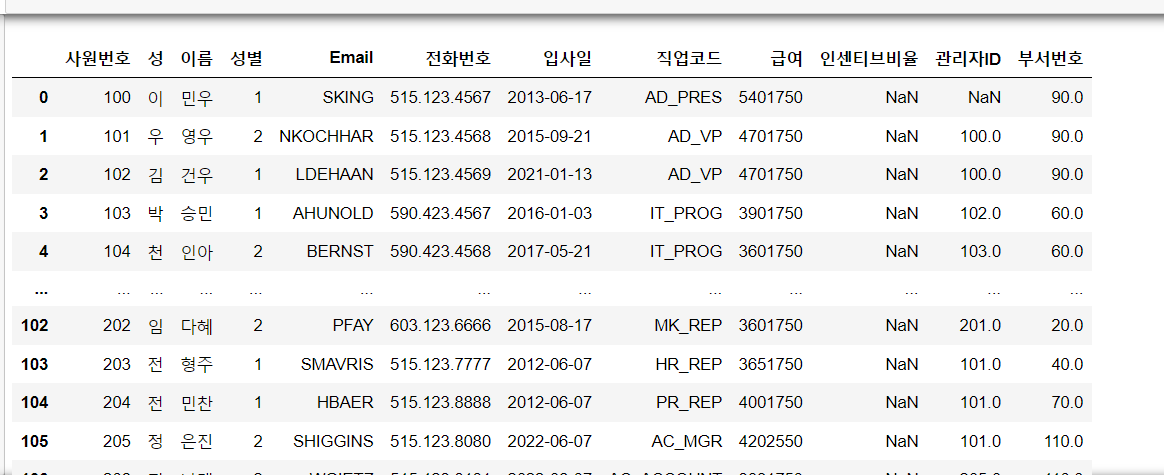
공공데이터 데이터 파싱 및 핸들링
apt = pd.read_csv('C:/Users/user/Desktop/수업자료/mysql/아파트.csv',skiprows = 15, header = 0, encoding = 'euc-kr')

apt.columns
## 정규표현식으로 컬럼 삭제
apt.columns = apt.columns.str.replace(pat = r'[^\w]',repl = r'',regex = True)
apt.columns
- 컬럼이 수정되었다.
pandas_sql로 조회
sql = """
        select substr(입사일, 1, 4) as 입사년도
        , case when 성별 = 1 then '남성' else '여성'end as 성별
        , count(*) as cnt
        from employees
        group by substr(입사일, 1, 4)
            , case when 성별 = 1 then '남성' else '여성' end
"""

df = pd.read_sql(sql,conn)
df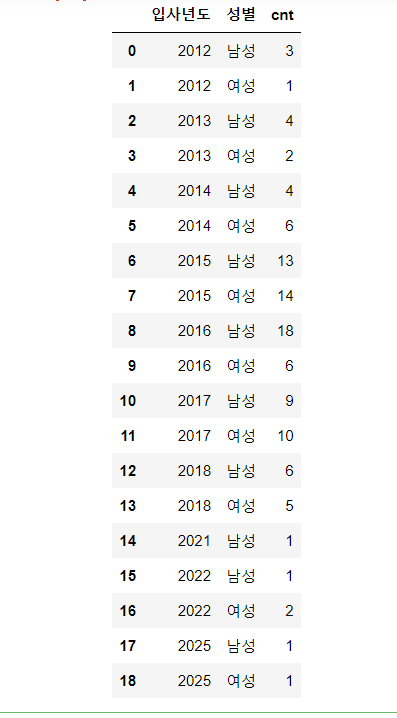
데이터 시각화 하기!
import seaborn as sns
import matplotlib.pyplot as plt

plt.rc("font",family = "Malgun Gothic")
sns.set(font="Malgun Gothic", rc={"axes.unicode_minus":False},style='white')

자습서 같은 공부 블로그 만들기!