
테스트용 데이터 베이스 만들기
- 테스트용 데이터베이스는 Oracle Cloud DB(Free Tier)를 사용해서 개발을 진행할 것이다.
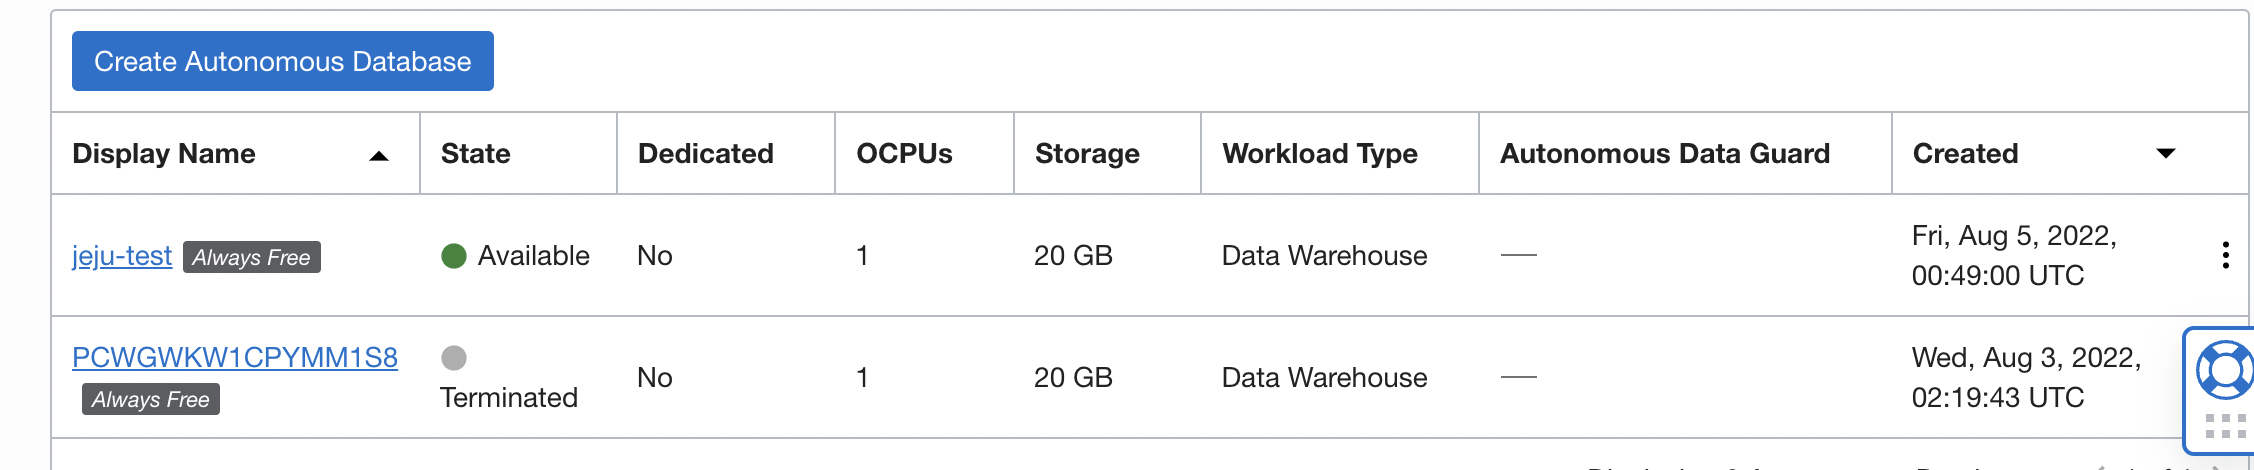
- 이렇게 인스턴스를 생성하면 된다.
- 인스턴스 생성방법은 !!
https://hoing.io/archives/24492
이 분의 글을 참고하시면서 만드시면 됩니다.- 그리고는
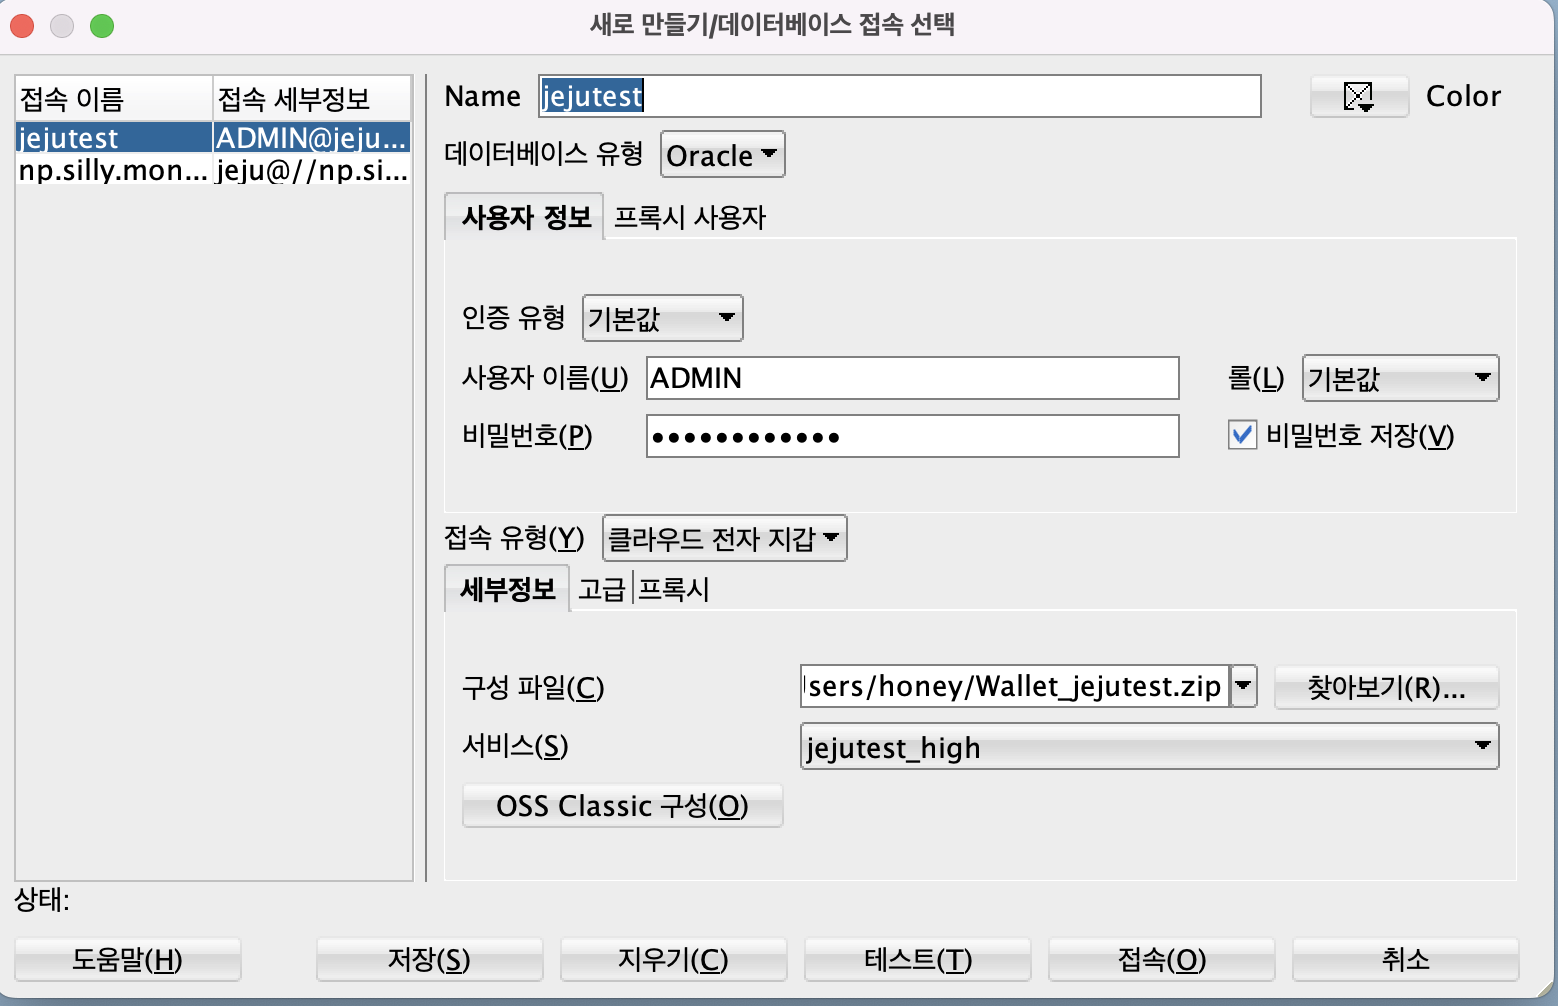
Name : 사용하고 싶은 db이름
사용자 이름 : oracle cloud db 만들 때 사용한 username
pwd : oracle cloud db 만들 때 사용한 pwd
접속 유형은 클라우드 전자 지갑을 다운로드 받아서 사용하였다.
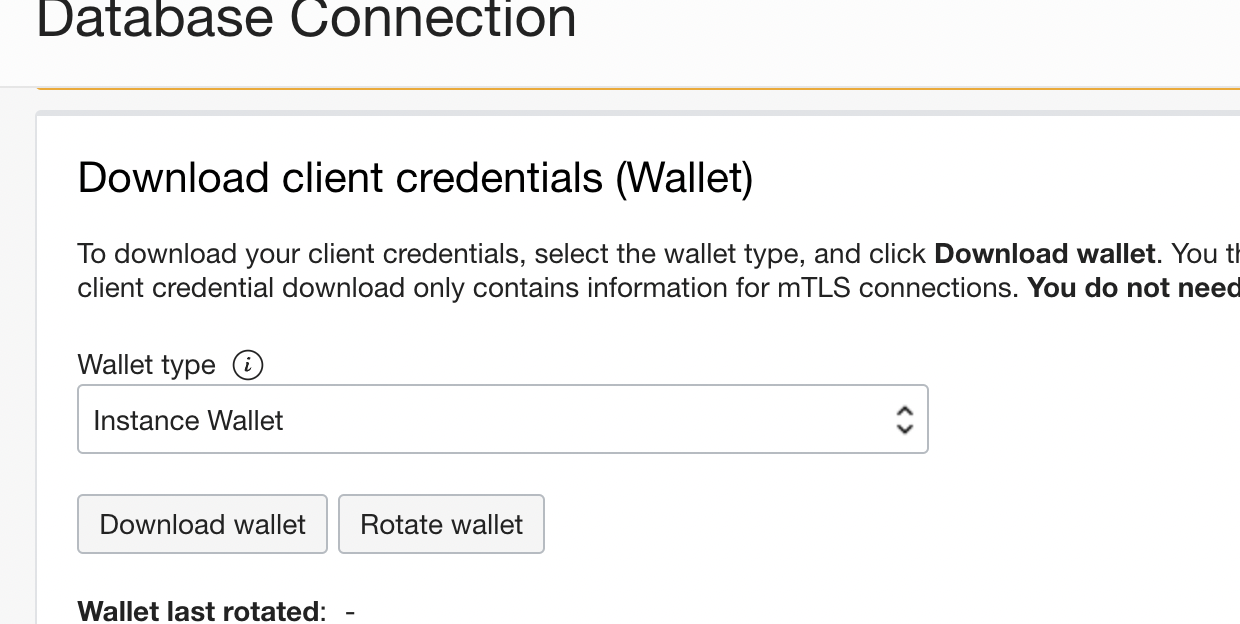
- 전자지갑을 받는 방법 !
여기서 DB Connection을 클릭한다.
전자지갑을 다운로드 받는다.

https://developer.oracle.com/kr/nodejs/
여기에 들어가면 어떻게 node.js와 oracle 연결하는지 나온다.
https://www.oracle.com/database/technologies/instant-client/macos-intel-x86-downloads.html
여기서,
instantclient-basic-macos.x64-19.8.0.0.0dbru.zip
이걸 다운로드 받아서
https://www.oracle.com/database/technologies/instant-client/macos-intel-x86-downloads.html#ic_osx_inst
여기 들어가서 하라는대로 하면 설치를 완료할 수 있다.
이제 기본적인것은 끝이 났다.!!
https://www.oracle.com/database/technologies/appdev/quickstartnodeonprem.html#macos-tab
그리고 다시 여기서, 5번인 노드를 설치해야하는데, 노드는 m1기반에서 최신버전으로 하는 것보다, node-v14.17.5.pkg 이걸 찾아서 설치하는 것이 좋다.
그리고 npm init을 해서 package.json이 생성되게 한 후,
dependency에
"dependencies": {
"oracledb": "^5.1.0"
이게 꼭 들어가게 한 후!! npm install로 oracledb를 설치를 한다.
그리고, example.js의 코드를 작성해야한다.
example.js
//설명은 주석으로 첨부한다.
const oracledb = require('oracledb');
// 라이브러리를 임포트 하는 것이다.

oracledb.initOracleClient({libDir: process.env.HOME + '/Downloads/instantclient_19_8'});
// 앞에서 설치한 인스턴트클라이언트의 경로를 적어준다.

async function run() {

  let connection;
//run의 함수의 실행되는 connection
  try {

    connection = await oracledb.getConnection({ user: "demonode", password: "XXXX", connectionString: "localhost/xepdb1" });
    //user는 database의 username이다. 비번또한 database의 유저의 password이다. connectionString은 데이터베이스이름/high이런식으로 쓰면된다.

    console.log("Successfully connected to Oracle Database");

    // 데이터베이스가 연결이되고나면 연결이 성공했다고 콘솔이 찍힐 것이다.
    // Create a table

    await connection.execute(`begin
                                execute immediate 'drop table todoitem';
                                exception when others then if sqlcode <> -942 then raise; end if;
                              end;`);

    await connection.execute(`create table todoitem (
                                id number generated always as identity,
                                description varchar2(4000),
                                creation_ts timestamp with time zone default current_timestamp,
                                done number(1,0),
                                primary key (id))`);

    // Insert some data

    const sql = `insert into todoitem (description, done) values(:1, :2)`;

    const rows =
          [ ["Task 1", 0 ],
            ["Task 2", 0 ],
            ["Task 3", 1 ],
            ["Task 4", 0 ],
            ["Task 5", 1 ] ];

    let result = await connection.executeMany(sql, rows);

    console.log(result.rowsAffected, "Rows Inserted");

    connection.commit();

    // Now query the rows back

    result = await connection.execute(
      `select description, done from todoitem`,
      [],
      { resultSet: true, outFormat: oracledb.OUT_FORMAT_OBJECT });

    const rs = result.resultSet;
    let row;

    while ((row = await rs.getRow())) {
      if (row.DONE)
        console.log(row.DESCRIPTION, "is done");
      else
        console.log(row.DESCRIPTION, "is NOT done");
    }

    await rs.close();

//err 상황에 대해서 콘솔을 찍어주는 코드
  } catch (err) {
    console.error(err);
  } finally {
    if (connection) {
      try {
        await connection.close();
      } catch (err) {
        console.error(err);
      }
    }
  }
}

run();
// 그리고 다시 런 함수가 실행이 된다.
다 완료가 되었으면 터미널에 node example.js 파일을 실행시킨다.
실행시킬 때 중요한 점은 node같은 명령어를 잘 실행되게 하는 것인데, 그것은 바로 환경변수의 설정!!!
만약 node가 안된다면 node의 exec파일이 있는 경로를 환경변수로 설정해주면 문제 없이 잘 작동될 것이다.
(결과적으로) 데이터베이스에 테이블이 형성되고, raw가 들어가며 콘솔에는 result가 찍힐 것이다.
여기까지 Oracle < - > Node.js 를 연결하는 과정이었다.
1. 다음에 진행할 부분은 크롤링과 크롤링한 자료는 파일로도 만들어지게, 그리고 데이터베이스의 칼럼에 정확하게 들어갈 수 있게 만들 것이다.
2. 그리고 플랫폼 아키텍쳐를 작성할 것이다.