Unity MCP 연결 가이드 (Antigravity 활용 & 트러블슈팅)
이번 포스팅에서는 Coplay MCP와 Antigravity를 사용하여 Unity MCP를 연결하는 방법을 공유하려고 합니다. 특히 연결 과정에서 자주 발생하는 에러와 해결법을 중점적으로 다룹니다.
Antigravity가 무료인 동안 쌀먹을 시도해보자!
1. 초기 설정 (Unity MCP & UV)
먼저 유니티 프로젝트에 MCP 패키지를 설치하고 기본 환경을 세팅합니다.
- GitHub에서 Unity MCP 패키지 설치
* Unity Package Manager를 통해 Coplay의 Unity MCP 패키지를 설치합니다.
Window > Package Manager > + > Add package from git URL
https://github.com/CoplayDev/unity-mcp.git?path=/MCPForUnity- MCP Setup 확인
MCP Setup메뉴로 진입하여 현재 상태를 확인합니다.- Python 설치 확인: 이미 설치되어 있다면 다음 단계로 넘어갑니다.
- UV Package Manager 설치
- Setup 메뉴에서 UV Package Manager를 설치합니다.
⚠️ 주의사항
UV 설치 후Refresh버튼을 눌러도 적용이 안 되는 오류가 있을 수 있습니다. 이 경우 Unity를 재시작하면 정상적으로 인식됩니다.
2. Unity 연결 설정
유니티가 재시작되었다면, 본격적으로 연결 설정을 진행합니다.
- 상단 메뉴에서 Window -> MCP For Unity -> Toggle MCP Window를 엽니다.
- Connection 탭에서
Transport를 Stdio로 설정합니다. - Start Session 버튼을 클릭합니다.
- Client Configuration 탭으로 이동하여
Client를 Antigravity로 설정합니다.
3. Antigravity 설정 및 에러 발생
이제 Antigravity를 켜고 유니티 프로젝트 폴더를 열어줍니다.
- Antigravity 우측 상단 Agent 영역의
...버튼 클릭 - MCP Servers -> Manage MCP Servers 선택
- View raw config를 클릭하여 설정을 편집합니다.
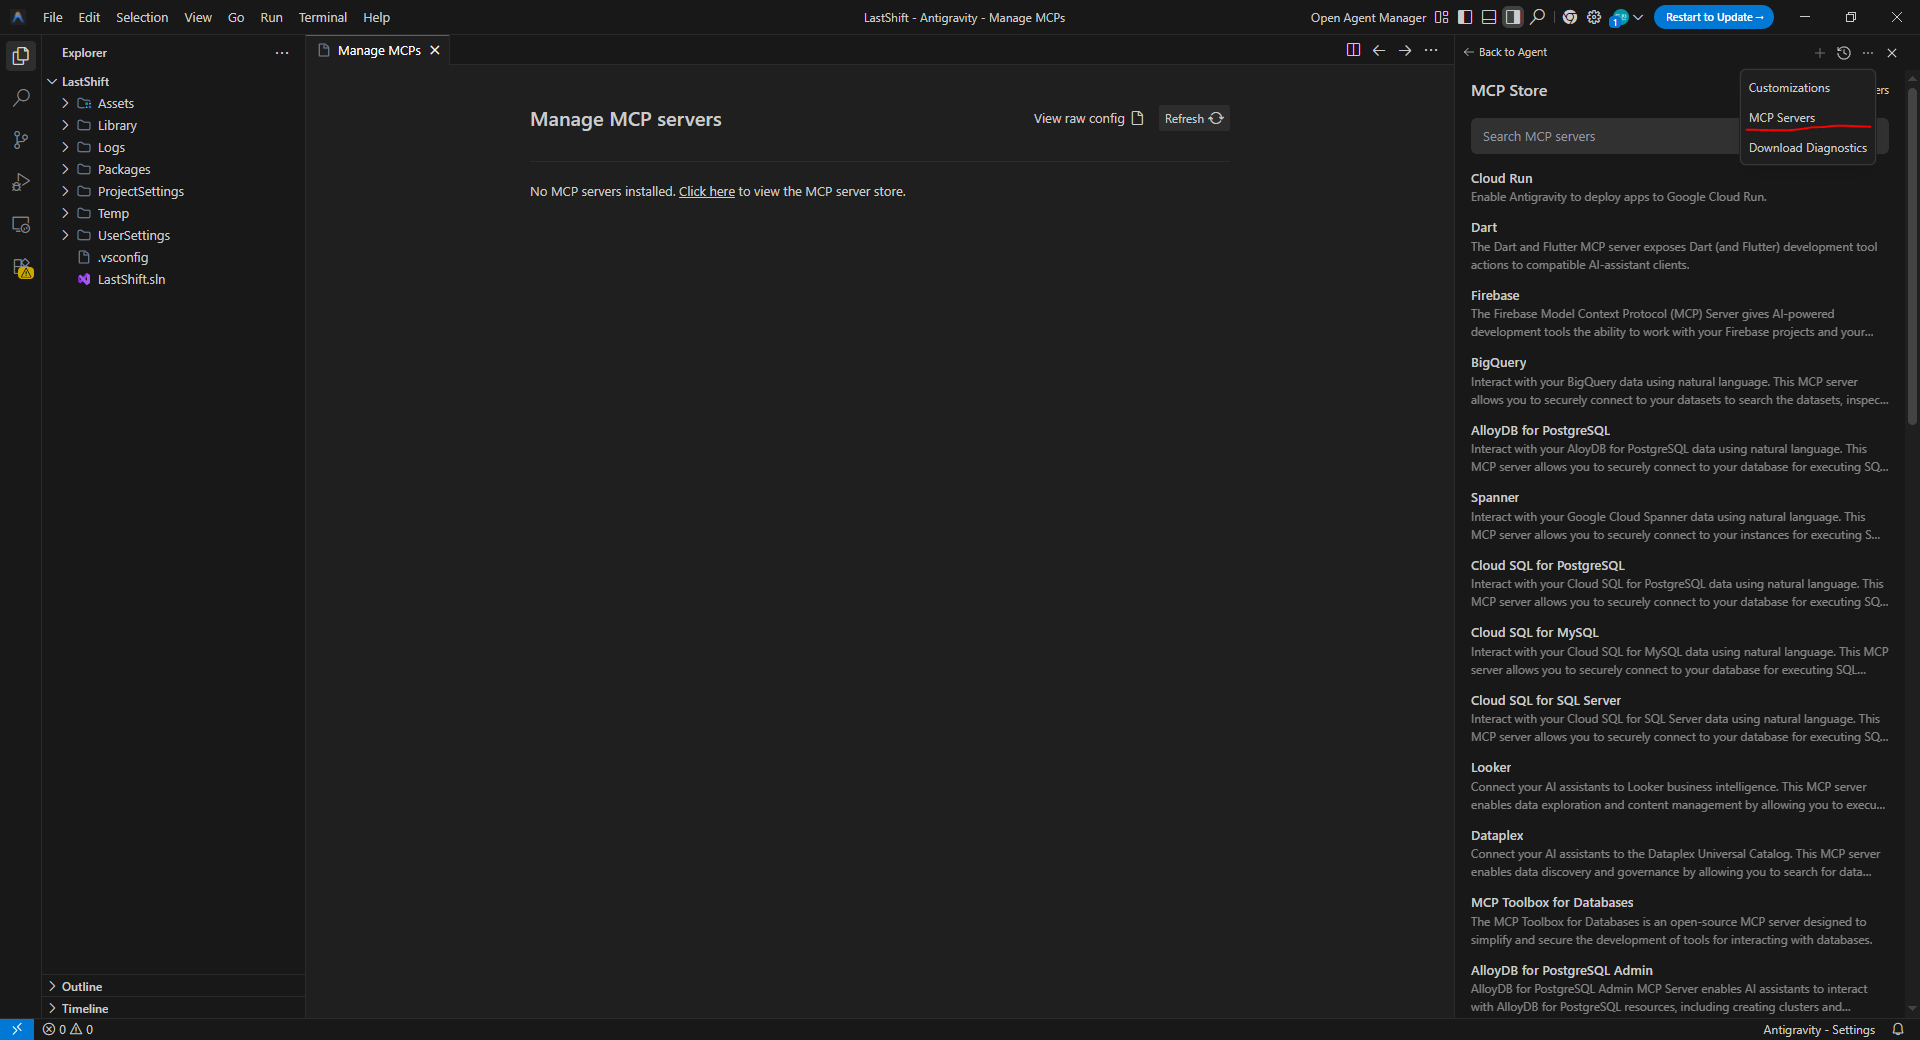
설정 파일에 내용을 넣고 Manage MCPs 파일에서 Refresh를 누르면, 보통 다음과 같은 에러가 발생합니다.
Error: calling "initialize": invalid trailing data at the end of stream.
4. 에러 해결 방법 (Wrapper Script 적용)
이 문제는 스트림 데이터 처리와 관련된 이슈로, GitHub Issue #430에서 해결법을 찾을 수 있습니다. 해결을 위해 두 가지 작업을 수행해야 합니다.
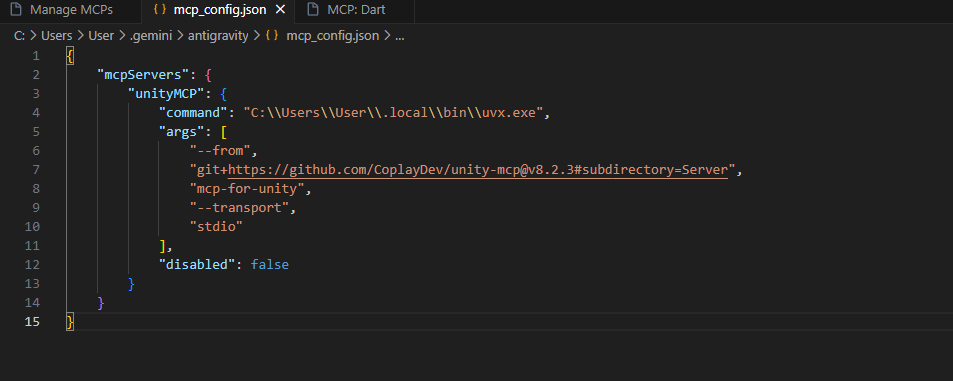
1) mcp_config.json 수정
Antigravity의 설정 파일(mcp_config.json)을 아래와 같이 수정합니다. args 경로에는 다음 단계에서 만들 파이썬 파일의 경로를 넣어야 합니다.
{
  "mcpServers": {
    "unityMCPWorking": {
      "disabled": false,
      "command": "python",
      "args": [
        "C:\\Users\\path\\to\\this\\file\\mcp_wrapper.py"
      ]
    }
  }
}
2) mcp_wrapper.py 생성
위에서 지정한 경로에 mcp_wrapper.py 파일을 생성하고 아래 코드를 붙여넣습니다. 이 스크립트는 데이터 스트림의 개행 문자 등을 처리하여 오류를 방지합니다.
중요: 코드 하단의 cmd 리스트 내에 있는 uvx.exe 경로(C:\Users\username\...)는 본인의 PC 환경에 맞게 수정해야 합니다.
Tip: 경로는 유니티 Toggle MCP Window -> Client Configuration -> Manual Configuration에 있는 Configuration 내용을 참고하면 정확합니다.
import sys
import os
import subprocess
import threading

import msvcrt
msvcrt.setmode(sys.stdin.fileno(), os.O_BINARY)
msvcrt.setmode(sys.stdout.fileno(), os.O_BINARY)

def forward_stdin(proc):
    try:
        while True:
            line = sys.stdin.buffer.readline()
            if not line:
                break
            proc.stdin.write(line)
            proc.stdin.flush()
    except:
        pass

def convert_stdout(proc):
    try:
        while True:
            line = proc.stdout.readline()
            if not line:
                break
            # Convert \r\n to \n by removing all \r
            cleaned = line.replace(b'\r', b'')
            sys.stdout.buffer.write(cleaned)
            sys.stdout.buffer.flush()
    except:
        pass

cmd = [
    ### Important: change username according to your file path
    ### or just copy config from "MCP for unity" window in Unity
    r"C:\Users\username\AppData\Local\Microsoft\WinGet\Packages\astral-sh.uv_Microsoft.Winget.Source_8wekyb3d8bbwe\uvx.exe",
    "--from", "git+[https://github.com/CoplayDev/unity-mcp@v8.1.6#subdirectory=Server](https://github.com/CoplayDev/unity-mcp@v8.1.6#subdirectory=Server)",
    "mcp-for-unity", "--transport", "stdio"
]

proc = subprocess.Popen(
    cmd,
    stdin=subprocess.PIPE,
    stdout=subprocess.PIPE,
    stderr=subprocess.DEVNULL,
    creationflags=subprocess.CREATE_NO_WINDOW if sys.platform == 'win32' else 0
)

t1 = threading.Thread(target=forward_stdin, args=(proc,), daemon=True)
t2 = threading.Thread(target=convert_stdout, args=(proc,), daemon=True)
t1.start()
t2.start()

try:
    sys.exit(proc.wait())
except:
    proc.terminate()
5. 최종 확인
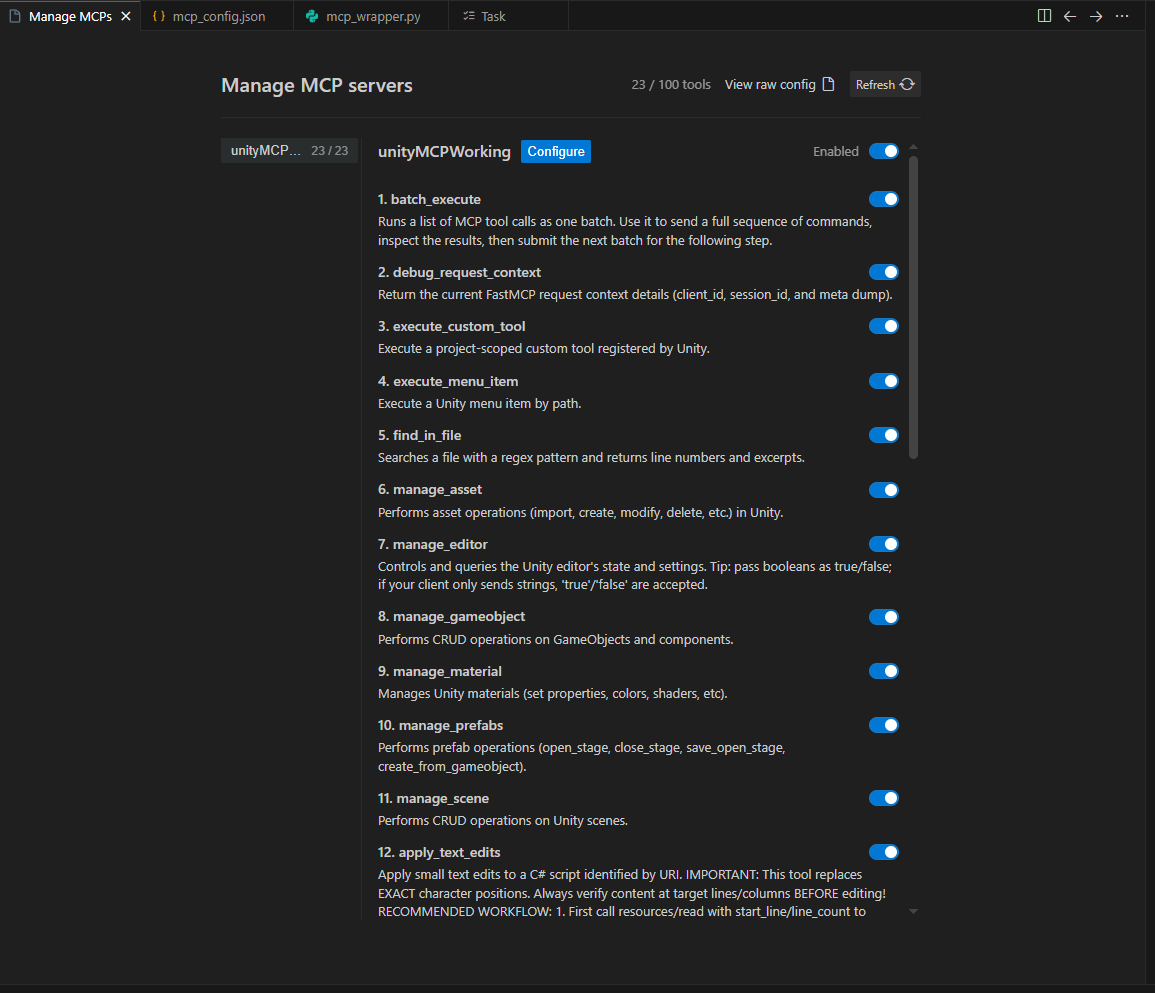
mcp_wrapper.py의cmd경로를 내 환경에 맞게 수정했는지 확인합니다.mcp_config.json의args에mcp_wrapper.py의 실제 경로가 정확히 입력되었는지 확인합니다.- Antigravity에서 다시 연결을 시도합니다.
이제 에러 없이 Unity MCP가 정상적으로 연결되어 실행되는 것을 확인할 수 있습니다!
아직 큰 프로젝트에서 사용할 정도는 아니고 프로토 타입 만들 때 매우 유용해 보인다