기본적인 문법
test('adding positive numbers is not zero', () => {
  for (let a = 1; a < 10; a++) {
    for (let b = 1; b < 10; b++) {
      expect(a + b).not.toBe(0);
    }
  }
});
Matcher
1-1 공통된 Matcher
- toBe
- toEqual
- 객체가 같은지 확인할 때
1-2 Numbers
test('two plus two', () => {
  const value = 2 + 2;
  expect(value).toBeGreaterThan(3);
  expect(value).toBeGreaterThanOrEqual(3.5);
  expect(value).toBeLessThan(5);
  expect(value).toBeLessThanOrEqual(4.5);

  // toBe and toEqual are equivalent for numbers
  expect(value).toBe(4);
  expect(value).toEqual(4);
});
소수점은 toEqual 보다 toBeCloseTo를 사용해야 한다.
1-3 Strings
- 같은지 확인하기 위해 toMatch사용
- 같은게 아니라면 .not.toMatch 사용하기
1-4 Arrays and iterables
- toContain matchers 사용
const shoppingList = [
  'diapers',
  'kleenex',
  'trash bags',
  'paper towels',
  'milk',
];

test('the shopping list has milk on it', () => {
  expect(shoppingList).toContain('milk');
  expect(new Set(shoppingList)).toContain('milk');
});
1-5 예외적인 상황
- toThrow 사용하기
function compileAndroidCode() {
  throw new Error('you are using the wrong JDK!');
}

test('compiling android goes as expected', () => {
  expect(() => compileAndroidCode()).toThrow();
  expect(() => compileAndroidCode()).toThrow(Error);

  // You can also use a string that must be contained in the error message or a regexp
  expect(() => compileAndroidCode()).toThrow('you are using the wrong JDK');
  expect(() => compileAndroidCode()).toThrow(/JDK/);

  // Or you can match an exact error message using a regexp like below
  expect(() => compileAndroidCode()).toThrow(/^you are using the wrong JDK$/); // Test fails
  expect(() => compileAndroidCode()).toThrow(/^you are using the wrong JDK!$/); // Test pass
});
좀더 알아보기
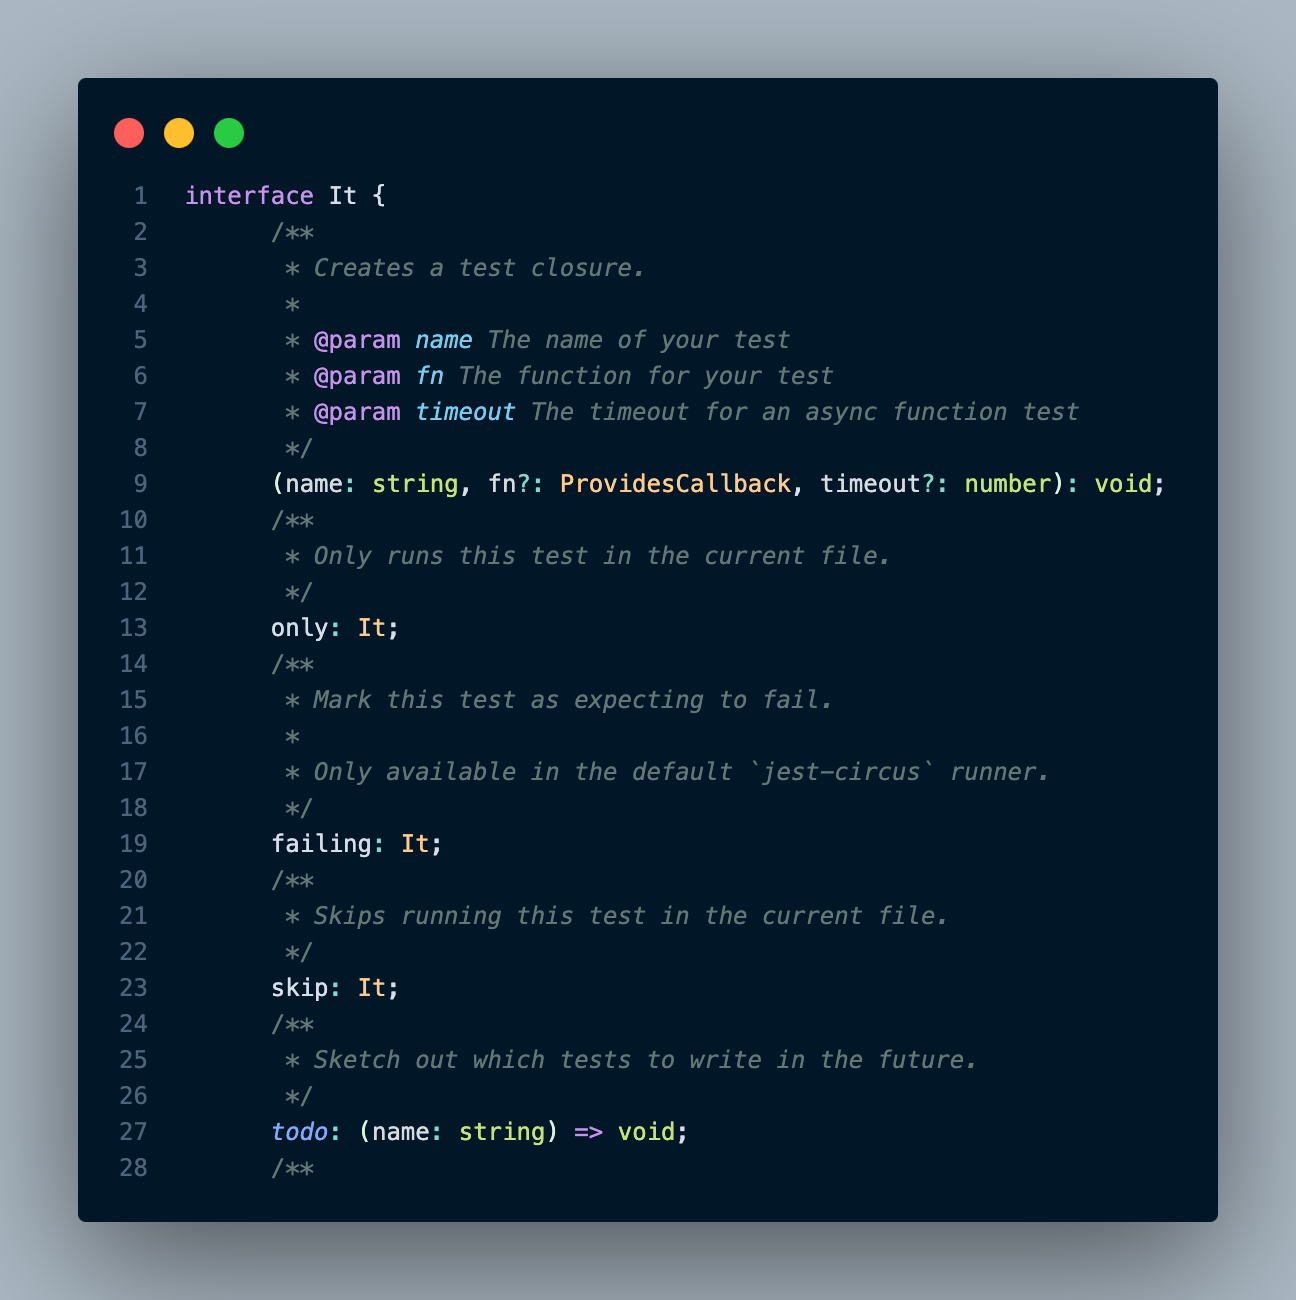
npm install @types/jest를 설치하게 되면 test를 올려놓게 되면 type을 확인할 수 있다.
그럼 it의 interface를 볼수 있게 되는데 기본적인 param등에 대해 확인해 볼 수 있다.
param으로 는 name이름과 fn 콜백함수로 전달, timeout 비동기함수에 한해서 얼마만큼의 시간을 허용할것인지 3가지의 param을 제공해 주고 있다.
fn과 timeout은 옵션 인 것도 확인 해볼수 있다. !
collectCoverage
jest.config.js에서 collectCoverage 는 기본적으로 true라고 설정되어있다.
만약 npm run test 를 입력했을때 매번 test coverage가 나오길 원하지 않는다면 collectCoverage를 false로 설정 하면 된다.
collectCoverage를 false로 설정해 놓고 따로 test code를 확인하려면 jest —coverage 명령어를 입력하면 coverage를 확인할 수 있다.
jest watch과 watchAll
매번 명령어를 입력해서 test코드가 성공했는지 실패했는지 확인하는것이 번거롭다면 package.json파일에서 watchAll 을 추가해주면 된다.
- watchAll
- 매번 test코드를 결과를 알려준다.
  "scripts": {
    "test": "jest --watchAll"
},- watch
- 많은 test코드들이 있을때 만약 매번 test 코드 결과를 보는게 아니라 변경되지않는 코드들에대해서는 결과를 보지않고 내가 원하는, 작업중인 test코드에 대해서만 확인하고 싶다면 watch로 설정해주면 된다.
- watchAll과는 다르게 몇가지 설정을 해줘야하는데
- git init 실행
- git ingnore에 node modules 추가하기
- git add .
- git commit 실행
  "scripts": {
    "test": "jest --watch"
  },
- 이렇게 했을경우 test코드가 변경되지 않을때는 test코드가 실행되지 않고, test코드를 수정하고있는 상태에만 결과가 실행되는 걸 볼 수 있다.
- coverage를 확인하고싶다면 jest —coverage 라고 입력해주면 확인할수 있다.
참고 📒

빨리가는 유일한 방법은 제대로 가는것