이고잉님 이론 강의
html, css, javascript 라이브코딩 할 수 있는 사이트
https://jsbin.com/?html,output
https://codepen.io/
h2+(ol>(li>a)*3)이걸 치면 아래처럼 나온다.
<h2></h2>
<ol>
    <li><a href=""></a></li>
    <li><a href=""></a></li>
    <li><a href=""></a></li>
</ol>- id는 하나만 지정하고 싶을때, 즉 중복되지 않게 쓴다
class는 여러개 묶어서 그룹으로 지정하고 싶을때 쓴다.
        <ul>
            <li style="text-decoration: underline;">item</li>
            <li class="italic" id="target">item</li>
            <li >item</li>
            <!-- 하나만 지정하고싶을때는 id, 그룹해서 지정하고싶으면 class -->
</ul>- text-decoration: underline 은 밑줄
a 태그로 링크를 걸면 자동으로 밑줄이 생기는데, 이때는 text-decoration: none으로 밑줄을 없앨 수 있다.
<h1 class="italic" style="text-decoration: underline;">CSS 기본 문법</h1>- margin 겹침 현상 (병합)
        h1 {
            /* display: inline; */
            padding: 50px;
            margin: 50px;
            /* 마진 겹침 현상 : 수직의 마진값은 오버랩이 된다. */
            width: 300px;
            height: 300px;
        }
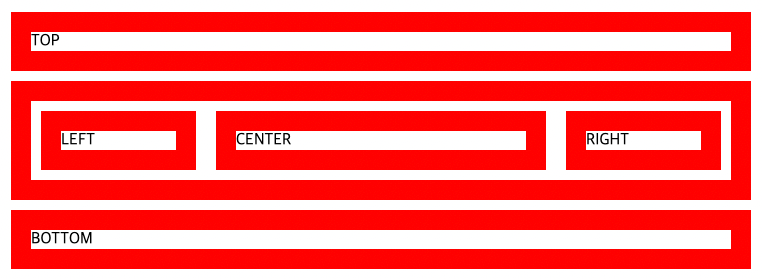
/* inline은 자기크기만큼 쓴다, block은 화면 전체를 쓴다. */- grid를 사용해서 n*n형태 배열을 만들 수 있다.
<!DOCTYPE html>
<html>
<head>
    <style>
        div {
            border: 20px solid red;
            margin: 10px;
        }

        #container {
            display: grid;
            grid-template-columns: 1fr 2fr 1fr;
            /* fr이아니고 px로 하면 고정값이됨. fr은 반응형웹처럼됨 */
        }
    </style>
</head>
<body>
    <div>TOP</div>
    <div id="container">
        <div>LEFT</div>
        <div>CENTER</div>
        <div>RIGHT</div>
    </div>
    <div>BOTTOM</div>
</body>
</html>
결과
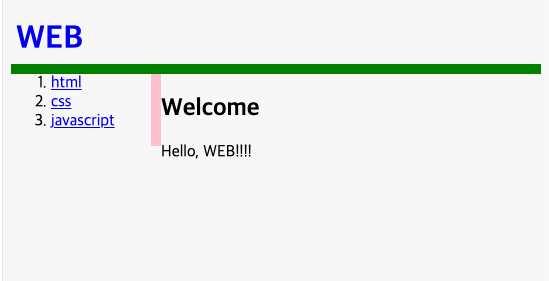
- media query를 사용하면 화면 크기에 따라 디자인을 다르게 설정할 수 있다. -> 반응형 웹
            @media all and (min-width: 480px) {
                #container {
                display: grid;
                grid-template-columns: 150px 1fr;
                transition: back;
            }
            ol {
                border-right: 10px solid pink;
            }
            }
480이상
480미만
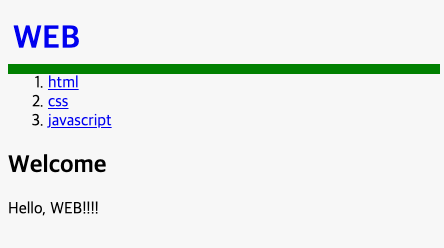
480~960
@media all and (min-width: 480px) and (max-width: 960px) {}여기서 border-right는 shorthand 형식으로 작성되었다.
코치님 실습 강의
viewport 선언 코드, head안에 넣는다.
<meta name="viewport" content="width=device-width, initial-scale=1">사각형 둥글게 만들기
border-radius: 50px;border 창 화면의 절반 width:50vw;
block: top to bottm
inline: left to right
임의공간 생성
div: block
span: inline
- p.abc vs. p .abc
p.abc: 클래스가 abc인 p
p .abc: p태그 안에 있는 클래스 abc``` <p class="abc"></p> ```
비슷하게 p#abc도 있다.``` <p> <a class="abc"></a> </p> ```
grid: 2차원
flex: 1차원
flex container안에 flex item이 있다.
flex-direction: row y축에 수직으로 정렬
flex-direction: column x 축에 수직으로 정렬
row
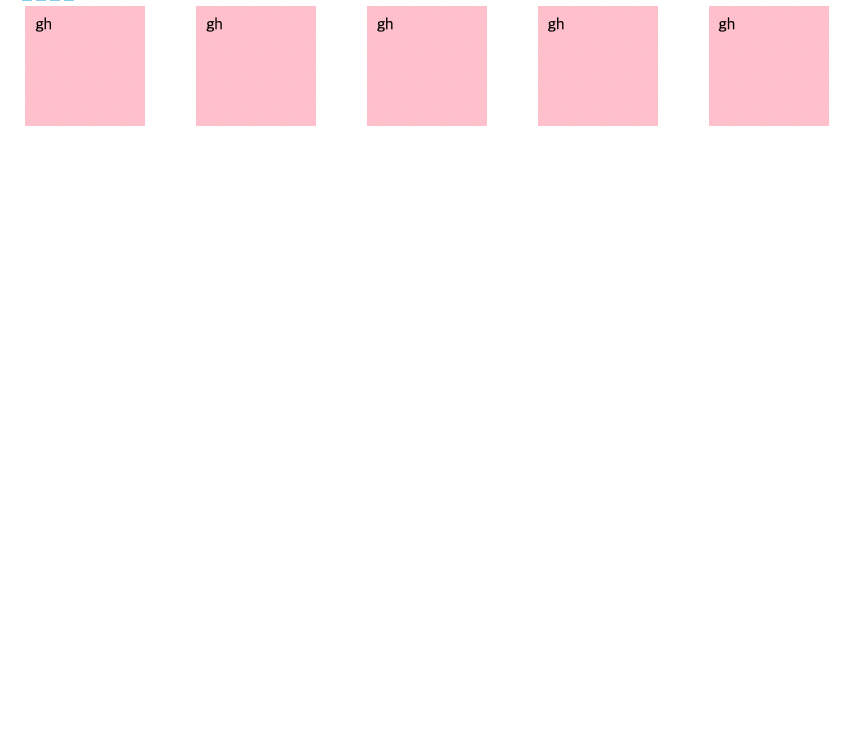
column
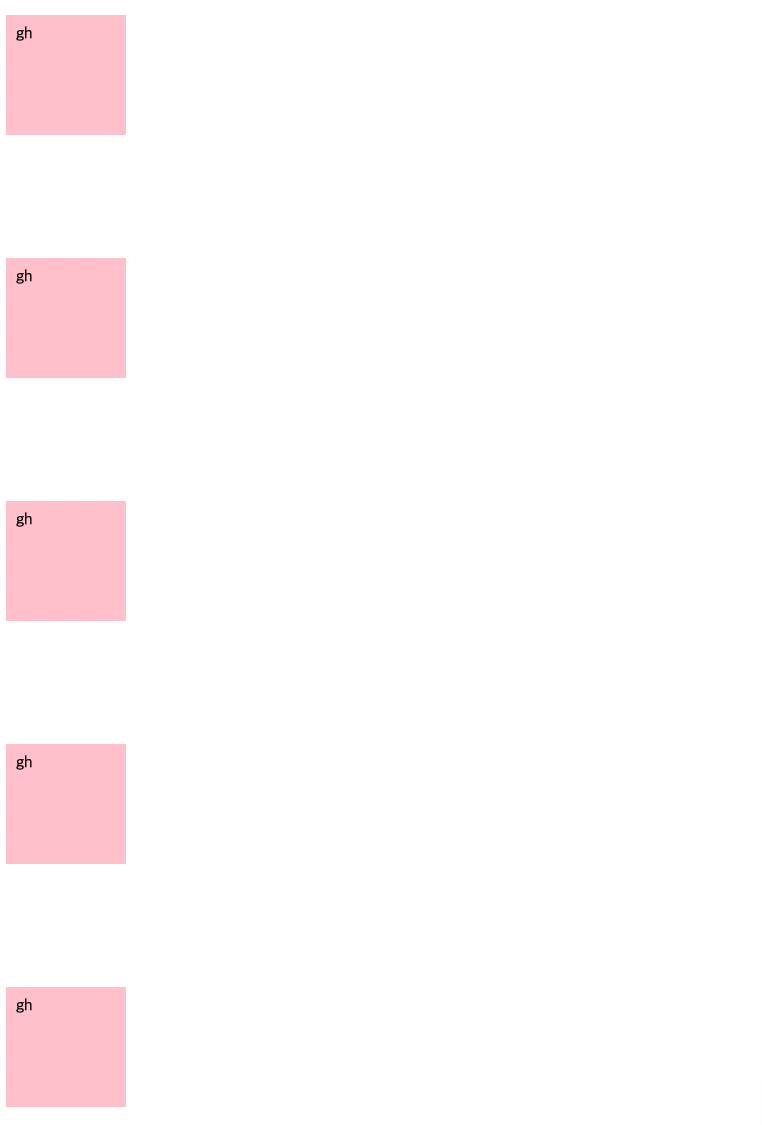
#flex-container {
 display: flex;
 justify-content: flex-start;
}
id가 flex-container인 div를 flex처리하려면 display: flex; 라고 쓴다.
justify-content: 현재 주축에 나란한 방향으로 정렬 flex-start(왼쪽끝에서부터), flext-end(오른쪽끝에서부터), center(가운데)
align-items: 현재 주축에 수직되는 방향으로 정렬 flex-start(왼쪽끝에서부터), flext-end(오른쪽끝에서부터), center(가운데), space-between(각 객체 사이에 스페이스바), space-around(between한거 + 양끝객체옆에도 스페이스바)
flex-direction: column; : 주축을 세로 바꿈
https://chlolisher.tistory.com/18
position: static, fixed, absolute, relative
static: 아무효과없음
fixed: 고정
absolute: 상위컨테이너에 의존
relative: 자기위치를 기준으로 움직임
https://m.blog.naver.com/xowns4817/222138686218
https://bio-info.tistory.com/66
