리스트_클릭시.jpg
이전 시간에 만들었던 버킷리스트의 리스트에 라우팅으로 상세페이지를 연결해보자!
완성코드
App.js
import React from "react";
import styled from "styled-components";
import { Route } from "react-router-dom";
import BucketList from "./BucketList";
import Detail from "./Detail";

function App() {

  const [list, setList] = React.useState(["영화관 가기", "매일 책읽기", "수영 배우기"]);
  const text = React.useRef(null);

  const addBucketList = () => {
    setList([...list, text.current.value]);
  }
  return (
    <div className="App">
      <Container>
        <Title>내 버킷리스트</Title>
        <Line />
        <Route path="/" exact>
          <BucketList list={list} />
        </Route>
        <Route path="/detail" component={Detail}>
        </Route>
      </Container>
      <Input>
        <input type="text" ref={text} />
        <button onClick={addBucketList}>추가하기</button>
      </Input>
    </div>
  );
}

const Input = styled.div`
max-width: 350px;
min-height: 10vh;
background-color: #fff;
padding: 16px;
margin: 20px auto;
border-radius: 5px;
border: 1px solid #ddd;
`;

const Container = styled.div`
max-width: 350px;
min-height: 60vh;
background-color: #fff;
padding: 16px;
margin: 20px auto;
border-radius: 5px;
border: 1px solid #ddd;
`;

const Title = styled.h1`
color: slateblue;
text-align: center;
`;

const Line = styled.hr`
margin: 16px 0px;
border: 1px dotted #ddd;
`;

export default App;
BucketList.js
import React from "react";
import styled from "styled-components";
import { useHistory } from "react-router";

const BucketList = (props) => {
    console.log(props);
    const my_lists = props.list;
    const history = useHistory();

    return (
        <ListStyle>
            {my_lists.map((list, index) => {
                return (
                    <ItemStyle className="list_item" key={index} onClick={() => {
                        history.push("/detail");
                    }}>
                            {list}
                    </ItemStyle>
                );
            })}
        </ListStyle>
    );
};

const ListStyle = styled.div`
display: flex;
flex-direction: column;
height: 100%;
overflow-x: hidden;
overflow-y: auto;
`;

const ItemStyle = styled.div`
padding: 16px;
margin: 8px;
background-color: aliceblue;
`;

export default BucketList;
Detail.js
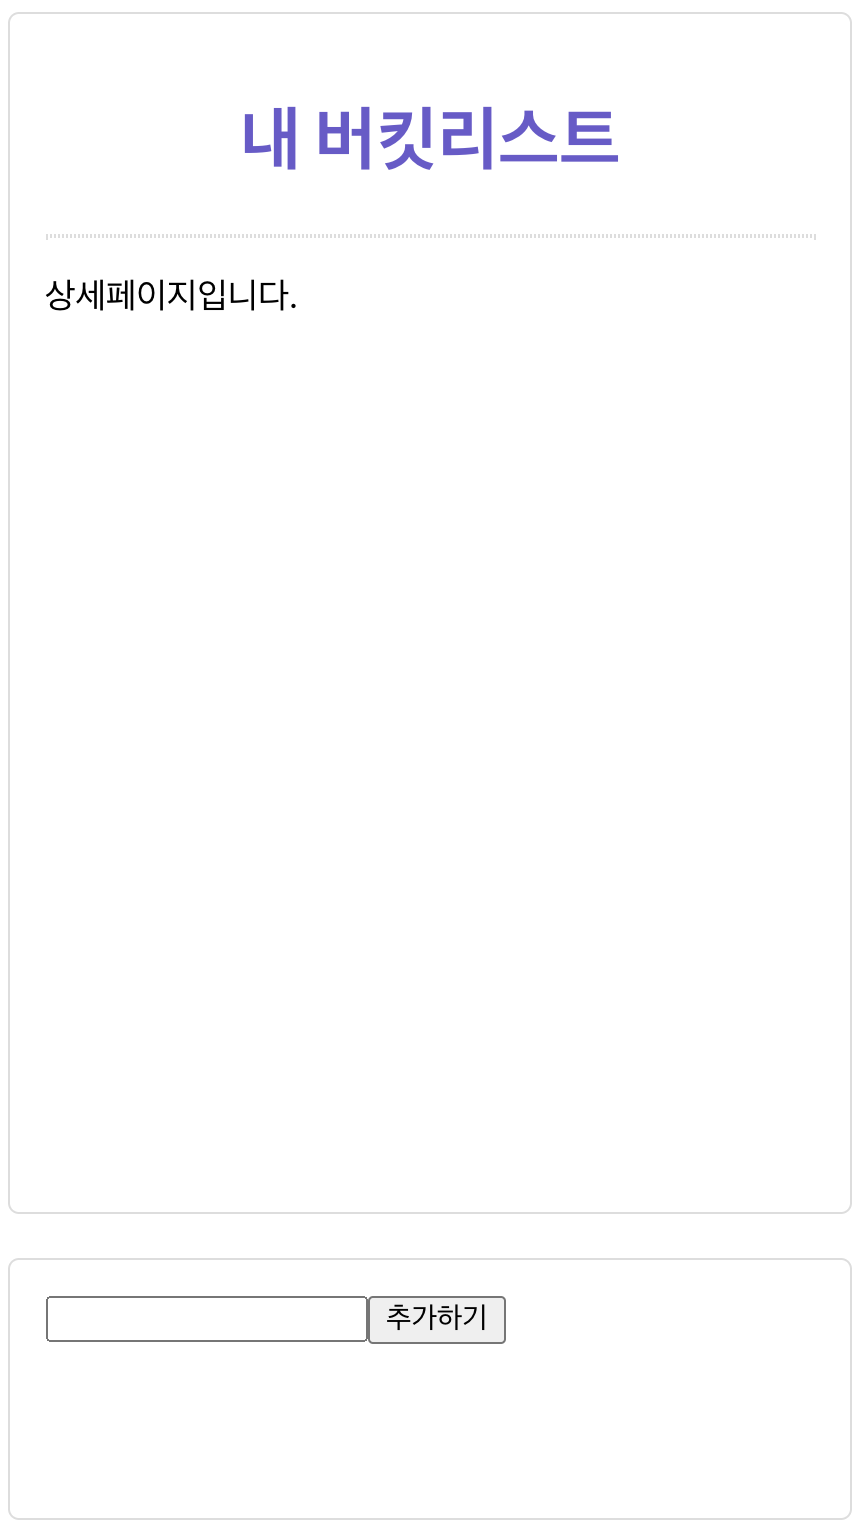
import React from "react";

const Detail = (props) => {
    return(<div onClick={() => {
        props.history.push("/");
    }}>상세페이지입니다.</div>)
}

export default Detail;
오답노트
오답이 없다...!!! 해설 없이 나 혼자 힘으로 해내는 게 대체 얼마만인지😭 아마도 웹개발 종합반 3주차였나 그때 이후로 처음인 듯...ㅎㅎ 그동안 진도가 더디게 나가고 재미가 없었던 건 죄다 틀려서였다. 맞추니까 너무 재밌잖아???? 아무튼 각설하고.. 오답은 없지만 대신 헷갈렸던 부분을 기록해본다.
1.<Route>의 위치
처음에는 별 생각 없이 App.js 파일을 복사해서 Detail.js 파일에 붙여넣기 한 다음 달라진 부분만 수정하면 되는 것 아닌가 했는데 이렇게 하면 일단은... 무수히 많은 오류들과 직면하게 된다. 그리고 이 방법을 사용하면 라우팅을 굳이 쓸 이유가 없다.
그래서 다시 App.js로 돌아와 <Container> 바로 아래에 <Route path="/detail"><Detail /></Route>를 삽입했다. 이번에도 별 고민 없이 <Container> 안에 들어가니까...라고 생각했기 때문...^^ 그러나 상세페이지로 전환되는 영역은 <Container> 내부에서도 <Line /> 아랫부분에 해당된다. 즉, <Route path="/detail"><Detail /></Route>는 그 아래에 위치해야 한다.
2.<Route> 경로와 exact
<Detail />과 <BucketList list={list}/>가 한 화면에 출력되는 것을 방지하기 위해 <Route path="/detail">에 exact를 붙였다. 상세페이지 연결만 하면 된다고 생각했던 탓에 <Detail/>만 <Route>로 감싸고 <ButketList list={list}/>는 감싸지 않았다. 그래서 <Detail/>에 exact를 주면 된다고 생각한 것이다^^;
문제가 되는 경로는/detail이 아니라 /이므로 <BucketList list={list}/> 역시 <Route>로 감싼 후exact를 줘야한다.
3.history 객체는 component에서
퀴즈에는 리스트 ➡️ 상세페이지 전환만 출제됐지만 history 객체와 {useHistory}를 모두 사용해보기 위해 상세페이지 ➡️ 리스트로도 전환해보았다. 전자는 {useHistory}를 사용해서 한 번에 처리했는데 후자에서 history 객체를 사용할 때 Cannot read properties of undefined (reading 'push')라는 오류가 발생했다.
{useHistory} 먼저 사용하는 바람에 history는 component에서 사용하는 방식이라는 사실을 까먹은 것이다. history객체를 사용하려면 App.js에서 <Route path="/detail"><Detail /></Route>를 컴포넌트 형식으로 전환해줘야 한다.
몇 번의 실수 끝에 결과적으로 알맞는 코드를 사용했지만 아직 개념정리가 덜 된 부분도 있어서 아직은 연습이 더 필요할 것 같다. 수업으로 들을 땐 {useHistory}보다는 history가 더 사용하기 편할 것 같았는데 막상 퀴즈를 풀어보니 내게는 {useHistory}가 더 잘맞는 방식인 것 같다.