
이전에 만들었던 메모장에서 한단계 업그레이드된 메모장을 만들어보자.
이전 메모장은 메모리를 사용하지 않기에 어플을 종료하면 내용이 날라가는데, 이를 해결하고자 Firebase를 이용하여 메모리 기능이 추가된 메모장을 만들어본다.
import { StatusBar } from 'expo-status-bar';
import React, { useState, useRef, useEffect } from 'react';
import { StyleSheet, Text, View, ScrollView } from 'react-native';
import Task from './components/Task';
import { initializeApp } from "firebase/app";
import { getDatabase, ref, onValue, set, orderByChild, query } from 'firebase/database';

const firebaseConfig = {
    apiKey: "@@@@@@@@",
    authDomain: "@@@@@@@@",
    projectId: "@@@@@@@@",
    storageBucket: "@@@@@@@@",
    messagingSenderId: "@@@@@@@@",
    appId: "@@@@@@@@"
};

const app = initializeApp(firebaseConfig);

export default function App() {
  return (
    <ScrollView style={styles.container}>

      {/* Today's tasks */}
      <View style={styles.tasksWrapper}>
        <Text style={styles.sectionTitle}>
            Hyundai / KIA / Chevrolet
        </Text>
        <View style={{
          borderBottomColor: "#CAD1DA",
          borderBottomWidth: 1 }}>

        </View>
        <View style={styles.items}>
          {/* This is were we will hold all the style */}
            <Task/>
        </View>

      </View>
    </ScrollView>
  );
}
//StyleSheet
const styles = StyleSheet.create({
  container: {
    flex: 1,
  },
  tasksWrapper: {
    paddingTop: 80,
    paddingHorizontal: 20,

  },
  sectionTitle: {
    color: "black",
    fontSize: 30,
    paddingBottom:8,
    fontWeight: 'bold',
  },
  items: {},
});
App.js파일 내용이다.
import { StatusBar } from 'expo-status-bar';
import React, { useState, useRef, useEffect } from 'react';
import { TextInput, SafeAreaView, Button, StyleSheet, Text, View, FlatList, TouchableOpacity } from 'react-native';
import { initializeApp } from "firebase/app";

import { getDatabase, ref, onValue, set, orderByChild, query } from 'firebase/database';
const firebaseConfig = {
    apiKey: "@@@@@@@@",
    authDomain: "@@@@@@@@",
    projectId: "@@@@@@@@",
    storageBucket: "@@@@@@@@",
    messagingSenderId: "@@@@@@@@",
    appId: "@@@@@@@@"
};

const app = initializeApp(firebaseConfig);

const Task = () => {

    const text1 = useRef(null);

    const [text, setText] = useState('');
    const [data, setData] = useState('');

    function delData(key) {
        const db = getDatabase();
        const reference = ref(db, 'users/' + key);
        set(reference, null);
    }

    function saveData() {
        var key = Math.random().toString(16).replace(".", "");
        var data = text;

        const db = getDatabase();
        const reference = ref(db, 'users/' + key);
        set(reference, {
            data: data,
            regdate: new Date().toString()
        });

        text1.current.clear();
    }


    const renderItem = ({ item }) => {
        return (
            <View style={{ padding: 15, borderBottomColor: '#aaa', borderBottomWidth: 1, flexDirection: 'row', }}>
                <Text style={{ flex: 1, fontSize: 16 }}>
                    {item.data}
                </Text>
                <Button title="삭제" color='red' onPress={() => delData(item.key)} />
            </View>
        )
    }

    useEffect(() => {

        const db = getDatabase();
        const reference = query(ref(db, 'users'), orderByChild('regdate'));

        onValue(reference, (snapshot) => {
            console.log(snapshot);

            const tmp = [];

            snapshot.forEach((child) => {
                tmp.unshift({
                    key: child.key,
                    data: child.val().data,
                    regdate: child.val().regdate,
                });
            });

            console.log(tmp);
            setData(tmp);
        });

    }, [])

    return (
        <View style={{  flex: 1 }}>
            <StatusBar style="auto" />
            <SafeAreaView style={{ flex: 1 }}>
                <View style={{ padding: 15 }}>
                    <Text style={styles.title}>부품 리스트</Text>
                </View>
                <View style={{ backgroundColor: "white", flex: 1 }}>
                    <View style={{ flexDirection: 'row', padding: 10 }}>
                        <TextInput style={{ backgroundColor: "#f2f2f2", padding: 5, flex: 1 }}
                            ref={text1}
                            onChangeText={text => setText(text)} placeholder="부품을 입력하세요." multiline/>

                        <Button title="추가" onPress={() => saveData()} />
                    </View>
                    <View>
                        <FlatList data={data} renderItem={renderItem} style={{ padding: 15 }} />
                    </View>
                </View>

            </SafeAreaView>
        </View>
    );
}

const styles = StyleSheet.create({
    post:{
        margin: 10,
        borderRadius: 3,

    },
    titlecont:{

        flexDirection: "row",
        justifyContent: "space-between",
        padding: 5,
        margin: 10,
        marginLeft:0,
        paddingLeft:0,
        alignContent: "center",
    },
    title:{
        marginLeft: 0,
        fontWeight: 'bold',
        fontSize: 20,
        color: '#014D9C',
    },
    buttoncont:{
        flexDirection: "row",
        justifyContent: "space-evenly",
        alignContent: "center",
        width: 100,
        marginLeft:50

    },
    editbutton:{
        backgroundColor: "rgba(1,77,156,0.1)",
        padding:8,
        borderRadius: 5

    },
    delbutton:{
        backgroundColor: "rgba(156,1,1,0.1)",
        padding:8,
        borderRadius: 5
    },
    postcont:{
        backgroundColor: '#FBFAFA',
        padding: 10,
        paddingTop: 5,
        paddingHorizontal:15,
        borderWidth: 1,
        borderColor: '#DADADA',
        borderRadius: 3,

    },
    descp:{
        textAlign: "justify"
    }

});

export default Task
Task.js 파일 내용이다.
위에 있는 @@@@@은 Firebase를 생성하였을 때 나오는 Apikey 등등이 쥬르륵 나온다. 저 주소들을 통해야만 자신의 Firebase 공간을 이용할 수 있으므로 따로 복사해서 저장해놓으면 편리하다!
Task.js를 통해 Firebase와 연동을 하여 메모장 기능을 수행하게 된다. 메모를 입력하였을 때 목록에 잘 삽입되는지, Firebase 메모리에도 잘 추가되는지, 종료 이후에도 잘 유지되어 있는지 확인해보자.

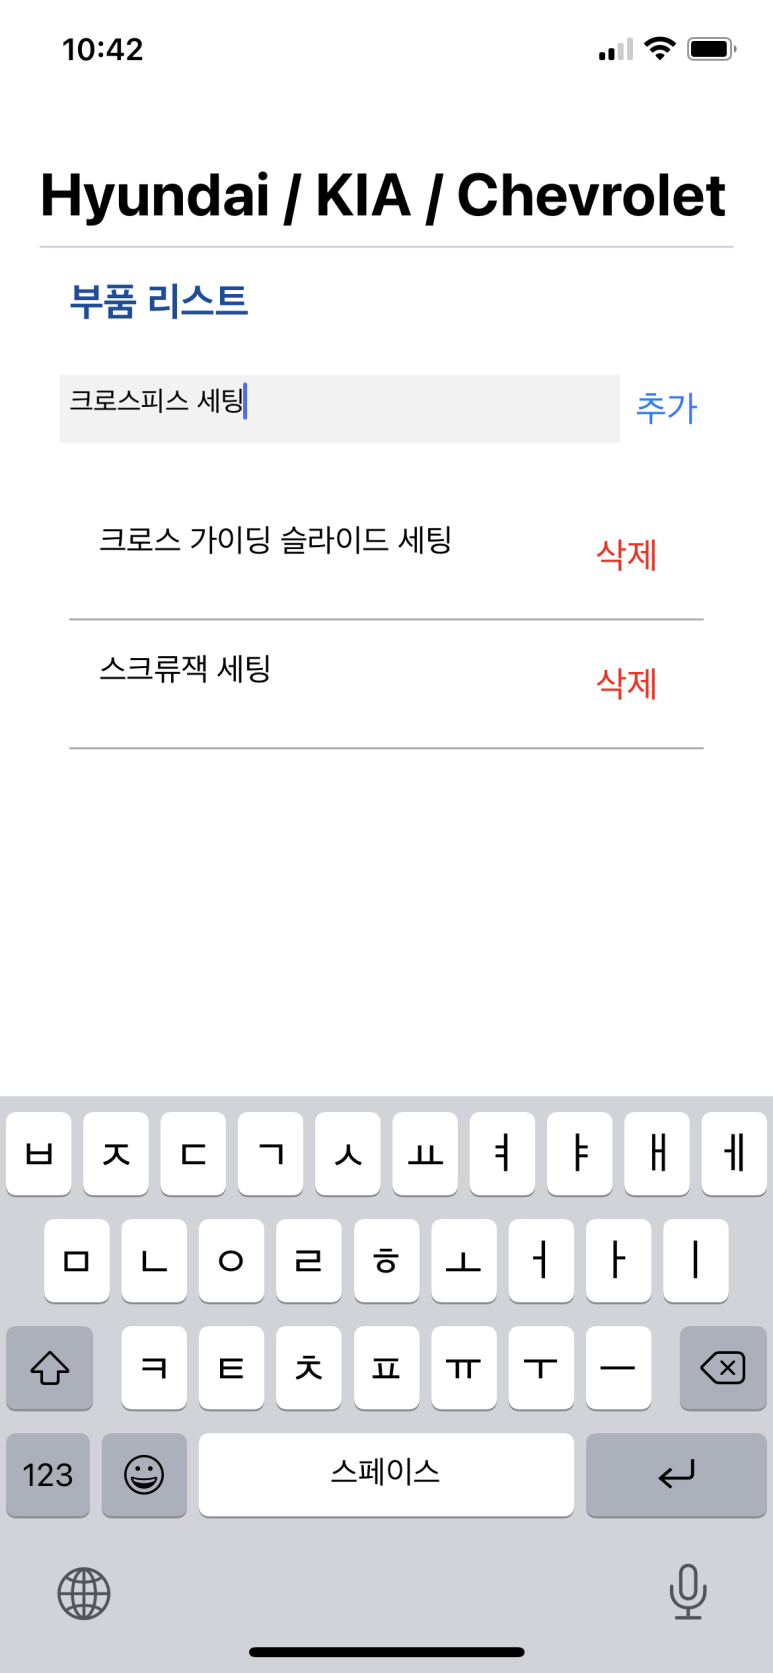
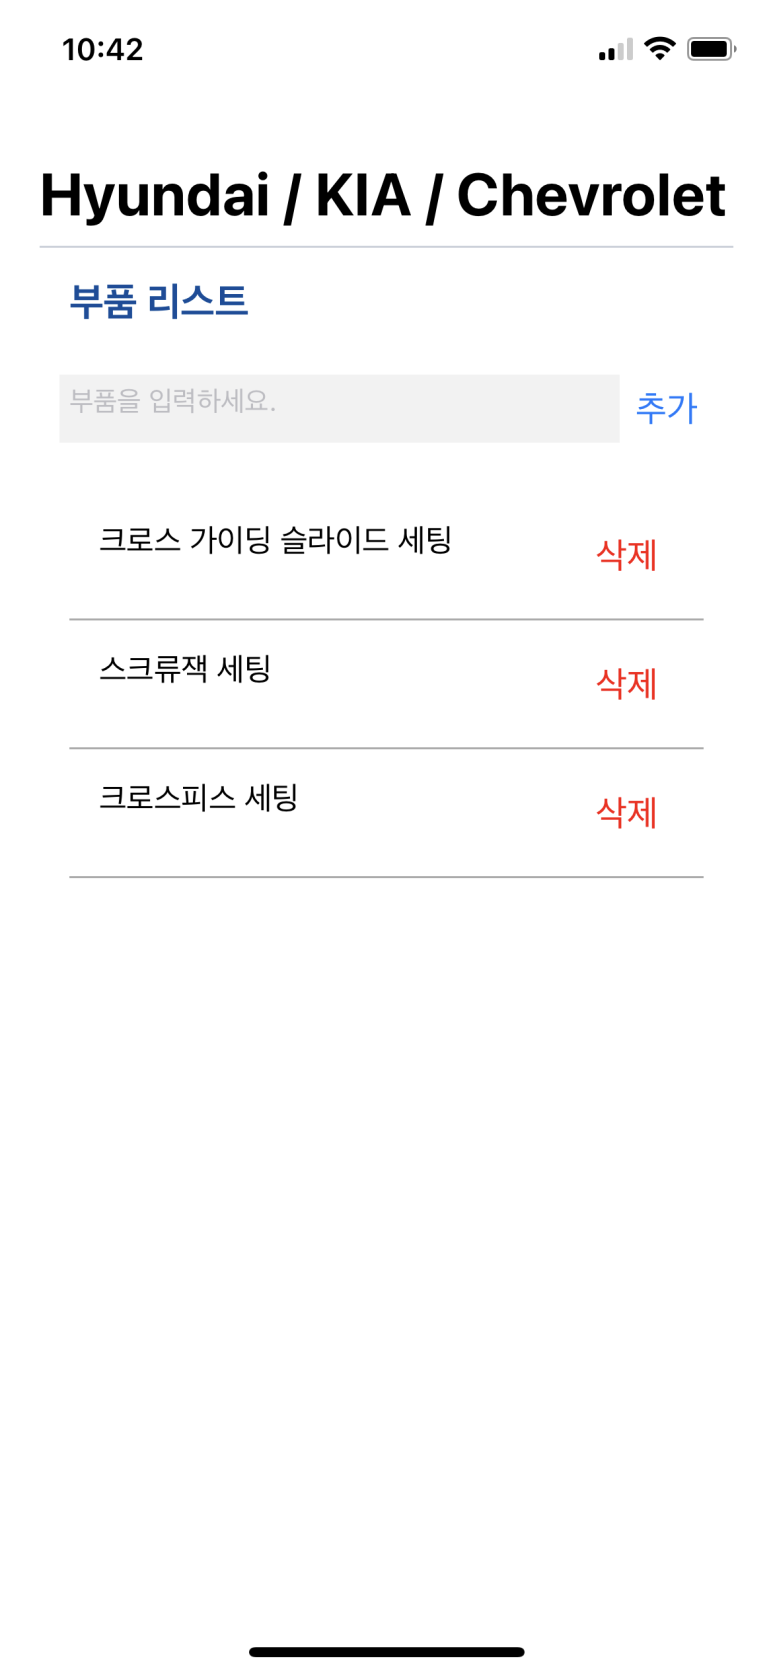
아래에 잘 추가되는 것을 확인할 수 있다.
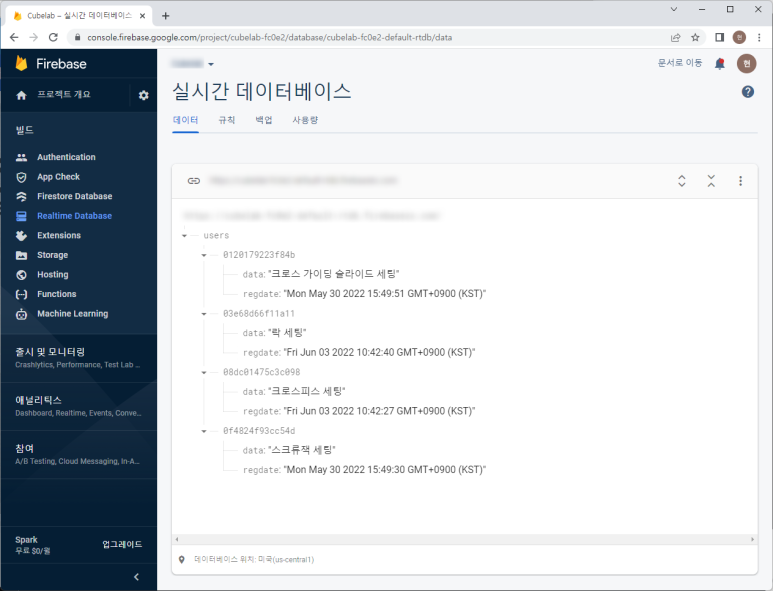
Firebase에서 Realtime DB를 보면 추가한 시간 그대로 업데이트가 되어있다.
DB를 활용하기때문에 이전 메모장과는 달리 앱을 종료한 후 다시 실행하여도 메모 데이터가 유지되어 있다.
다만 Firebase기능을 연동하려면 따로 명령프롬프트(cmd)를 열어서 프로젝트에 진입 후 install firebase 단계를 거쳐야만 연동이 가능하다!
상단의 제목 부분과 그 아래 부분으로 파트를 나눠서 JS 파일을 생성하였고 Firebase 파트는 그 아래인 Task.js에 적용시키면서 화면을 구성하였다.
간단한 앱이다보니 expo로도 충분해서 expo로 실행하였다!
여전히 조잡하지만... 이번엔 가볍게 200줄이 넘어가는군... 중간중간 수정하면서 구현한 것이라 쳐낼 내용도 많긴 하지만...나중에 하도록 하겠다🤣