AJAX란?
기존의 Web Application을 활용하는 모델에서는 서버로 데이터를 보내고 받는 과정 동안에는 사용자가 작업을 할 수 없지만, AJAX를 활용하면 서버와의 데이터 전송을 비동기로 진행하므로 결과를 AJAX 엔진을 통해서 진행하게 된다.

AJAX 문법
$.ajax({type : 'post',           // 타입 (get, post, put 등등)
        url : '/test',           // 요청할 서버url
        contentType : "application/json; charset=UTF-8",
        data : JSON.stringify({  // 보낼 데이터 (Object , String, Array)
             "no" : no,
             "name" : name,
             "nick" : nick    }),
        success : function(result) { // 결과 성공 콜백함수
             console.log(result);},
        error : function(request, status, error) { // 결과 에러 콜백함수
             console.log(error)}})
AJAX 통신 시 type과 주소를 명시하고 보내는 데이터의 타입과 데이터를 명시하면 된다.
이때, get 방식으로 통신하면 상관없지만 post 방식으로 통신하는 경우 csrf에 대한 설정을 해줄 필요가 있다.
post 방식으로 통신하는 경우 csrf에 대한 설정을 해야 서버와의 통신이 가능하다.
먼저 mustache와 같은 view단에 csrf에 대한 명시를 해주고, javascript의 ajax에 token을 명시해주면 된다.
<!--view 단의 csrf-->
<meta name="_csrf" content="{{_csrf.token}}"/>
<meta name="_csrf_header" content="{{_csrf.headerName}}"/>
// javascript의 csrf token 명시 var header = $("meta[name='_csrf_header']").attr("content"); var token = $("meta[name='_csrf']").attr("content");// ajax 내에 beforeSend로 csrf token을 header를 명시해서 전달한다. beforeSend : function(xhr) {xhr.setRequestHeader(header, token);}
GET 방식의 AJAX - 게시글 삭제하는 경우
// GET 방식 AJAX 게시글 삭제 //
$("#btn-delete").click(function() {
        var writer = $("#writer").val();
        var nowUser = $("#nowId").val();
        var boardId = $("#boardId").val();

        if (writer === nowUser) {
            if (confirm("삭제하시겠습니까?")) {
                $.ajax({
                        type : "get",
                        url : "/board/delete?bid=" + boardId,
                        contentType : "json",
                        success : function () {
                            alert("게시글이 삭제되었습니다.");
                            window.location.href = "/board";
                       }
                });
            }
        } else {
            alert("현재 접속중인 아이디가 작성자와 다릅니다.");
        }
    })
해당 URL에 대한 controller를 작성한다.
// URL : /board/delete?bid=게시글번호 이므로
// 파라미터의 RequestParam의 bid로 게시글 번호를 받는다.
// 그리고 해당 게시글을 지울 뿐 아니라 게시글에 대한 댓글들도 역시 삭제하면 된다.
@ResponseBody
@GetMapping("/board/delete")
public void boardDetail(@RequestParam(value="bid") Long bid) {
    boardService.boardDelete(bid); // 해당 게시글 지우기
    commentService.commentDeleteByBid(bid); // 게시글에 달린 댓글 지우기
}
등록된 게시글
등록된 댓글

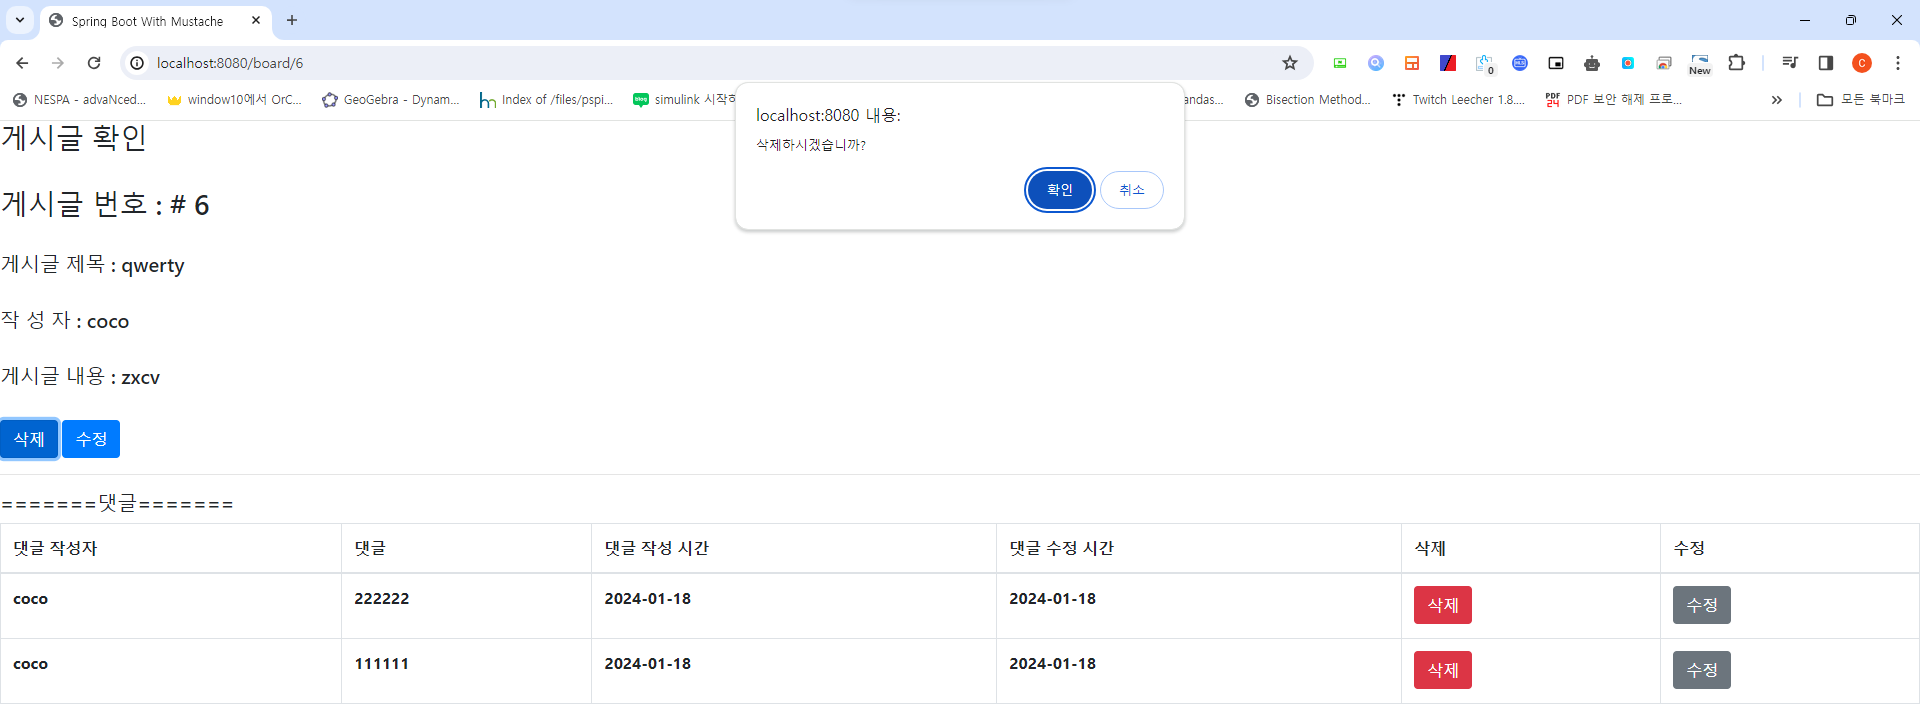
삭제버튼을 눌렀을 때 confirm함수를 통해 재확인
삭제된 이후 VIEW
DB


POST 방식의 AJAX - 게시글을 등록하는 경우
// POST 방식의 AJAX 게시글 등록 //
$("#btn-save").click(function() {
		// CSRF 토큰에 대한 명시
        var header = $("meta[name='_csrf_header']").attr("content");
        var token = $("meta[name='_csrf']").attr("content");
		// 보내고자 하는 데이터
        var tempData =
        {
            "title" : $("#title").val(),
            "content" : $("#content").val()
        };

        $.ajax({
                type : "post",
                url : "/board/write",
                data : JSON.stringify(tempData), // 데이터를 JSON으로 변환
                beforeSend : function(xhr) {xhr.setRequestHeader(header, token);}, // CSRF 토큰 설정
                contentType : "application/json; charset=UTF-8",
                success : function() {
                    window.location.href = "/board";
                }
        });
    })
URL에 대한 controller를 작성한다.
// BoardController //
@ResponseBody
@PostMapping("/board/write")
    // RequestBody로 ajax에서 보낸 데이터를 받아야 한다.
    // Map<String, Object>의 형태로 JSON을 받는다.
    public String boardWrite(@RequestBody Map<String, Object> map) {
		// 받은 JSON을 BoardDTO로 받아서 서버로 전송함 DTO에 데이터를 받는다.
        BoardDTO boardDTO = new BoardDTO();
        boardDTO.setTitle((String) map.get("title"));
		// writer를 현재 로그인된 유저로 지정한다
        boardDTO.setWriter(SecurityContextHolder.getContext().getAuthentication().getName());
        boardDTO.setContent((String) map.get("content"));
		// DTO를 서비스단으로 전달한다.
        boardService.boardWrite(boardDTO);
		// 작성이 완료되면 게시판 화면으로 리다이렉팅한다.
        return "redirect:/board";
    }

// BoardService //
public void boardWrite(BoardDTO boardDTO) {
		// DTO를 Entity로 변환하여 DB로 전달함
        BoardEntity boardEntity = new BoardEntity();
        boardEntity.setTitle(boardDTO.getTitle());
        boardEntity.setWriter(boardDTO.getWriter());
        boardEntity.setContent(boardDTO.getContent());
        boardEntity.setRegDate(String.valueOf(LocalDate.now()));
        boardEntity.setModDate(String.valueOf(LocalDate.now()));
		// JPA의 save를 활용해 데이터를 DB로 저장한다.
        boardRepository.save(boardEntity);
    }
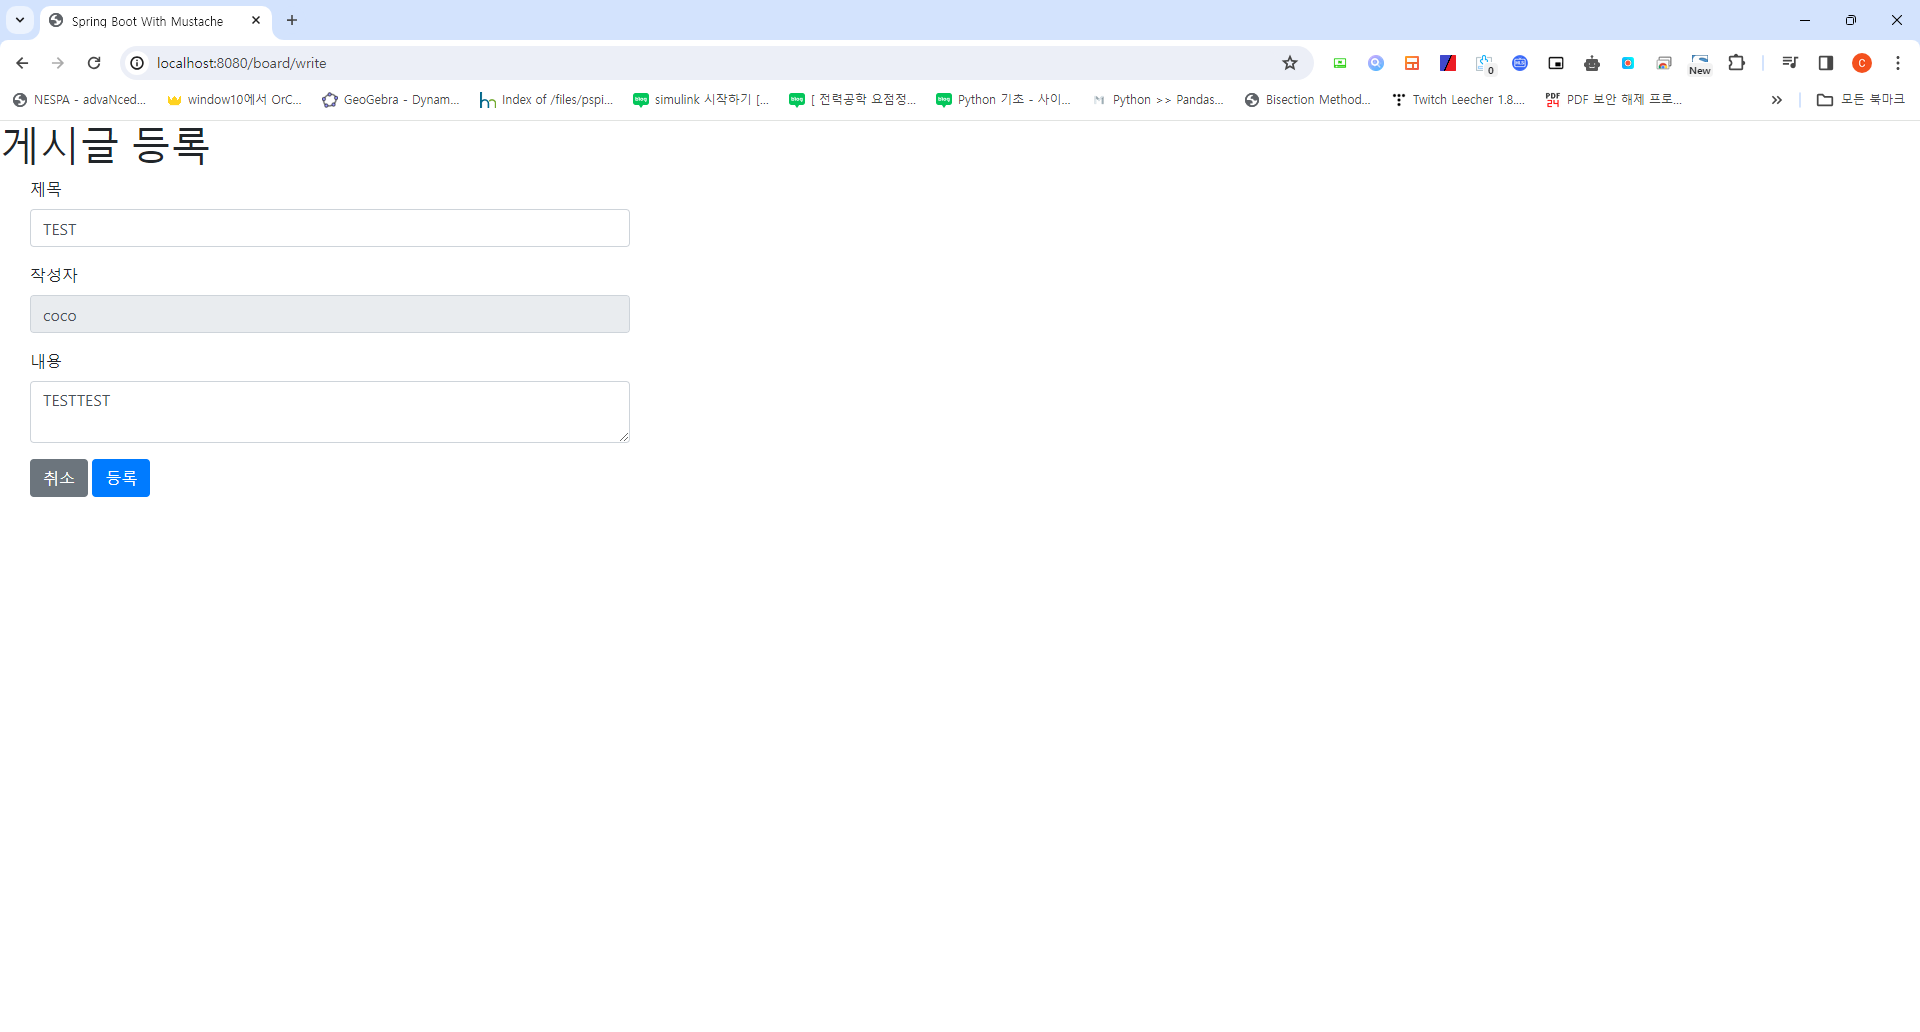
게시글 등록 VIEW - 작성자는 현재 로그인 된 유저의 아이디로 지정해둔다.
<h1>게시글 등록</h1>
<div class="col-md-12">
    <div class="col-md-4">
        <form>
            <div class="form-group">
                <label for="title">제목</label>
                <input type="text" class="form-control" id="title" placeholder="제목을 입력하세요">
            </div>
            <div class="form-group">
                <label for="writer"> 작성자</label>
                <input type="text" class="form-control" value="{{writer}}" readonly>
            </div>
            <div class="form-group">
                <label for="content"> 내용</label>
                <textarea type="text" class="form-control" id="content" placeholder="내용을 입력하세요"></textarea>
            </div>
            <input type="hidden" name="_csrf" value="{{_csrf.token}}">
        </form>
        <a href="/board" role="button" class="btn btn-secondary">취소</a>
        <button type="button" class="btn btn-primary" id="btn-save">등록</button>
    </div>
</div>
등록 결과


ヽ(≧□≦)ノ