
1. Unsecured Spring Boot App
프로젝트 : Gradle Project
Language: Java
스프링 부트 스타터 사이트(https://start.spring.io)로 이동해 스프링 프로젝트를 생성한다.

1-1) dependency
부족한 dependency를 그냥 타이핑해서 추가해준다. 추가하고 상단의 코끼리 버튼 눌러주기
build.gradle
plugins {
	id 'org.springframework.boot' version '2.5.5'
	id 'io.spring.dependency-management' version '1.0.11.RELEASE'
	id 'java'
}

group = 'com.SecurityApplication'
version = '0.0.1-SNAPSHOT'
sourceCompatibility = '11'

repositories {
	mavenCentral()
}

dependencies {
	implementation 'org.springframework.boot:spring-boot-starter-data-jpa'
	implementation 'org.springframework.boot:spring-boot-starter-thymeleaf'
	implementation 'org.springframework.boot:spring-boot-starter-web'

compileOnly 'org.projectlombok:lombok'
	developmentOnly 'org.springframework.boot:spring-boot-devtools'
	runtimeOnly 'com.h2database:h2'
	annotationProcessor 'org.springframework.boot:spring-boot-configuration-processor'
	annotationProcessor 'org.projectlombok:lombok'

testImplementation 'org.springframework.boot:spring-boot-starter-test'
}

test {
	useJUnitPlatform()
}
dependency에는 가장 기본적인 요소들만 포함했고 아직 spring-security를 포함시키지 않았다.
1-2) templates
view는 spring boot의 thymeleaf를 사용할 예정이다.

각 index.html은 단순히 해당 페이지가 어떤 페이지인지 보여주는 화면이다.
fragment.html은 nav를 위한 html이다.
admin/index.html
<!DOCTYPE html>
<html xmlns:th="http://www.thymeleaf.org">
<head th:insert="fragments.html :: headerfiles"></head>
<body>
<header th:insert="fragments.html :: nav"></header>
<!-- Page content goes here -->
<div class="container">
    <p>This is Admin\Index. Only people with role_admin can see this.</p>
</div>
</body>
</html>
management/index.html
<!DOCTYPE html>
<html xmlns:th="http://www.thymeleaf.org">
<head th:insert="fragments.html :: headerfiles"></head>
<body>
<header th:insert="fragments.html :: nav"></header>
<!-- Page content goes here -->
<div class="container">
    <p>This is Management\Index. Only people with role_management can see this</p>
</div>
</body>
</html>
> profile/index.html
<!DOCTYPE html>
<html xmlns:th="http://www.thymeleaf.org" xmlns:sec="http://www.thymeleaf.org/extras/spring-security">
<head th:insert="fragments.html :: headerfiles"></head>
<body>
<header th:insert="fragments.html :: nav"></header>
<!-- Page content goes here -->
<div class="container">
    <p>This is User Profile\Index. Only authenticated people can see this</p>
</div>
</body>
</html>
fragements.html
<!DOCTYPE HTML>
<html xmlns:th="http://www.thymeleaf.org"
      xmlns:sec="http://www.thymeleaf.org/extras/spring-security">
<!-- Fragment #1 : Headerfiles contains css and js references -->
<head th:fragment="headerfiles">
    <title>Introduction to SpringBoot Security</title>
    <meta charset="UTF-8"/>

    <!-- 합쳐지고 최소화된 최신 CSS -->
    <link rel="stylesheet" href="https://maxcdn.bootstrapcdn.com/bootstrap/3.3.2/css/bootstrap.min.css">

    <!-- 부가적인 테마 -->
    <link rel="stylesheet" href="https://maxcdn.bootstrapcdn.com/bootstrap/3.3.2/css/bootstrap-theme.min.css">

    <!-- 합쳐지고 최소화된 최신 자바스크립트 -->
    <script src="https://maxcdn.bootstrapcdn.com/bootstrap/3.3.2/js/bootstrap.min.js"></script>
</head>
<body>
<!-- Fragment #2 : Navbar contains nav links -->
<div th:fragment="nav">
    <nav class="navbar navbar-expand-lg navbar-light bg-light">
        <a class="navbar-brand" href="#">Boot Security</a>

        <div class="collapse navbar-collapse" id="navbarSupportedContent">
            <ul class="navbar-nav mr-auto">
                <li class="nav-item">
                    <a class="nav-link" href="#" th:href="@{~/index}"><i class="fa fa-home"></i>Home</a>
                </li>
                <li class="nav-item">
                    <a class="nav-link" href="#" th:href="@{~/profile/index}">Profile</a>
                </li>
                <li class="nav-item">
                    <a class="nav-link" href="#" th:href="@{~/admin/index}">Admin</a>
                </li>
                <li class="nav-item">
                    <a class="nav-link" href="#" th:href="@{~/management/index}">Management</a>
                </li>
            </ul>
        </div>
    </nav>
</div>
</body>
</html>
index.html
<!DOCTYPE html>
<html xmlns:th="http://www.thymeleaf.org">
<head th:insert="fragments.html :: headerfiles"></head>
<body>
<header th:insert="fragments.html :: nav"></header>
<!-- Page content goes here -->
<div class="container">
    <div class="jumbotron">
        <h1 class="display-4">Hello, Spring Boot Security!</h1>
        <p class="lead">This is the home page of our web application. Anyone can access it, even if they have not signed in.</p>
        <hr class="my-4">
        <p>Using this example, you will become more familiar with Spring Security concepts:)</p>
        <p class="lead">
            <a class="btn btn-primary btn-lg" href="https://spring.io/projects/spring-security" role="button">Learn more about Spring Security</a>
        </p>
    </div>
</div>
</body>
</html>
1-3) Controller
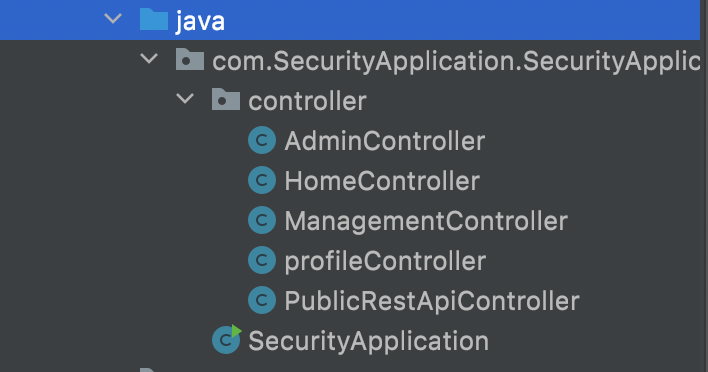
controller는 url 호출에 따라 그에 맞는 thymealeaf페이지를 보여줄 수 있도록 생성했다.
(추가로 PublicRestApiController를 생성했다.)
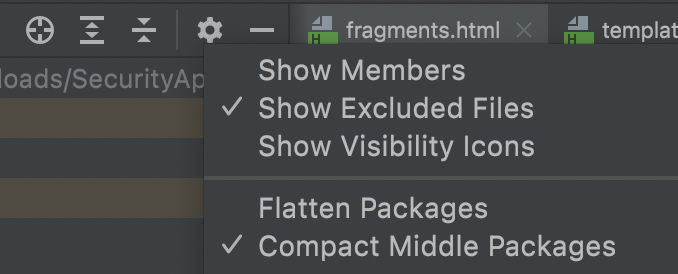
인텔리제이의 톱니바퀴버튼을 눌러 compact Middle Packages로 설정했다.
AdminController
@Controller
@RequestMapping("admin")
public class AdminController {

    @GetMapping("index")
    public String index(){
        return "admin/index";
    }
}
HomeController
@Controller
@RequestMapping("/")
public class HomeController {
    @GetMapping("index")
    public String index(){
        return "index";
    }
}
ManagementController
@Controller
@RequestMapping("management")
public class ManagementController {

    @GetMapping("index")
    public String index(){
        return "management/index";
    }
}
ProfileController
@Controller
@RequestMapping("profile")
public class ProfileController {

    @GetMapping("index")
    public String index(){
        return "profile/index";
    }
}
PublicRestApiController
@RestController
@RequestMapping("api/public")
public class PublicRestApiController {

    public PublicRestApiController(){}

    @GetMapping("test1")
    public String test1(){
        return "API Test 1";
    }

    @GetMapping("test2")
    public String test2(){
        return "API Test 2";
    }

}
1-4) 실행 화면
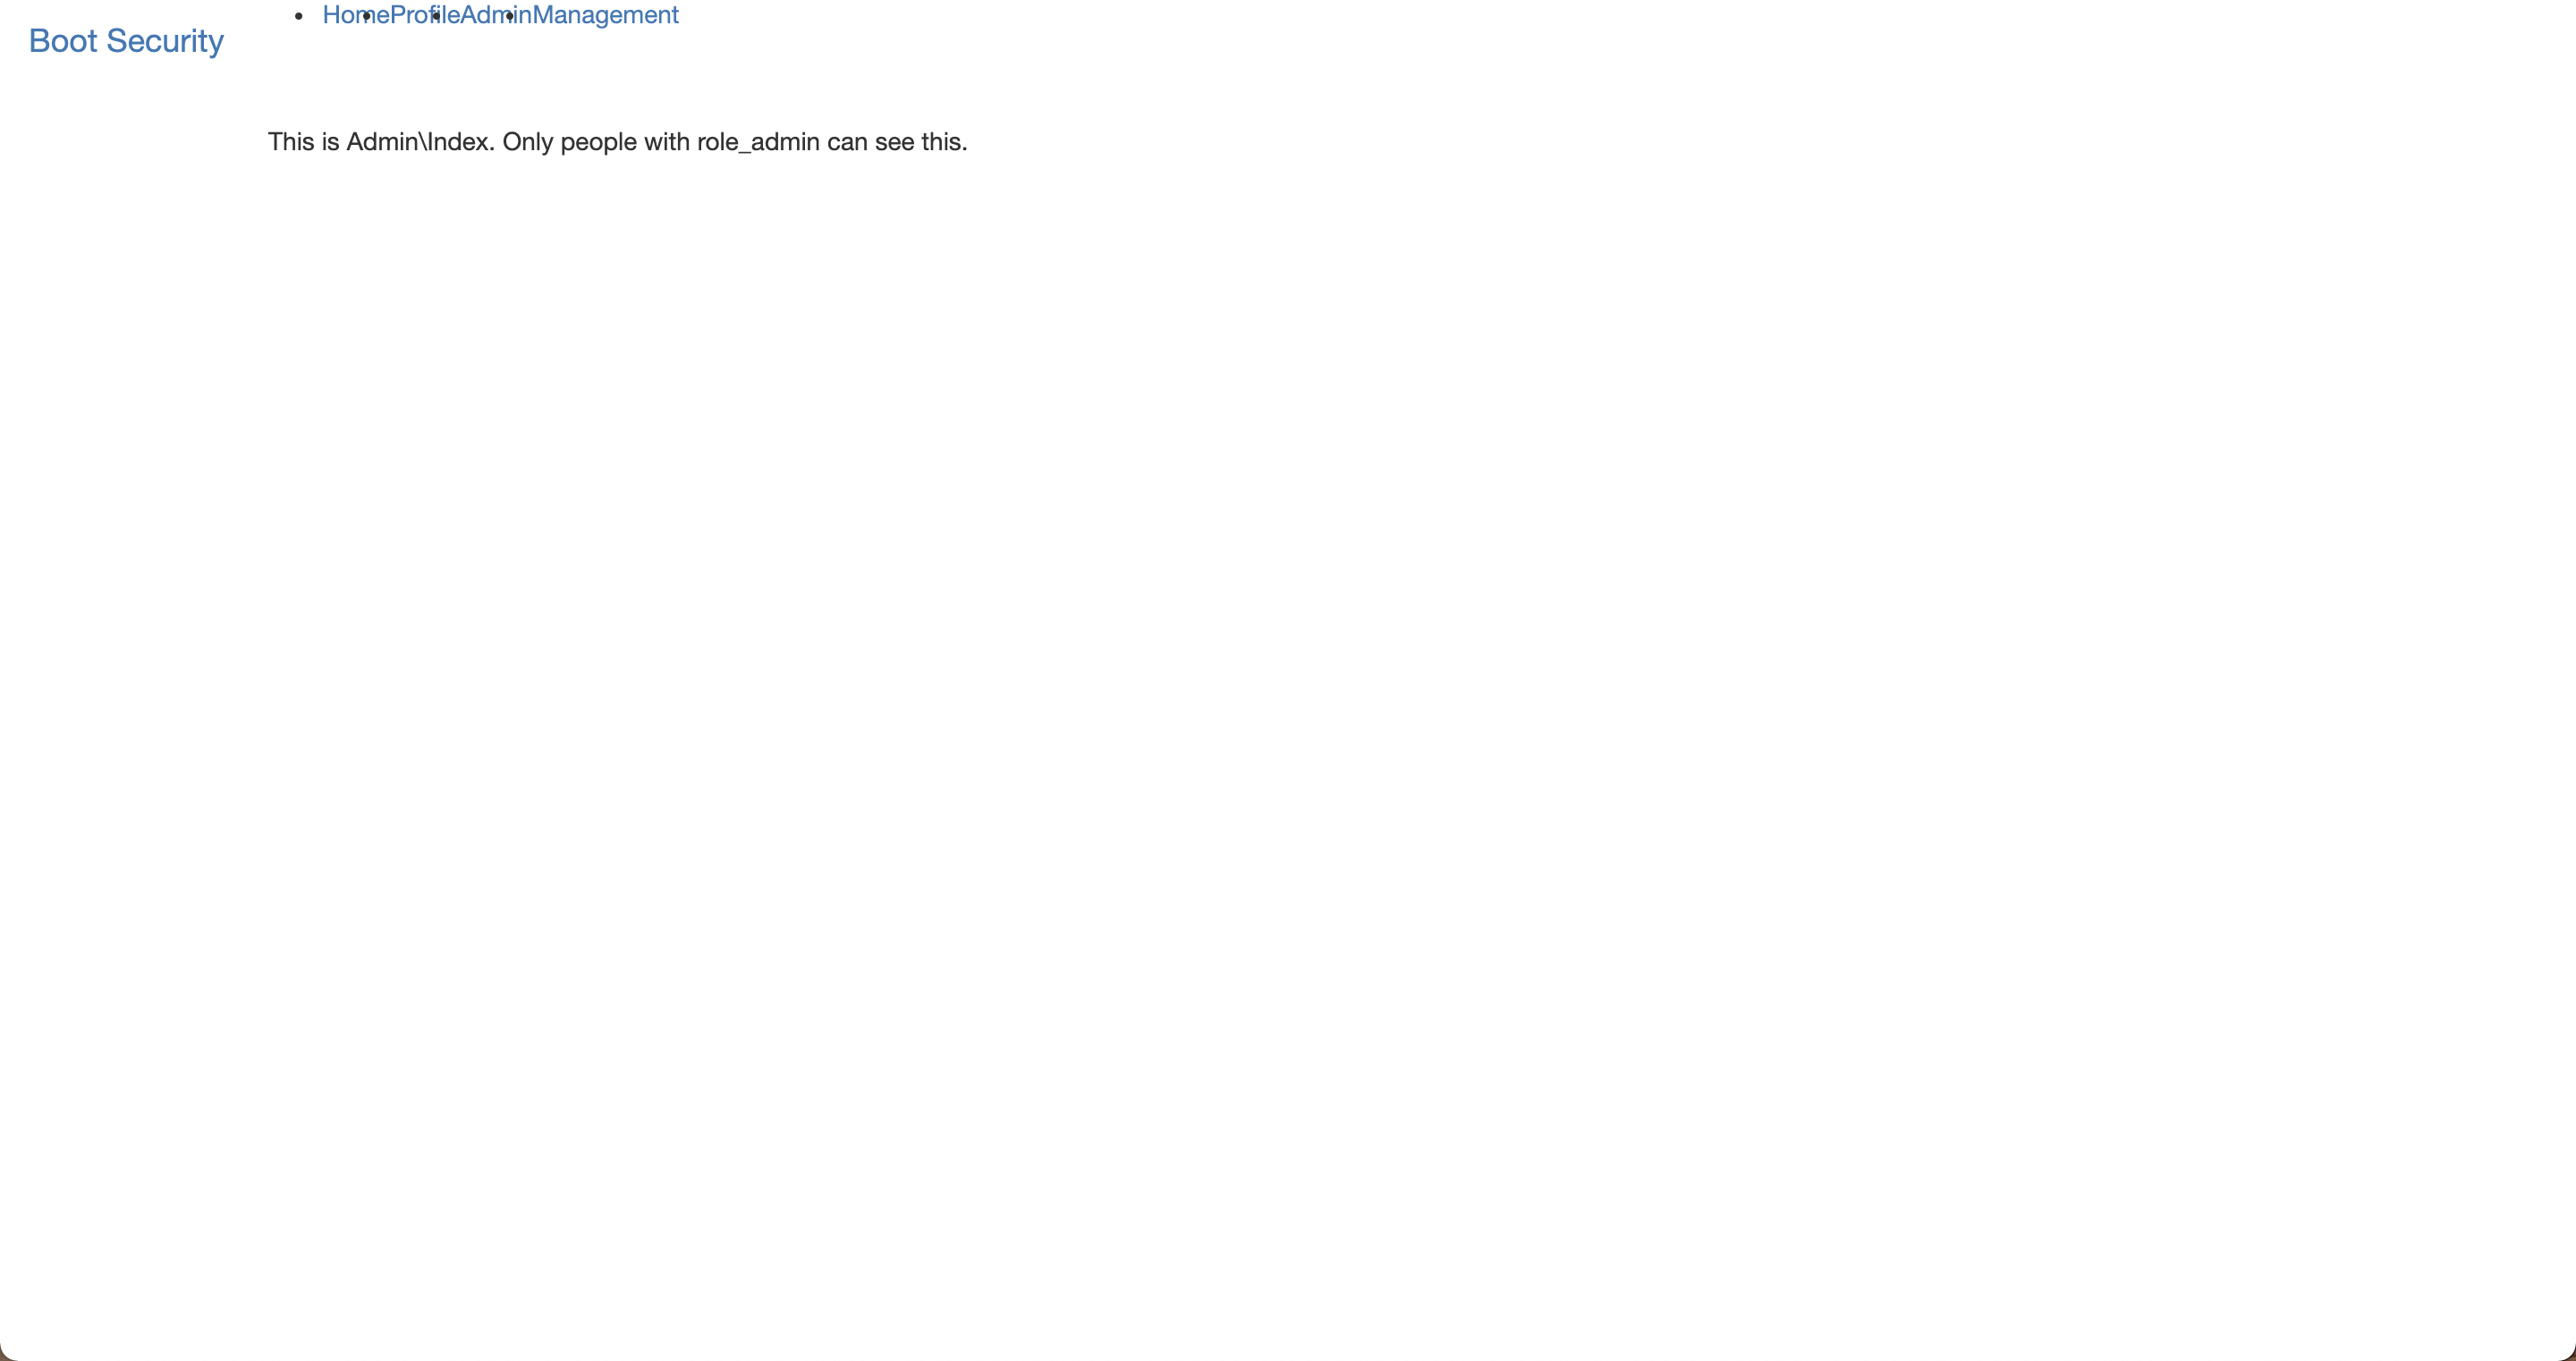
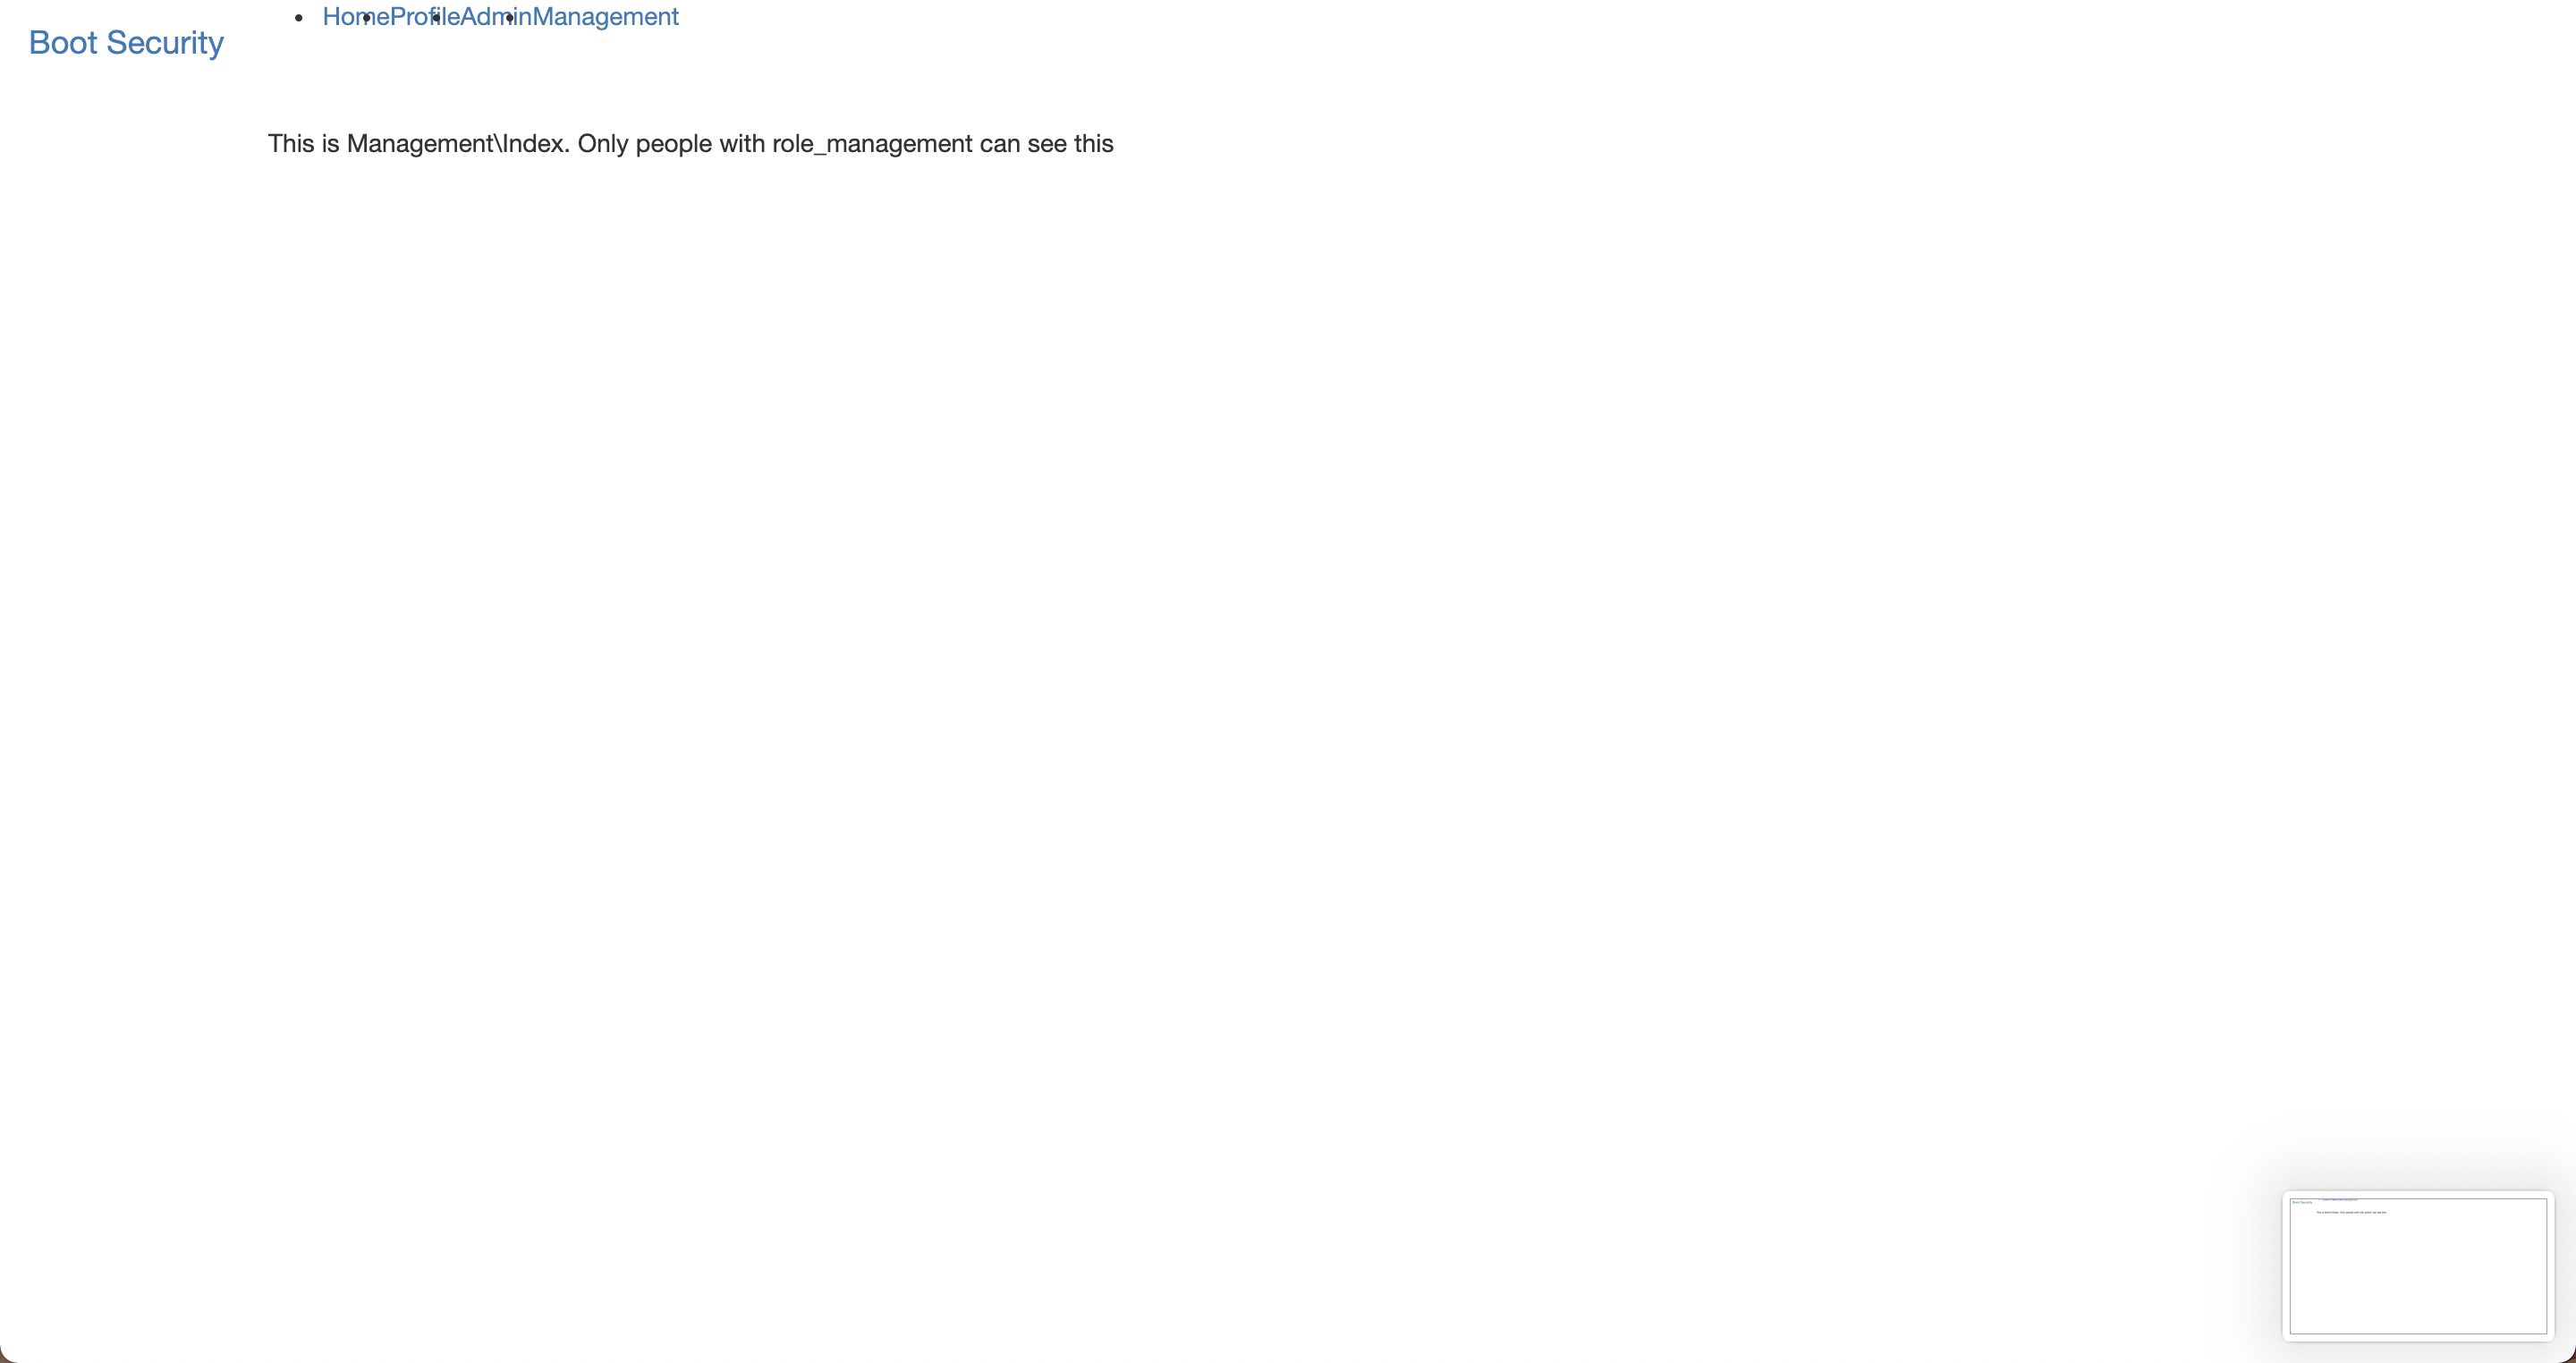
project를 실행킨 뒤 localhost:8080으로 접근해 본다.

위에 많이 겹쳐져 있지만 화면 상단에 Profile / Admin / Management tab을 확인할 수 있다.
현재는 어떠한 security도 적용되어 있지 않기 때문에 누구나 해당 tab으로 접근 가능하다.
Profile Tab

Admin Tab
Management Tab
2. Enable Security
이제 위의 spring boot app에 security를 적용한다.
2-1) security dependency 추가하기
build.gradle 파일에 아래 2개의 dependency를 추가한다.
build.gradle
implementation 'org.springframework.boot:spring-boot-starter-security'
implementation 'org.thymeleaf.extras:thymeleaf-extras-springsecurity5'
간단하게 위희 2개의 dependency만 추가해도 spring security의 default configration을 사용할 수 있다.
(view로 thymeleaf를 사용하지 않는 경우에는 첫번째 dependency만 추가하면 된다.)
2-2) security enabled app 실행 화면
위에와 똑같이 spring boot app을 실행시켜 본다.
정상적으로 app이 실행되면 console창에 위와 같은 비밀번호가 하나 임의로 생성되는 것을 확인할 수 있다.

이는 spring-security의 defualt configuration이 생성해주는 임의의 password로 사용자는 해당 password를 사용해 app에 접근할 수 있다.
(이 password는 app이 실행될때마다 random으로 생성된다.)
동일하게 localhost:8080으로 접근해보면 아래와 같이 login page로 redirect 된 화면이 보인다.

위의 login 페이지는 spring-security가 생성한 page로 사용자가 생성한 페이지가 아니다.
해당 페이지에서 username에는 user를 password에는 앞서 확인한 default password를 입력해야지만 spring boot app으로 입장할 수 있다.
• userName : user
• password : 콘솔 화면에 나온 password
2-3) user & password 직접 설정하기
만약 직접 정의한 user와 password를 사용하고 싶으면 아래와 같이 application.yml에 입력해 사용한다.
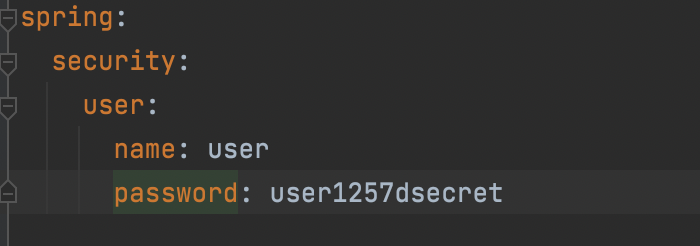
+application.yml 설정하는 방법
application.properties을 없애고 그 자리에 application.yml을 추가해주면 된다.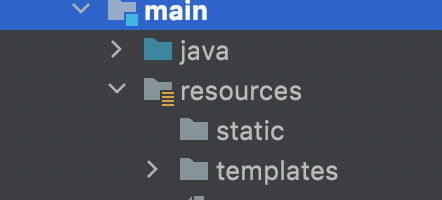
이후에는 login page에서 위의 username과 password를 입력하면 된다.
Reference
이번 글은 바보개발님의 글의 참고해 작성됐습니다.✨
https://minholee93.tistory.com/entry/Spring-Security-Default-Configuration-Spring-Boot-1?category=924032