
Spring Boot App에 HTTP Basic Authentication을 적용하는 프로젝트를 진행한다.
1. HTTP Basic Authentication
HTTP Basic Authentication에 관한 이론적인 내용은 여기에서 확인할 수 있다.
기본적인 spring boot app 설정은 여기에서 확인할 수 있다.
이전에 생성한 spring boot app에 HTTP Basic Authentication을 적용하려 한다.
1-1) 개요
HTTP Basic Authentication은 spring-security에서 제공해주는 default configuartion이 아니므로, 사용자가 아래와 같이 custom security configuration을 직접 생성해야 한다.
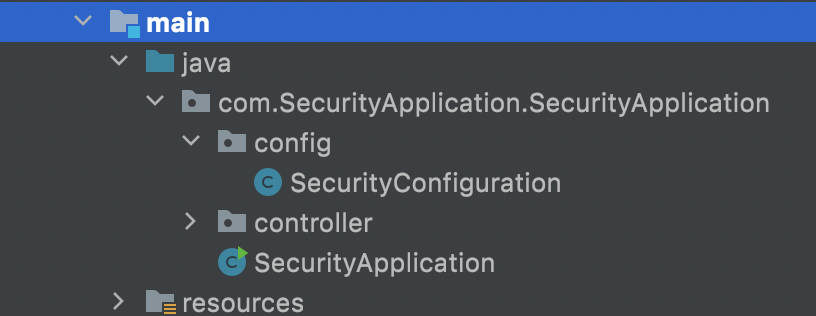
config 패키지를 생성해주고 SecurityConfiguration을 생성해준다.
SecurityConfiguration
@Configuration
@EnableWebSecurity
public class SecurityConfiguration extends WebSecurityConfigurerAdapter {

    @Override
    protected void configure(AuthenticationManagerBuilder auth) throws Exception {
        auth
                .inMemoryAuthentication()
                .withUser("code1").password(passwordEncoder().encode("code123")).roles("ADMIN")
                .and()
                .withUser("code2").password(passwordEncoder().encode("code456")).roles("USER");

    }

    @Override
    protected void configure(HttpSecurity http) throws Exception {
        http
                .authorizeRequests()
                .anyRequest().authenticated()
                .and()
                .httpBasic();
    }

    @Bean
    PasswordEncoder passwordEncoder(){
        return new BCryptPasswordEncoder();
    }
}
위의 대략적은 틀을 보자면 아래와 같다.
• @Configuartion과 @EnableWebSecurity 어노테이션을 작성해, security에 사용할 configuration 임을 명시한다.
@Configuartion : 해당 클래스를 Configuration으로 등록한다.
@EnableWebSecurity : Spring Security를 활성화 시킨다.
• custom security configuration을 사용하기위해 WebSecurityConfigurerAdapter를 상속하고, configure 메서드를 @Override 한다.
세부적으로 코드를 보면 아래와 같다.
1-2) AuthenticationManagerBuilder
configure(AuthenticationManagerBuilder auth)
@Override
    protected void configure(AuthenticationManagerBuilder auth) throws Exception {
        auth
                .inMemoryAuthentication()
                .withUser("code1").password(passwordEncoder().encode("code123")).roles("ADMIN")
                .and()
                .withUser("code2").password(passwordEncoder().encode("code456")).roles("USER");

    }
• inMemoryAuthentication( ) : user와 password 정보를 h2와 같은 in memory에 저장한다.
• code1 user의 password를 code123으로 설정하고, 해당 password를 password encoder로 encode한다. 또한, code1 ROLE을 ADMIN으로 설정한다.
• code2 user의 password를 code456으로 설정하고, 해당 password를 password encoder로 encode한다. 또한, code2의 ROLE을 USER로 설정한다.
1-3) HttpSecurity
spring security의 설정은 HttpSecurity로 한다.
 + 리소스(URL) 접근 권한 설정
 + 인증 전체 흐름에 필요한 Login, Logout 페이지 인증완료 후 페이지 인증 실패 시 이동페이지 등등 설정
 + 인증 로직을 커스텀하기 위한 커스텀 필터 설정
 + 기타 csrf, 강제 https 호출 등등 거의 모든 스프링시큐리티의 설정
 @Override
    protected void configure(HttpSecurity http) throws Exception {
        http
                .authorizeRequests()
                .anyRequest().authenticated()
                .and()
                .httpBasic();
    }
• authorizeRequests( ).anyRequest( ).authenticated( ) : 모든 http reqeust는 인증된 사용자만 접근할 수 있도록 한다.
authorizeRequests() : HttpServeltRequest 요청 URL에 따라 접근 권한을 설정한다.
anyRequest().authenticated() : 인증된 유저만 접근을 허용한다.
• httpBasic( ) : 사용자 인증방법으로는 HTTP Basic Authentication을 사용한다.
1-4) PasswordEncoder
passwordEncoder( )
@Bean
PasswordEncoder passwordEncoder(){
    return new BCryptPasswordEncoder();
}
• passwordEncoder( ) : custom security configuration에서 사용할 password encoder를 BCryptPasswordEncoder로 정의한다.
• @Bean : password encoder를 @Bean으로 등록해, project 내부 어느곳에서나 사용할 수 있도록 정의한다.
2. 실행 화면
이제 더 이상 spring security가 제공해주는 기본 login 페이지로 이동하지 않고, 브라우저가 사용자에게 직접 name과 password를 묻는 것을 알 수 있다.
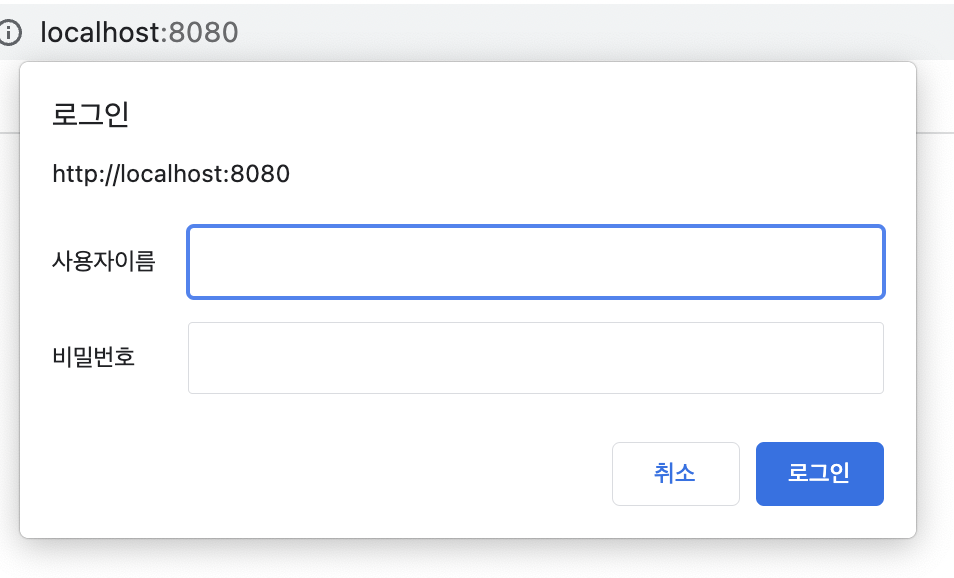
⭐ HTTP Basic Authentication은 browser가 사용자 인증을 진행한다. ⭐
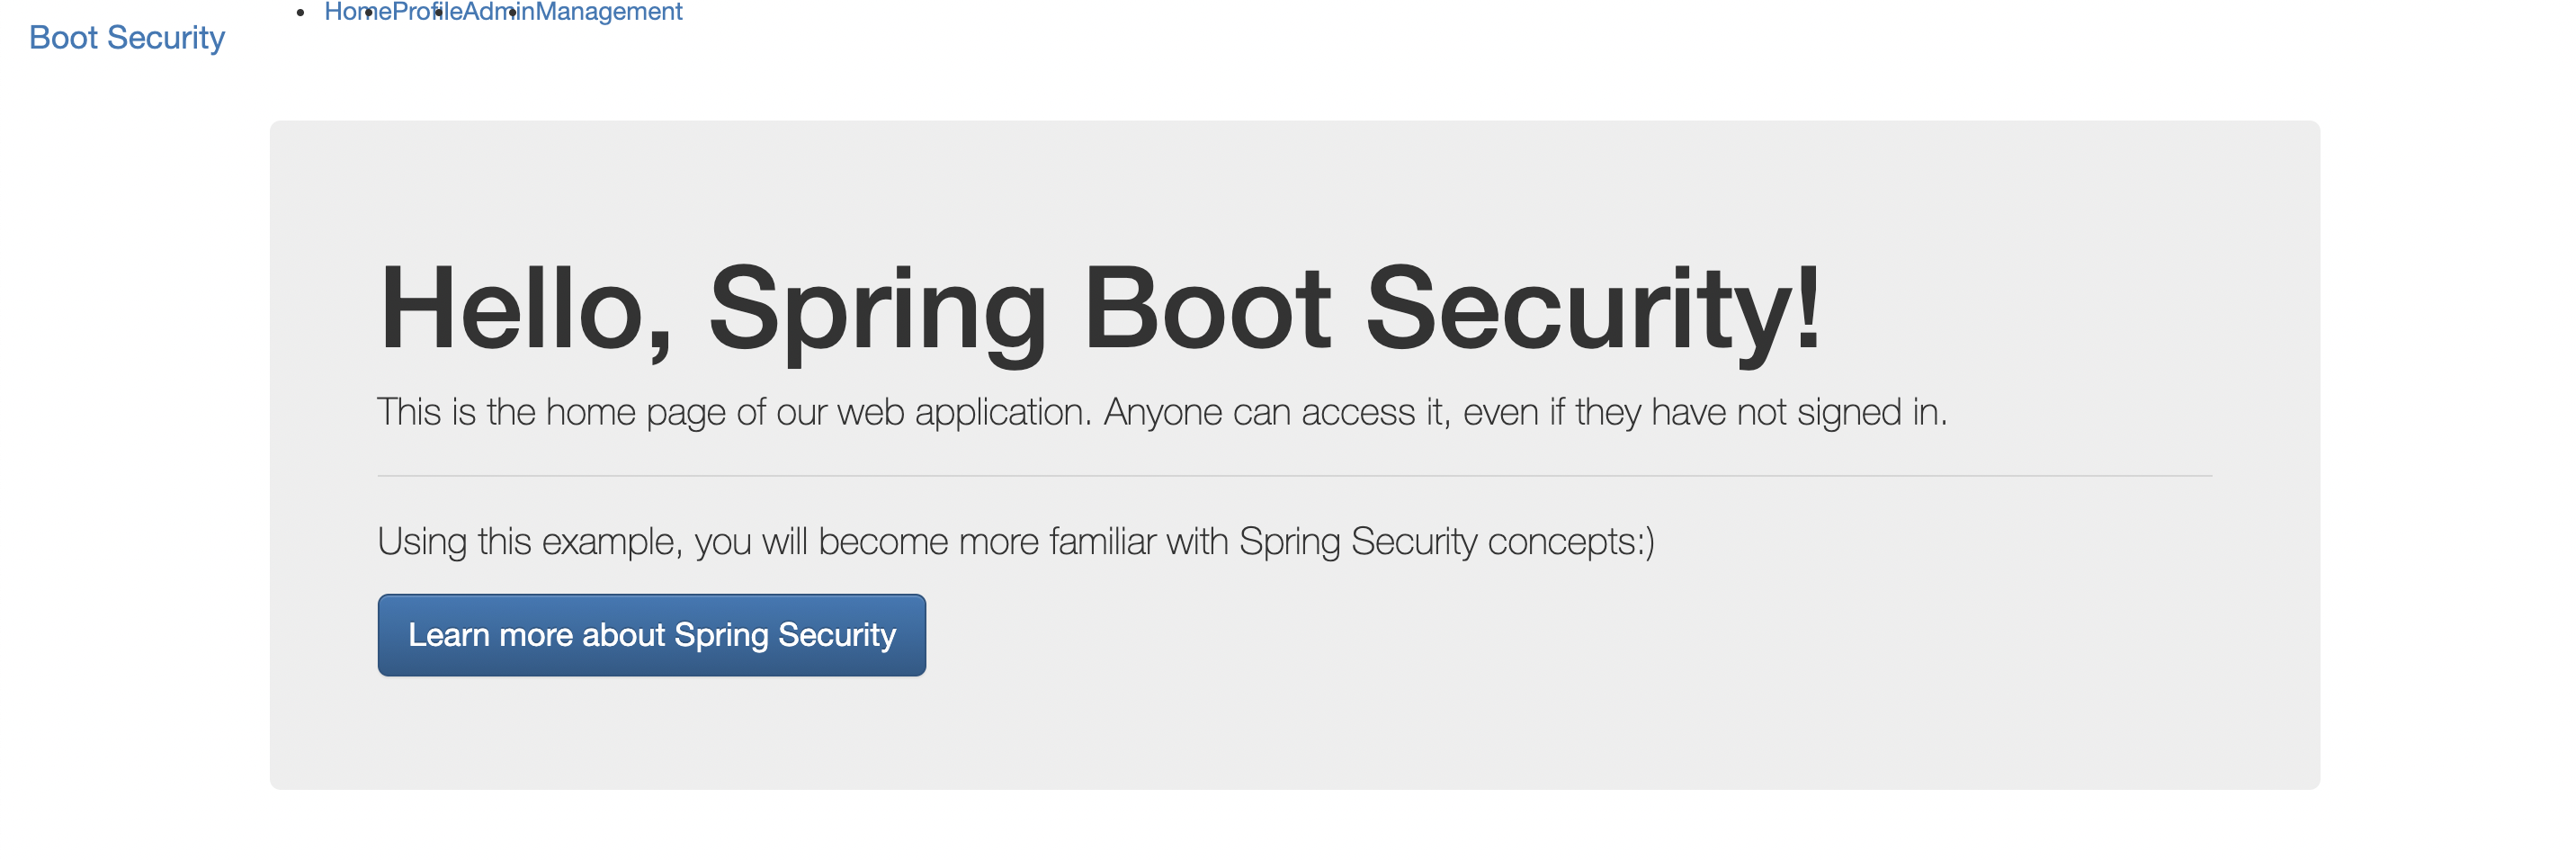
팝업창에 앞서 생성한 user와 password를 입력하면, 아래와 접속할 수 있다.
Reference
이번 글은 바보개발님의 글의 참고해 작성됐습니다. ✨
https://kimchanjung.github.io/programming/2020/07/02/spring-security-02/
https://kimchanjung.github.io/programming/2020/07/02/spring-security-02/