01. 기본 cordova 설치
$ npm install -g cordova

$ cordova -v
02. plugman 설치
npm install -g plugman03. 플러그인 작업용 cordova project 생성
cordova create [PATH][ID][NAME]
$ cordova create makePlugin com.plugin.test MakePluginApp
04. makePlugin 프로젝트에서 myPluginTest 플러그인 생성
$ cd makePlugin
$ cordova platform add android  <-플랫폼 추가
$ plugman create --name myPluginTest --plugin_id com.test.myPlugin --plugin_version 0.0.1

05. myPluginTest 플러그인에서 android 플랫폼 추가
$ cd myPluginTest
$ plugman platform add --platform_name android

06. src/android/myPluginTest.java파일 샘플코드 작성 (토스트)
package com.test.myPlugin;

import org.apache.cordova.CordovaPlugin;
import org.apache.cordova.CallbackContext;

import org.json.JSONArray;
import org.json.JSONException;
import org.json.JSONObject;

/**
 * This class echoes a string called from JavaScript.
 */
public class myPluginTest extends CordovaPlugin {

    @Override
    public boolean execute(String action, JSONArray args, CallbackContext callbackContext) throws JSONException {
        if (action.equals("toast")) {
            String message = args.getString(0);
            android.widget.Toast.makeText(cordova.getActivity().getApplicationContext(), message, android.widget.Toast.LENGTH_SHORT).show();

            this.coolMethod(message, callbackContext);
            return true;
        }
        return false;
    }

    private void coolMethod(String message, CallbackContext callbackContext) {
        if (message != null && message.length() > 0) {
            callbackContext.success(message);
        } else {
            callbackContext.error("Expected one non-empty string argument.");
        }
    }
}
07. www/myPluginTest.js파일 샘플코드 작성
var exec = require('cordova/exec');
exports.toast = function (arg0, success, error) {
exec(success, error, 'myPluginTest', 'toast', [arg0]);
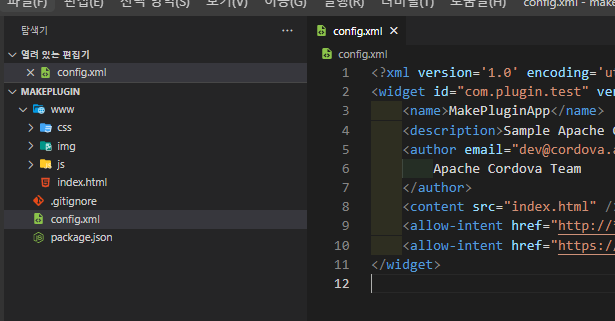
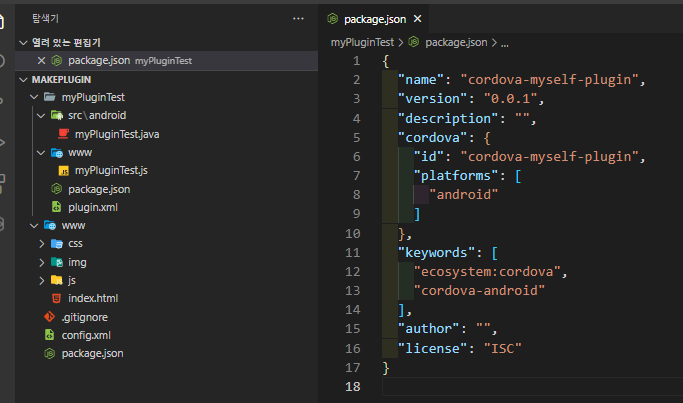
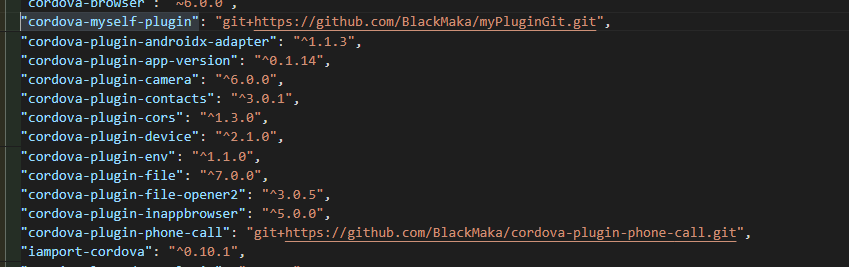
};08. plugin.xml 작성 ( id="cordova-myself-plugin")
<?xml version='1.0' encoding='utf-8'?>
<plugin
  id="cordova-myself-plugin"
  version="0.0.1"
  xmlns="http://apache.org/cordova/ns/plugins/1.0"
  xmlns:android="http://schemas.android.com/apk/res/android"
  ><name>myPluginTest</name
  ><js-module name="myPluginTest" src="www/myPluginTest.js"
    ><clobbers target="cordova.plugins.myPluginTest" /></js-module
  ><platform name="android"
    ><config-file parent="/*" target="res/xml/config.xml"
      ><feature name="myPluginTest"
        ><param
          name="android-package"
          value="com.test.myPlugin.myPluginTest" /></feature></config-file
    ><config-file parent="/*" target="AndroidManifest.xml" /><source-file
      src="src/android/myPluginTest.java"
      target-dir="src/com/test/myPlugin/myPluginTest" /></platform
></plugin>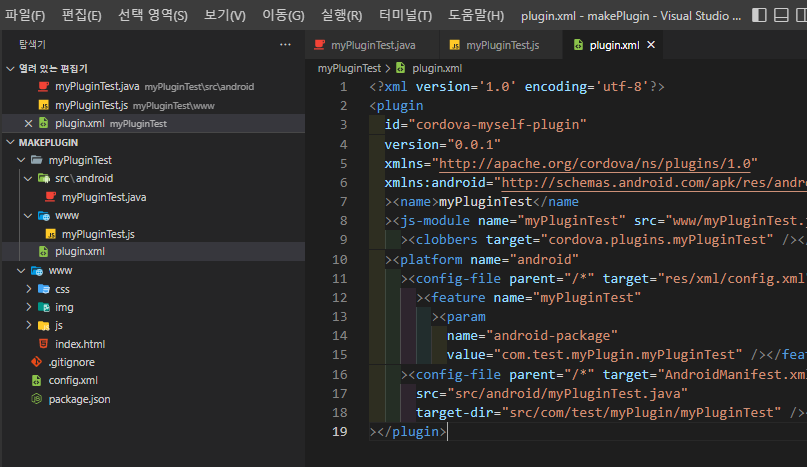
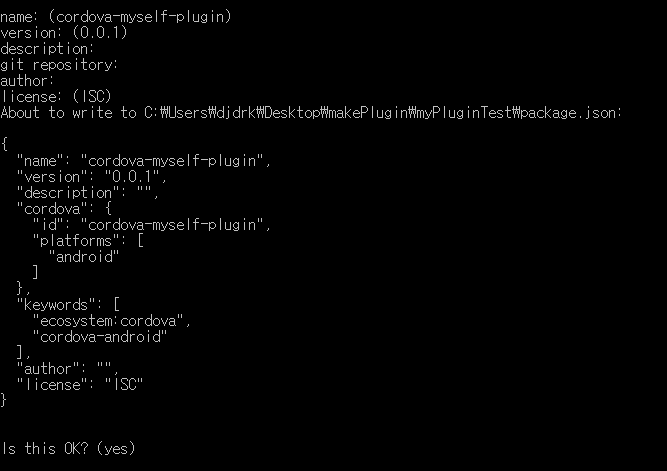
09. myPluginTest 플러그인에 pacakge.json생성
$ plugman createpackagejson .
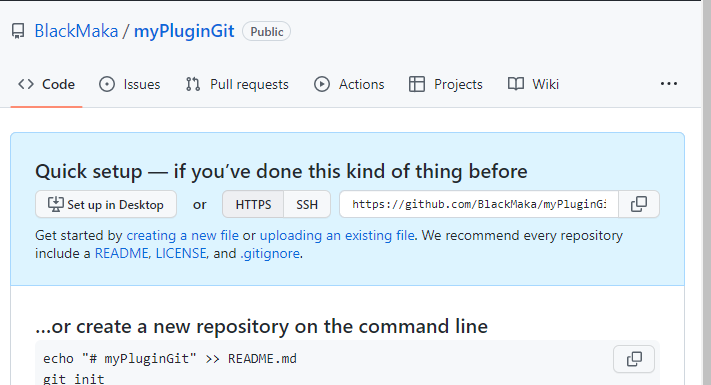
10. git 리포지토리 생성 및 연결, 푸시
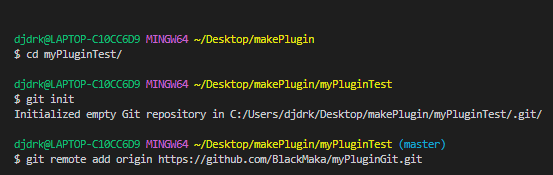
cd myPluginTest
git init
git remote add origin https://github.com/BlackMaka/myPluginGit.git

git add .
git commit -m "firstCommit"
git push origin master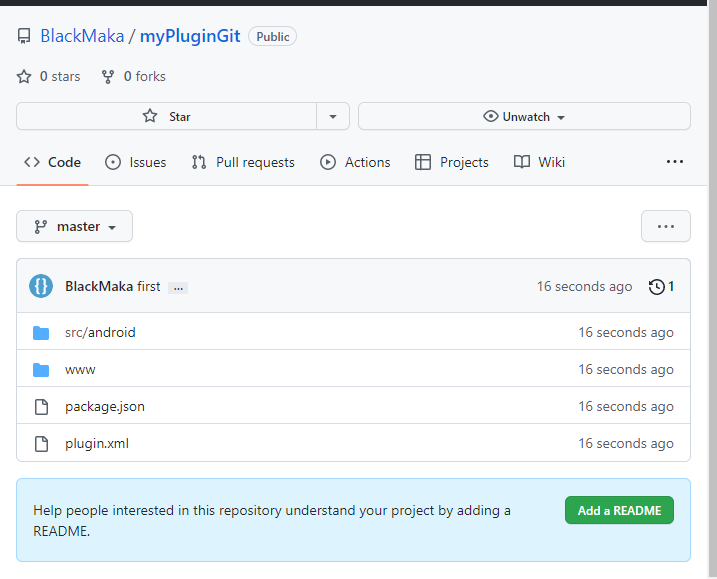
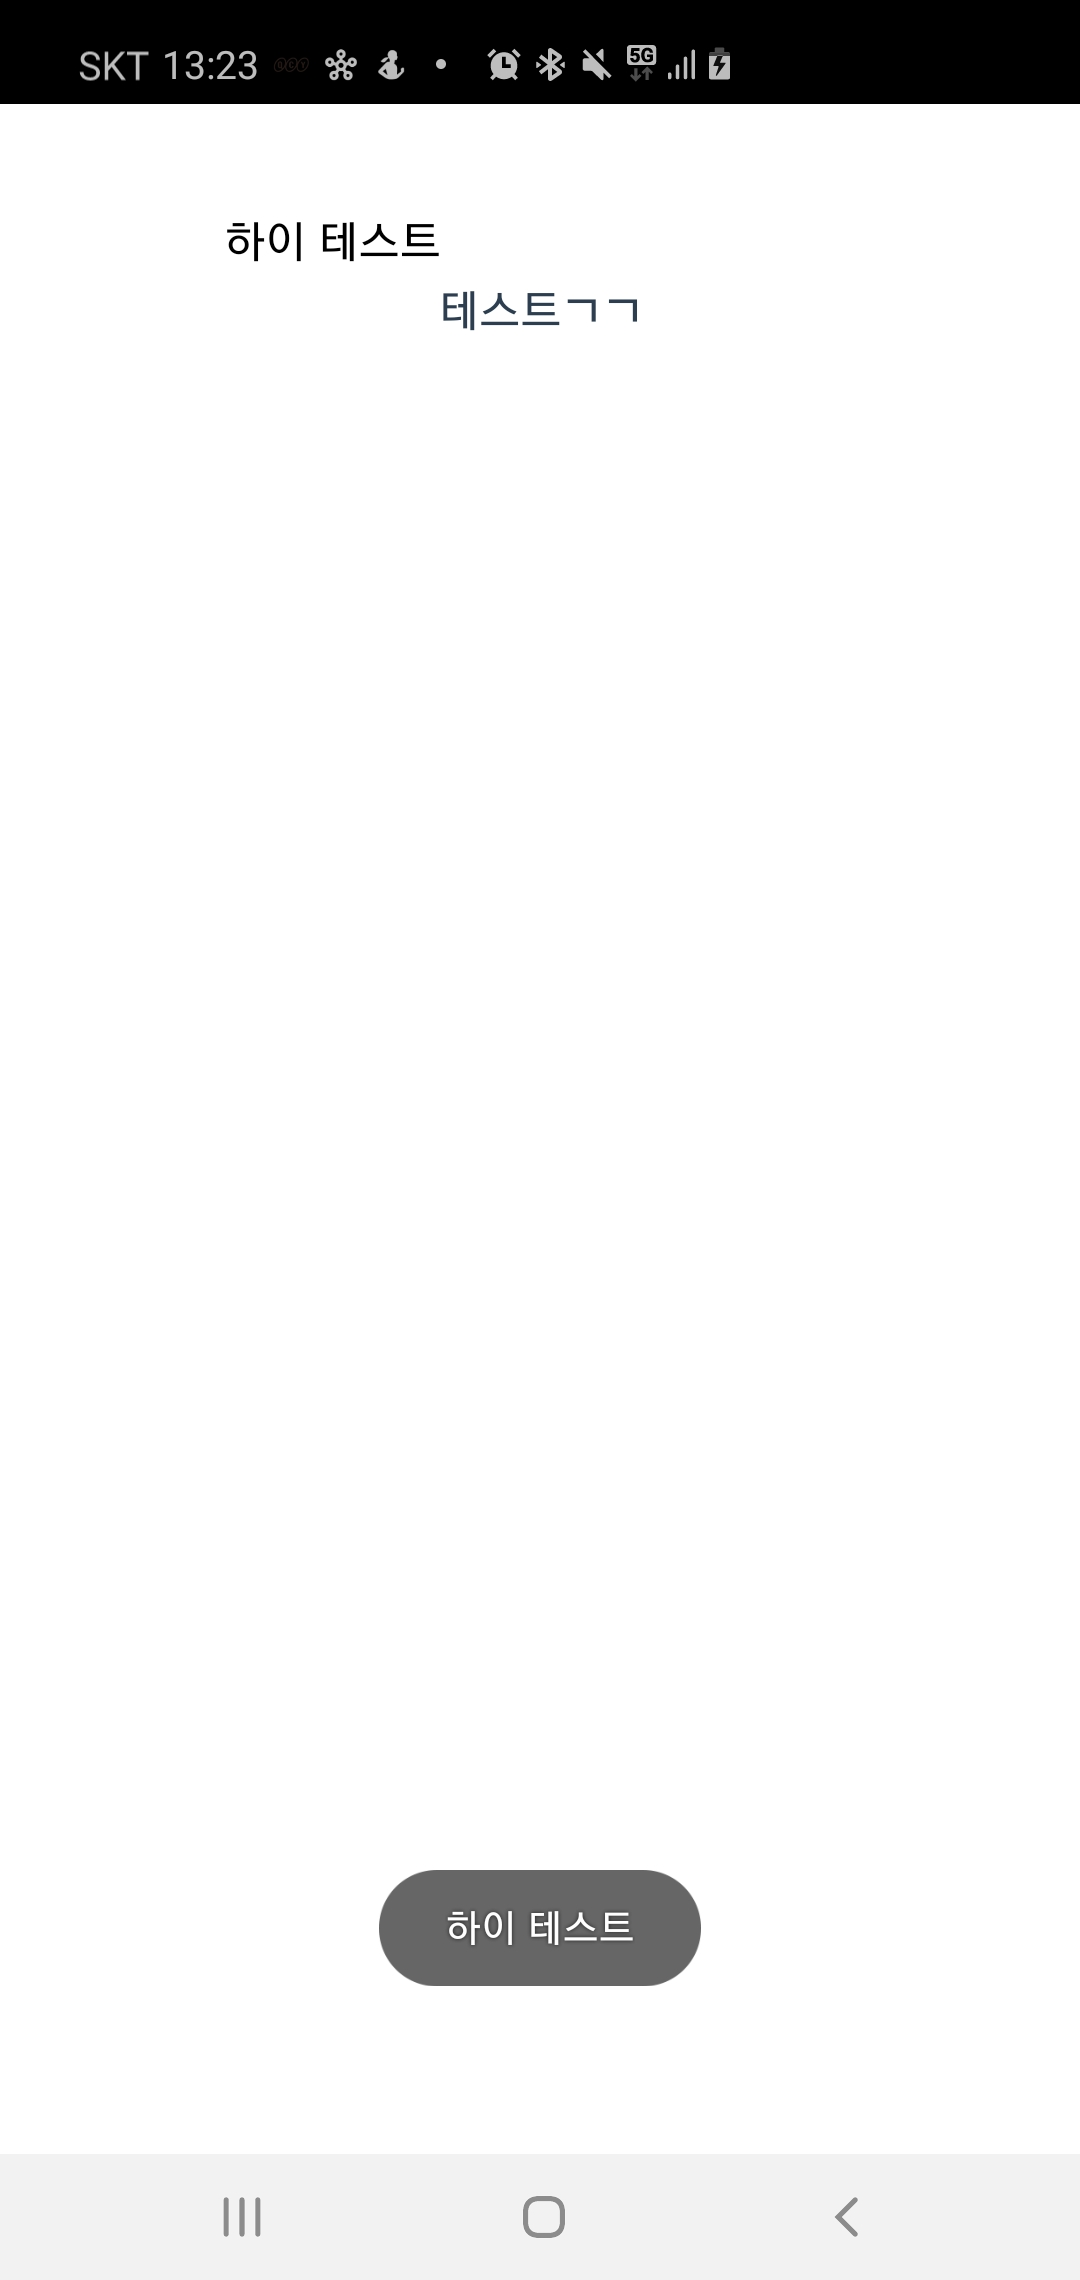
11. 사용 할 (ex.vue) 프로젝트에서 플러그인 추가 및 TestPlugin.vue 코드 작성

src/views/TestPlugin.vue
<template>
	<div>
		<input type="text" v-model="message" /> <br />
		<button @click="pluginMy">테스트ㄱㄱ</button>
	</div>
</template>

<script>
	export default {
		data() {
			return {
				message: '',
			};
		},
		methods: {
			pluginMy() {
				window.cordova.plugins.testPlugin.toast(this.message, rslt => {
					console.log(rslt);
				});
			},
		},
	};
</script>
12. 빌드 및 테스트
출처 및 참고 블로그 : https://cyberx.tistory.com/197
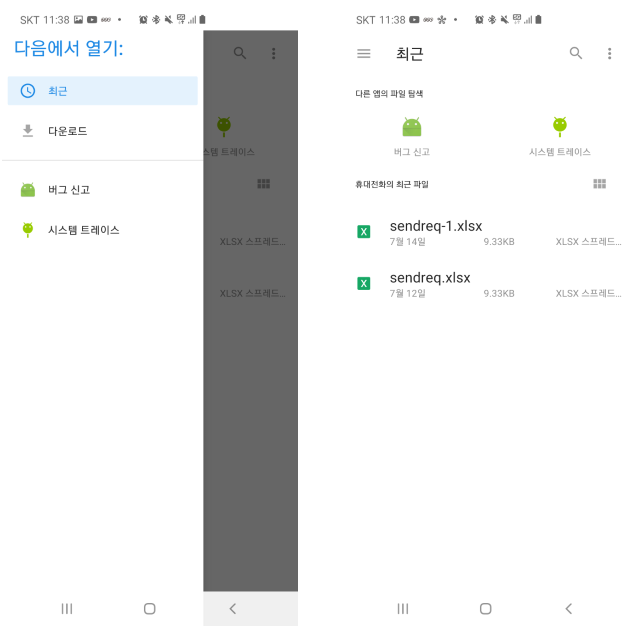
+ 추가 ( 폴더 열기 ) 플러그인.java
package com.open.opExtDwnDir;

import org.apache.cordova.CordovaPlugin;
import org.apache.cordova.CallbackContext;

import org.json.JSONArray;
import org.json.JSONException;
import org.json.JSONObject;

import android.content.Intent;

/**
 * This class echoes a string called from JavaScript.
 */
public class opExtDwnDir extends CordovaPlugin {

    @Override
    public boolean execute(String action, JSONArray args, CallbackContext callbackContext) throws JSONException {
        if (action.equals("opExtDwnDir")) {
//            String message = args.getString(0);
//            this.coolMethod(message, callbackContext);
//
//            return true;

            int READ_REQUEST_CODE = 42;


            // 파일을 가져오기 위해 ACTION_OPEN_DOCUMENT을 사용한다.
            Intent intent = new Intent(Intent.ACTION_OPEN_DOCUMENT);
            // 이후 파일중 open가능한 것들로 카테고리를 묶기 위해 CATEGORY_OPENABLE을 사용한다.
            intent.addCategory(Intent.CATEGORY_OPENABLE);

            // 이제 Storage Access Framework에서 제공하는 UI에 노출될 MIME을 지정한다. 여기서는 이미지를 기준으로 작업하므로 image/라고 표기했지만
            // 오디오를 가지고 오고 싶다면 audio/를 사용하며 오디오 파일형식 중에서도 ogg파일만을 보고 싶다면 audio/ogg라고 명시한다. 만약 모든 파일을 보고 싶다면 */*로 표기하면 된다.
            //intent.setType(“image/*”);
            intent.setType("application/vnd.openxmlformats-officedocument.spreadsheetml.sheet");

            // 결과를 onActivityResult()로 전달받기 위해 startActivityForResult로 실행한다.
            //startActivityForResult(intent, READ_REQUEST_CODE);
            if (this.cordova != null) {
                this.cordova.startActivityForResult((CordovaPlugin) this,
                        intent, READ_REQUEST_CODE);
            }
            return true;
        }
        return false;
    }

    private void coolMethod(String message, CallbackContext callbackContext) {
        if (message != null && message.length() > 0) {
            callbackContext.success(message);
        } else {
            callbackContext.error("Expected one non-empty string argument.");
        }
    }
}