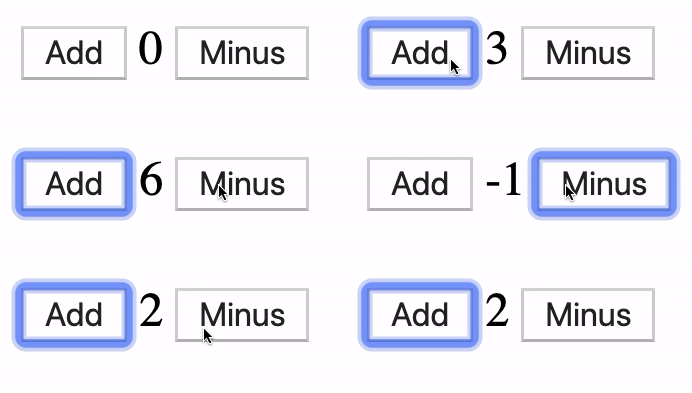
1. 간단한 카운터

What is useState?
원래 리액트는 class component가 state 관리가능하고 function component는 state 관리를 못했다..
그래서 우리는 dynamic? 하게 상태를 변형 시키고싶었으면 class component로 진행하였다
예:
class ValidationSample extends Component {
  state = {
    password: "",
    clicked: false,
    validated: false,
  }
  handleChange = (e) => {
    this.setState({
      password: e.target.value,
    })
  }
  handleButtonClick = () => {
    this.setState({
      clicked: true,
      validated: this.state.password === "0000",
    })
    this.input.focus()
  }
근대? 이제는 functional component 이 hooks로 상태관리가 가능해졌다. (함수형 프로그랭의 힘?)
import React, { useState, useEffect } from "react"

const Counter = () => {
  const [value, setValue] = useState(0)

  const handleIncrease = () => {
    setValue(value + 1)
  }

  const handleDecrease = () => {
    setValue(value - 1)
  }
  const reset = () => {
    setValue(0)
  }
  useEffect(() => {
    console.log("useEffect start")
    return () => {
      console.log("clean")
    }
  }, [value])

  return (
    <div>
      <h3>
        The counter is <em>{value}</em>
      </h3>
      <button onClick={handleIncrease}> +1 </button>
      <button onClick={handleDecrease}> -1 </button>
      <button onClick={reset}> Reset </button>
    </div>
  )
}

export default Counter
const[name, setName] = useState(initial state)
변수를 지정하고. 초기 상태를 지정한다.
다양한 상태 관리를 해야 한다면 useState를 여러번 쓰면 된다.
import React, { useState } from "react"

const IterationSample = () => {
  const [names, setNames] = useState([
    { id: 1, text: "봄" },
    { id: 2, text: "여름" },
    { id: 3, text: "가을" },
    { id: 4, text: "겨울" },
  ])
  const [inputText, setInputText] = useState("")
  const [nextId, setNextId] = useState(5)

  const onChange = (e) => setInputText(e.target.value)
  const onClick = () => {
    const newName = names.concat({
      id: nextId,
      text: inputText,
    })
    setNextId(nextId + 1)
    setNames(newName)
    setInputText("")
  }
  const onRemove = (id) => {
    const newName = names.filter((name) => name.id !== id)
    setNames(newName)
  }
  const nameList = names.map((name) => (
    <li key={name.id} onClick={() => onRemove(name.id)}>
      {name.text}
    </li>
  ))
  return (
    <>
      <input value={inputText} onChange={onChange} />
      <ul>{nameList}</ul>
      <button onClick={onClick}>추가</button>
    </>
  )
}

export default IterationSample

