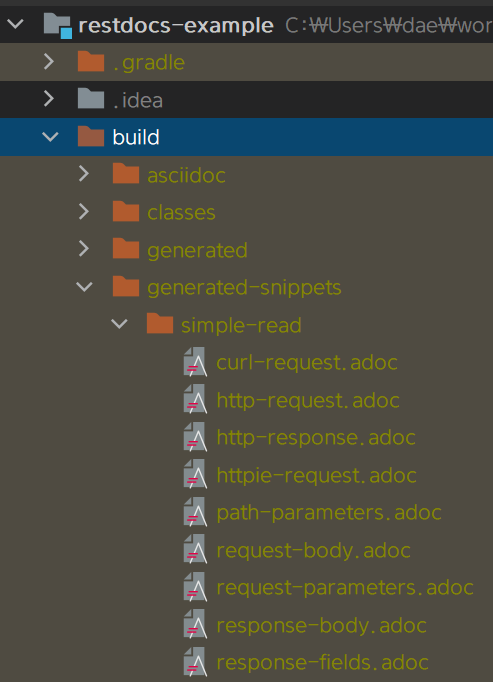
Operation
adoc파일에서 다른 adoc파일을 삽입하려면 include 문법을 사용해야 한다.
// index.adoc
= Rest Docs Example
== Simple Service
=== curl request
include::{snippets}/simple-read/curl-request.adoc[]
=== Path parameters
include::{snippets}/simple-read/path-parameters.adoc[]
=== Request parameters
include::{snippets}/simple-read/request-parameters.adoc[]
=== Response Fields
include::{snippets}/simple-read/response-fields.adoc[]
=== HTTP request
include::{snippets}/simple-read/http-request.adoc[]
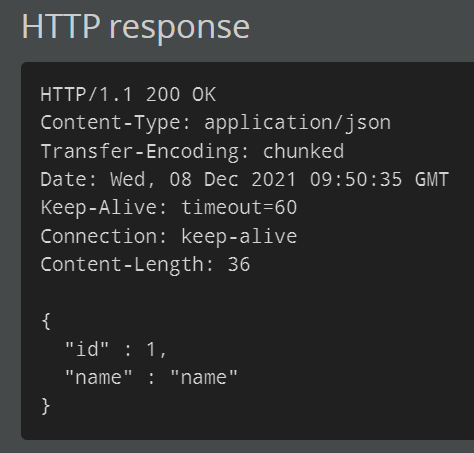
=== HTTP response
include::{snippets}/simple-read/http-response.adoc[]많이 불편하다. 테스트 메소드 하나당 기본적으로 6개, 이것 저것 하다보면 10개에 가까운 adoc 파일이 생긴다. 테스트가 한 두개도 아니고 매 번 복붙하는데도 한계가 있다.
operation을 사용하면 include 여러개 하는 고통을 없애준다.
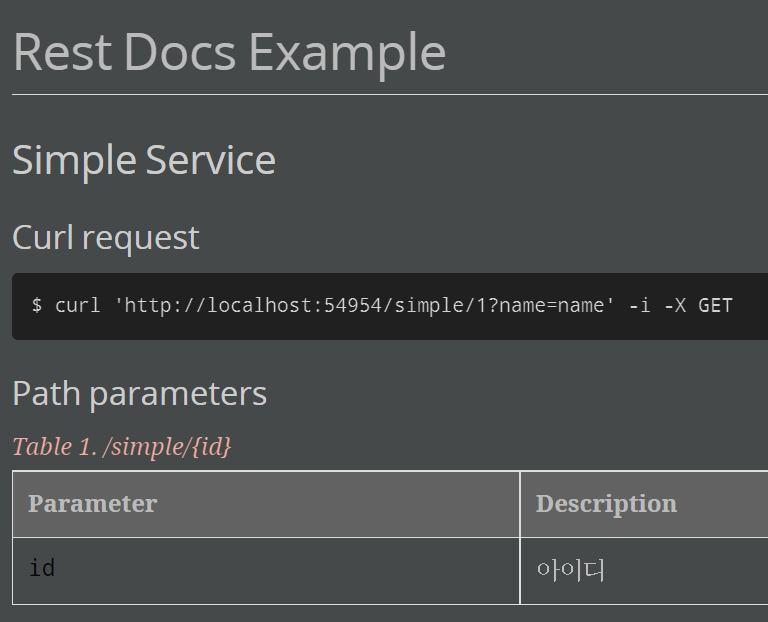
= Rest Docs Example

== Simple Service

operation::simple-read[]
원하는 것만 골라서 가져올 수도 있다.
snippets='curl-request,path-parameters,request-parameters,response-fields,http-request,http-response'테이블만 불러오는게 아니라, 헤더도 단계에 맞게 자동으로 생성해준다.
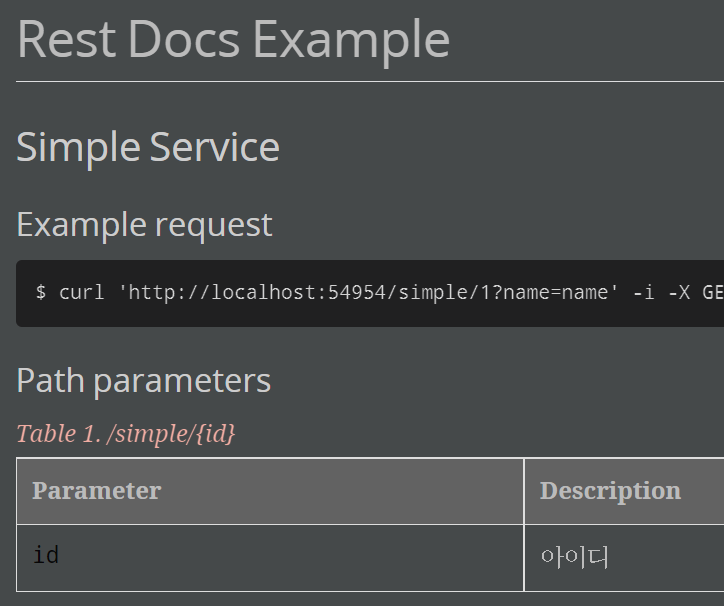
자동 생성되는 헤더가 마음에 안 든다면, 따로 정의할 수도 있다.
:operation-curl-request-title: Example request와 같이 정의해주면, curl-request-title 의 헤더가 바뀐다.
asciidoctor 의존성이 없으면 제대로 동작하지 않는다. 잘 안되면 확인해보자.
pretty print
기본적으로 요청과 응답의 body가 텍스트로 쭉 나열된다. 크기가 작으면 상관 없지만, json 객체가 커진다면 제대로 확인하기 힘들어진다.
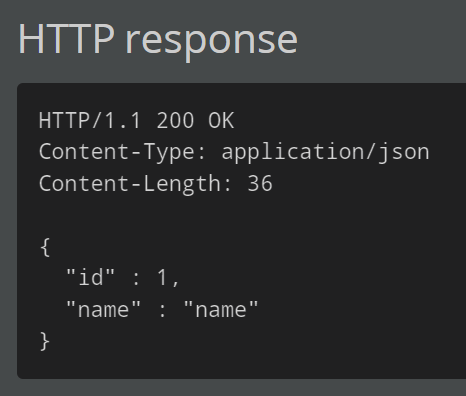
pretty print 기능은 말 그대로 예쁘게 포메팅해준다.
스니펫을 모아 DocumentFilter를 만들때 넣어주면 된다.
RestDocumentationFilter restDocumentationFilter = document(
        "simple-read",
    	preprocessRequest(prettyPrint()),
        preprocessResponse(prettyPrint()),
        simplePathParameterSnippet(),
        simpleRequestParameterSnippet(),
        simpleResponseFieldsSnippet()
);
기본 설정으로 사용하려면 초기화할때 넣어준다.
@BeforeEach
void setUpRestDocs(RestDocumentationContextProvider restDocumentation) {
    Filter documentationConfiguration = documentationConfiguration(restDocumentation)
            .operationPreprocessors()
            .withRequestDefaults(prettyPrint())
            .withResponseDefaults(prettyPrint());

    this.spec = new RequestSpecBuilder()
            .addFilter(documentationConfiguration)
            .build();
}
매개변수화된 출력 디렉토리
DocumentFilter를 만들면서 어떤 디렉토리에 저장할지 정해진다.
RestDocumentationFilter restDocumentationFilter = document(
        "simple-read", // 디렉토리명
        simplePathParameterSnippet(),
        simpleRequestParameterSnippet(),
        simpleResponseFieldsSnippet()
);
일일이 이름을 정해줘야 한다. 개발자의 숙명이지만 항상 어렵다.
이런 고통을 덜어주는 기능이 있다. 미리 정해진 변수를 적어주면 클래스명과 메소드명 그리고 스텝 순서를 불러올 수 있다.
| Parameter | Description |
|---|---|
| {methodName} | 메소드명 |
| {method-name} | 메소드명을 kebab-case로 포메팅 한다 |
| {meth | 메소드명을 snake_case로 포메팅 한다 |
| {ClassName} | 클래스명 |
| {class-name} | 클래스명을 kebab-case로 포메팅 한다 |
| {class_name} | 클래스명을 snake_case로 포메팅 한다 |
| {step} | 현재 테스트의 실행 순서를 불러온다 |
테스트를 나눠서 애매한 경우도 처리 가능하다. 테스트 메소드를 기준으로 이름을 만들어주기 때문이다.
RestDocumentationFilter restDocumentationFilter = document(
        "{class-name}/{method-name}",
        preprocessResponse(prettyPrint()),
        simplePathParameterSnippet(),
        simpleRequestParameterSnippet(),
        simpleResponseFieldsSnippet()
);

@Test
void test1() {
    RequestSpecification given = RestAssured.given(this.spec)
                .baseUri(BASE_URL)
                .port(port)
                .pathParam("id", 1)
                .queryParam("name", "name")
                .filter(restDocumentationFilter);
}

@Test
void test2() {
    RequestSpecification given = RestAssured.given(this.spec)
                .baseUri(BASE_URL)
                .port(port)
                .pathParam("id", 1)
                .queryParam("name", "name")
                .filter(restDocumentationFilter);
}
위의 경우는 클래스명/test1과 클래스명/test2가 만들어진다.
MockMvc와 REST Assured에서만 사용 가능하고, WebTestClient는 사용 불가능하다.
배열 표현
배열은 a.b[].c와 같이 표현할 수 있다.
이외에도 여러가지 표현식이 있는데, JSON Field Paths를 참고하자.
일반적인 경우에는 문제가 없겠지만, 배열을 동적으로 생성하거나 해야 하는 경우에 표현이 애매할 수 있다. 이럴 때 a.*[].c와 같이 와일드 카드로 처리해줄 수 있다.
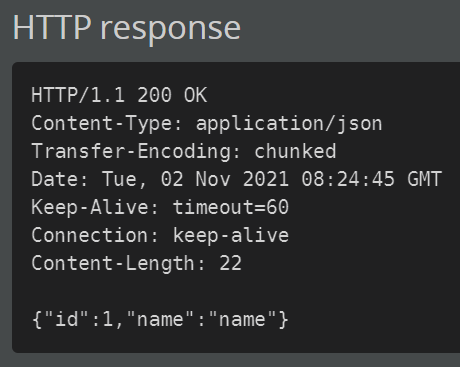
불필요한 헤더 제거
API문서에 불필요한 헤더가 포함되어 보인다. 이를 없애줄 수도 있다.
@BeforeEach
void setUpRestDocs(RestDocumentationContextProvider restDocumentation) {
    Filter documentationConfiguration = documentationConfiguration(restDocumentation)
            .operationPreprocessors()
            .withRequestDefaults(prettyPrint())
            .withResponseDefaults(
                    removeHeaders(
                            "Transfer-Encoding",
                            "Date",
                            "Keep-Alive",
                            "Connection"
                    ),
                    prettyPrint()
            );

    this.spec = new RequestSpecBuilder()
            .addFilter(documentationConfiguration)
            .build();
}
템플릿 커스텀
문서에 더 표현하고 싶은 정보가 있으면 템플릿을 커스텀할 수도 있다.
기본 템플릿은 spring-restdocs-core에 들어있는데, org.springframework.restdocs.templates.asciidoctor에 들어있다.
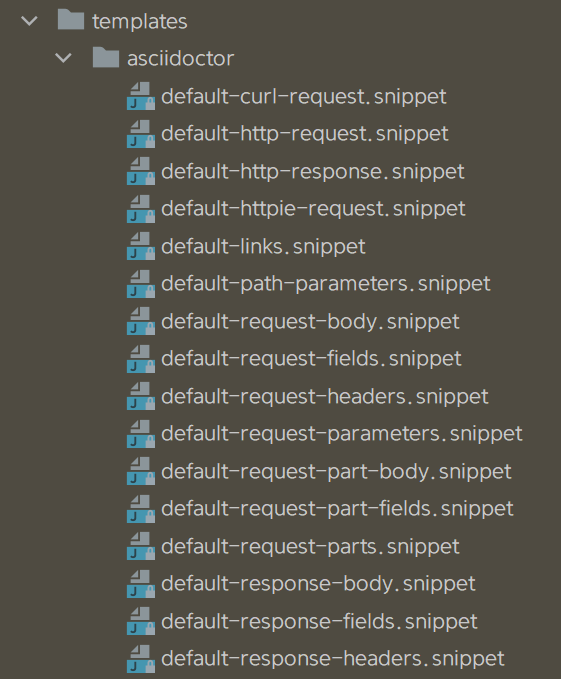
.snippet파일이 템플릿이고 여기에 있는 템플릿을 오버라이딩 할 수도 있다.
오버라이딩하고 싶은 템플릿은 src/test/resources/org/springframework/restdocs/templates/asciidoctor에 넣어주면 된다. 예를 들어, curl-request를 새롭게 정의하고 싶으면 src/test/resources/org/springframework/restdocs/templates/asciidoctor.curl-request.snippet을 만들어주면 된다.
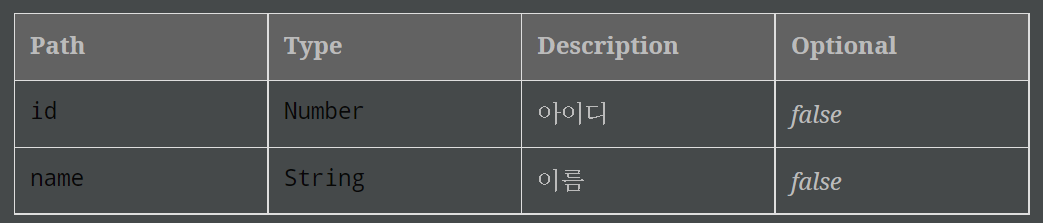
만드는 방법은 간단하다. response-fields에 optional을 표현하고 싶다면 해당 필드를 추가해주면 된다. AsciiDoc문법을 사용한다.
참고 - AsciiDoc Syntax
별도의 설정을 통해 마크다운을 사용할 수도 있는데, mustache와 함께 쓰기에는 adoc가 더 좋았다.
|===
|Path|Type|Description|Optional

{{#fields}}
|{{#tableCellContent}}`+{{path}}+`{{/tableCellContent}}
|{{#tableCellContent}}`+{{type}}+`{{/tableCellContent}}
|{{#tableCellContent}}{{description}}{{/tableCellContent}}
|{{#tableCellContent}}_{{optional}}_{{/tableCellContent}}

{{/fields}}
|===
표의 컬럼에 Optional 항목을 추가해주고 row마다 optional을 불러오도록 했다.
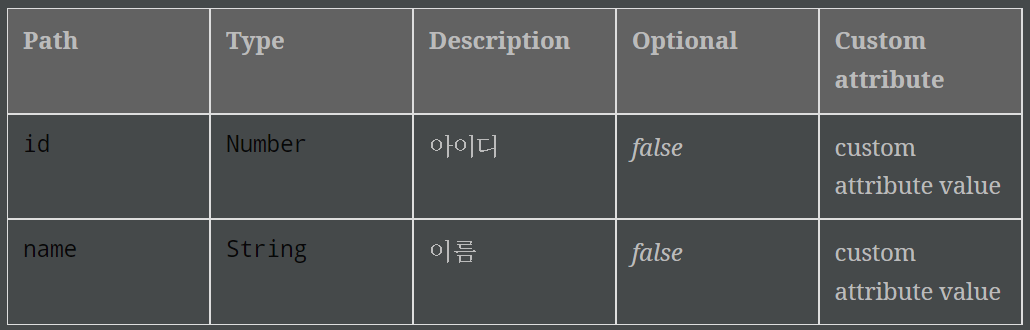
기본적으로 사용되는 옵션 외에 다른 항목을 넣어줄 수 있다. 스니펫을 만들때 attribute를 넣어주면 된다.
responseFields(
    fieldWithPath("id")
    	.type(JsonFieldType.NUMBER)
 	    .description("아이디")
	    .attributes(key("custom attribute").value("custom attribute value")),
    fieldWithPath("name")
        .type(JsonFieldType.STRING)
        .description("이름")
        .attributes(key("custom attribute").value("custom attribute value"))
);
|===
|Path|Type|Description|Optional|Custom attribute
{{#fields}}
|{{#tableCellContent}}`+{{path}}+`{{/tableCellContent}}
|{{#tableCellContent}}`+{{type}}+`{{/tableCellContent}}
|{{#tableCellContent}}{{description}}{{/tableCellContent}}
|{{#tableCellContent}}_{{optional}}_{{/tableCellContent}}
|{{#tableCellContent}}{{custom attribute}}{{/tableCellContent}}
{{/fields}}
|===
원하는 스니펫이 없을 경우 아예 스니펫을 새로 만들 수도 있다. Generating Custom Templated Snippets with Spring REST Docs에 잘 정리돼있다.
마치며
이외에도 여러가지 기능들이 있는데, 지금까지 개발하며 유용하다고 느낀 기능들 위주로 소개해봤다.
다른 기능들은 공식문서에 예시와 함께 정리가 잘 돼있다. 그리고 공식문서도 REST Docs로 만들어서 어떤 식으로 문서를 구성할지 고민되면 참고해도 좋을 것 같다.
References