설치
우선 brew가 설치되어 있지 않다면 mac에 homebrew 설치하기를 참고해 먼저 homebrew를 설치하자.
터미널 실행 후 brew services 를 실행해 nginx가 설치되어 있지 않음을 확인한다.
설치는 brew install nginx 로 끝.
helloworld@helloworldmac ~ % brew install nginx
:
중략
:
==> nginx
Docroot is: /usr/local/var/www

The default port has been set in /usr/local/etc/nginx/nginx.conf to 8080 so that
nginx can run without sudo.

nginx will load all files in /usr/local/etc/nginx/servers/.

To have launchd start nginx now and restart at login:
  brew services start nginx
Or, if you don't want/need a background service you can just run:
  nginx
helloworld@helloworldmac ~ %
이런저런 프로그레스가 지나간 다음 몇가지 기본 설정에 대한 안내가 나온다.
테스트
우선 nginx를 작동시키고 브라우저로 테스트를 해보자.
brew로 설치한 패키지는 brew services start nginx 이렇게 실행할 수 있다.
helloworld@helloworldmac ~ % brew services start nginx
==> Successfully started `nginx` (label: homebrew.mxcl.nginx)
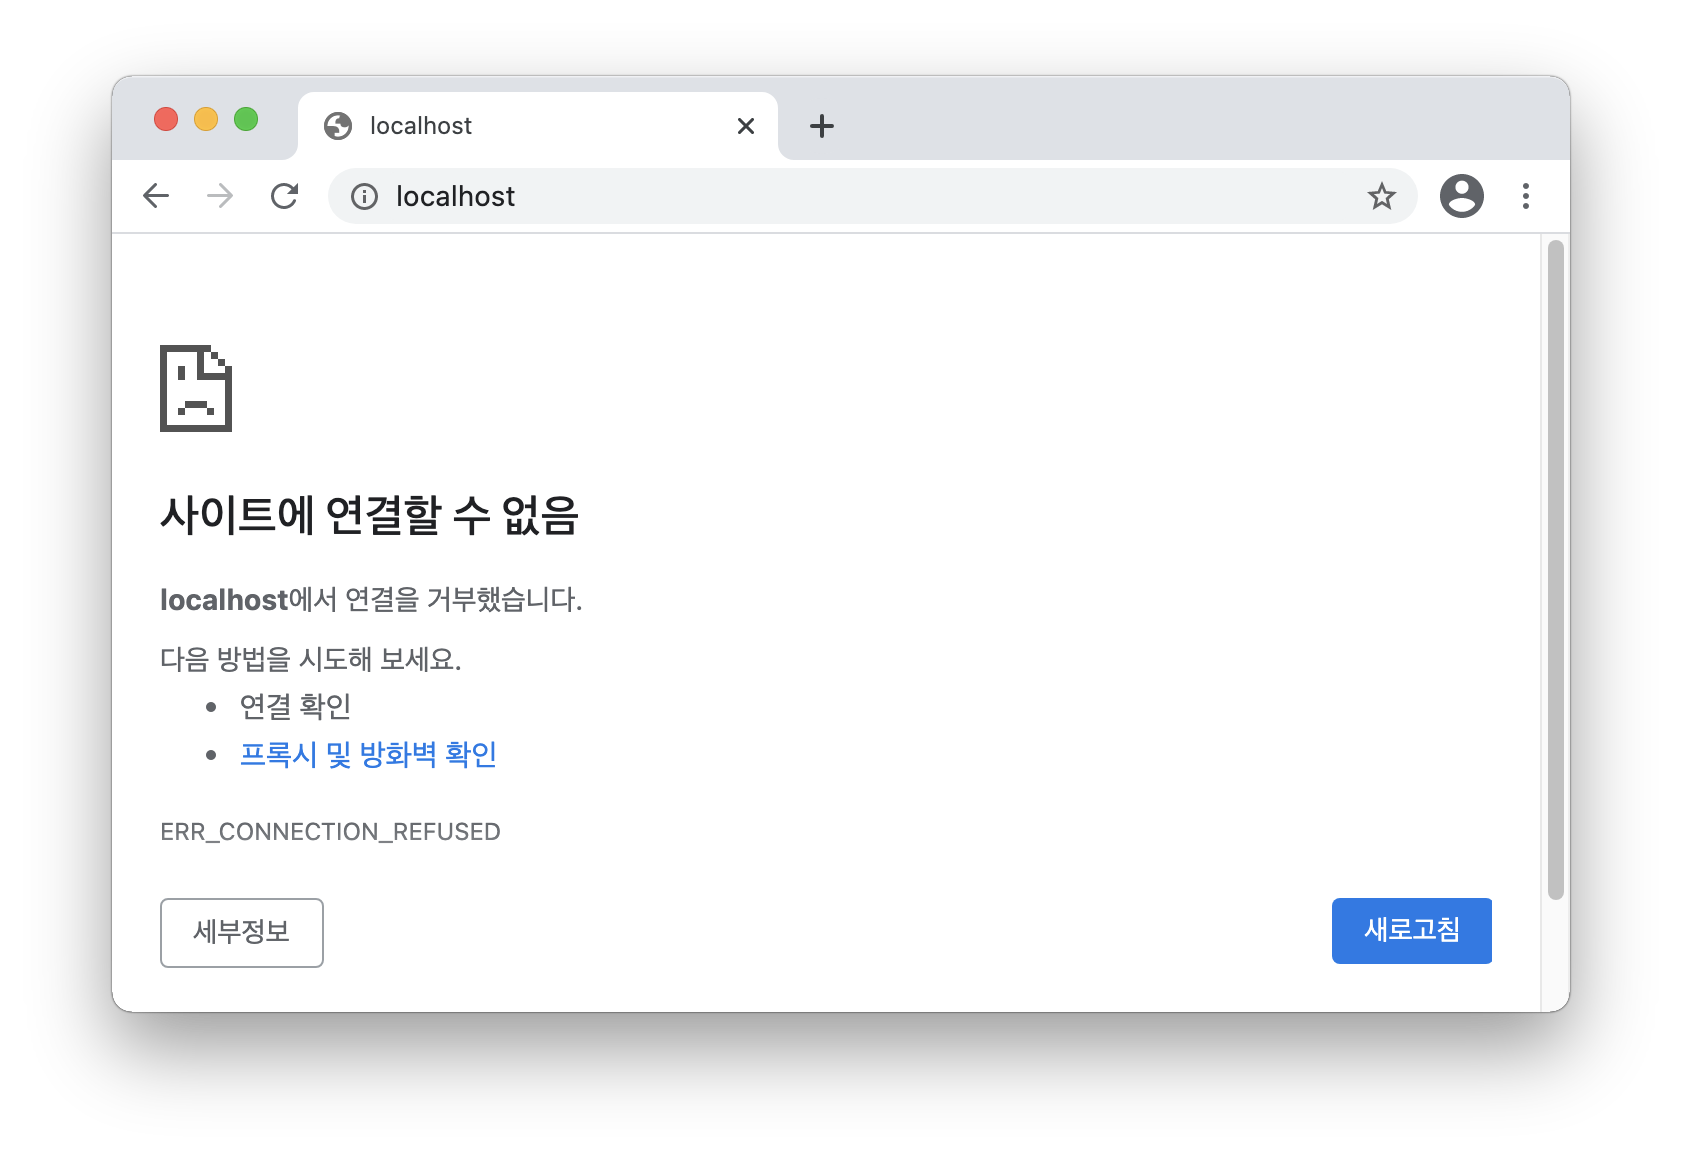
helloworld@helloworldmac ~ % 브라우저를 열고 주소줄에 localhost라고 입력해보자. 그러나 실행해보면 아래와 같이 오류가 난다.
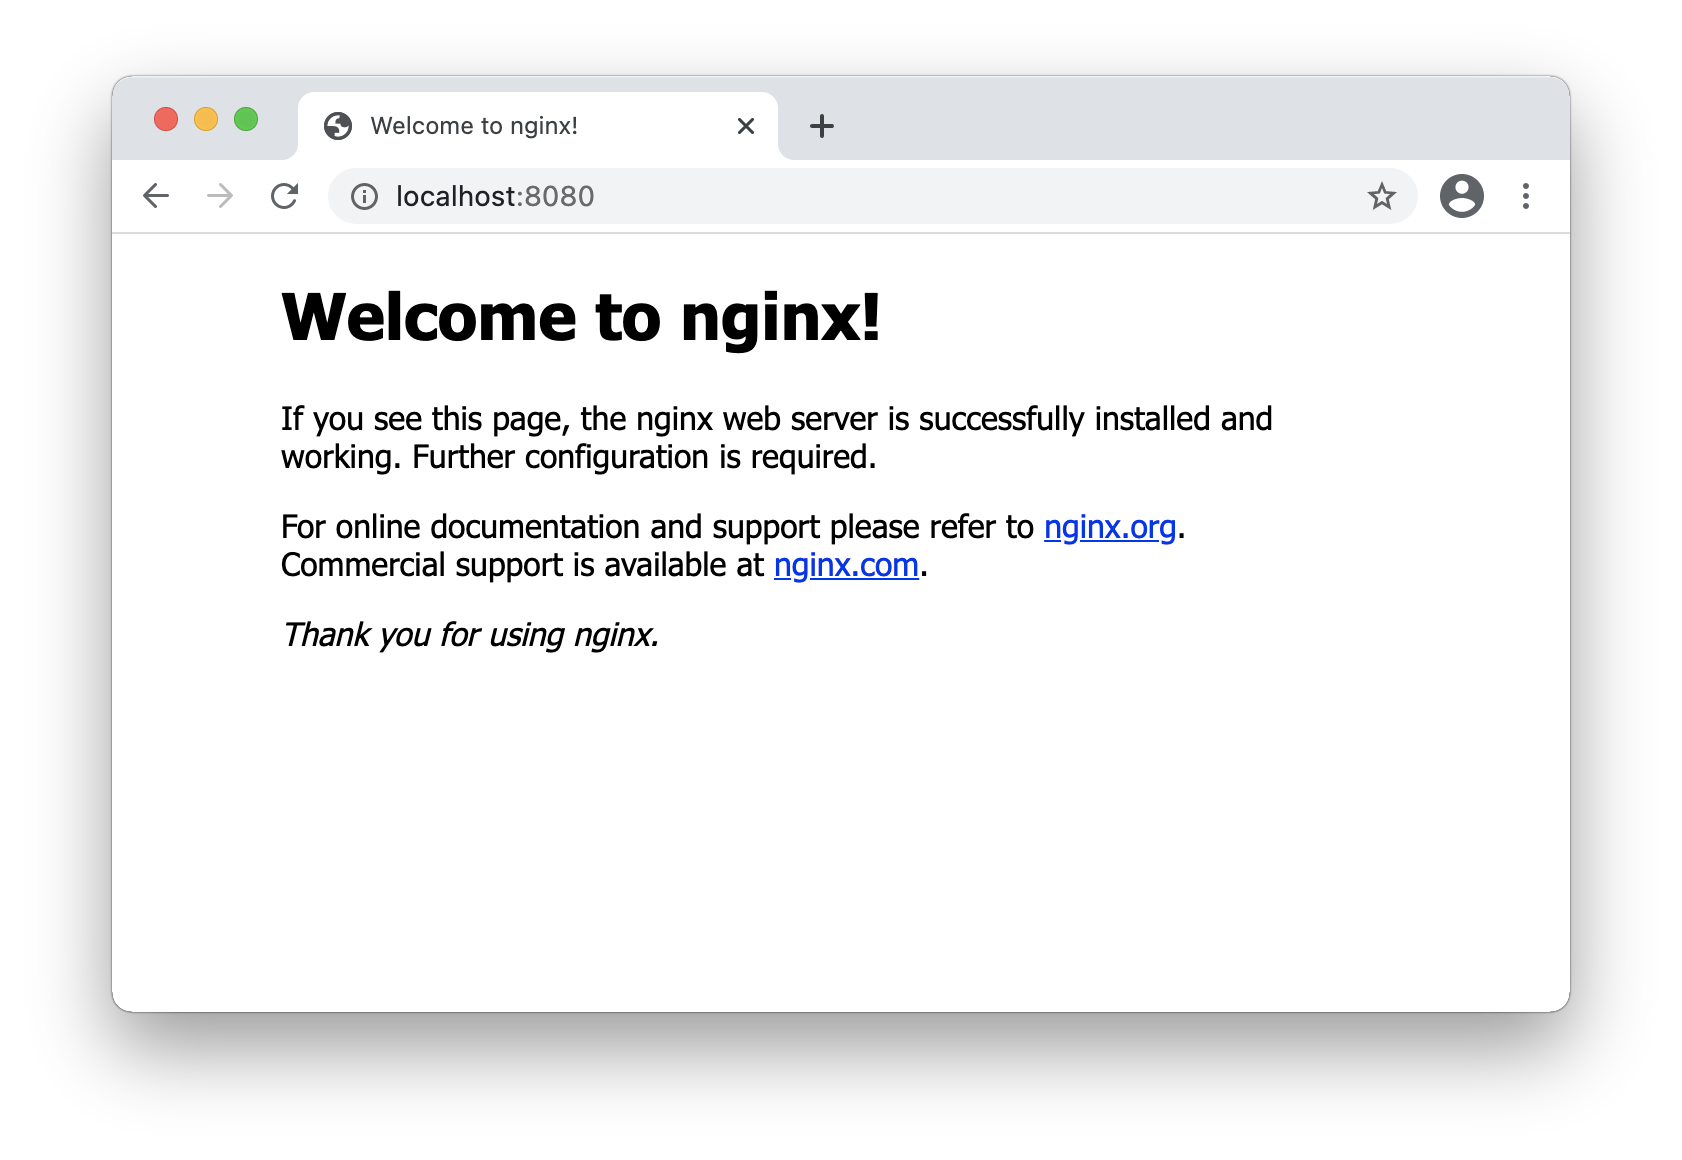
주소줄에 localhost:8080으로 고쳐쓰면 다음과 같은 웰컴화면을 만날 수 있다.
약간의 설정
이 웰컴 내용은 어디 있는 것일까? 또 왜 기본 port로는 작동하지 않고 8080 port로 작동하고 있는 걸까? 이런 설정들은 /usr/local/etc/nginx/nginx.conf 에서 할 수 있다. 이 파일을 한번 열어보자. 에디터로 열어도 되지만 터미널에서 간편하게 사용할 수 있는 nano를 이용할 수도 있다.
nano /usr/local/etc/nginx/nginx.conf일부 내용은 다음과 같다.
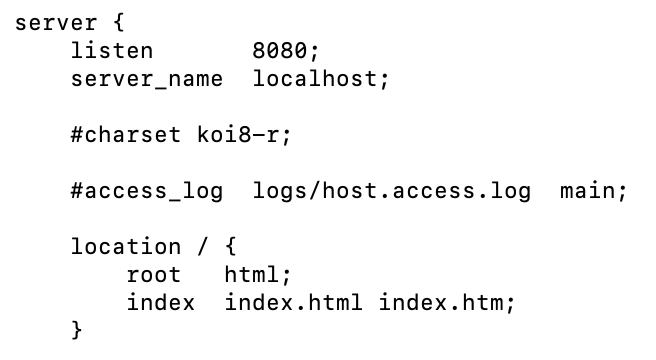
port
여기서 우선 listen하고 있는 port가 8080인 것을 확인할 수 있다. 이를 80으로 바꾸면 (그리고 nginx를 재시작하면) localhost라고만 입력해도 작동할 것이다.
document root 찾아보기
root란 우리가 localhost라고 입력했을 때 index.html을 찾는 위치인데, 여기서는 html 이라고만 되어 있다. 이 html은 상대경로같은 것이고 지금부터 이 위치를 찾아볼 것이다. 관심없는 사람은 바로 변경해보기로 넘어가도 된다. (관심을 가지면 좋겠지만)
우선 nginx -V 라고 입력하면 nginx가 사용하는 설정들을 볼 수 있다. 이 중 아주 앞부분에는
--prefix=/usr/local/Cellar/nginx/1.19.9이렇게 nginx파일이 실제로 존재하는 폴더가 보인다. 여기로 가서 디렉토리 내용을 보자.
cd /usr/local/Cellar/nginx/1.19.9
ls -l
total 640
-rw-r--r-- 1 helloworld admin 310598 3 30 23:47 CHANGES
-rw-r--r-- 1 helloworld admin 1083 4 12 21:11 INSTALL_RECEIPT.json
-rw-r--r-- 1 helloworld admin 1397 3 30 23:47 LICENSE
-rw-r--r-- 1 helloworld admin 49 3 30 23:47 README
drwxr-xr-x 3 helloworld admin 96 3 30 23:47 bin
-rw-r--r-- 1 helloworld admin 571 4 12 21:11 homebrew.mxcl.nginx.plist
lrwxr-xr-x 1 helloworld admin 16 4 12 21:11 html -> ../../../var/www
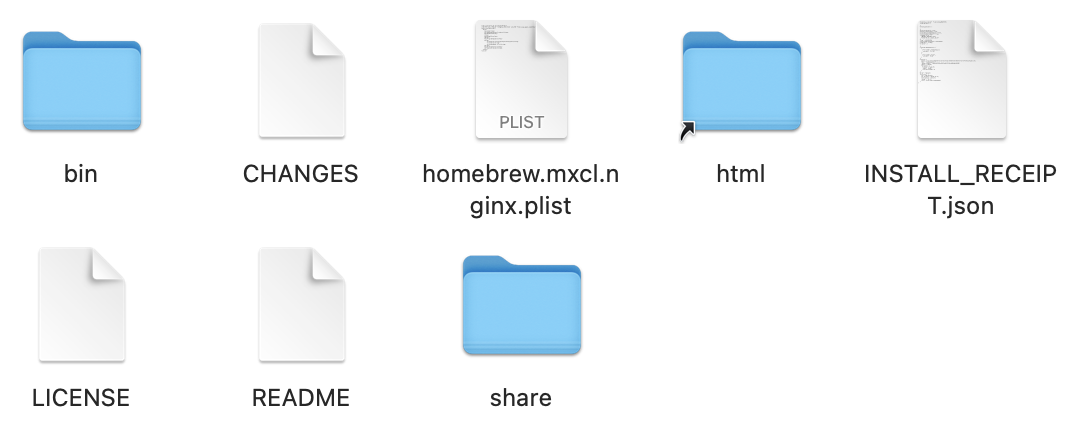
drwxr-xr-x 4 helloworld admin 128 3 30 23:47 share여기서 접두어 d는 디렉토리, l은 심볼릭 링크로 바로가기 같은 것이다. 위 내용을 finder로 확인하면 아래와 같은 내용이다. (html에 바로가기 표시가 달려있는 것을 확인할 수 있다.)
html = ../../../var/www 이므로 결국,
html = /usr/local/Cellar/nginx/1.19.9/../../../var/www
html = /usr/local/var/www
드디어 찾았다! 여기로 한번 가보자.
helloworld@helloworldmac 1.19.9 % cd /usr/local/var/www
helloworld@helloworldmac www % ls
50x.html	index.html
index.html 이 있는 것을 확인할 수 있다. 내용을 보아도 아까 웰컴화면을 구성하던 내용과 같다. (nano index.html 로 확인)
이제와서 하는 말이지만 이 폴더의 위치는 설치때 Docroot /usr/local/var/www 로 이미 알려준 내용이다. ㅋㅋㅋ
document root 변경해보기
root 이 부분을 원하는 위치로 바꾸면(끝에 슬래시 없이) 여기서 html파일을 찾을 것이다. 나는 문서 폴더에 hello_docroot를 만들어 보았다. 터미널에서 만들고 절대경로를 알아보자.
cd ~/Documents
mkdir hello_docroot
cd hello_docroot
pwd
/Users/helloworld/Documents/hello_docroot <--- pwd 결과
이 경로는 당연히 계정명(나는 helloworld)에 따라 다르다. 이 경로를 복사해 아까 nginx.conf 의 root 뒷부분의 html을 지우고 입력해보자.
저장하면서 종료(nano의 경우 ctrl+X)하자.
그리고 우리만의 웰컴 html을 만들어야 한다. 위의 pwd까지 따라왔다면 아마 현재 디랙토리가 hello_docroot일 것이다. 여기서,
nano index.html그리고 파일 내용에는,
<html>
  <body>
    hello nginx
  </body>
</html>
이렇게 입력한 후 역시 ctrl+X. (들여쓰기 상관없음)
이제 nginx를 재실행 해보자.
helloworld@helloworldmac hello_docroot % brew services restart nginx
Stopping `nginx`... (might take a while)
==> Successfully stopped `nginx` (label: homebrew.mxcl.nginx)
==> Successfully started `nginx` (label: homebrew.mxcl.nginx)
helloworld@helloworldmac hello_docroot %
그리고 브라우저에서 주소창에 localhost라고 입력해보자. (나는 아까 port를 8080에서 80으로 바꾸었다.) 다음과 같은 창이 나타난다.
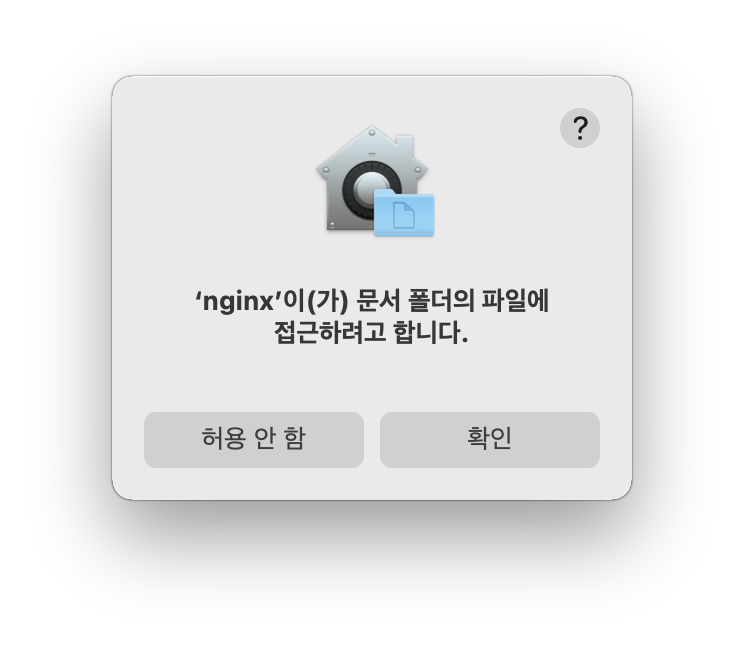
nginx가 설치 때 이외의 폴더에 처음 접근하기 때문에 권한 허가가 필요하다. 확인을 누르면,
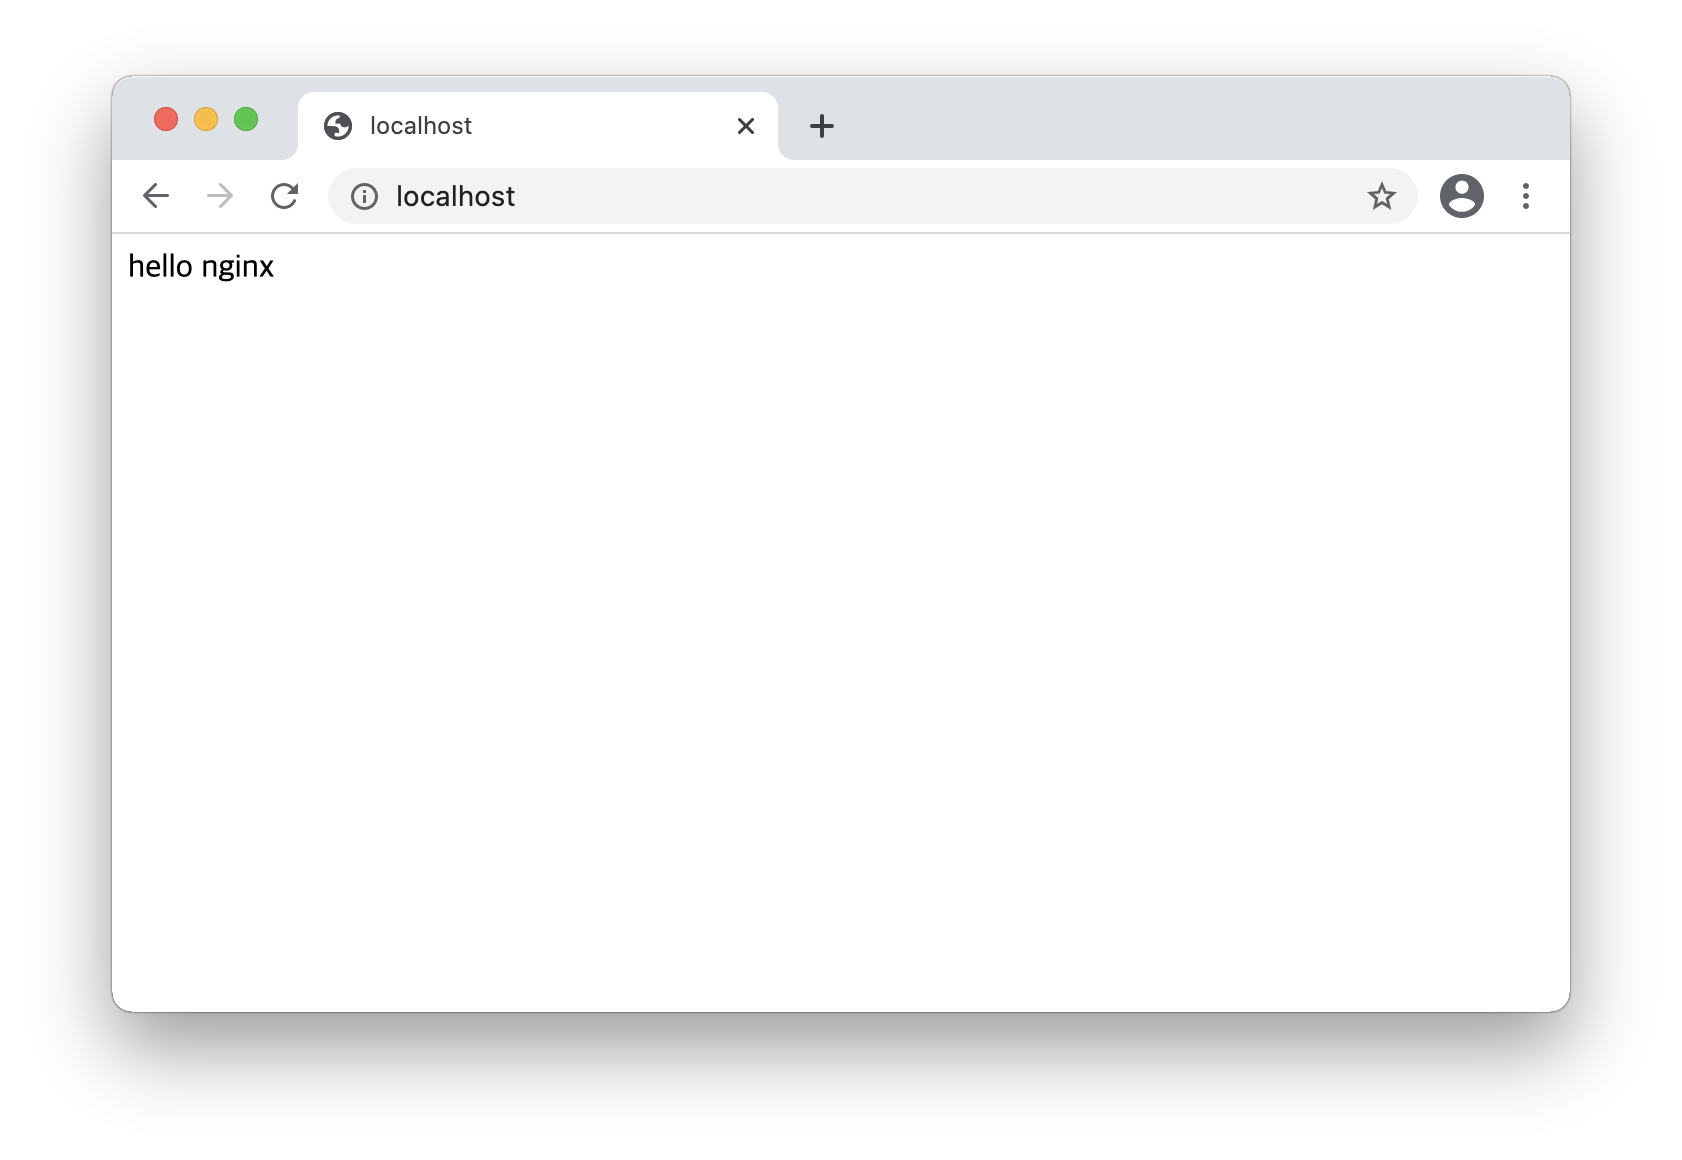
이렇게 우리가 만든 웰컴화면을 확인할 수 있다.
🚨nginx 설치 경로 변경사항
특정 brew 이후에는 nginx의 conf경로가
/opt/homebrew/etc/nginx/ 로 변경되었다.
이 정보는 brew install nginx 진행중 항상 안내되므로 이 화면을 주시하는 것이 중요하겠다.