
Kubeflow
kubeflow는 ML 라이프 사이클에 필요한 도구와 환경들을 k8s위에서 진행할 수 있도록 도와주는 오픈소스 프로젝트이다.
자세한 내용은 https://www.kubeflow.org/ 를 참고하면 되고, 이 게시물은 k8s상에 kubeflow를 설치하기 위한 과정을 기록하고자 한다.
About installation
https://www.kubeflow.org/docs/started/installing-kubeflow/ 에 보면 component 별로 설치도 가능하고 cloud에 따라 설치를 진행할 수 도 있다.
이 게시물에서는 Kubeflow Manifest를 통해 설치를 진행하려 한다.
kubeflow manifest 구성
- apps - Kubeflow의 official component들이며 해당 kubeflow WG에 의해 유지 관리된다.
- common - 공통 서비스로, manifest WG에 의해 유지 관리된다.
- contrib - Ray, Kserve같은 3rd party contributed application으로 외부에서 유지 관리되며 kubeflow WG 그룹의 일부가 아니다.
Installation
Manifest WG는 2가지 설치 방법을 제공한다.
1. Single-command로 apps와 common의 모든 component 설치
2. Multi-command로 apps와 common의 component 개별 설치
example directory는 single-command를 실행할 수 있는 example kustomization이 포함되어 있다.
설치를 위한 전제조건은 아래와 같다
1. master branch는 k8s 1.29+ 를 타겟으로 한다.
2. 다른 버전의 k8s는 release note를 참고해서 설치해야 한다.
3. 아래에 설치된 local Kind 또는 기본 StorageClass가 설치된 k8s cluster가 필요하다
4. Kustomize버전은 5.21이상
5. k8s cluster와 호환되는 버전의 kubectl
그럼 이제 설치를 진행해보자
아래 커맨드를 통해 github repo를 clone한 다음
git clone https://github.com/kubeflow/manifests.gitkustomize를 사용하여 설치를 진행한다
$ while ! kustomize build example | kubectl apply -f -; do echo "Retrying to apply resources"; sleep 20; done
namespace/auth unchanged
namespace/cert-manager unchanged
namespace/istio-system unchanged
... 중략
validatingwebhookconfiguration.admissionregistration.k8s.io/trainedmodel.serving.kserve.io configured
validatingwebhookconfiguration.admissionregistration.k8s.io/validation.webhook.serving.knative.dev configured
validatingwebhookconfiguration.admissionregistration.k8s.io/validator.training-operator.kubeflow.org configured
설치가 완료되면 kubeflow UI에 접속하기 위해 istio-ingressgateway를 포트포워딩 해야한다.
$ kubectl get svc -n istio-system
NAME                    TYPE        CLUSTER-IP     EXTERNAL-IP   PORT(S)                                 AGE
cluster-local-gateway   ClusterIP   -.-.-.-    <none>        15020/TCP,80/TCP                        3h56m
istio-ingressgateway    ClusterIP   -.-.-.-   <none>        15021/TCP,80/TCP,443/TCP                3h56m
istiod                  ClusterIP   -.-.-.-    <none>        15010/TCP,15012/TCP,443/TCP,15014/TCP   3h56m
knative-local-gateway   ClusterIP   -.-.-.-    <none>        80/TCP                                  3h56m

$ kubectl port-forward service/istio-ingressgateway 8080:80 -n istio-system
Forwarding from 127.0.0.1:8080 -> 8080
Forwarding from [::1]:8080 -> 8080
이후에 0.0.0.0:8080을 통해 접속하면 아래와 같은 로그인 페이지가 나오고
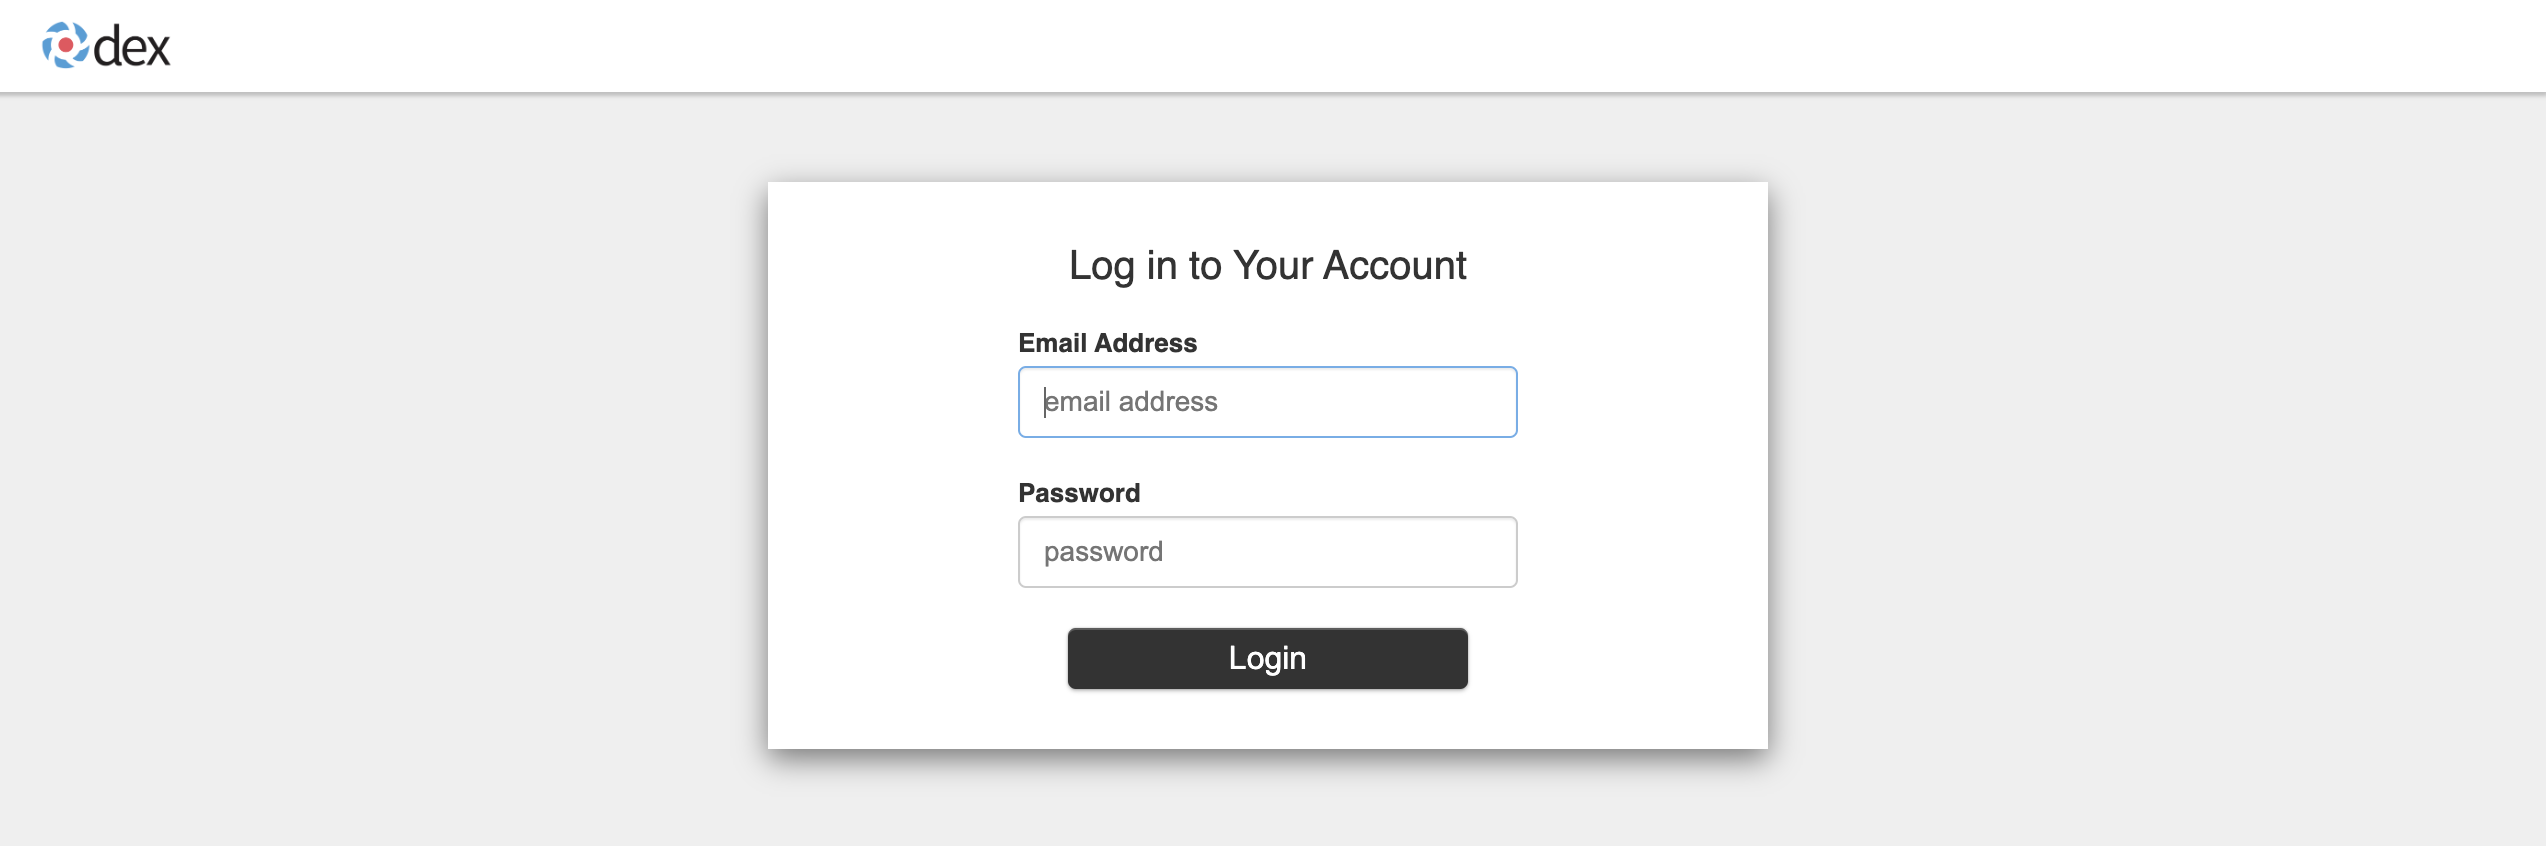
기본 유저 정보를 통해 접속하면 된다.
Email Address: user@example.com
Password: 12341234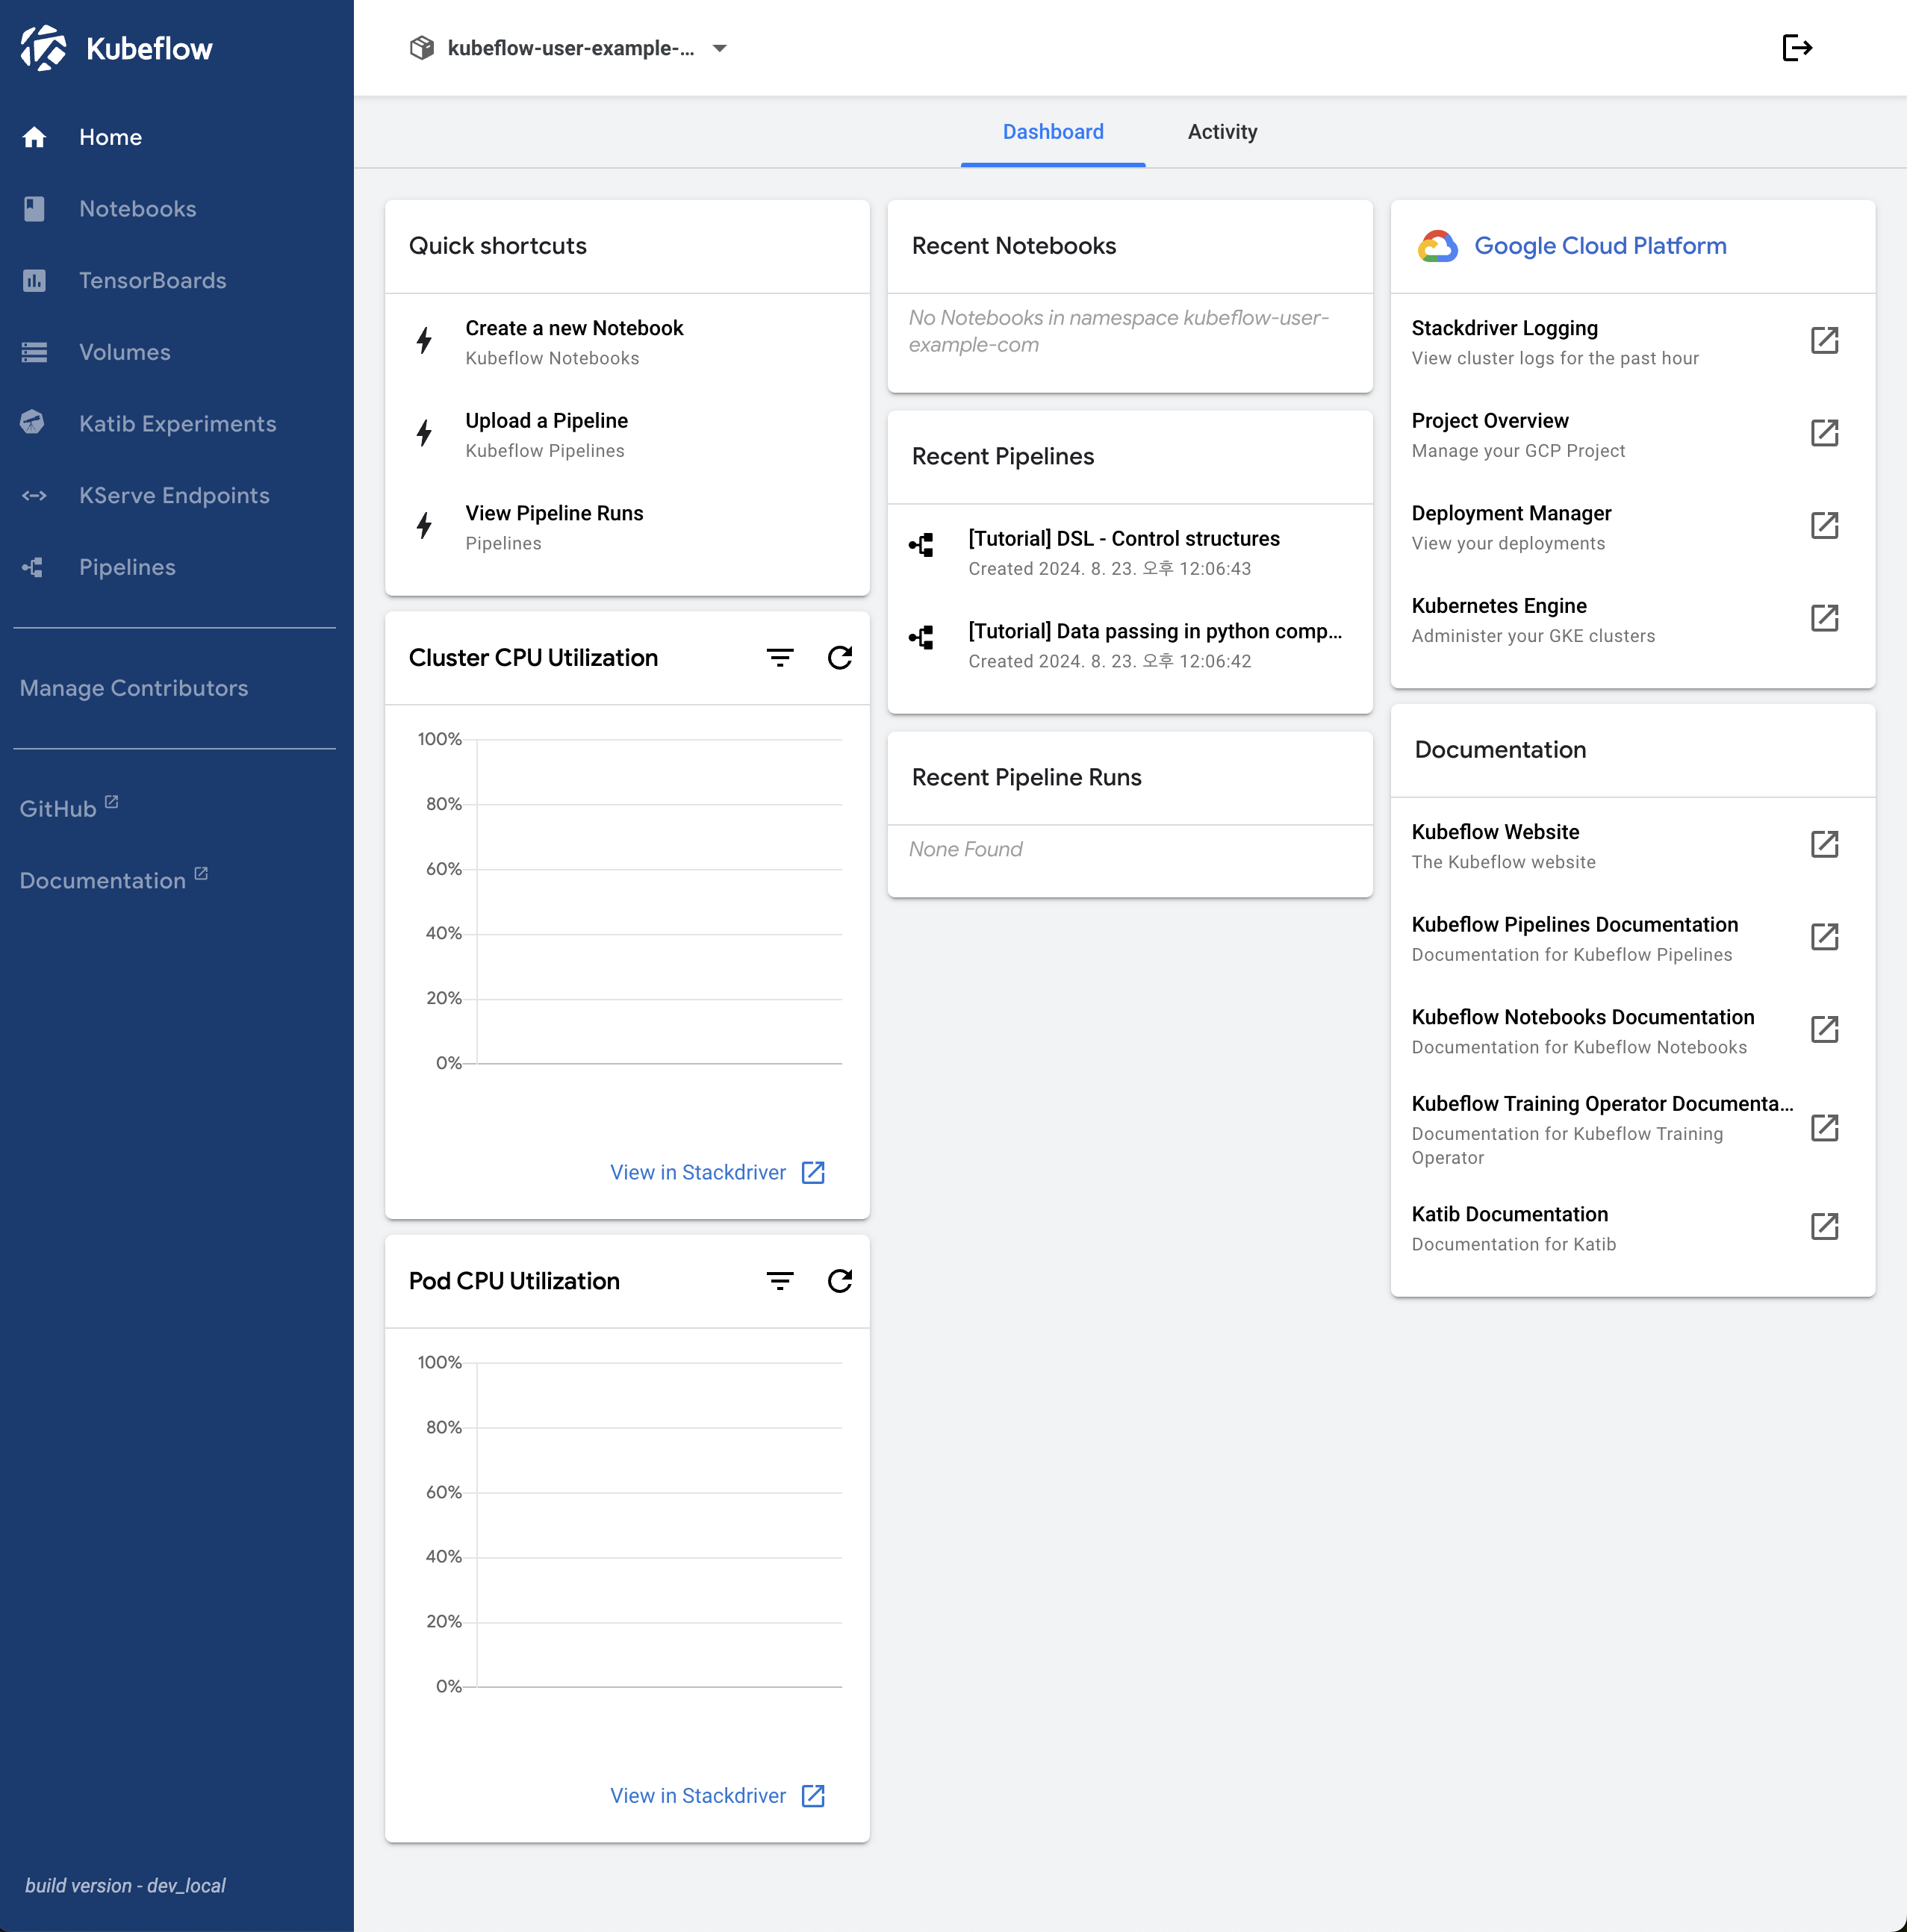
각 component 관련해서는 추후에 ..