
sns 앱에 코드를 추가하는 마지막 포스팅이다. 대부분의 설명은 주석으로 처리해두었다.
이번 포스팅은 이 전 게시글과 이어진다. 이전에 작성한 코드(sns3)와 일부 내용이 달라지므로 git에 올라가있는 sns3 폴더를 sns4 폴더로 복사해 작업했다. 구현하는 부분이 생길수록 계속 복사할 것이다.( sns5, sns6 ...)
책 Node.js 교과서(개정 2판) 책의 9장의 내용을 참고했다.
+모든 코드는 github주소에 있다.
지금까지 구현한 것
- 프로젝트 기본 뼈대 잡기
- 프론트엔드 화면 구현하기
- DB 세팅하기
- 로그인 구현하기(with Passport 모듈)
이번 포스팅에서 구현할 것
- 이미지 업로드 구현하기(with multer 패키지)
- 팔로우-팔로잉 기능 구현하기
- 해시태그 검색 기능 구현하기
5. 이미지 업로드 구현하기(with multer 패키지)
Github: https://github.com/delay-100/study-node/tree/main/ch9/sns4
먼저 multer 패키지를 설치해준다.
입력(console)
npm i multer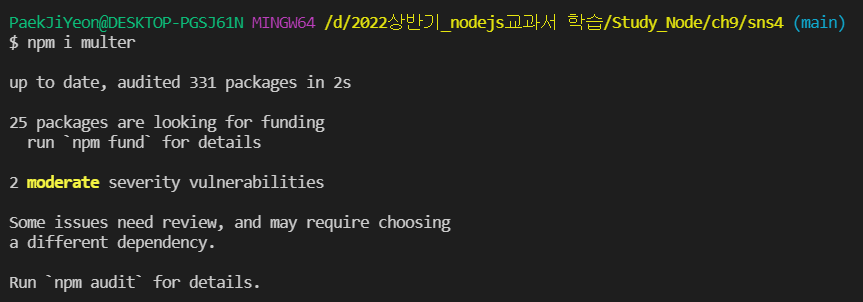
Git [sns4/routes/post.js] 추가 - /post, /post/img 라우터 및 multer 추가
const express = require('express');
const multer = require('multer');
const path = require('path');
const fs = require('fs');

const { Post, Hashtag } = require('../models');
const { isLoggedIn } = require('./middlewares');

const router = express.Router();

try {
    fs.readdirSync('uploads');
} catch (error) {
    console.error('uploads 폴더가 없어 uploads 폴더를 생성합니다.');
    fs.mkdirSync('uploads');
}

const upload = multer({
    storage: multer.diskStorage({
        destination(req, file, cb) {
            cb(null, 'uploads/');
        },
        filename(req, file, cb) {
            const ext = path.extname(file.originalname);
            cb(null, path.basename(file.originalname, ext) + Date.now() + ext );
        },
    }),
    limits: {fileSize: 5*1024*1024 },
});

// POST /post/img 라우터, 이미지 하나를 업로드 받은 후 이미지의 저장 경로를 클라이언트로 응답 받음
router.post('/img', isLoggedIn, upload.single('img'), (req, res) => { // 이미지 하나를 업로드 받음
    console.log(req.file);
    res.json({url: `/img/${req.file.filename}`}); // 이미지의 저장 경로를 클라이언트로 응답
                                                  // static 미들웨어가 /img 경로의 정적 파일을 제공하므로 클라이언트에서 업로드한 이미지에 접근 가능
});

const upload2 = multer();

// POST /post 라우터, 게시글 업로드 처리
router.post('/', isLoggedIn, upload2.none(), async (req, res, next) => {// upload2.none(): 데이터 형식이 multipart지만 이미지 데이터가 들어있지 않으므로 none 메서드 사용(이미지 주소가 온 것이고 데이터는 이미 POST /post/img 라우터에 저장됨)
    try {
        const post = await Post.create({
            content: req.body.content,
            img: req.body.url, // req.body.url: 이미지 주소가 저장되어있는 곳
            UserId: req.user.id,
        });
        const hashtags = req.body.content.match(/#[^\s#]+/g); // /#[%\s#]: 해시태그 정규표현식

        if (hashtags) { // 위의 식으로 추출된 해시태그가 존재하면
            const result = await Promise.all(  // 아래에서 map으로 여러 개의 해시태그가 나오기 때문에 Promise.all 사용
                hashtags.map(tag => {
                    return Hashtag.findOrCreate({ // sequelize 메소드(데이터베이스에 해시태그가 존재하면 가져오고, 존재하지 않으면 생성 후 가져옴), Hashtag 생성
                                                 // 결과값으로 [모델, 생성 여부] 반환
                        where: { title: tag.slice(1).toLowerCase()}, // 해시태그에서 #을 떼고 소문자로 바꿈
                    })
                }),
            );
            await post.addHashtags(result.map(r => r[0])); // result.map(r => r[0]): 모델만 추출함, post.addHashtags(): 해시태그 모델들을 게시글과 연결
        }
        res.redirect('/');
    } catch (error) {
        console.error(error);
        next(error);
    }
});

module.exports = router;
Git [sns4/routes/page.js] 에 로딩 내용 추가
...
const { Post, User } = require('../models');
...
// http://127.0.0.1:8001/ 에 get요청이 왔을 때
router.get('/', async (req, res, next) => {
  try {
    const posts = await Post.findAll({ // db에서 게시글을 조회
      include: {
        model: User,
        attributes: ["id", "nick"], // id와 닉네임을 join해서 제공
      },
      order: [["createdAt", "DESC"]], // 게시글의 순서를 최신순으로 정렬
    });
    res.render("main", {
      title: "sns",
      twits: posts, // 조회된 post들을 twits로 렌더링
    });
  } catch (err) {
    console.error(err);
    next(err);
  }
});

module.exports = router;
6. 팔로우-팔로잉 기능 구현하기
Github: https://github.com/delay-100/study-node/tree/main/ch9/sns5
Git [sns5/routes/user.js] 추가
const express = require('express');

const { isLoggedIn } = require('./middlewares');
const User = require('../models/user');

const router = express.Router();

// POST /user/:id/follow 라우터
router.post('/:id/follow', isLoggedIn, async (req, res, next) => {
    try {
        const user = await  User.findOne({ where: { id: req.user.id }}); // 팔로우 할 사용자를 db에서 user id로 조회

        if(user) {
            await user.addFollowing(parseInt(req.params.id, 10)); // :id 부분: req.params.id임, sequelize에서 추가한 addFollowing 메서드로 현재 로그인한 사용자와의 관계 지정, 10: 10진수
                                                                  // 팔로잉 관계가 생겼으므로 req.user에도 팔로워와 팔로잉 목록을 저장 -> 앞으로 사용자 정보를 불러올 때 팔로워, 팔로잉 목록 같이 불러옴
                                                                  // req.user를 바꾸려면 passport/index.js의 deserializeUser를 바꿔야 함
            res.send('success');
        } else {
            res.status(404).send('no user');
        }
    } catch (error) {
        console.error(error);
        next(error);
    }
});

module.exports = router;
Git [sns5/passport/index.js] 에 User.findOne 추가
...
 // deserializeUser: 세션에 저장한 아이디를 통해 사용자 정보 객체를 불러옴
    // passport.session 미들웨어가 이 메소드를 호출
    // 라우터가 실행되기 전 먼저 실행됨! -> 모든 요청이 들어올 때 매번 사용자의 정보를 조회함(db에 큰 부담 -> 메모리에 캐싱 또는 레디스 같은 db 사용)
    passport.deserializeUser((id, done) => { // deserializeUser: 매 요청 시 실행, id: serializerUser의 done으로 id 인자를 받음
        User.findOne({
            where:{id}, // db에 해당 id가 있는지 확인
            include: [{
                model: User,
                attributes: ['id', 'nick'], // 속성을 id와 nick으로 지정함으로서, 실수로 비밀번호를 조회하는 것을 방지
                as: 'Followers',
            }, {
                model: User,
                attributes: ['id', 'nick'],
                as: 'Followings',
            }],
        })
        .then(user => done(null, user)) // req(요청).user에 저장 -> 앞으로 req.user을 통해 로그인한 사용자의 정보를 가져올 수 있음
        .catch(err => done(err));
    });
...
Git [sns5/routes/page.js] 에 추가 - 팔로잉/팔로워 숫자와 팔로우 버튼을 표시하기 위함
...
// 모든 요청마다 실행
router.use((req, res, next) => {
  // res.locals.user = null;  // res.locals는 변수를 모든 템플릿 엔진에서 공통으로 사용, 즉 user는 전역 변수로 이해하면 됨(아래도 동일)
  res.locals.user = req.user; // 요청으로 온 유저를 넌적스에 연결
  res.locals.followerCount = req.user ? req.user.Followers.length : 0; // 유저가 있는 경우 팔로워 수를 저장
  res.locals.followingCount = req.user ? req.user.Followings.length : 0;
  res.locals.followerIdList = req.user ? req.user.Followings.map(f => f.id) : []; // 팔로워 아이디 리스트를 넣는 이유 -> 팔로워 아이디 리스트에 게시글 작성자의 아이디가 존재하지 않으면 팔로우 버튼을 보여주기 위함
  next();
});
...
7. 해시태그 검색 기능 구현하기
Github: https://github.com/delay-100/study-node/tree/main/ch9/sns5
Git [sns5/routes/page.js] 에 추가 - 팔로잉/팔로워 숫자와 팔로우 버튼을 표시하기 위함
...
const { Post, User, Hashtag } = require('../models');
...

// http://127.0.0.1:8001/hashtag 에 get요청이 왔을 때
router.get('/hashtag', async (req, res, next) => {
  const query = req.query.hashtag; // querystring으로 해시태그를 받고 (routes/post.js에서 url로 보냈었음..?)
  if (!query) { // query가 없는 경우(해시태그가 없는 경우)
    return res.redirect('/'); // 메인페이지로 돌려보냄
  }
  // query가 있는 경우(해시태그가 있는 경우)
  try {
    const hashtag = await Hashtag.findOne({
      where: {title: query}
    }); // 해당 query 값이 Hashtag 테이블에 있는지 검색
    let posts = [];
    if (hashtag){
      posts = await hashtag.getPosts({include: [{model: User}]}); // 있으면 모든 게시글을 가져옴
    }
    return res.render('main', {
      title: `${query}|sns`,
      twits: posts, // 조회 후 views/main.html 페이지를 렌더링하면서 전체 게시글 대신 조회된 게시글만 twits에 넣어 렌더링 함
    });
  } catch (error) {
    console.error(error);
    return next(error);
  }
});
...
module.exports = router;
Git [sns5/app.js] 에 추가 - 라우터 연결
...
const postRouter = require('./routes/post');
const userRouter = require('./routes/user');
...
app.use('/img', express.static(path.join(__dirname, 'uploads')));
...
app.use('/post', postRouter);
app.use('/user', userRouter);
...
최종 실행 화면
입력(console)
npm start실행화면(console)
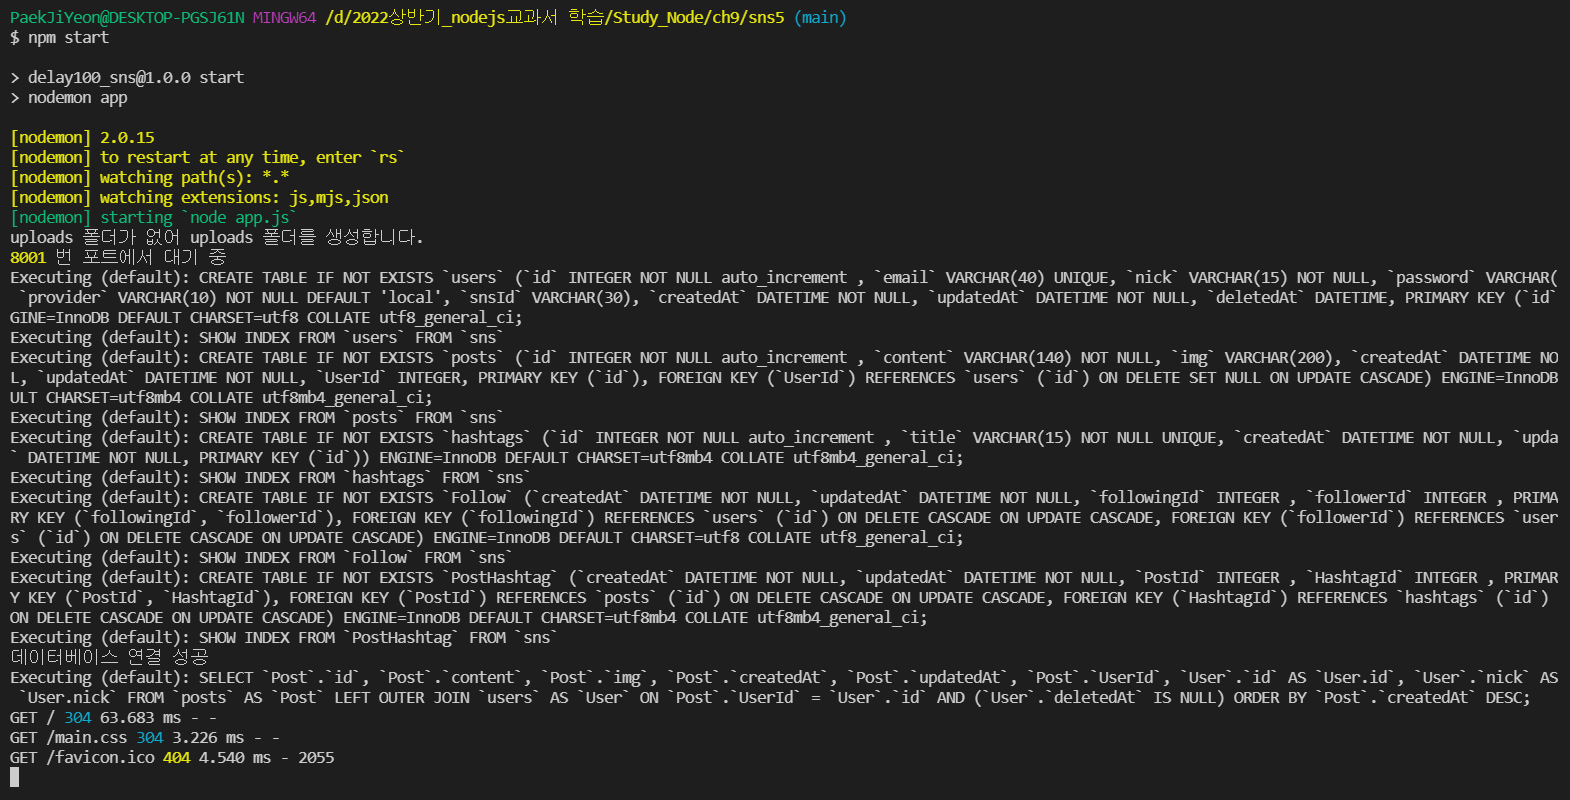
-
http://127.0.0.1:8001/join - 로컬 회원가입

-
http://127.0.0.1:8001/ - 로그인 완료

-
kakao 로그인 웹사이트 화면
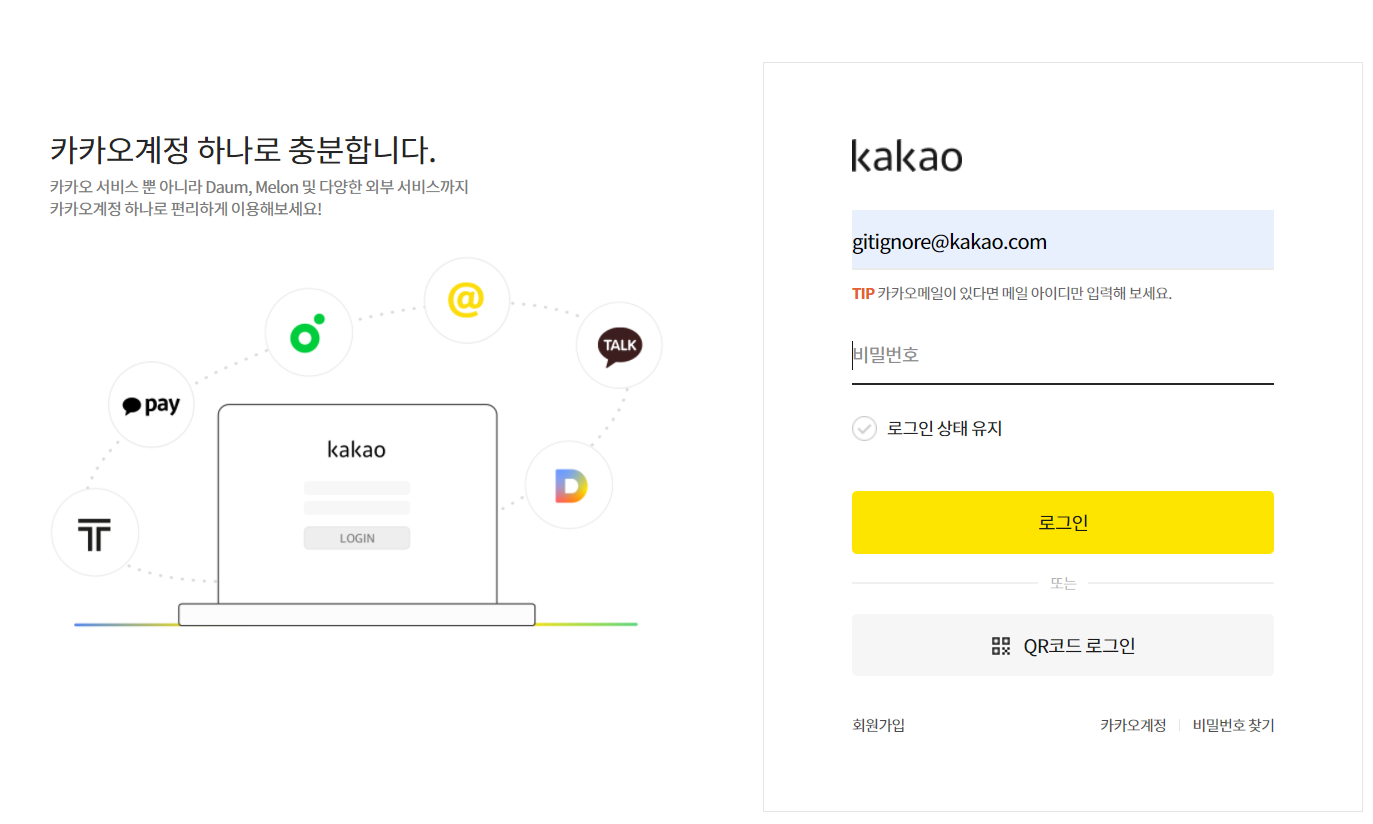
-
http://127.0.0.1:8001/ - kakao 로그인

-
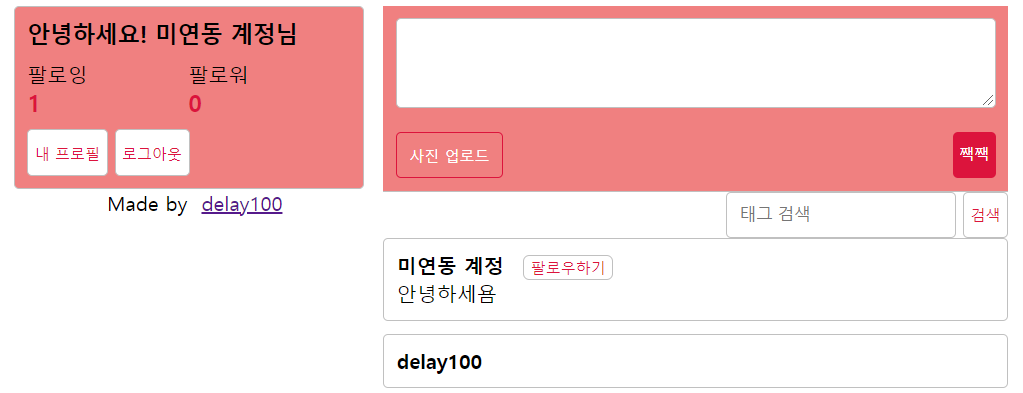
http://127.0.0.1:8001/ - 게시글 작성

-
http://127.0.0.1:8001/ - 팔로잉 팝업

-
http://127.0.0.1:8001/ - 팔로잉 완료 시
-
http://127.0.0.1:8001/profile - 팔로워 확인

-
http://127.0.0.1:8001/ - 이미지, 해시태그 올리기

-
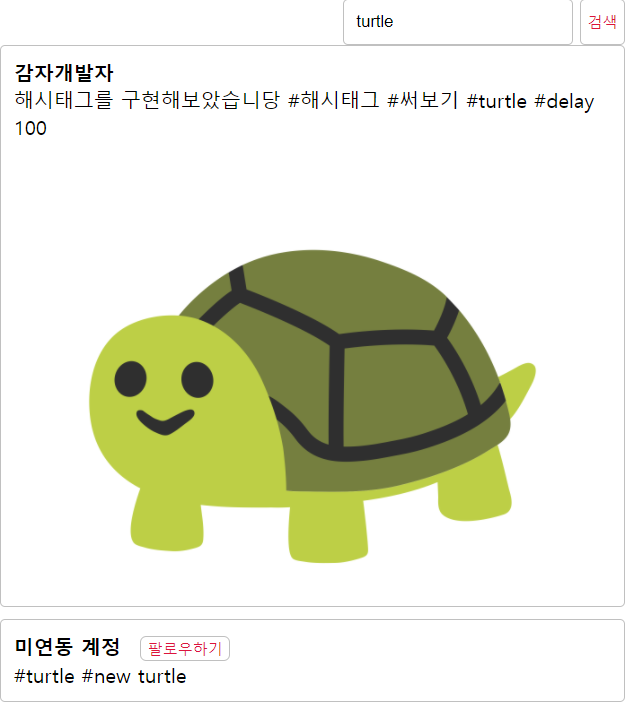
http://127.0.0.1:8001/ - 해시태그 검색
다음 포스팅에서는 전체적인 코드의 흐름을 더 뜯어가며 이해해 보는 시간을 가져보겠다!
잘못된 정보 수정 및 피드백 환영합니다!!
3개의 댓글
안녕하세요.
router.post('/img', isLoggedIn, upload.single('img'), (req, res) => { // 이미지 하나를 업로드 받음
console.log(req.file);
res.json({url: /img/${req.file.filename}}); // 이미지의 저장 경로를 클라이언트로 응답
// static 미들웨어가 /img 경로의 정적 파일을 제공하므로 클라이언트에서 업로드한 이미지에 접근 가능
});
single 대신 array로 여러개의 이미지 처리 시 url 경로처리를 어떻게 하는게 좋은지 알 수 있을까요?


벨로그 탐험하다가 우연히 봤습니다. 잘봤습니다!!!