
예약 폼을 차례차례 다 작성하고 나서 결제하기 버튼을 누르면 결제 모듈이 나온다.
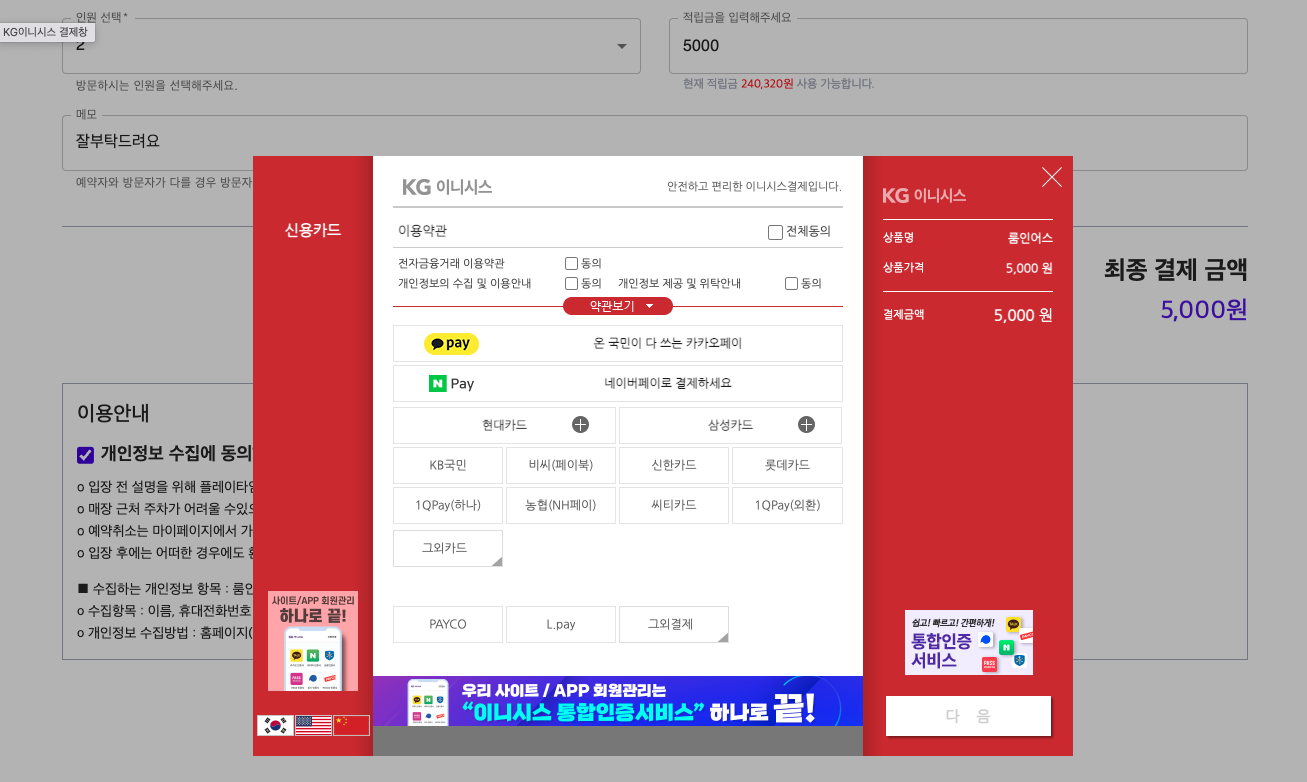
아임포트 사용하기
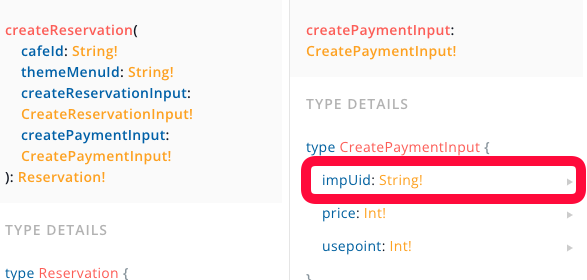
이 결제 후 impUid를 보내기 위해서
결제 컴포넌트로 폼에서 입력한 정보를 모두 보내고
결제가 성공하면 다 같이 백엔드 서버로 보내는 방식을 선택했다.
결제 컴포넌트에는 결제를 위해 아임포트에서 만들어준 함수 + 해당 함수가 성공했을 때 / 실패했을 때 로직 + 함수를 동작시킬 UI 요소 (결제하기 버튼)으로 구성하였다.
아임포트는 수업시간에 배운 대로 차근차근하니 기능 구현에 어려움이 없었다.
export default function Payment(props: IPaymentProps) {
  const { data } = useQuery(FETCH_USER_LOGGEDIN);
  const [createReservation] = useMutation(CREATE_RESERVATION);
  const router = useRouter();

  const requestPay = () => {
    const IMP = window.IMP;
    IMP.init(process.env.NEXT_PUBLIC_IMP_KEY);

    IMP.request_pay(
      {
        pg: "html5_inicis",
        pay_method: "card",
        name: "룸인어스",
        amount: props.totalPrice,
        buyer_email: data?.fetchUserLoggedIn.email,
        buyer_name: data?.fetchUserLoggedIn.name,
        buyer_tel: data?.fetchUserLoggedIn.phone,
        m_redirect_url: "https://roominus.site/reservation",
      },
      async function (rsp: IRsp) {
        // callback
        if (rsp.success) {
          try {
            const result = await createReservation({
              variables: {
                themeMenuId: props.ThemeMenuId,
                cafeId: props.cafeId,
                createReservationInput: {
                  reservation_date: props.reservationDate,
                  memo: props.memo,
                  people_number: props.peopleNumber,
                },
                createPaymentInput: {
                  impUid: rsp.imp_uid,
                  price: props.totalPrice,
                  usepoint: Number(props.usePoint),
                },
              },
            });
            Swal.fire({
              icon: "success",
              title: "예약 완료",
              showConfirmButton: false,
              timer: 1000,
              backdrop: false,
            });
            router.push(`/reservation/${result.data?.createReservation.id}`);
          } catch (error) {
            Swal.fire({
              icon: "error",
              title: "예약실패",
              text: (error as Error).message,
              timer: 1000,
              backdrop: false,
            });
            router.push("/reservation");
          }
        } else {
          Swal.fire({
            icon: "error",
            title: "예약실패",
            timer: 1000,
            backdrop: false,
          });
          router.push("/reservation");
        }
      }
    );
  };

  return (
    <div>
      <Head>
        {/* <!-- jQuery --> */}
        <script
          type="text/javascript"
          src="https://code.jquery.com/jquery-1.12.4.min.js"
        ></script>
        {/* <!-- iamport.payment.js --> */}
        <script
          type="text/javascript"
          src="https://cdn.iamport.kr/js/iamport.payment-1.2.0.js"
        ></script>
      </Head>

      <WebPurpleButton
        title={props.title}
        onClick={requestPay}
        type={props.type}
      />
    </div>
  );
}
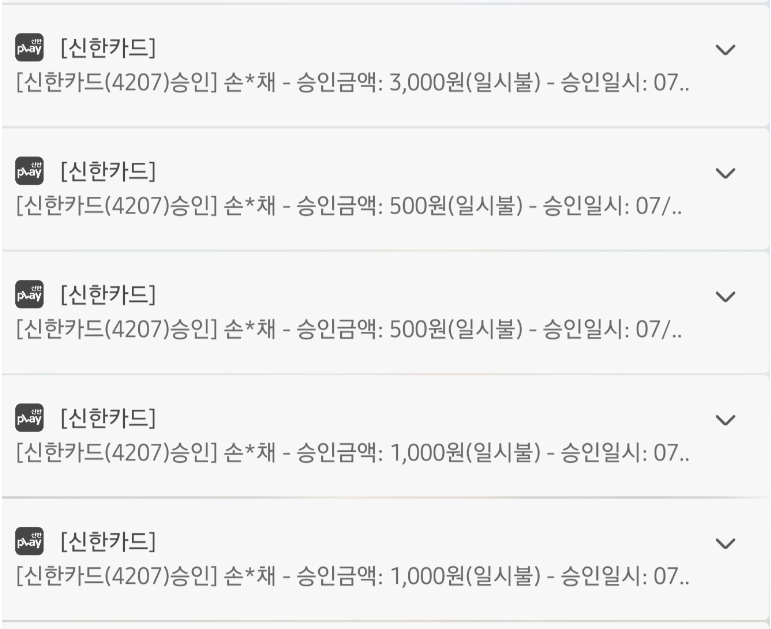
마구마구 결제해보기ㅎㅎㅎ
예약 취소 버튼을 보여줘야하는 날
결제 완료 페이지에는 결제 티켓 이미지와 함께 [ 예약 취소 ] 를 할 수 있는 버튼이 있다.

이 버튼이 방문일 부터는 보이지 않아야 한다!
  // 방문일 (당일)과 방문일 이후에는 취소하기 버튼이 안보이게
  const [cancellable, setCancellable] = useState(true);

  const today = String(new Date());
  const timeValue = data?.fetchReservation?.reservation_date;
  const now = getToday(new Date());
  const betweenTime = Math.floor(
    (Date.parse(today) - Date.parse(timeValue)) / 1000 / 60
  );

  useEffect(() => {
    if (data?.fetchReservation.reservation_date === now || betweenTime > 0) {
      setCancellable(false);
    }
  });
다른 블로그에서 발견한 몇 분전~ 함수를 응용해서
1) 방문일과 오늘 날짜가 일치할 때
2) 방문일이 오늘 날짜보다 과거일 때
모두 버튼을 안보이게 처리해주었다.
결제 취소하기와 sweet alert
결제 취소 버튼을 누르면,

예약 취소를 확인하는 모달이 한 번 나오고,
yes를 했을 때 결제 취소가 진행 된다.
결제 취소에 대한 함수를 먼저 구현했다.
  const onClickRefund = async () => {
    try {
      await deleteReservation({
        variables: {
          reservationId: router.query.id,
          merchantUid: data?.fetchReservation.payment.merchant_uid,
        },
      });
    } catch (error) {
      Swal.fire({
        icon: "error",
        text: (error as Error).message,
      });
    }
  };
reservation Id는 티켓 상세 페이지에서 추출
merchantUid 도 예약 상세 데이터에서 추출했다.
해당 함수를 sweet alert 함수에 걸어주면 될 것 같다.
 const onClickOpenRefundModal = () => {
    Swal.fire({
      title: "예약을 취소하시겠습니까?",
      icon: "question",
      showCancelButton: true,
      confirmButtonText: "네",
      cancelButtonText: "아니요",
      reverseButtons: true,
    }).then((result) => {
      if (result.isConfirmed) {
      **  onClickRefund();**
        Swal.fire({
          title: "취소되었습니다",
          icon: "success",
          showConfirmButton: false,
          timer: 800,
          backdrop: false,
        });

        router.push("/mypage/history");
      }
    });
  };
sweet alert 에서 알려준 것처럼,
yes를 했을 때의 추가 로직에 함수를 걸었고, 이 함수가 끝나면 취소완료!
환불 한 티켓은?
그렇다면 환불 한 티켓은 이 페이지에 들어오지 못하게 해야겠지?
  // 환불 완료일 경우 페이지 접속 불가
  if (data?.fetchReservation.status === "환불완료") {
    onClickOpenCancelModal();
  }
예약 상태가 "환불 완료"라면 이 함수를 실행해보자
  const onClickOpenCancelModal = () => {
    Swal.fire({
      title: "취소된 예약입니다",
      icon: "error",
      showConfirmButton: false,
      timer: 500,
      backdrop: false,
    });
    router.push("/mypage/history");
  };
sweet alert으로 취소된 예약임을 알려주고 바로 강퇴!!