이 가이드는 Spring 애플리케이션을 생성한 다음 JUnit으로 테스트하는 과정을 안내합니다.
무엇을 구축할 것인가
간단한 Spring 애플리케이션을 빌드하고 JUnit을 사용하여 테스트합니다. 아마도 애플리케이션에서 개별 클래스의 단위 테스트를 작성하고 실행하는 방법을 이미 알고 있을 것입니다. 따라서 이 가이드에서는 Spring 테스트 및 Spring Boot 기능을 사용하여 Spring과 코드 간의 상호 작용을 테스트하는 데 중점을 둘 것입니다. 애플리케이션 컨텍스트가 성공적으로 로드되는지 간단한 테스트로 시작하고 Spring의 MockMvc를 사용하여 웹 계층만 계속 테스트합니다.
Starting with Spring Initializr
간단한 애플리케이션 만들기
Spring 애플리케이션을 위한 새 컨트롤러를 만듭니다. 다음 목록(src/main/java/guides/testingweb/HomeController.java)에서는 이를 수행하는 방법을 보여줍니다.
package guides.testingweb;

import org.springframework.stereotype.Controller;
import org.springframework.web.bind.annotation.RequestMapping;
import org.springframework.web.bind.annotation.ResponseBody;

@Controller
public class HomeController {

    @RequestMapping("/")
    public @ResponseBody String greeting() {
        return "Hello, World";
    }
}
@Controller
public class HomeController {
@RequestMapping("/")
@ResponseBody
public String greeting() {
return "Hello, World";
}
}첫 번째 코드에서는 @ResponseBody를 메서드의 리턴 타입 바로 앞에 위치시켰고, 두 번째 코드에서는 @ResponseBody 어노테이션을 메서드 위에 따로 명시했지만, 두 가지 방법 모두 메서드가 반환하는 값을 HTTP 응답의 본문으로 사용하도록 지정합니다.
앞의 예에서는
GET과PUT,POST등을 지정하지 않습니다. 기본적으로@RequestMapping은 모든 HTTP 작업을 매핑합니다.@GetMapping또는@RequestMapping(method=GET)을 사용하여 이 매핑 범위를 좁힐 수 있습니다.
일반적으로 Spring의 @Controller에서 메서드는 뷰 템플릿 이름을 반환하여 해당 뷰를 렌더링합니다. 그러나 @ResponseBody 어노테이션을 사용하면 메서드의 반환 값이 HTTP 응답 본문으로 직접 전송되어야 함을 나타냅니다. 즉, 메서드가 반환하는 객체나 데이터가 직렬화되어 HTTP 응답으로 전송됩니다.
애플리케이션 실행
Spring Initializr는 애플리케이션 클래스(main() 메소드가 있는 클래스)를 생성합니다. 이 가이드에서는 이 클래스를 수정할 필요가 없습니다. 다음 목록(src/main/java/guides/testingweb/TestingWebApplication.java)은 Spring Initializr가 생성한 애플리케이션 클래스를 보여줍니다.
package guides.testingweb;

import org.springframework.boot.SpringApplication;
import org.springframework.boot.autoconfigure.SpringBootApplication;

@SpringBootApplication
public class TestingWebApplication {

    public static void main(String[] args) {
        SpringApplication.run(TestingWebApplication.class, args);
    }

}
애플리케이션 테스트
이제 애플리케이션이 실행되었으므로 테스트할 수 있습니다. http://localhost:8080에서 홈 페이지를 로드할 수 있습니다. 그러나 변경 사항을 적용할 때 애플리케이션이 작동한다는 확신을 더 가지려면 테스트를 자동화하려고 합니다.
Spring Boot는 사용자가 애플리케이션을 테스트할 계획이라고 가정하므로 빌드 파일(
build.gradle또는pom.xml)에 필요한 종속성을 추가합니다.
가장 먼저 할 수 있는 일은 애플리케이션 컨텍스트를 시작할 수 없는 경우 실패하는 간단한 온전성 검사(sanity check) 테스트를 작성하는 것입니다. 다음 목록(src/test/java/guides/testingweb/TestingWebApplicationTest.java)에서는 이를 수행하는 방법을 보여줍니다.
package guides.testingweb;

import org.junit.jupiter.api.Test;
import org.springframework.boot.test.context.SpringBootTest;

@SpringBootTest
class TestingWebApplicationTests {

    @Test
    void contextLoads() {
    }

}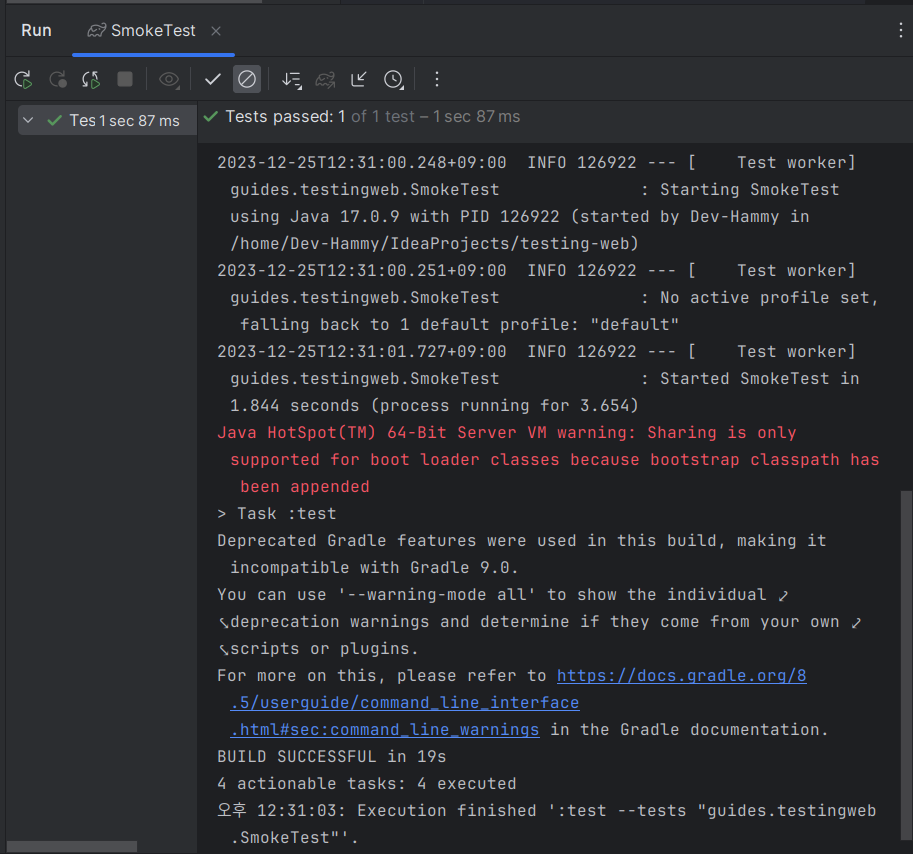
@SpringBootTest 주석은 Spring Boot에 기본 구성 클래스(예: @SpringBootApplication이 포함된 클래스)를 찾고 이를 사용하여 Spring 애플리케이션 컨텍스트를 시작하도록 지시합니다. IDE나 명령줄(./mvnw test 또는 ./gradlew test 실행)에서 이 테스트를 실행할 수 있으며, 통과해야 합니다. 컨텍스트가 컨트롤러를 생성하고 있음을 확인하려면 다음 예제(src/test/java/guides/testingweb/SmokeTest.java에서)에 표시된 대로 어설션(assertion)을 추가할 수 있습니다.
package guides.testingweb;

import org.junit.jupiter.api.Test;
import org.springframework.beans.factory.annotation.Autowired;
import org.springframework.boot.test.context.SpringBootTest;

import static org.assertj.core.api.Assertions.assertThat;

@SpringBootTest
class TestingWebApplicationTests {

    @Autowired
    private HomeController controller;

    @Test
    void contextLoads() throws Exception {
        assertThat(controller).isNotNull();
    }

}
Spring은 @Autowired 주석을 해석하고 테스트 메서드가 실행되기 전에 컨트롤러가 주입됩니다. 우리는 테스트 주장을 표현하기 위해 AssertJ(assertThat() 및 기타 메소드를 제공)를 사용합니다.
Spring 테스트 지원의 좋은 기능은 애플리케이션 컨텍스트가 테스트 간에 캐시된다는 것입니다. 이렇게 하면 테스트 케이스에 여러 메소드가 있거나 동일한 구성을 가진 여러 테스트 케이스가 있는 경우 애플리케이션을 한 번만 시작하는 데 드는 비용이 발생합니다.
@DirtiesContext주석을 사용하여 캐시를 제어할 수 있습니다.
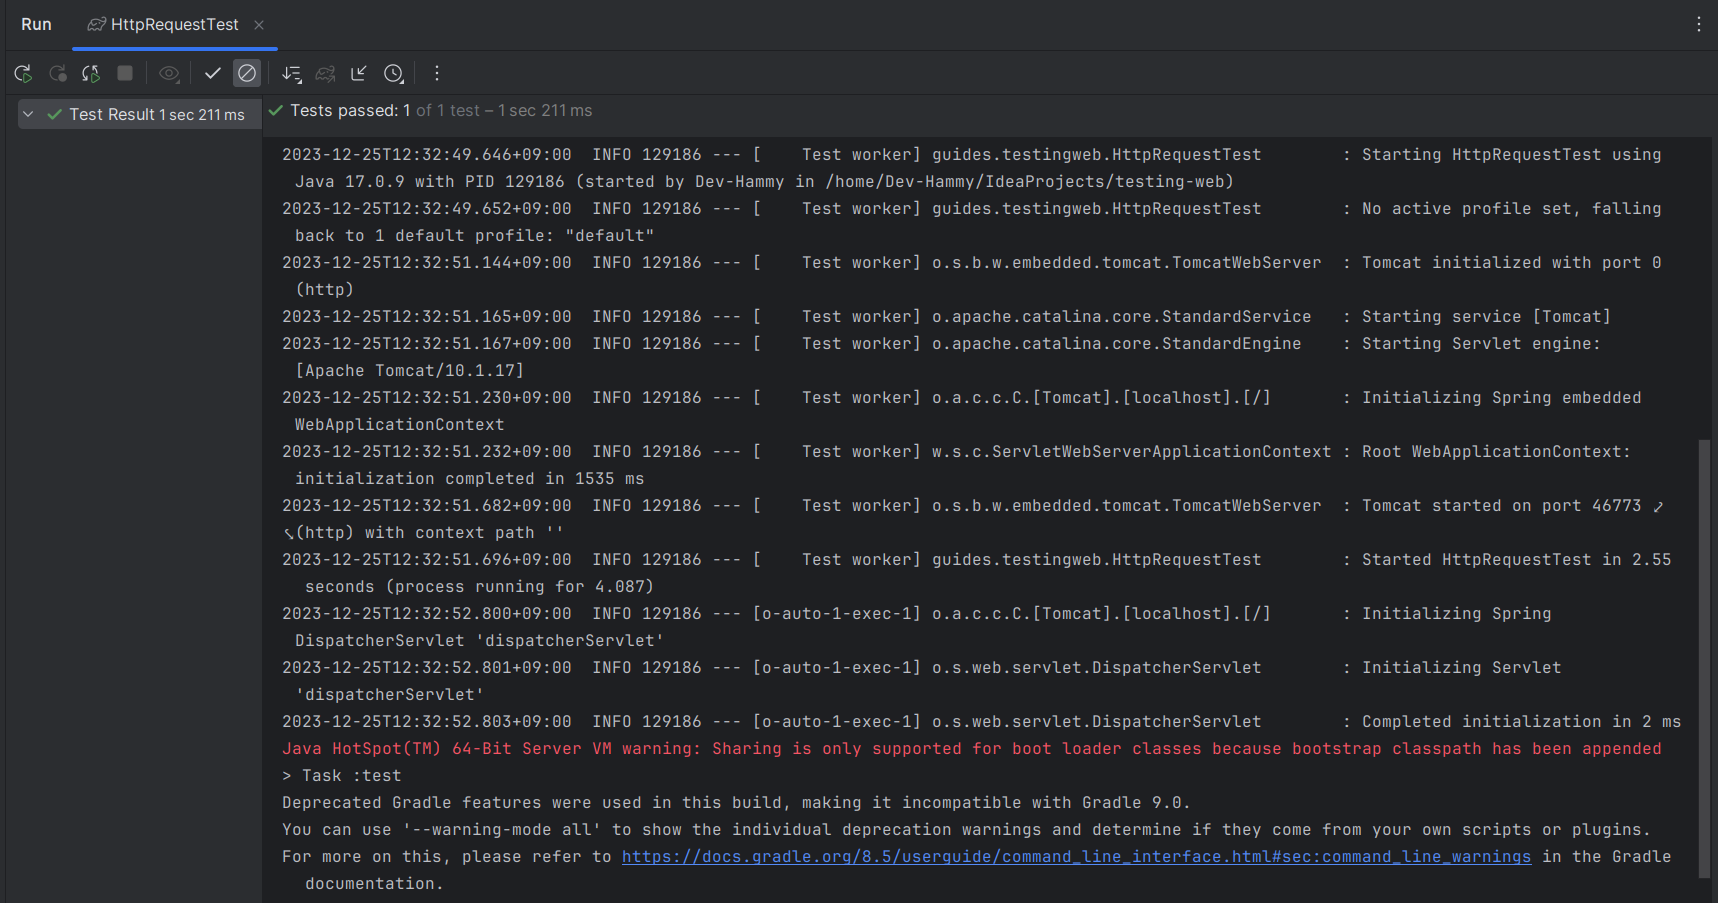
온전한 상태를 확인하는 것은 좋지만 애플리케이션의 동작을 확인하는 몇 가지 테스트도 작성해야 합니다. 이를 수행하려면 애플리케이션을 시작하고 연결을 수신(listen)한 다음(프로덕션에서와 마찬가지로) HTTP 요청을 보내고 응답을 어설션할 수 있습니다(assert the response). 다음 목록(src/test/java/guides/testingweb/HttpRequestTest.java)에서는 이를 수행하는 방법을 보여줍니다.
package guides.testingweb;


import org.junit.jupiter.api.Test;
import org.springframework.beans.factory.annotation.Autowired;
import org.springframework.boot.test.context.SpringBootTest;
import org.springframework.boot.test.web.client.TestRestTemplate;
import org.springframework.boot.test.web.server.LocalServerPort;

import static org.assertj.core.api.Assertions.assertThat;

@SpringBootTest(webEnvironment = SpringBootTest.WebEnvironment.RANDOM_PORT)
public class HttpRequestTest {

    @LocalServerPort
    private int port;

    @Autowired
    private TestRestTemplate restTemplate;

    @Test
    void greetingShouldReturnDefaultMessage() throws Exception {
        assertThat(this.restTemplate.getForObject("http://localhost:"+port+"/", String.class).contains("Hello, World"));
    }
}
webEnvironment=RANDOM_PORT를 사용하여 임의의 포트로 서버를 시작하고(테스트 환경에서 충돌을 피하는 데 유용함) @LocalServerPort를 사용하여 포트를 삽입합니다. 또한 Spring Boot는 자동으로 TestRestTemplate을 제공했습니다. @Autowired를 추가하기만 하면 됩니다.
또 다른 유용한 접근 방식은 서버를 전혀 시작하지 않고 그 아래 계층만 테스트하는 것입니다. 여기서 Spring은 들어오는 HTTP 요청을 처리하고 이를 컨트롤러에 전달합니다. 이렇게 하면 거의 모든 전체 스택이 사용되며 실제 HTTP 요청을 처리하는 것과 똑같은 방식으로 코드가 호출되지만 서버를 시작하는 비용은 들지 않습니다. 그렇게 하려면 Spring의 MockMvc를 사용하고 테스트 케이스에 @AutoConfigureMockMvc 주석을 사용하여 주입되도록 요청하세요. 다음 목록(src/test/java/guides/testingweb/TestingWebApplicationTest.java)에서는 이를 수행하는 방법을 보여줍니다.
package guides.testingweb;
import org.junit.jupiter.api.Test;
import org.springframework.beans.factory.annotation.Autowired;
import org.springframework.boot.test.autoconfigure.web.servlet.AutoConfigureMockMvc;
import org.springframework.boot.test.context.SpringBootTest;
import org.springframework.test.web.servlet.MockMvc;
import static org.hamcrest.Matchers.containsString;
import static org.springframework.test.web.servlet.request.MockMvcRequestBuilders.get;
import static org.springframework.test.web.servlet.result.MockMvcResultHandlers.print;
import static org.springframework.test.web.servlet.result.MockMvcResultMatchers.content;
import static org.springframework.test.web.servlet.result.MockMvcResultMatchers.status;
@SpringBootTest
@AutoConfigureMockMvc
public class TestingWebApplicationTest {
@Autowired
private MockMvc mockMvc;
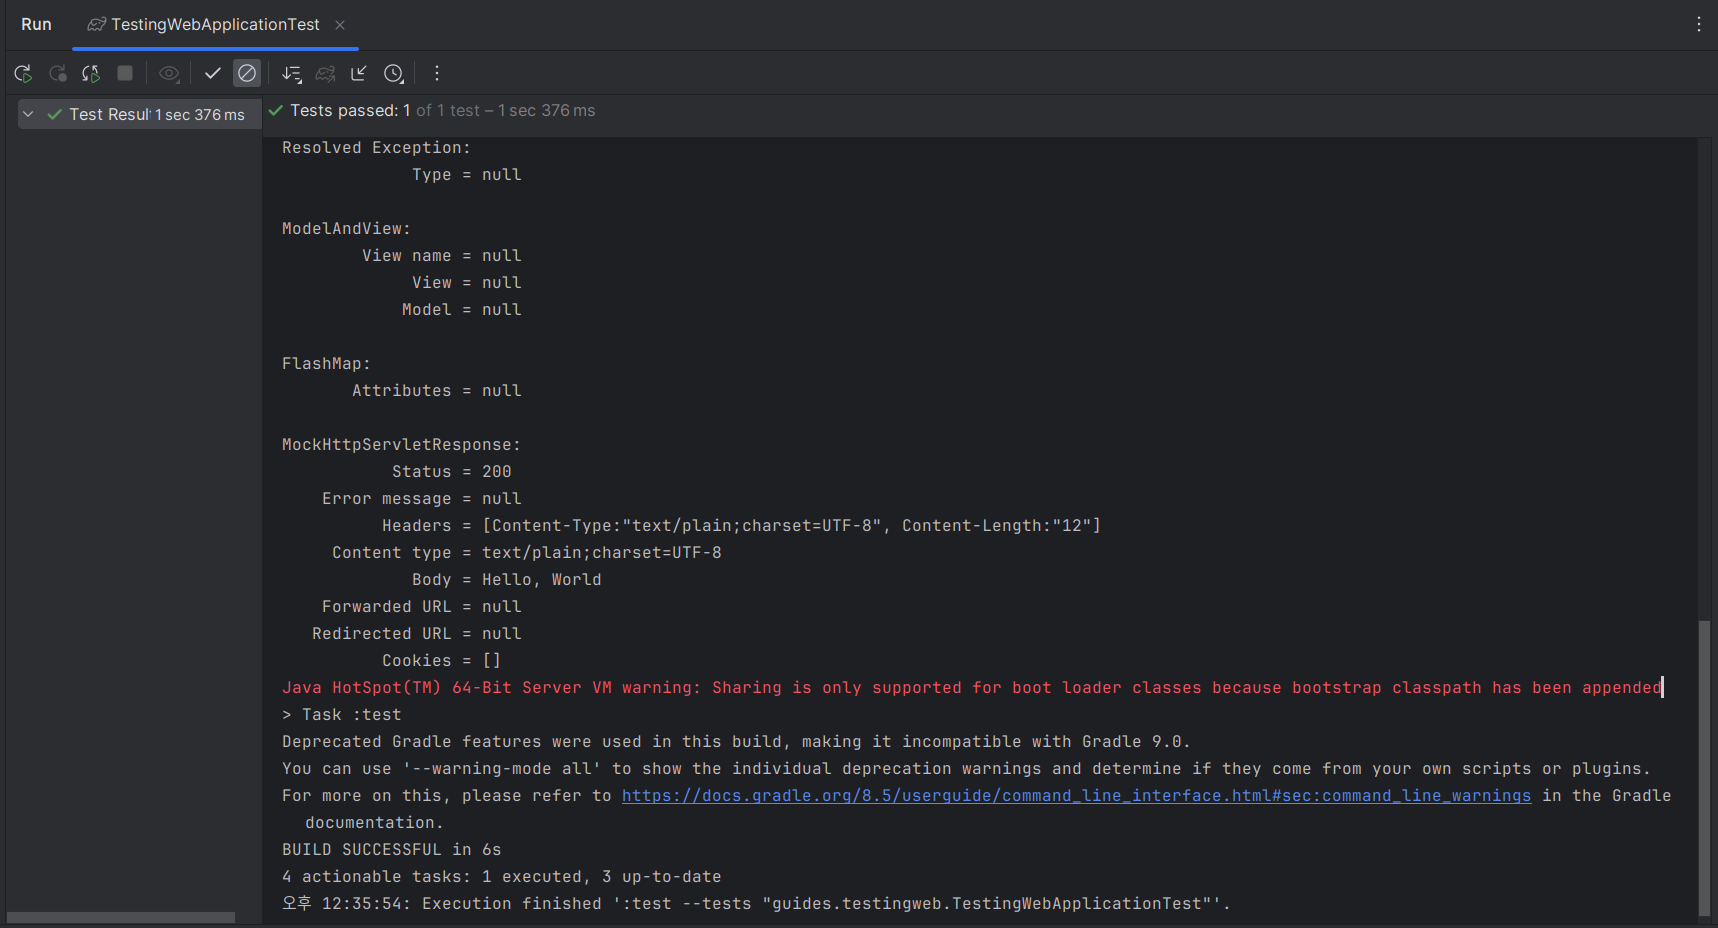
@Test
void shouldReturnDefaultMessage() throws Exception {
this.mockMvc.perform(get("/")).andDo(print()).andExpect(status().isOk()).andExpect(content().string(containsString("Hello, World")));
}
}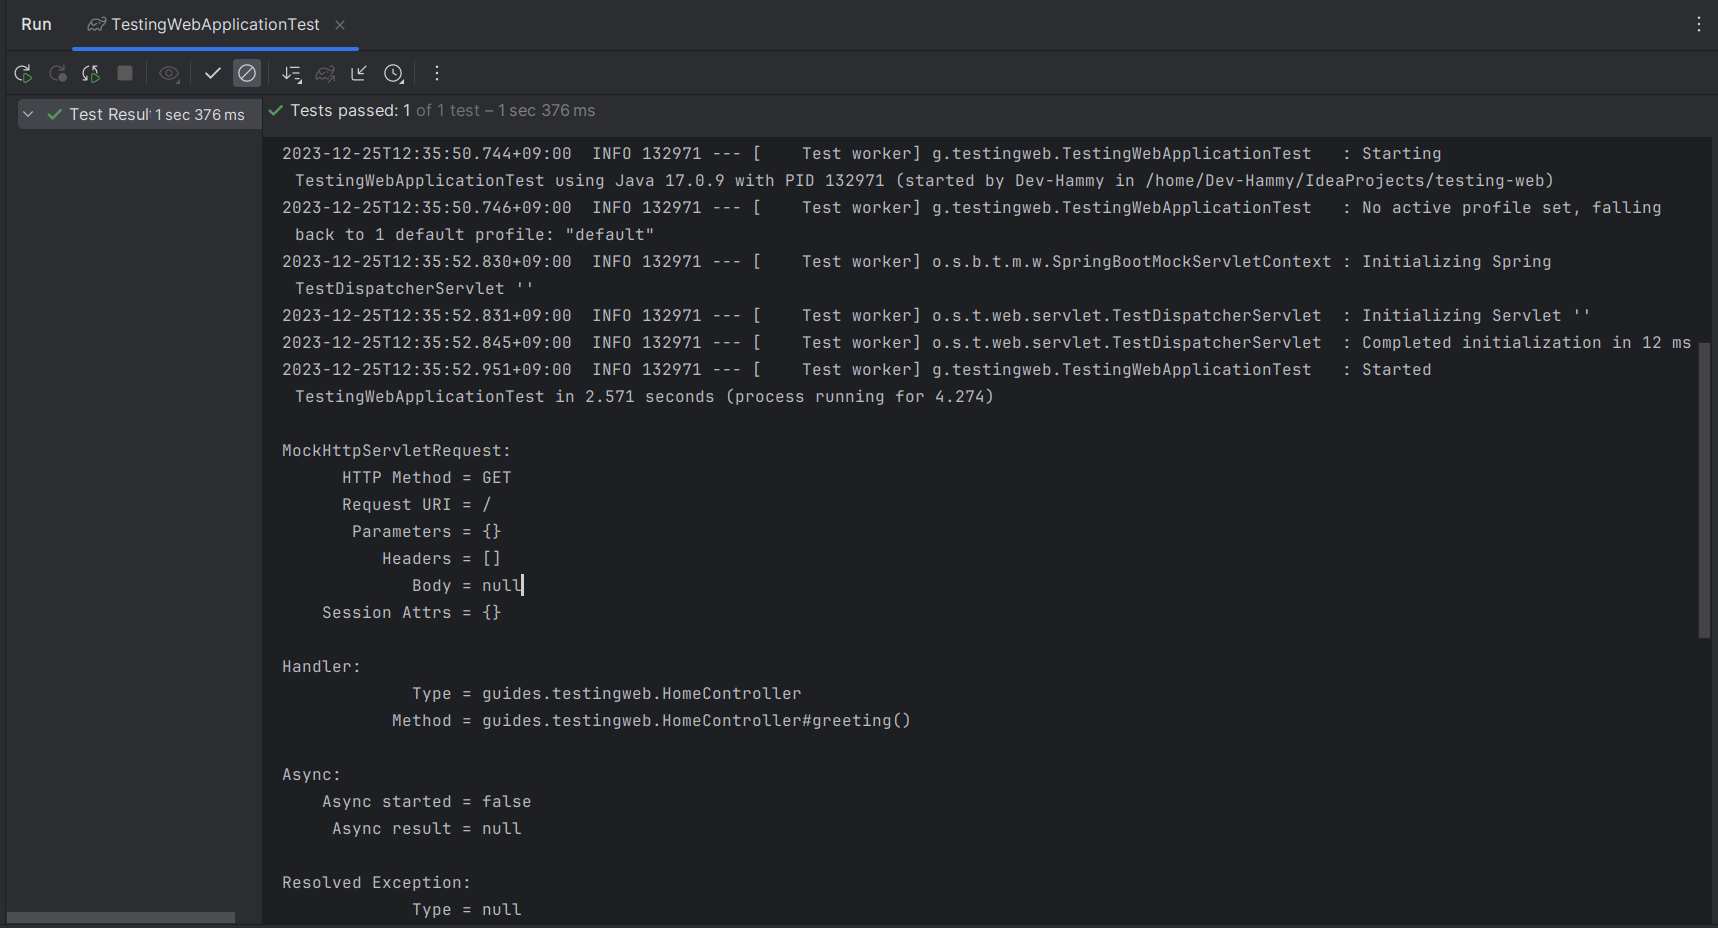
이 테스트에서는 전체 Spring 애플리케이션 컨텍스트가 시작되지만 서버는 없습니다. 다음 목록(src/test/java/guides/testingweb/WebLayerTest.java)에 표시된 대로 @WebMvcTest를 사용하여 테스트 범위를 웹 계층으로만 좁힐 수 있습니다.
@WebMvcTest
include::src/test/java/guides/testingweb/WebLayerTest.java
테스트 어설션은 이전 사례와 동일합니다. 그러나 이 테스트에서 Spring Boot는 전체 컨텍스트가 아닌 웹 계층만 인스턴스화합니다. 여러 컨트롤러가 있는 애플리케이션에서는 예를 들어 @WebMvcTest(HomeController.class)를 사용하여 컨트롤러 하나만 인스턴스화하도록 요청할 수도 있습니다.
지금까지 HomeController는 간단하고 종속성이 없습니다. 인사말을 저장하기 위한 추가 구성 요소를 도입하면(아마도 새 컨트롤러에) 이를 더욱 현실적으로 만들 수 있습니다. 다음 예제(src/main/java/guides/testingweb/GreetingController.java)에서는 이를 수행하는 방법을 보여줍니다.
package guides.testingweb;

import org.springframework.stereotype.Controller;
import org.springframework.web.bind.annotation.RequestMapping;
import org.springframework.web.bind.annotation.ResponseBody;

@Controller
public class GreetingController {

    private final GreetingService service;

    public GreetingController(GreetingService service) {
        this.service = service;
    }

    @RequestMapping("/greeting")
    public @ResponseBody String greeting() {
        return service.greet();
    }
}
그런 다음 다음 목록(src/main/java/guides/testingweb/GreetingService.java)에 표시된 대로 인사말 서비스를 만듭니다.
package guides.testingweb;

import org.springframework.stereotype.Service;

@Service
public class GreetingService {

    public String greet() {
        return "Hello World";
    }

}
Spring은 (생성자 signature으로 인해) 서비스 종속성을 컨트롤러에 자동으로 주입합니다. 다음 목록(src/test/java/guides/testingweb/WebMockTest.java)은 @WebMvcTest를 사용하여 이 컨트롤러를 테스트하는 방법을 보여줍니다.
package guides.testingweb;

import org.junit.jupiter.api.Test;
import org.springframework.beans.factory.annotation.Autowired;
import org.springframework.boot.test.autoconfigure.web.servlet.WebMvcTest;
import org.springframework.boot.test.mock.mockito.MockBean;
import org.springframework.test.web.servlet.MockMvc;

import static org.hamcrest.Matchers.containsString;
import static org.mockito.Mockito.when;
import static org.springframework.test.web.servlet.request.MockMvcRequestBuilders.get;
import static org.springframework.test.web.servlet.result.MockMvcResultHandlers.print;
import static org.springframework.test.web.servlet.result.MockMvcResultMatchers.content;
import static org.springframework.test.web.servlet.result.MockMvcResultMatchers.status;

@WebMvcTest(GreetingController.class)
public class WebMockTest {

    @Autowired
    private MockMvc mockMvc;

    @MockBean
    private GreetingService service;

    @Test
    void greetingShouldReturnMessageFromService() throws Exception {
        when(service.greet()).thenReturn("Hello, Mock");

        this.mockMvc.perform(get("/greeting")).andDo(print()).andExpect(status().isOk()).andExpect(content().string(containsString("Hello, Mock")));
    }

}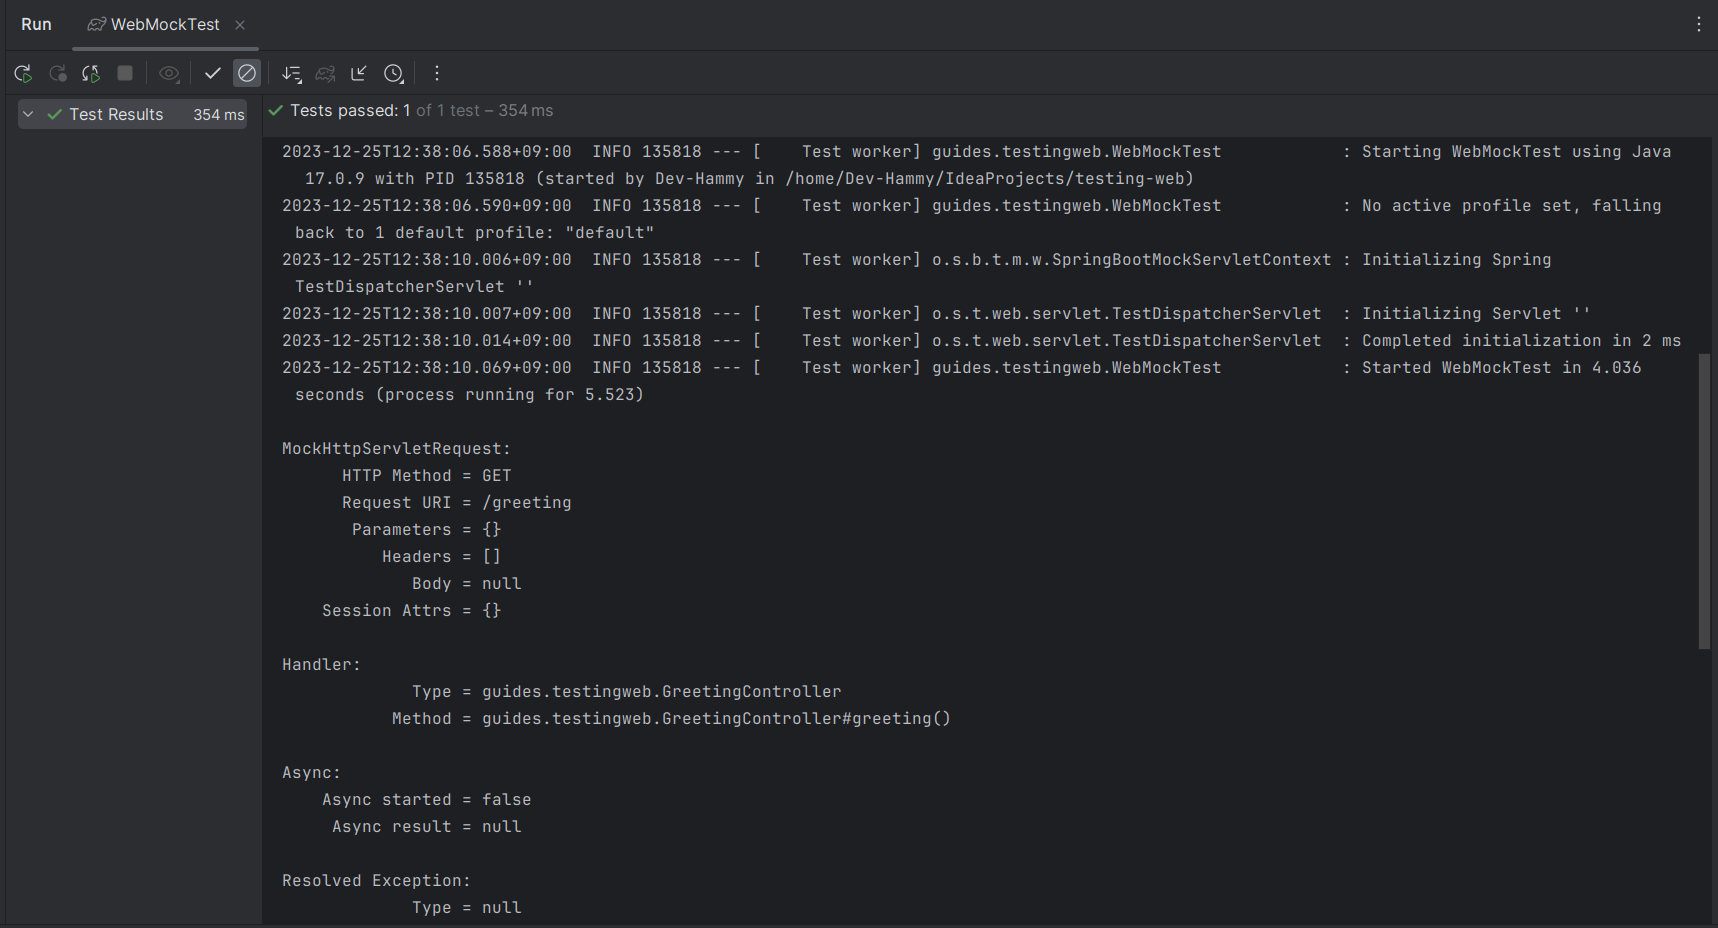
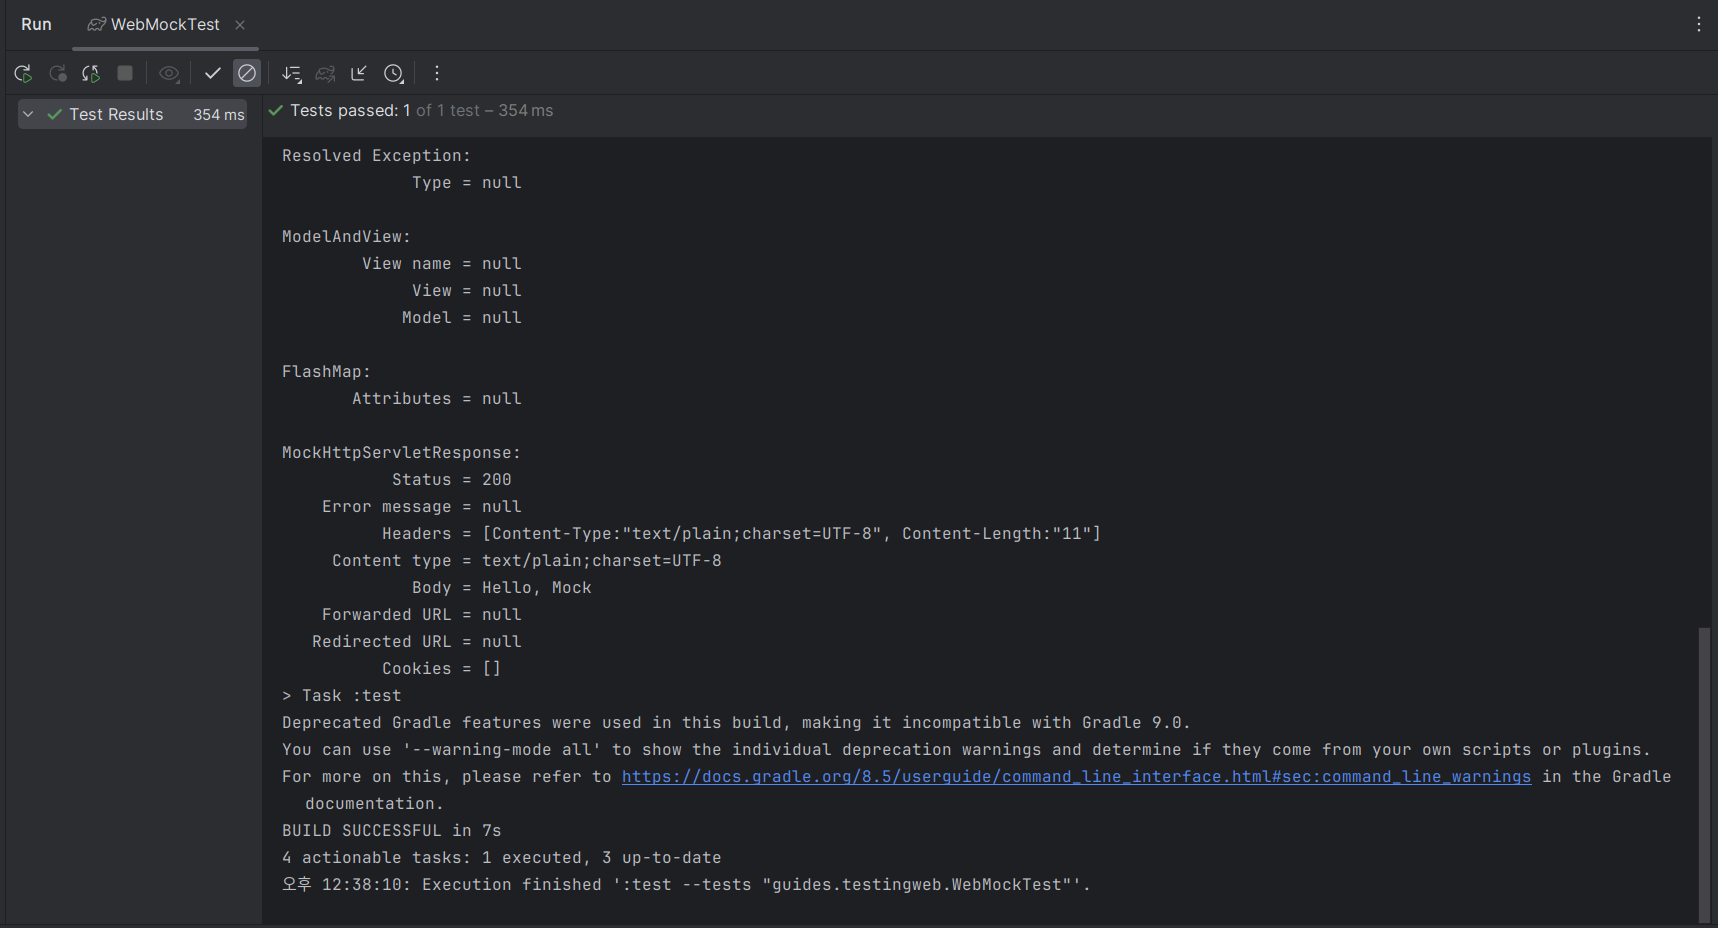
@MockBean을 사용하여 GreetingService에 대한 모의 객체를 생성 및 주입하고(그렇지 않으면 애플리케이션 컨텍스트를 시작할 수 없음) Mockito를 사용하여 기대치(expectation)를 설정합니다.