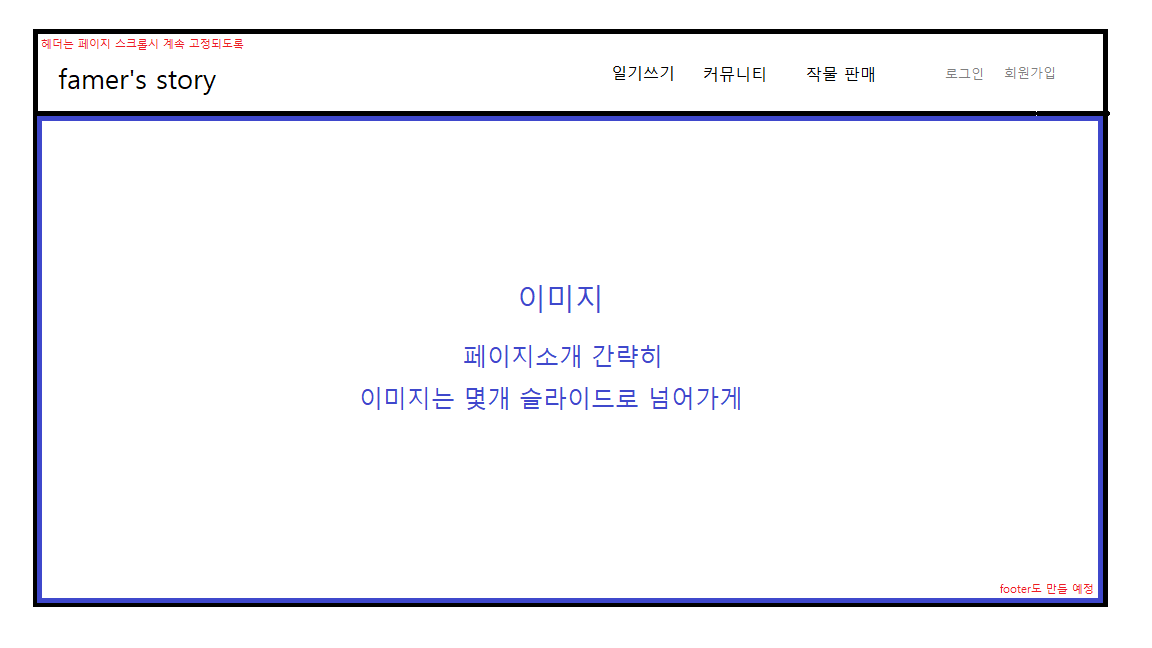
이렇게 만들어본다
헤더 만들기
헤더 부분으 만든다
<!DOCTYPE html>
<html xmlns:th="http://www.thymeleaf.org">
<head>
    <meta charset="UTF-8">
    <meta name="viewport" content="width=device-width, initial-scale=1.0">
    <title>Famer's Story에 환영합니다!</title>
</head>
<body>
    <header>
        <div>
            <h1>Famer's Story</h1>
        </div>
        <div>
            <ul>
                <li>일기쓰기</li>
                <li>커뮤니티</li>
                <li>작물판매</li>
            </ul>
        </div>
        <div>
            <p>로그인</p>
            <p>회원가입</p>
        </div>
    </header>
</body>
</html>
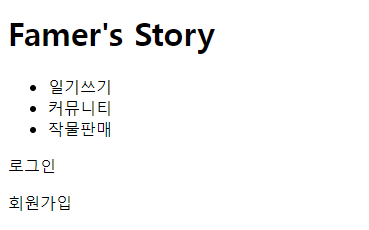
요렇게 나옴!!
css를 적용해본다.
    <style>
        *{
            margin: 0;
            padding: 0;
            box-sizing: border-box;
        }
        header {
            background-color: aqua;
            display: flex;
            justify-content: space-between;
            padding: 0 80px;
        }
    </style>
그럼 이렇게 나온다.

더 꾸며보도록 한다.
    <style>
        * {
            margin: 0;
            padding: 0;
            box-sizing: border-box;
        }

        header {
            background-color: white; /* Set the background to white */
            display: flex;
            justify-content: space-between;
            padding: 20px 80px; /* Adjust the padding for better spacing */
            align-items: center; /* Align items vertically in the header */
            box-shadow: 0 4px 6px rgba(0, 0, 0, 0.1); /* Add a box-shadow for a subtle effect */
            font-size: large;
        }

        header h1 {
            font-size: 32px;
            color: #333; /* Set the header text color */
        }

        header ul {
            list-style: none;
            display: flex;
        }

        header ul li {
            margin: 0 40px; /* Add spacing between list items */
            font-weight: bold;
            color: #555; /* Set the list item text color */
            cursor: pointer;
            transition: color 0.2s ease-in-out; /* Add a smooth color transition on hover */
        }

        header ul li:hover {
            color: #000; /* Change the color on hover */
        }

        header .userTag ul {
            list-style: none;
            display: flex;
        }

        header .userTag ul .userTagText {
            margin-right: 0 20px 0 20px; /* Add spacing between list items */
            font-weight: bold;
            color: #555; /* Set the list item text color */
            cursor: pointer;
            transition: color 0.2s ease-in-out; /* Add a smooth color transition on hover */
        }

        header .userTag ul .userTagText:hover {
            color: #000; /* Change the color on hover */
        }

    </style>
그럼 요렇게 나온다!!
깔금하게 나왔군😎

로고 만들기
로고 무료 사이트
유료인것도 있지만 키워드 검색해서 무료를 찾아서 다운하면 된다.
https://www.canva.com/
난 Farmer라는 키워드로 검색해 맘에 드는 로고 이미지를 찾아서 다운했다.
만들어진 로고 이미지이다.

html 안에 넣어보겠다!!!
        <div>
            <!-- <h1>Famer's Story</h1> -->
            <img src="../static/img/로고수정.png" alt="로고">
        </div>
CSS도 만들어준다.
        header img {
            width: 120px;
            height: 65px;
        }
그럼 요렇게 만들어진다!!

회원가입이랑, 로그인도 로고로 바꿔준다
메인 만들기
그림을 넣어준다
    <div>
        <img src="../static/img/메인사진.png" alt="메인사진">
    </div>
css도
        img {
            width: 100%;
            height: 750px;
        }
짜라란!!!

중간에 맘에 안들어서 수정했다
실행화면으로 보시라!
    <style>
        * {
            margin: 0;
            padding: 0;
            box-sizing: border-box;
        }

        header {
            background-color: white; /* Set the background to white */
            display: flex;
            justify-content: space-between;
            padding: 20px 80px; /* Adjust the padding for better spacing */
            align-items: center; /* Align items vertically in the header */
            box-shadow: 0 4px 6px rgba(0, 0, 0, 0.1); /* Add a box-shadow for a subtle effect */
            font-size: large;
        }

        header img {
            width: 120px;
            height: 65px;
        }

        header h1 {
            font-size: 32px;
            color: #333; /* Set the header text color */
        }

        header ul {
            list-style: none;
            display: flex;
            margin-left: 120px;
            padding-left: 10px;
        }

        header ul li {
            margin: 0 40px; /* Add spacing between list items */
            font-weight: inherit;
            color: #555; /* Set the list item text color */
            cursor: pointer;
            transition: color 0.2s ease-in-out; /* Add a smooth color transition on hover */
        }

        header ul li:not(:last-child)::after {
            content: "|";
            margin-left: 100px;
        }

        header ul li:hover {
            color: #000; /* Change the color on hover */
        }

        header .userTag ul {
            list-style: none;
            display: flex;
        }

        header .userTag ul .userTagText {
            margin: 0 20px 0 20px; /* Add spacing between list items */
            font-weight: inherit;
            color: #555; /* Set the list item text color */
            cursor: pointer;
            transition: color 0.2s ease-in-out; /* Add a smooth color transition on hover */
            font-size: medium
        }

        header .userTag ul .userTagText:hover {
            color: #000; /* Change the color on hover */
        }

        header .userTag ul .userTagText:not(:last-child)::after {
            content: "";
            margin: 0;
        }

        img {
            width: 100%;
            height: 750px;
        }


    </style>
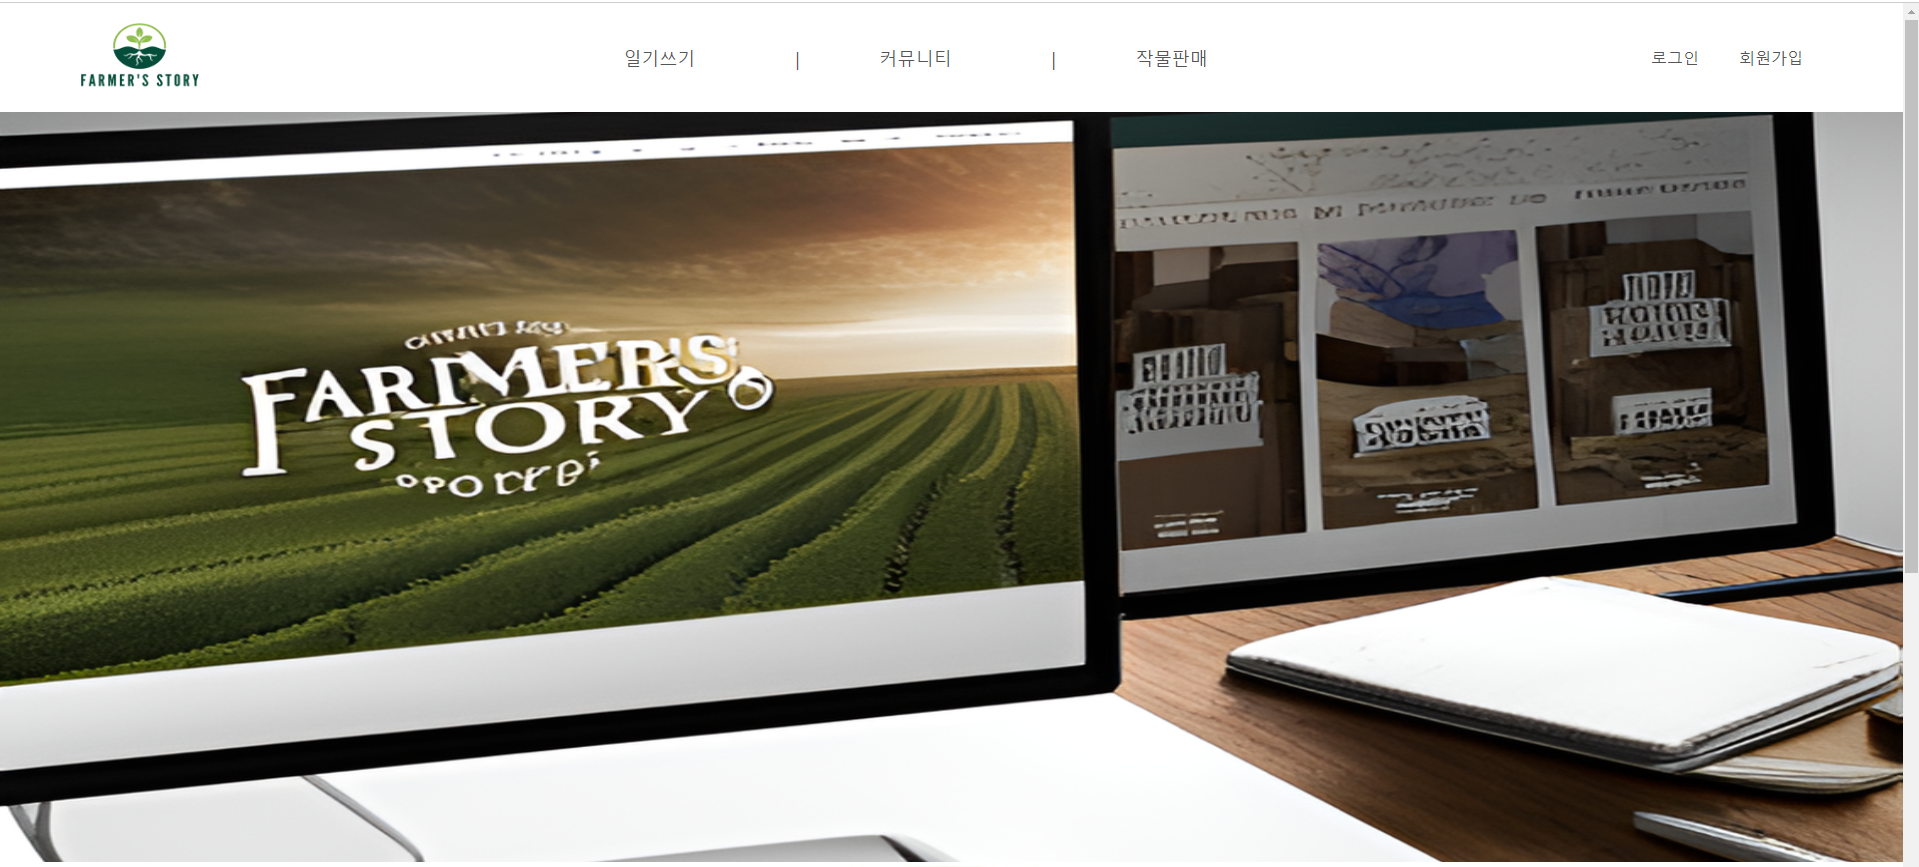
"|"을 추가해줬다.
footer만들기
html먼저 작성해준다.
        <div>
            <ul>
                <li><img src="../static/img/velog_icon.png" alt="velog"></li>
                <li><img src="../static/img/github_icon2.png" alt="github"></li>
                <li><img src="../static/img/instagram_icon2.png" alt="instagram"></li>
            </ul>
        </div>
        <div>
            <h5>(C)Copyright.Developer devjyu</h5>
        </div>
css를 만들어준다
        footer {
            background-color: white; /* Set the background to white */
            display: flex;
            justify-content: space-between;
            padding: 20px 80px; /* Adjust the padding for better spacing */
            align-items: center; /* Align items vertically in the header */
            /* box-shadow: 0 4px 6px rgba(0, 0, 0, 0.1); Add a box-shadow for a subtle effect */
            font-size: large;
            display: flex;
        }

        footer img {
            width: 200px;
            height: 40px;
        }

        footer ul {
            list-style: none;
            display: flex;
            align-items: center;
            margin-right: 20px;
        }

        footer ul li {
            margin: 0 40px; /* Add spacing between list items */
            cursor: pointer;
        }

        footer ul li img {
            width: 50px;
            height: 50px;
        }
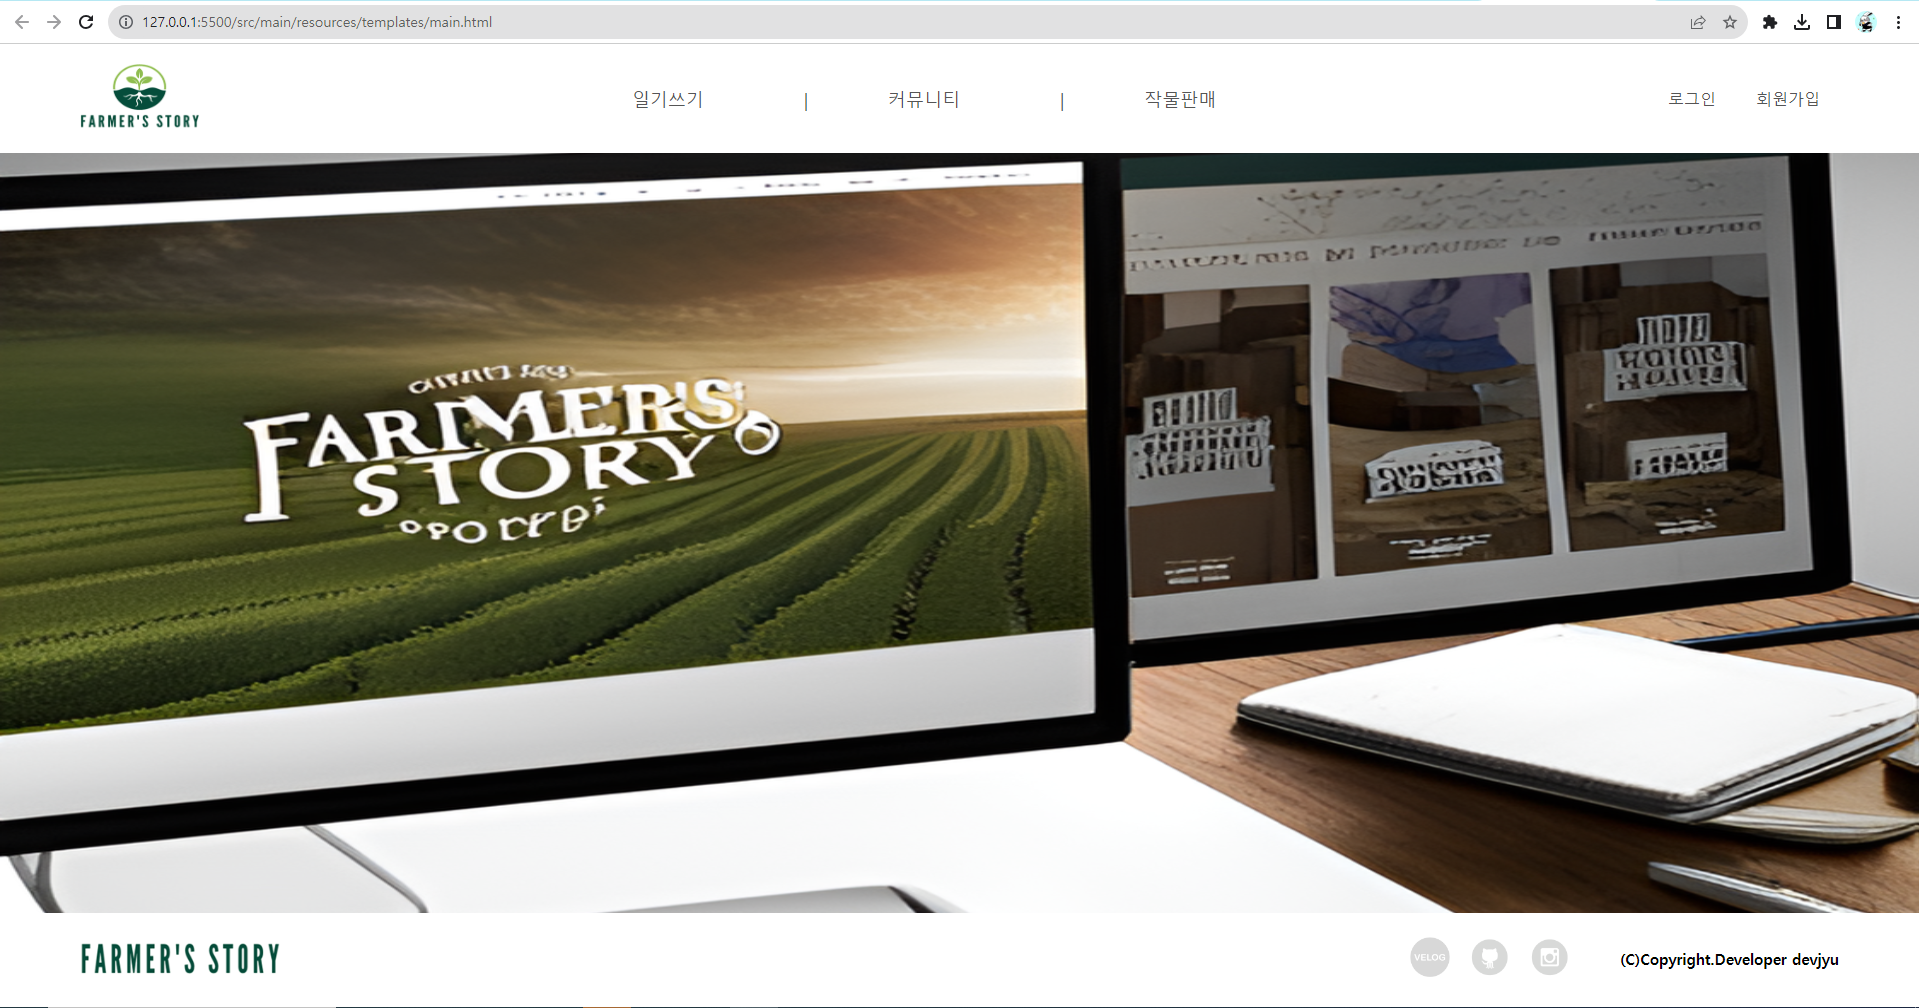
예쁘게 나왔당

그치만 아이콘 위치가 맘에 들지않아 변경해준다.
        footer {
            background-color: white; /* Set the background to white */
            display: flex;
            justify-content: space-between;
            padding: 20px 80px; /* Adjust the padding for better spacing */
            align-items: center; /* Align items vertically in the header */
            /* box-shadow: 0 4px 6px rgba(0, 0, 0, 0.1); Add a box-shadow for a subtle effect */
            font-size: large;
            display: flex;
            flex-wrap: wrap;
        }

        footer div{
            flex: 1;
        }


        footer div:first-child {
            flex: 6; /* Make the first div take double the space of other divs */
        }

        footer img {
            width: 200px;
            height: 40px;
        }

        footer ul {
            list-style: none;
            display: flex;
            align-items: center;
            margin-right: 20px;
        }

        footer ul li {
            margin: 0 10px; /* Add spacing between list items */
            cursor: pointer;
        }

        footer ul li img {
            width: 40px;
            height: 40px;
        }
그럼 이렇게 나온다!!
아이콘에 링크를 삽입해준다!!
누를 시 새창에서 띄우게 해준다.
        <div>
            <ul>
                <li>
                    <a href="https://velog.io/@devjyu" target="_blank">
                        <img src="../static/img/velog_icon.png" alt="velog"></li>
                    </a>
                <li>
                    <a href="https://github.com/devjyu" target="_blank">
                        <img src="../static/img/github_icon2.png" alt="github"></li>
                    </a>
                <li>
                    <a href="">
                        <img src="../static/img/instagram_icon2.png" alt="instagram">
                    </a>
                </li>
            </ul>
        </div>
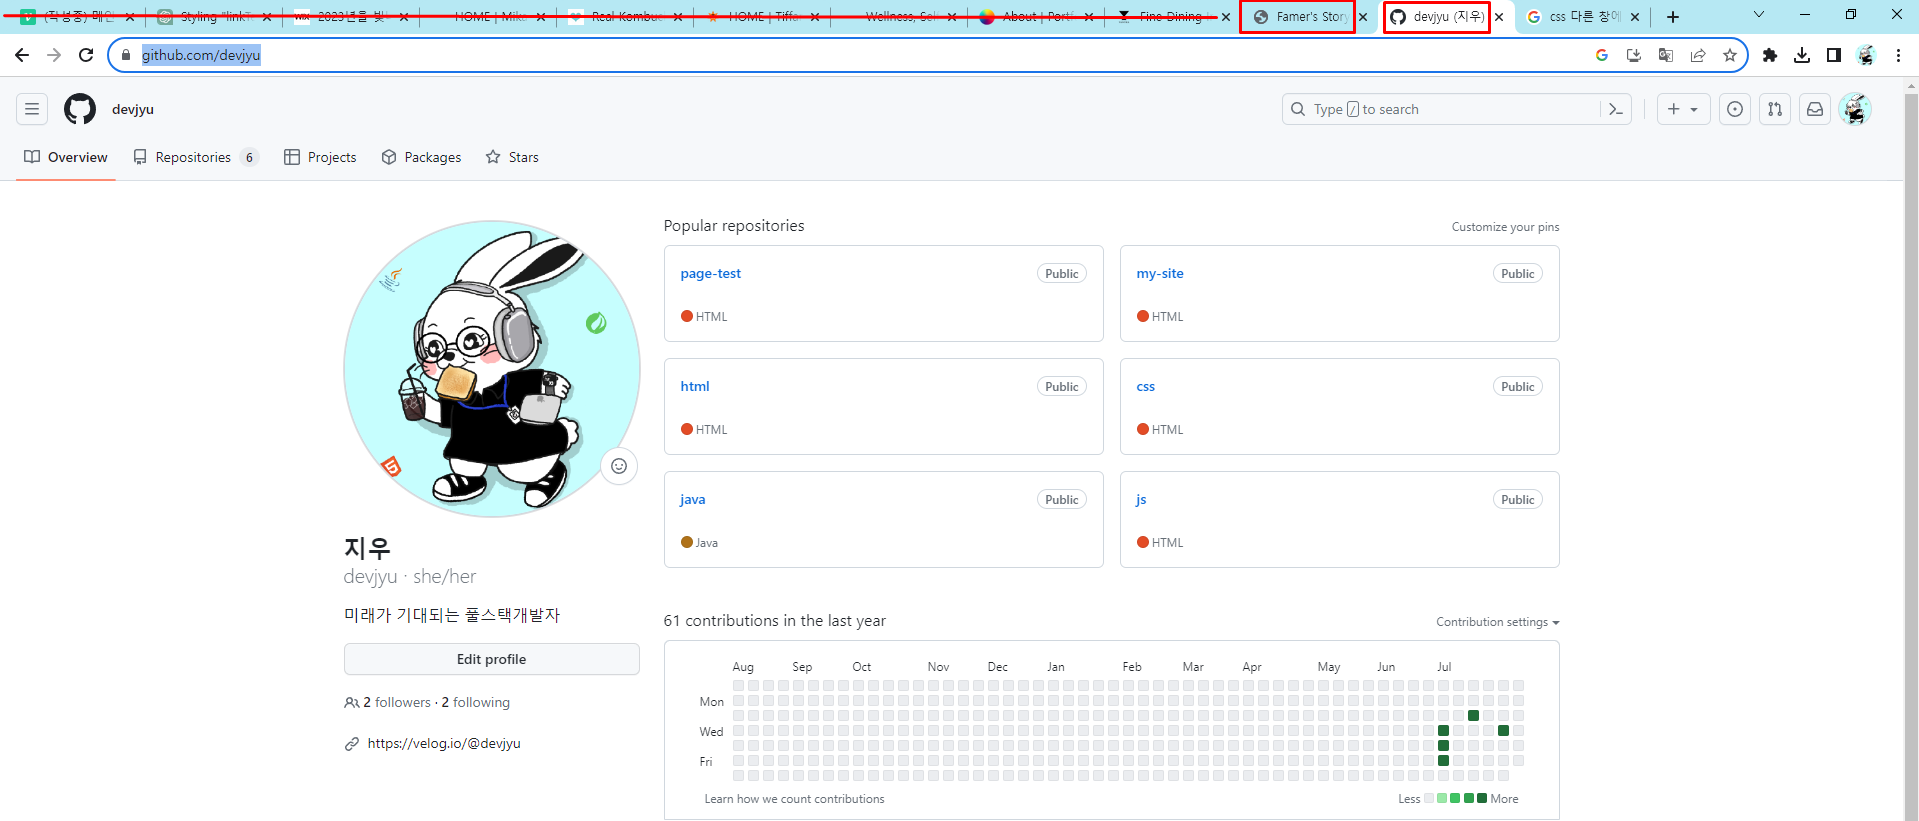
github아이콘을 눌리면

요렇게 새창에서 연결된다!

미래가 기대되는 풀스택개발자 공부 이야기~~