안녕하세요, 여러분! 오늘은 MapKit을 활용해서 커스텀 어노테이션과 커스텀 어노테이션 뷰를 추가하는 방법에 대해 알아보겠습니다. MapKit을 활용하면 기본적인 지도 기능을 제공할 수 있지만, 사용자 경험을 한 단계 업그레이드하기 위해 커스텀 어노테이션을 통해 보다 풍부한 정보를 제공할 수 있습니다.
커스텀 어노테이션이란?
혹시 지도를 사용하던 중 특정 위치에 핀을 찍고 그 핀이 제공하는 정보(예: 이름, 전화번호 등)를 확인한 적 있으신가요? 그것이 바로 어노테이션(annotation)입니다. 기본적인 어노테이션은 단순히 위치와 제목을 표시하지만, 커스텀 어노테이션을 사용하면 더 많은 정보를 추가하고, 이를 사용자 정의하여 더욱 생생한 경험을 제공할 수 있습니다.
그럼 이제 실제로 커스텀 어노테이션을 만드는 과정을 하나하나 살펴볼까요?
1단계: 커스텀 어노테이션 클래스 생성
먼저 커스텀 어노테이션 클래스를 정의해봅시다. 이 클래스는 MKAnnotation 프로토콜을 준수하고, 우리가 표시하고 싶은 추가적인 정보를 속성으로 갖게 됩니다.
import MapKit

class CustomAnnotation: NSObject, MKAnnotation {
    let coordinate: CLLocationCoordinate2D
    let title: String?
    let subtitle: String?
    let phoneNumber: String?
    let openingHours: String?

    init(coordinate: CLLocationCoordinate2D, title: String, subtitle: String, phoneNumber: String, openingHours: String) {
        self.coordinate = coordinate
        self.title = title
        self.subtitle = subtitle
        self.phoneNumber = phoneNumber
        self.openingHours = openingHours
    }
}
위 코드에서는 coordinate, title, subtitle, phoneNumber, openingHours 속성을 가진 CustomAnnotation 클래스를 만들었습니다. 이를 통해 각각의 어노테이션이 더 많은 정보를 포함할 수 있게 되죠.
2단계: 커스텀 어노테이션 뷰 생성
어노테이션 자체보다 그것을 어떻게 보여줄지 정하는 것도 중요합니다. 그래서 이번에는 커스텀 어노테이션 뷰를 만들어보겠습니다.
import MapKit

class CustomAnnotationView: MKMarkerAnnotationView {
    static let identifier = "CustomAnnotation"

    override var annotation: MKAnnotation? {
        willSet {
            guard newValue is CustomAnnotation else { return }

            canShowCallout = true
            calloutOffset = CGPoint(x: -5, y: 5)
            rightCalloutAccessoryView = UIButton(type: .detailDisclosure)

            glyphImage = UIImage(named: "customIcon") // 커스텀 아이콘 이미지
            markerTintColor = .systemBlue
        }
    }
}
이 코드는 기본 어노테이션 뷰를 확장하여 MKMarkerAnnotationView를 기반으로 한 커스텀 뷰를 만듭니다. 그리고 어노테이션에 설정된 정보를 뷰에 반영합니다.
canShowCallout: 기본 콜아웃 뷰를 보이도록 설정합니다.calloutOffset: 콜아웃 뷰의 오프셋을 설정합니다.rightCalloutAccessoryView: 디테일 버튼을 추가합니다.glyphImage: 핀 위에 표시될 커스텀 아이콘을 설정합니다.markerTintColor: 핀의 색상을 설정합니다.
3단계: 커스텀 어노테이션 적용하기
이제 우리가 만든 커스텀 어노테이션과 어노테이션 뷰를 지도에 적용해봅시다.
import UIKit
import MapKit

class MapViewController: UIViewController {
    let mapView = MKMapView()

    override func viewDidLoad() {
        super.viewDidLoad()
        mapView.delegate = self
        view.addSubview(mapView)

        let coordinate = CLLocationCoordinate2D(latitude: 37.7749, longitude: -122.4194) // 예시 좌표
        let annotation = CustomAnnotation(
            coordinate: coordinate,
            title: "Pharmacy",
            subtitle: "Open 24/7",
            phoneNumber: "123-456-7890",
            openingHours: "24 Hours"
        )
        mapView.addAnnotation(annotation)
    }
}

extension MapViewController: MKMapViewDelegate {
    func mapView(_ mapView: MKMapView, viewFor annotation: MKAnnotation) -> MKAnnotationView? {
        guard let annotation = annotation as? CustomAnnotation else { return nil }

        var annotationView = mapView.dequeueReusableAnnotationView(withIdentifier: CustomAnnotationView.identifier) as? CustomAnnotationView
        if annotationView == nil {
            annotationView = CustomAnnotationView(annotation: annotation, reuseIdentifier: CustomAnnotationView.identifier)
        } else {
            annotationView?.annotation = annotation
        }

        return annotationView
    }

    func mapView(_ mapView: MKMapView, didSelect view: MKAnnotationView) {
        guard view.annotation is CustomAnnotation else { return }
        // 커스텀 로직을 넣을 수 있습니다.
    }
}
위 코드에서는 MapViewController에 지도 설정과 어노테이션을 추가하는 과정을 보여줍니다. 여기서 중요한 부분은 MKMapViewDelegate를 활용한 mapView(_:viewFor:) 메서드를 통해서 커스텀 어노테이션 뷰를 반환하는 것입니다. 또한 어노테이션을 선택했을 때 반응하는 mapView(_:didSelect:) 메서드를 통해 사용자가 어노테이션을 탭했을 때 동작할 로직을 추가할 수 있습니다.
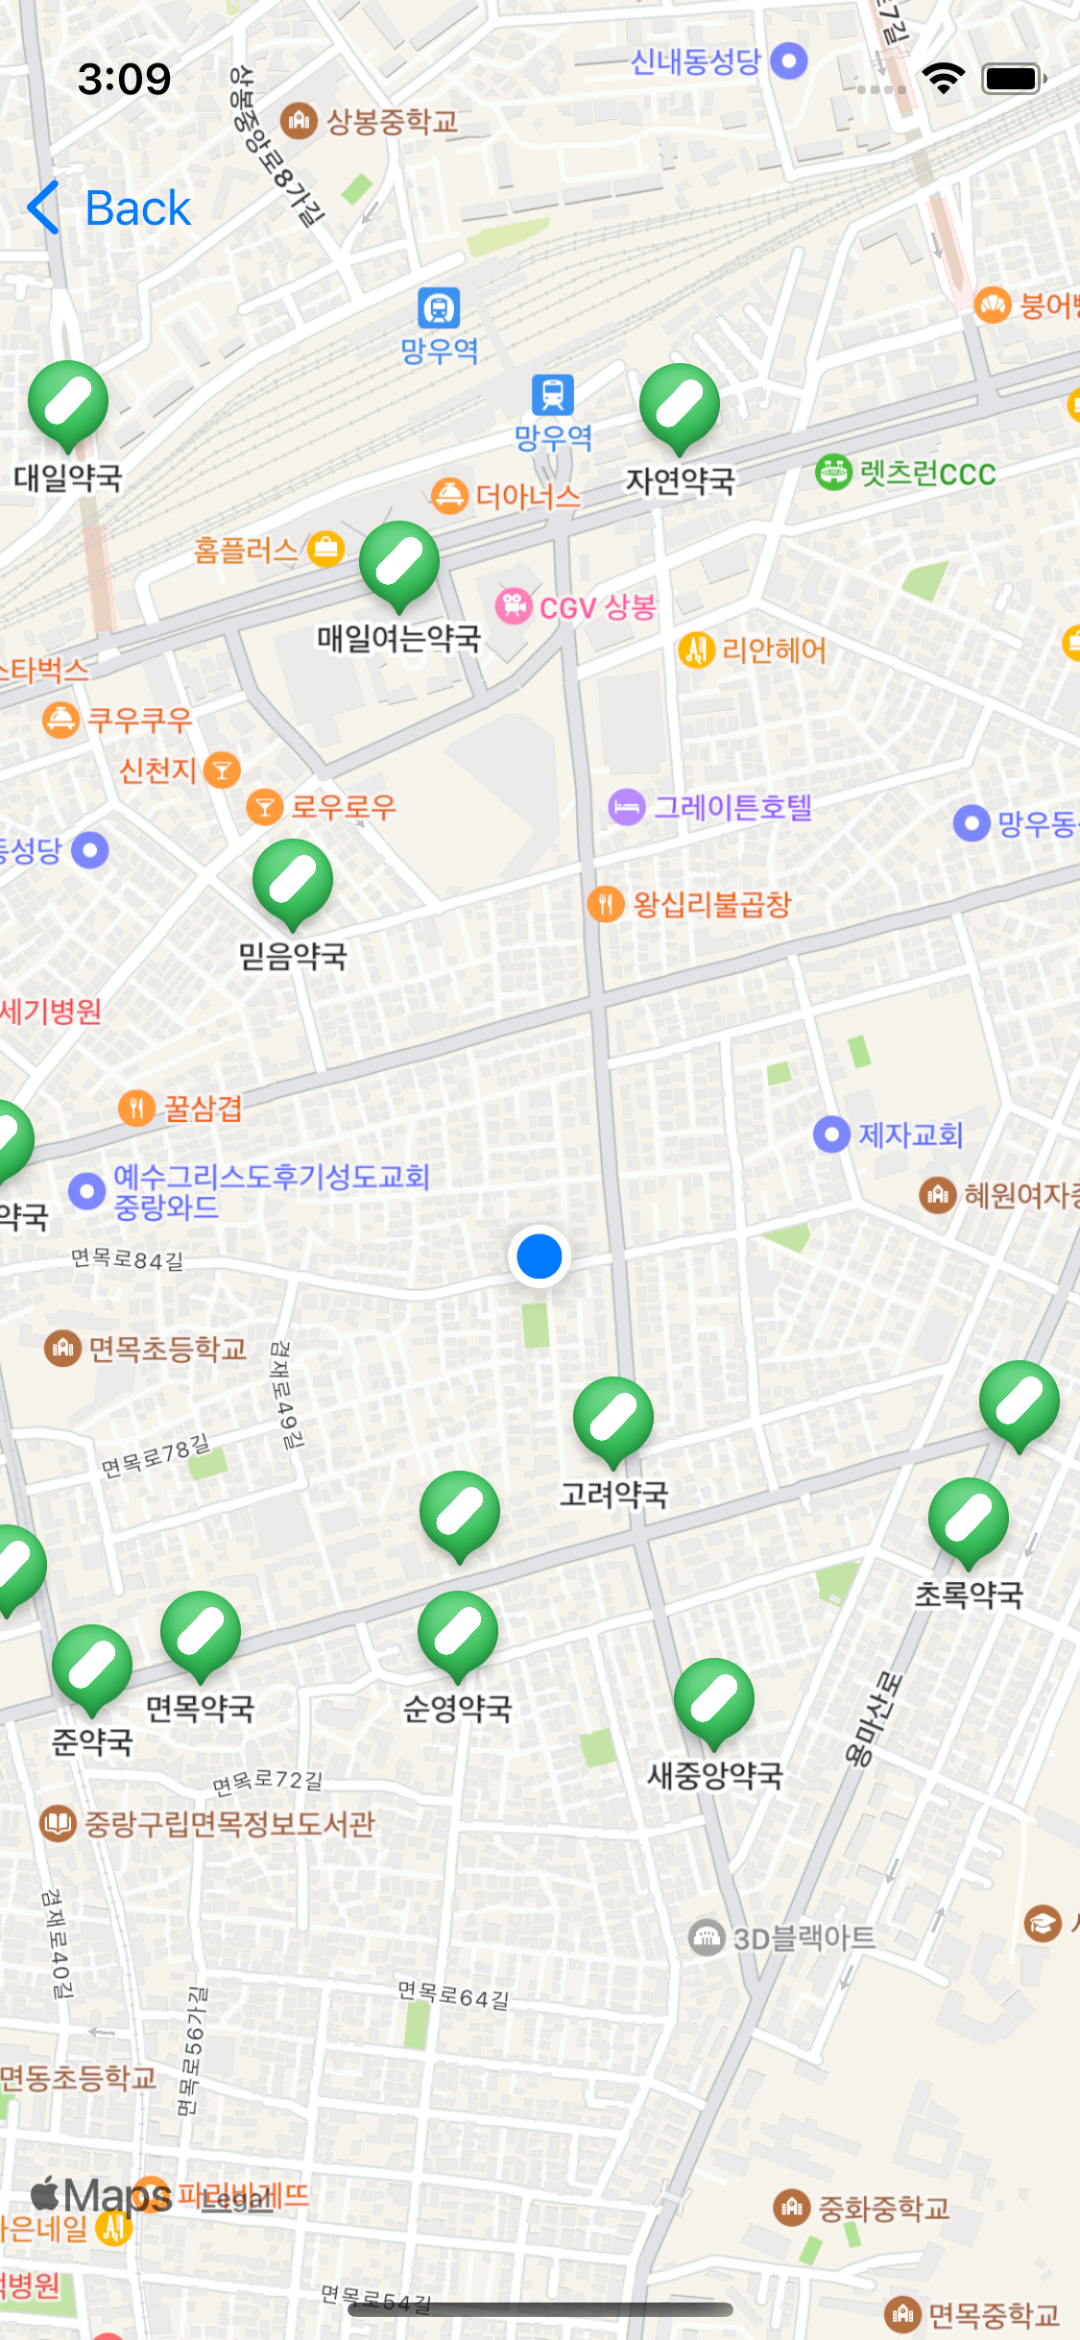
결과물 예시
마무리
오늘은 MapKit을 활용하여 커스텀 어노테이션과 커스텀 어노테이션 뷰를 만드는 방법에 대해 알아보았습니다. 이 과정을 통해 지도를 더욱 풍부하게 만들고, 사용자 경험을 향상시킬 수 있을 것입니다. 원하는 방식으로 커스터마이즈하여 멋진 지도를 만들어보세요! 🚀
다음 포스팅에서는 작성된 어노테이션을 기반으로 PanModal을 활용해서 상세정보를 구현하는 방법에 대해 정리해보겠습니다.
