1. 이제 terminal 에서 작업 root 로 가서, heroku 에 로그인.
$ heroku login
2. 서비스 앱 생성.
$ heroku apps:create "앱이름"
- 삭제할때는
$ heroku apps:delete " 앱이름"
3. 준비된 소스를 heroku 의 Git 에 연결.
$ git init
// 빈 git 을 생성.
$ git add 와 git commit 까지.
$ heroku git:remote -a "앱이름"
또는 $ git remote add heroku "heroku 앱에 git 주소"
4. 소스 upload
$ git push heroku master // 이때 소스가 올라가고 build도 되는 듯.
5. 앱 서비스 시작.
$ heroku ps:scale web=1 --app "앱이름"
$ heroku open // browser 에서 동작 확인.
$ heroku ps:scale web=0 // 서비스 중지.
$ heroku ps // 현재 앱 서비스 상태 보기
$ heroku logs --tail // 로그 보기. 문제 발생시.
$ heroku local web // 로컬에서 동작 확인 용.
6. Git clone
$ heroku git:clone -a "앱이름" // 앱을 clone 해 올수 있음
내가 따르던 일련의 deploy 과정
heroku plugins:install java[enter] // 자바 환경을 위해서
mvn package (프로젝트 폴더내에서)
에러발생시 pom.xml 수정 // web.xml이 없고, 아래 구문이 없으면 에러나기도함
 <plugin>
 <artifactId>maven-war-plugin</artifactId>
 <version>2.4</version>
 <configuration>
 <warSourceDirectory>WebContent</warSourceDirectory>
 <failOnMissingWebXml>false</failOnMissingWebXml>
 </configuration>
</plugin>

수정 후 maven > update project 할것
터미널에서 해당 프로젝트의 target 창에 들어가기
heroku login
heroku create [app_name]
heroku war:deploy ./target/myapp-1.0.0-BUILD-SNAPSHOT.war system.properties --app [hellospringjs]
heroku run java -version --app [app_name] //자바 버전 확인용
heroku open --app[app_name]
자신의 개발환경 java version을 확인하여 Java 1.8이 아닌 경우에는 수업내용을 참고하여 해당 버전(11 또는 14)에 맞는 maven update, system.properties 제작 등의 과정을 진행할 것.
web content 안에 system.properties 라는 파일 생성

그 안에 java.runtime.version=14(자기에게 깔려있는 자바 버전 값) 삽입
--> 갑자기 system.properties 파일로 하는 절차를 했는데도 자바 버전이 맞지 않다고 나와서

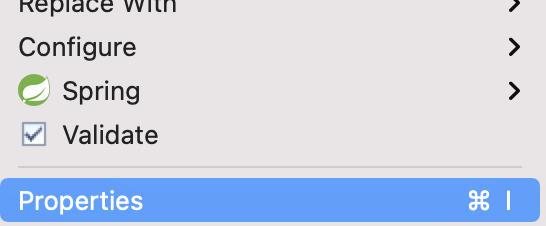
우클릭>properties>build path

자바 버전은 1.8로 바꿈(오류난 heroku 버전이 1.8이었음-아래 사진)

그리고 엑박 무시하고 다시 maven install 후 deploy 하니 잘 되었음

deploy후에는 다시
프로젝트 우클릭>maven>project update 로 다시 버전 원상복귀
