
도구
github actions 를 활용해서 Test를 시각화 해보자
dorny/test-reporter의 README를 보면 테스트 결과를 XML 또는 JSON 형식으로 구문 분석하여, 보고서를 생성해주는 github actions라고 소개되어 있다.
테스트가 실행된 후 반환되는 메시지를 기반으로 리포터를 생성하여 보여주는 것이다!
예시 스크립트를 먼저 보면 아래와 같다.
# report만들기위한 xml 파일의 아티펙트를 생성한다.

# test_visualization_setup.yml
name: 'project-test'
on:
  push:
    branches: [ "main" ]
jobs:
  build-test:
    runs-on: ubuntu-latest
    steps:
      - uses: actions/checkout@v4
      - run: npm install

      # test script 실행 << 아래 package.json을 확인해주세요!
      - run: npm run test:report

      - uses: actions/upload-artifact@v3
        if: success() || failure()
        with:
          name: test-results
          path: reports/jest-junit.xml
# 생성된 xml 파일을 기반으로 리포트를 생성한다!!
# test_visualization_run.yml
name: 'test-report'
on:
workflow_run: # project-test actions의 상태가 completed라면 실행
workflows: ['project-test']
types:
- completed
permissions:
contents: read
actions: read
checks: write
jobs:
report:
runs-on: ubuntu-latest
steps:
- uses: dorny/test-reporter@v1
with:
artifact: test-results # setup.yml에서 생성한 artifact 이름
name: JEST Tests
path: '*.xml'
reporter: jest-junit # path에 만들어진 xml 이름
jest를 사용하는 레포지토리는package.json에 추가적인 작업이 필요하다.
- jest-junit을 devDependencies로 설치한다.
- 리포트를 생성할 test 스크립트를 작성한다. << 나는
test:reportcli를 따로 두었다. "jest-junit"프로퍼티에 리포트를 생성하는 데 필요한 환경을 설정한다.
"scripts": {
	"test": "jest",
    // ✅ 2
    "test:report": "jest --ci --reporters=default --reporters=jest-junit",
},
"devDependencies": {
  "jest": "^26.5.3",
  "jest-junit": "^12.0.0" // jest-junit 설치
},
"jest-junit": {  // ✅ 3
  "outputDirectory": "reports",
  "outputName": "jest-junit.xml",
  "ancestorSeparator": " › ",
  "uniqueOutputName": "false",
  "suiteNameTemplate": "{filepath}",
  "classNameTemplate": "{classname}",
  "titleTemplate": "{title}"
}
📝 README 내 supported-formats 탭을 보면 각 테스트 라이브러리에 따른 추가적인 작업 내역을 확인 할 수 있다.

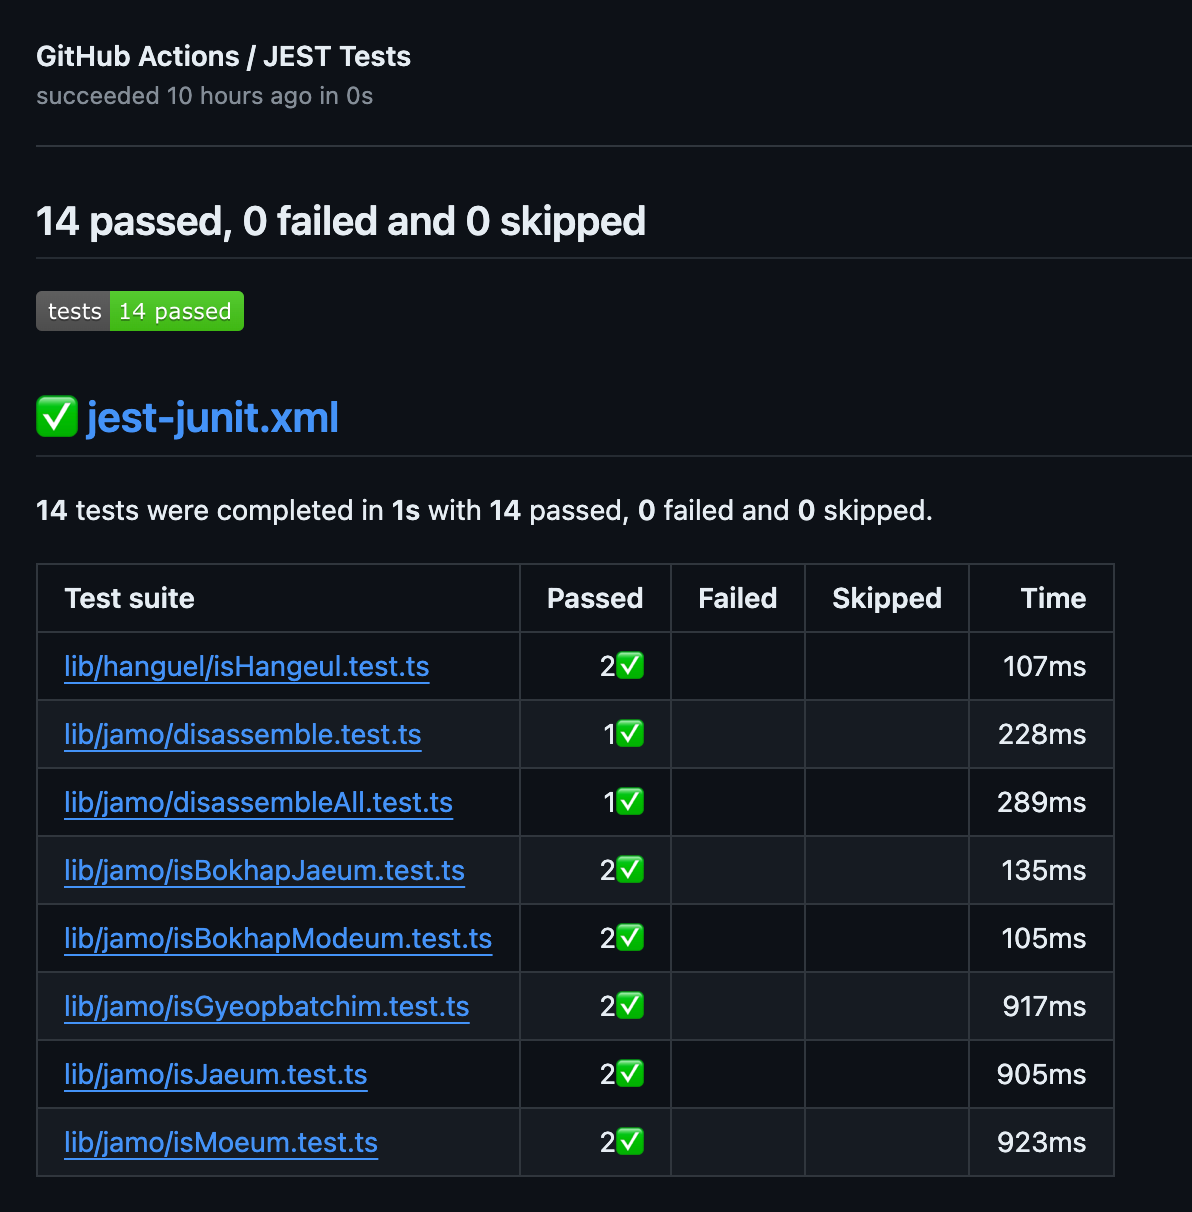
결과
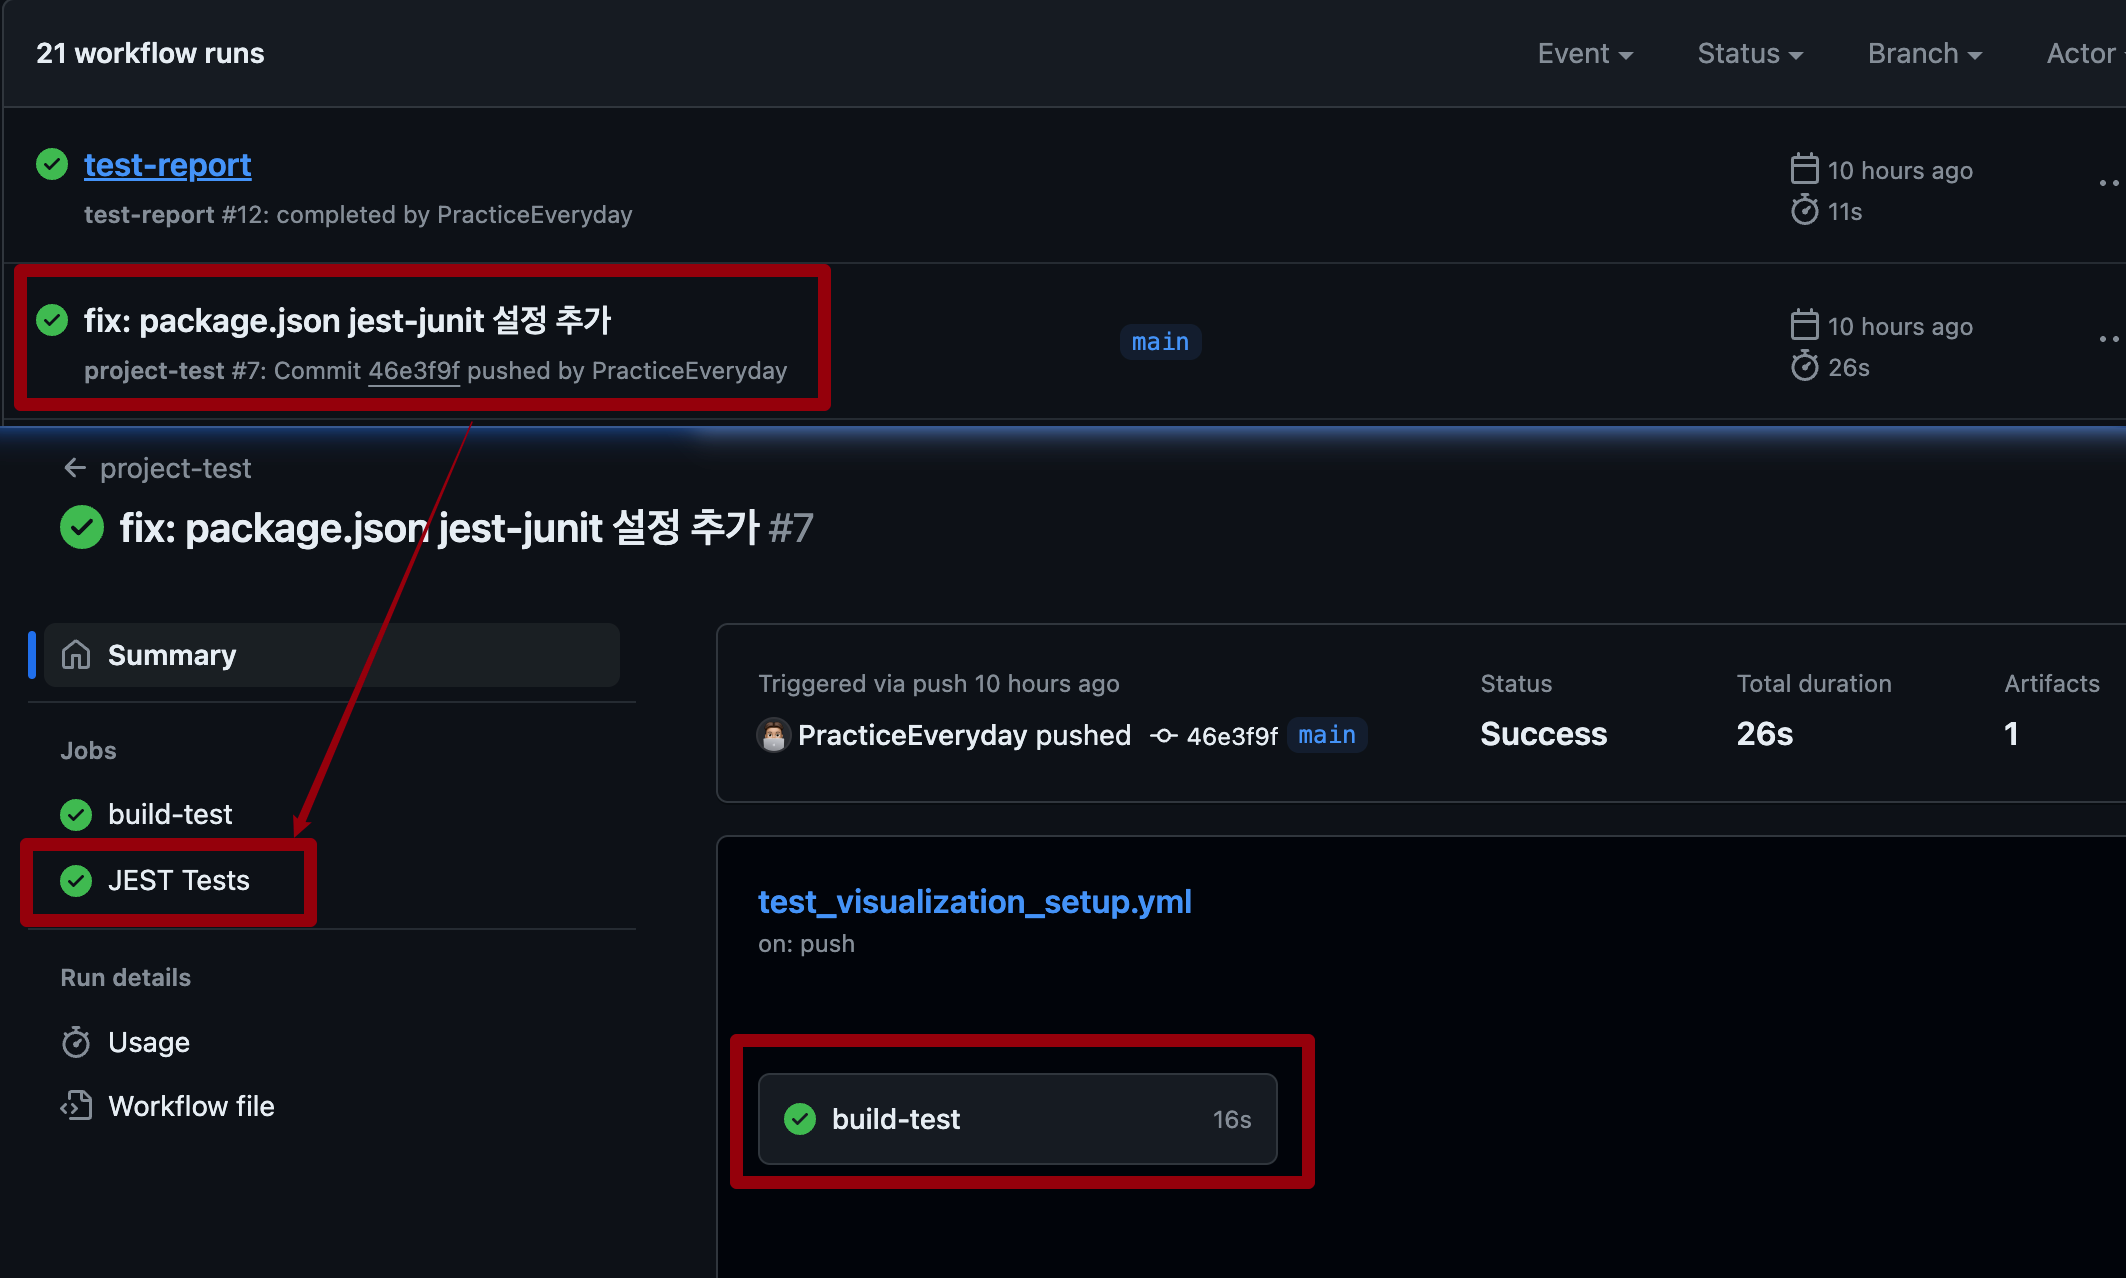
Actions가 정상적으로 진행되고 난 뒤 build-test 하위에 JEST Tests 탭이 생기는 데 클릭하여 들어가보면 아래와 같이 테스트가 시각화 되어 있는 것을 확인 할 수 있다. 🎉🎉


달려보자