알아두어야 할 것
일반적인 페이지 연결 방식은 GET 방식을 사용하며,
로그인 처리의 경우는 POST 방식으로 처리한다.
GET/POST에 따른 분기 처리를 하자
# views.py
from django.shortcuts import render

def main(request):
    if request.method == "GET":
        return render(request, 'users/main.html')

    elif request.method == "POST":
        return render(request, 'users/main.html')
이렇게 GET/POST 요청에 따른 페이지 처리 영역을 각각 만들어 둔다.
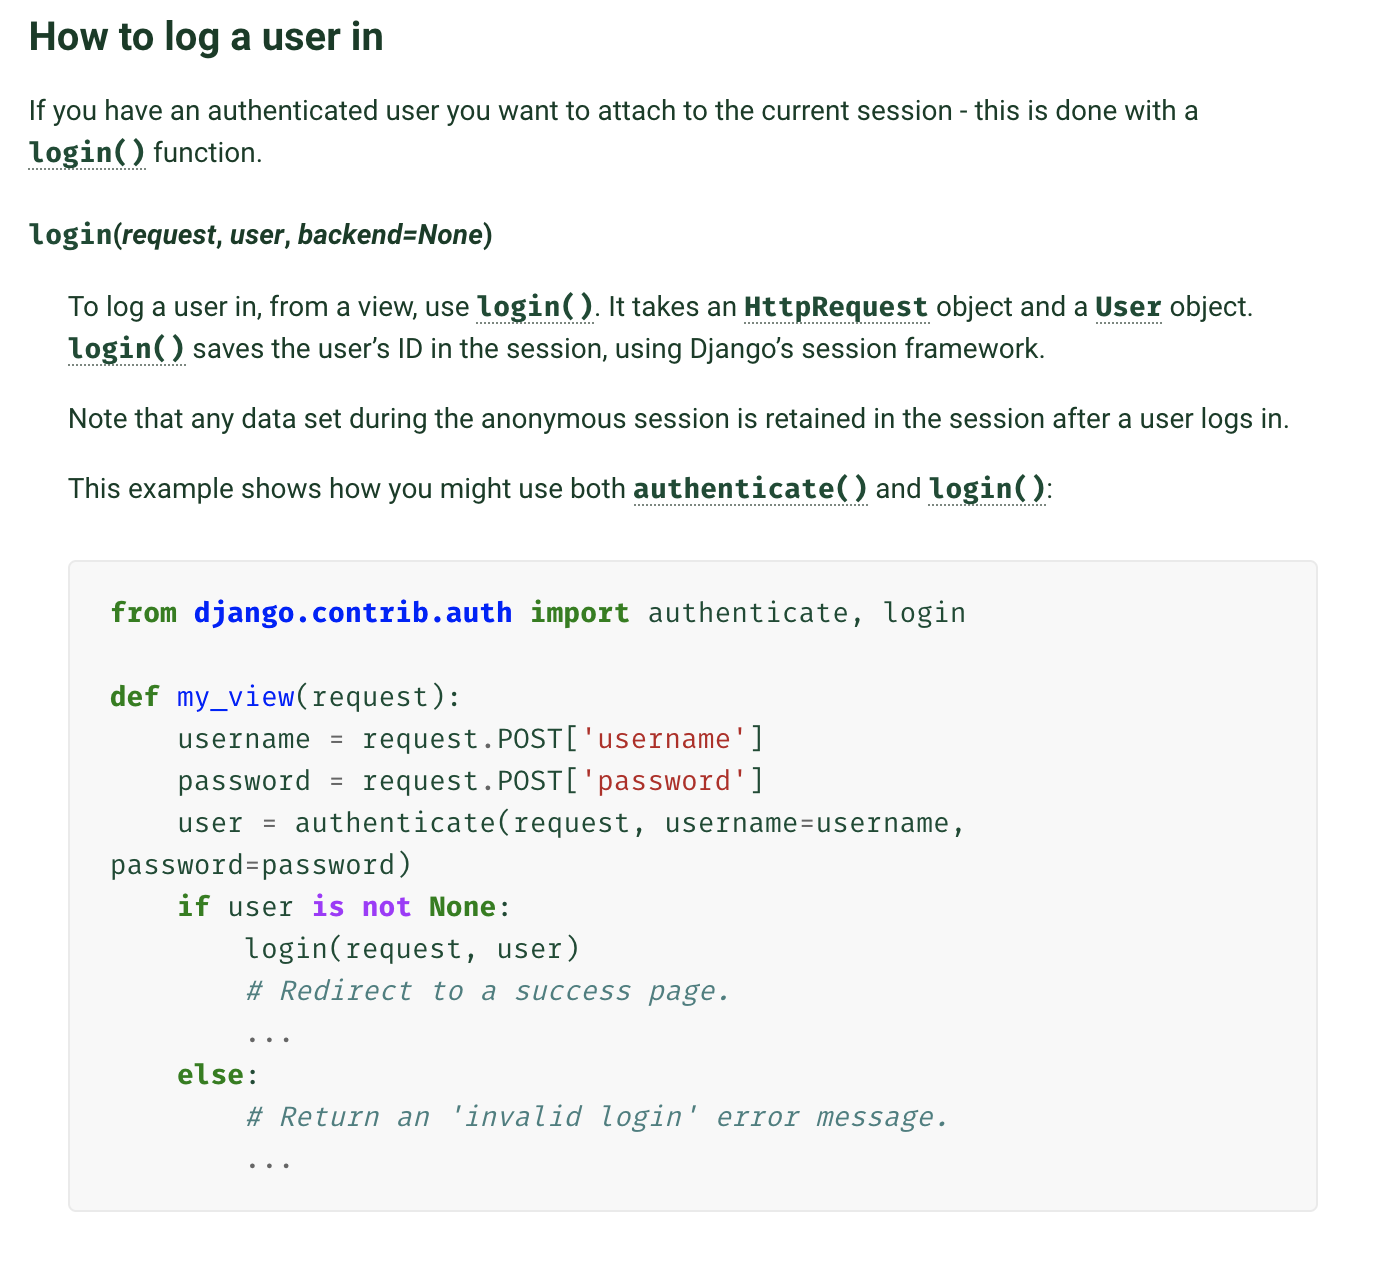
다음으로 장고 공식 문서를 보면 로그인 구현 방법을 확인할 수 있다.

문서의 소스코드를 적용해본다.
#users/views.py
from django.shortcuts import render
from django.urls import reverse
from django.contrib.auth import authenticate, login
from django.http import HttpResponseRedirect

def main(request):
    if request.method == "GET":
        return render(request, 'users/main.html')

    elif request.method == "POST":
        username = request.POST['username']
        password = request.POST['password']
        user = authenticate(request, username=username, password=password)

        if user is not None:
                login(request, user)
                # Redirect to a success page.
                return HttpResponseRedirect(reverse('posts:index'))
        else:
            # Return an 'invalid login' error message.
            return render(request, 'users/main.html')
유저가 로그인에 성공하면 posts앱의 index 페이지가 redirect 되도록 하고
만약 로그인에 실패하면 다시 메인 페이지로 돌아온다.
이제 로그인 화면인 메인 페이지와 로그인 성공 후 post 앱의 index 페이지를 만들어 본다.
#templates/users/main.hmtl

<form action="{% url 'users:main' %}" method="post">
  {% csrf_token %}
  <input type="input" name="username" placeholder="username">
  <input type="password" name="password" placeholder="password">
  <input type="submit" value="Login">
</form>
form에서 보안을 위한 csrf 토큰이 없으면 오류가 나기 때문에 꼭 추가하도록 한다.
#templates/posts/index.html

Here is index.html
index.html은 일단 간단하게 만들어준다.
settings.py에 새로 만든 posts앱을 추가하도록 한다.

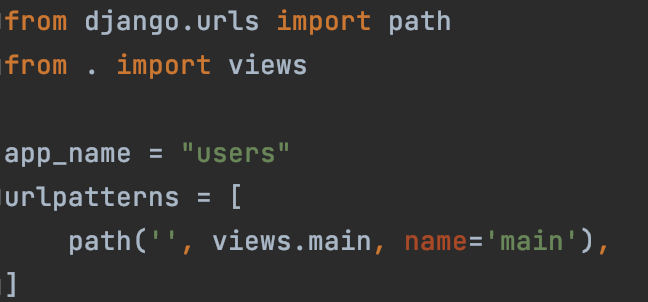
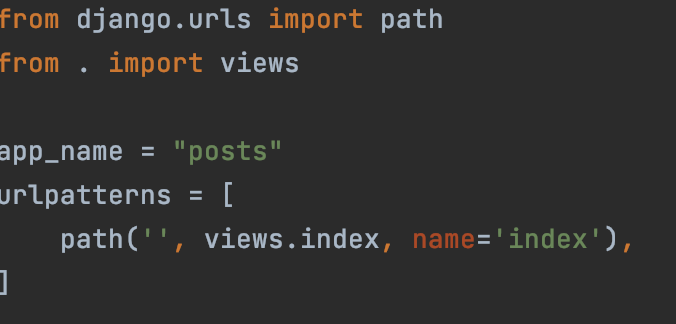
이제 새로 만든 페이지들의 url을 연결해줄 차례다.
먼저 root urls로 가서 users, posts 앱의 url을 연결해준다

다음으로 각 앱의 urls.py를 작성한다.(users, posts)


마지막으로 남은 posts의 views.py를 만들어 준다.

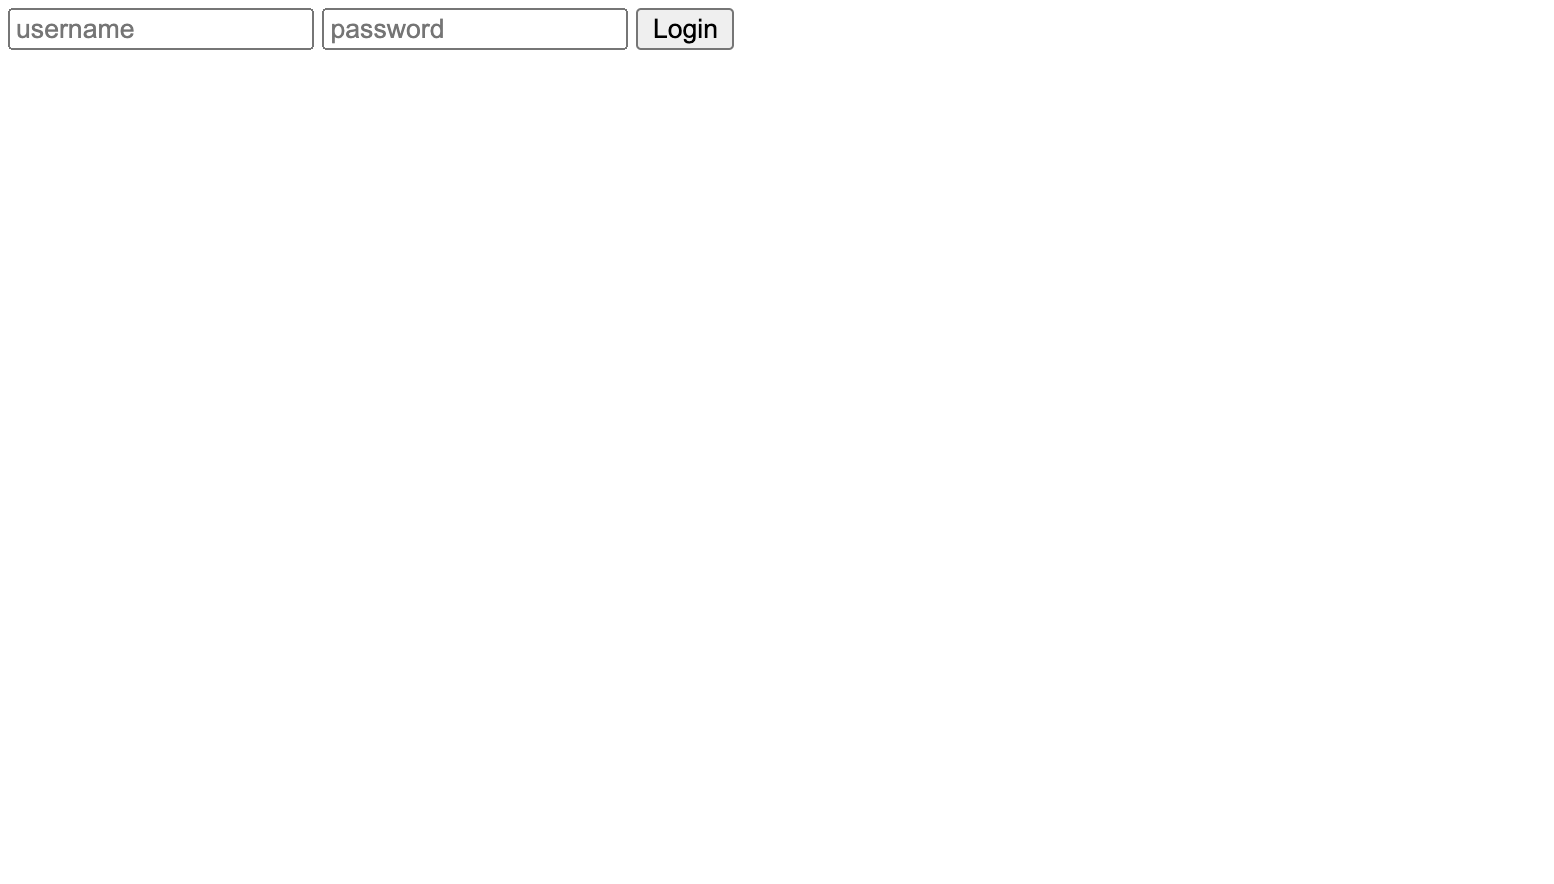
이제 서버를 실행하고 로그인을 시도해본다.

상단에 로그인 폼이 등장한다.

생성했던 admin 계정을 입력해본다.

정상적으로 posts/index.html이 나타나는 것을 확인할 수 있다.
[참고] 명준MJ - django로 만드는 instagram (#3 데이터 모델(테이블) 만들기, db 설명)
