우선 보안그룹을 먼저 만들어줍니다(6379포트를 열어줘야 합니다. 인바운드 규칙 http, https 둘다 열어준다)

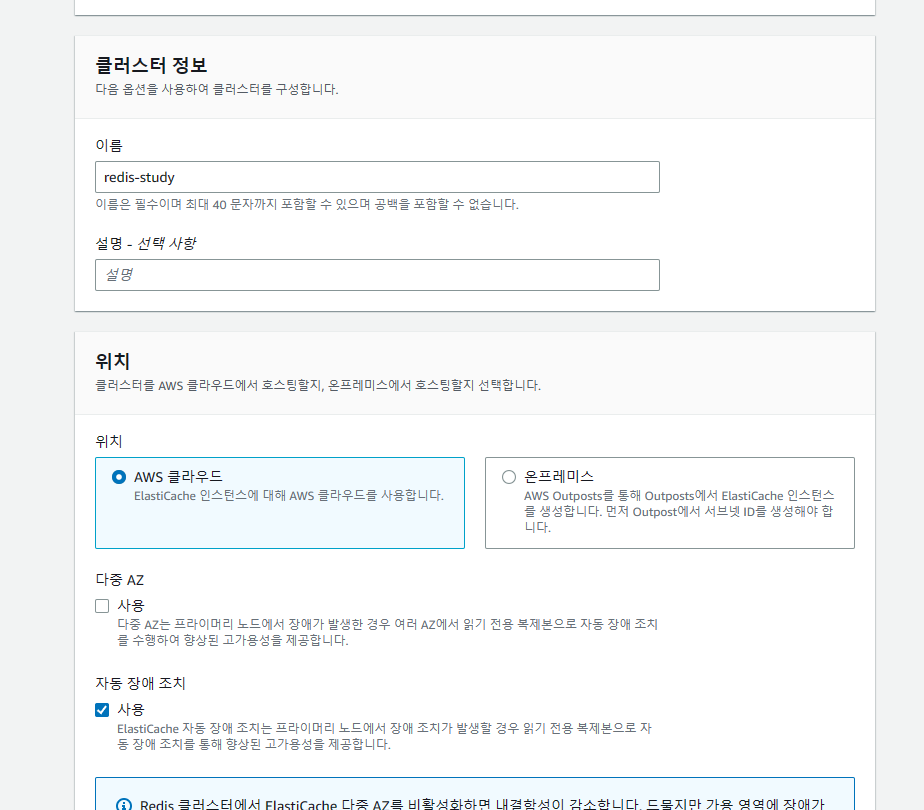
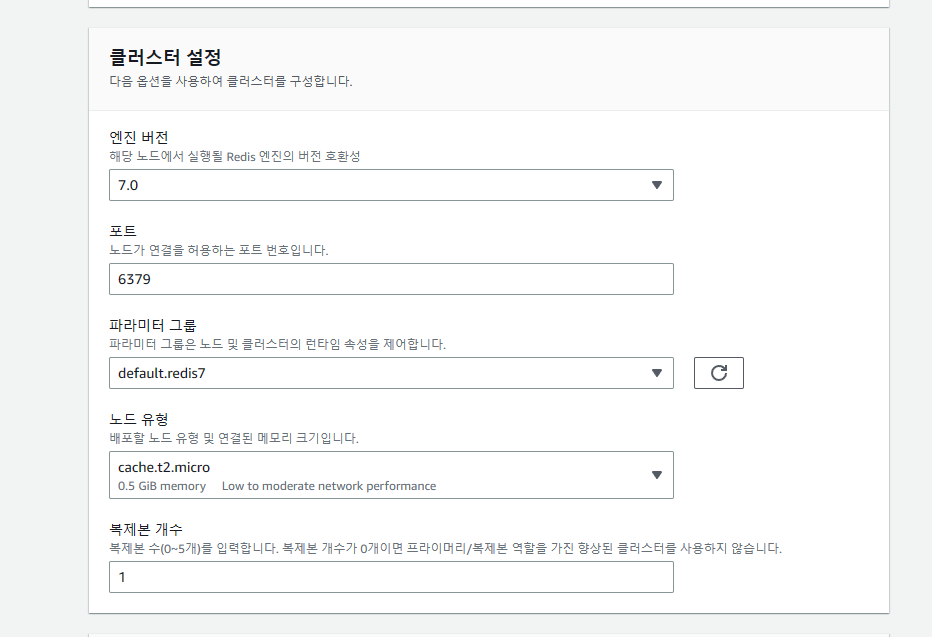
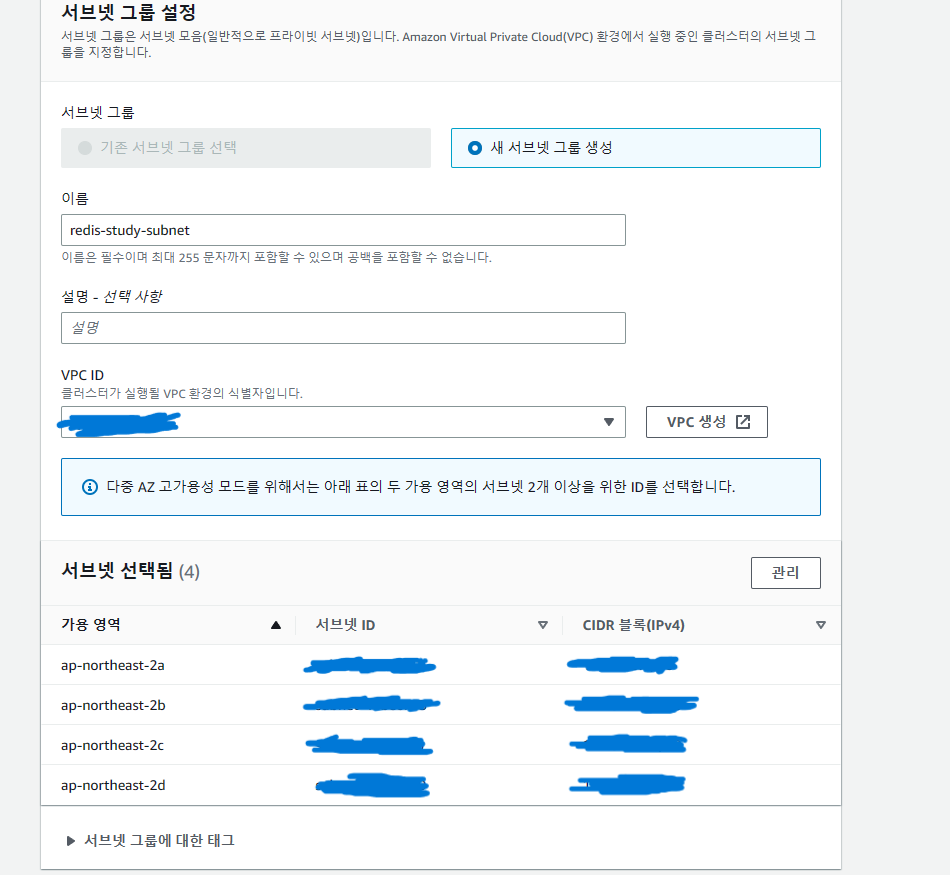
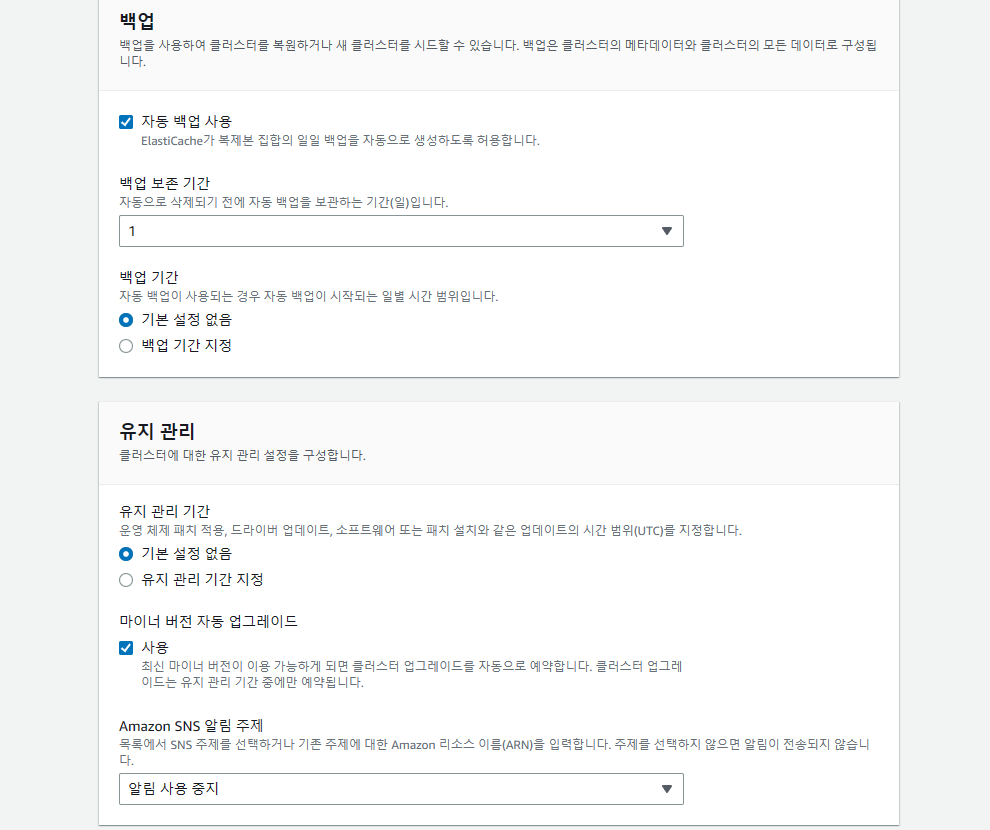
ElasticCache로 가서 Redis 클러스터를 만들어 줍니다


redis가 설치되었습니다
이제 ec2 서버에도 redis를 설치해줍니다.
우선 gcc가 설치되었는지 확인합니다(보통은 설치되어있는거 같음 나는 따로 설치없이 진행했음)
아래 명령어를 쳤을때 no input file 이라는 에러 메세지가 뜬다면 이미 gcc가 설치되었단 뜻임 설치되어있지 않다면 먼저 gcc를 설치해주자
$ gcc
설치되어 있지 않다면 밑에과정 실행
$ sudo apt update -y
$ sudo apt install gcc make -y
이제 redis를 설치해보자
$ wget http://download.redis.io/redis-stable.tar.gz && tar xvzf redis-stable.tar.gz && cd redis-stable && make

$ sudo cp src/redis-cli /usr/bin
설치가 다 되었으면 접속해보자 엔드포인트를 적을땐 :6379 이거를 빼줘야한다
redis-cli -h [redis 기본 엔드포인트]
set, get ,del 명령어를 입력했을때 저런식으로 나온다면 성공적으로 된것이다.
이제 스프링 부트와 redis를 연결해보자
스프링 부트 프로젝트에 다음과 같은 파일들을 추가해준다.
build.gradle
implementation("org.springframework.boot:spring-boot-starter-data-redis")Application.java
@SpringBootApplication
@EnableCaching // 추가
public class CicDtest2Application {
    public static void main(String[] args) {
        SpringApplication.run(CicDtest2Application.class, args);
    }
}
RedisConfig.java
@Configuration
public class RedisConfig {
    @Value("${spring.redis.host}")
    private String host;

    @Value("${spring.redis.port}")
    private int port;
    @Bean
    public LettuceConnectionFactory redisConnectionFactory() {
        return new LettuceConnectionFactory(host, port);
    }
    @Bean
    public RedisTemplate<String, Object> redisTemplate() {
        RedisTemplate<String, Object> redisTemplate = new RedisTemplate<>();
        redisTemplate.setKeySerializer(new StringRedisSerializer());
        redisTemplate.setValueSerializer(new StringRedisSerializer());
        redisTemplate.setConnectionFactory(redisConnectionFactory());
        return redisTemplate;
    }

    @Bean
    public StringRedisTemplate stringRedisTemplate() {
        final StringRedisTemplate stringRedisTemplate = new StringRedisTemplate();
        stringRedisTemplate.setKeySerializer(new StringRedisSerializer());
        stringRedisTemplate.setValueSerializer(new StringRedisSerializer());
        stringRedisTemplate.setConnectionFactory(redisConnectionFactory());
        return stringRedisTemplate;
    }
}
RedisController.java
@RequiredArgsConstructor
@RestController
public class RedisController {

    private final RedisService redisService;

    @PostMapping("/test")
    public String test(@RequestBody RedisRequestDto requestDto) {

        String value = redisService.redisString(requestDto);
        return "벨류는 " + value;
    }

}
RedisRequestDto.java
@Getter
@NoArgsConstructor
public class RedisRequestDto {
    private String name;
    private String value;
}
RedisService.java
@Slf4j
@RequiredArgsConstructor
@Service
public class RedisService {

    private final RedisTemplate<String, Object> redisTemplate;

    public String redisString(RedisRequestDto requestDto) {
        ValueOperations<String, Object> operations = redisTemplate.opsForValue();

        operations.set(requestDto.getName(), requestDto.getValue());

        String redis = (String)operations.get(requestDto.getName());

        return redis;
    }
}
application.yml
spring:
  redis:
    host: [redis 엔드포인트]
    port: [redis 포트번호]
이렇게 추가를 해주고 나면은 테스트가 성공적으로 진행된다.