사진 촬영하기
- 카메라 기능이 구현되어 있는 Activity를 실행하여 사진을 촬영할 수 있다.
- 만약 카메라 기능이 구현되어 있는 애플리케이션이 다수 설치되어 있다면 앱을 선택하면 된다.
- 기본 카메라 사용하는 방법을 사용하면 사진 원본이 아닌 썸네일 이미지를 가져오게 된다.
이미지 원본 가져오기
- 안드로이드에서 촬영된 사진의 원본을 가져오려면 촬영된 사진을 파일로 저장한 다음 파일로부터 이미지 데이터를 가져오는 방식으로 개발해야 한다.
기본 틀 작성
- xml 폴더에 사진을 촬영하면 이미지 파일이 저장될 경로를 등록한다.
xml/file_path.xml
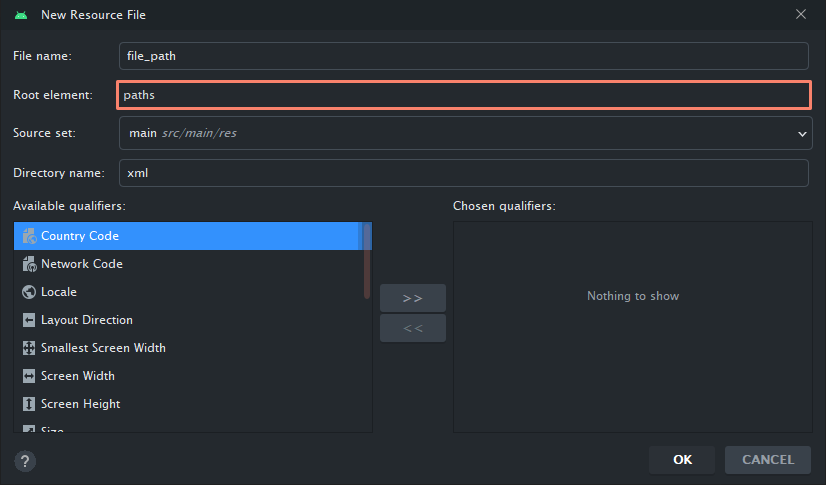
생성하기
<?xml version="1.0" encoding="utf-8"?>
<paths xmlns:android="http://schemas.android.com/apk/res/android">
    <external-path
        name="storage/emulated/0"
        path="."/>
</paths>- AndroidManifest.xml에 사진 촬영을 위한 프로바이더를 등록한다.
<!-- 촬영된 사진을 저장하는 프로바이더 -->
        <provider
            android:authorities="com.test.getpicture.file_provider"
            android:name="androidx.core.content.FileProvider"
            android:exported="false"
            android:grantUriPermissions="true">
            <meta-data
                android:name="android.support.FILE_PROVIDER_PATHS"
                android:resource="@xml/file_path"/>
</provider>- 화면 디자인
<?xml version="1.0" encoding="utf-8"?>
<LinearLayout xmlns:android="http://schemas.android.com/apk/res/android"
    xmlns:app="http://schemas.android.com/apk/res-auto"
    xmlns:tools="http://schemas.android.com/tools"
    android:layout_width="match_parent"
    android:layout_height="match_parent"
    android:orientation="vertical"
    tools:context=".MainActivity" >

    <Button
        android:id="@+id/button"
        android:layout_width="match_parent"
        android:layout_height="wrap_content"
        android:text="사진 촬영" />

    <ImageView
        android:id="@+id/imageView"
        android:layout_width="match_parent"
        android:layout_height="wrap_content"
        android:adjustViewBounds="true"
        tools:srcCompat="@tools:sample/avatars" />
</LinearLayout>- adjustviewBounds=true : 이미지 뷰에 꽉채워진 상태로 보여줌
공통 방법
- 변수 설정
lateinit var cameraLauncher: ActivityResultLauncher<Intent>

// 이미지가 저장될 위치
lateinit var filePath:String
// 저장된 파일에 접근하기 위한 Uri
lateinit var contentUri:Uri
- 사진 촬영을 위한 런처 설정
// 사진 촬영을 위한 런처
val contract1 = ActivityResultContracts.StartActivityForResult()
cameraLauncher = registerForActivityResult(contract1){

}
방법 1 썸네일을 가져오는 법
- button 클릭시 camera activity를 설정
activityMainBinding.run {
            button.setOnClickListener {
                // 사진 촬영을 위한 Activity를 실행한다.
                val newIntent = Intent(MediaStore.ACTION_IMAGE_CAPTURE)
                // ACTION_IMAGE_CAPTURE : 카메라의 이름은 다 이걸로 명시
                cameraLauncher.launch(newIntent)
            }
        }
-> 버튼 클릭시
촬영하고 촬영한 데이터 imageView에 설정
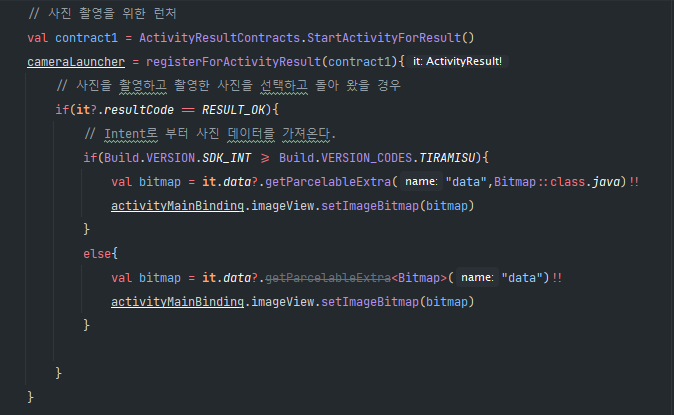
// 사진 촬영을 위한 런처
        cameraLauncher = registerForActivityResult(contract1){
            // 사진을 촬영하고 촬영한 사진을 선택하고 돌아 왔을 경우
            if(it?.resultCode == RESULT_OK){
                // Intent로 부터 사진 데이터를 가져온다.
                if(Build.VERSION.SDK_INT >= Build.VERSION_CODES.TIRAMISU){
                    val bitmap = it.data?.getParcelableExtra("data",Bitmap::class.java)!!
                    activityMainBinding.imageView.setImageBitmap(bitmap)
                }
                else{
                    val bitmap = it.data?.getParcelableExtra<Bitmap>("data")!!
                    activityMainBinding.imageView.setImageBitmap(bitmap)
                }

            }
}-
getParcelableExtra 버전이 33 ( 안드로이드 13 ) 이므로 버전에 맞추서ㅓ 해줘야 함
-
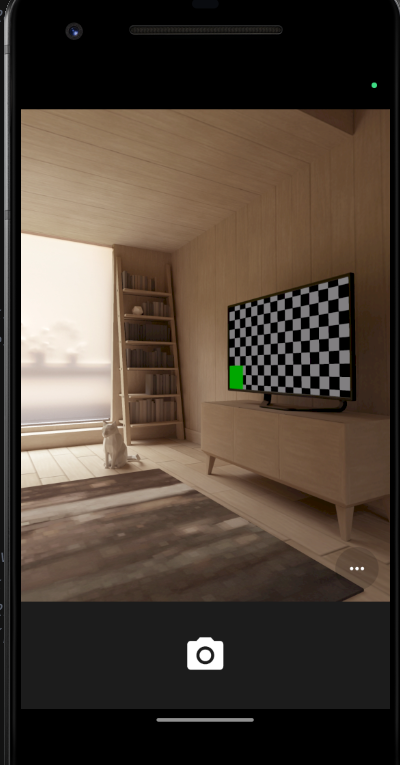
사용시 빗금이 있어도 사용이 가능하다.
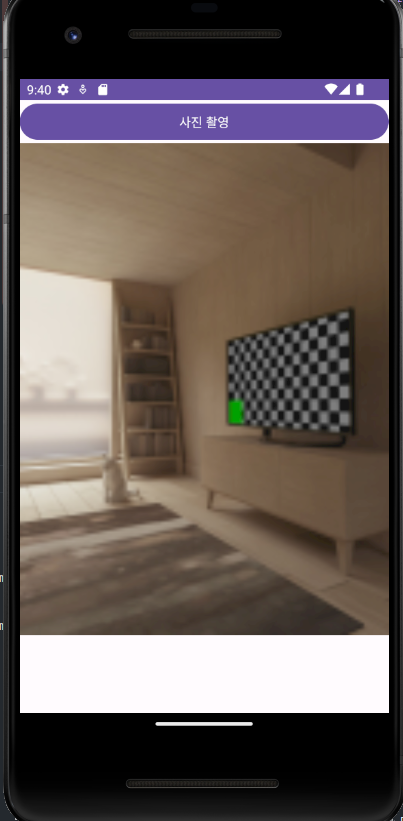
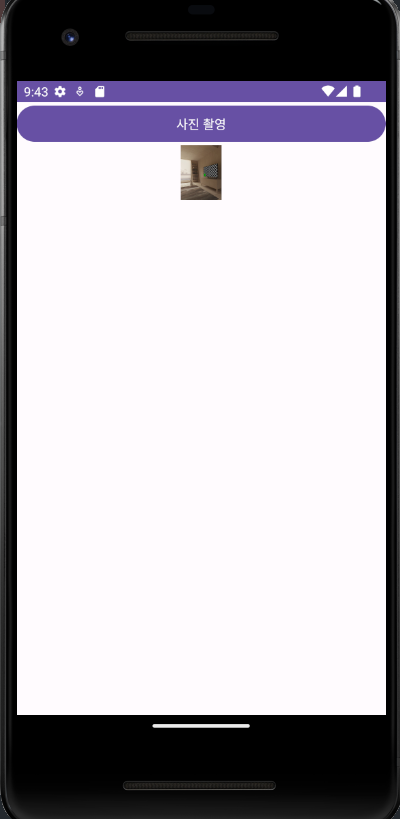
- 버튼 클릭하고 체크 표시하면 위와 같이 뜬다.
원본 크기로 변경한 경우 -> 썸네일이 나옴
방법 2
- 애플리케이션을 위한 외부 저장소 경로를 가져온다.
- xml/file_path.xml 에 등록한 경로를 가져온다.
filePath = getExternalFilesDir(null).toString()- 버튼 클릭시 설정
 button.setOnClickListener {
                val newIntent = Intent(MediaStore.ACTION_IMAGE_CAPTURE)

                // 촬영될 사진이 저장될 파일 이름
                val now = System.currentTimeMillis()
                val fileName = "/temp_${now}.jpg"
                // 경로 + 파일 이름
                val picPath = "${filePath}/${fileName}"

                val file = File(picPath)

                // 사진이 저장될 경로를 관리할 Uri 객체를 생성한다.
                contentUri = FileProvider.getUriForFile(this@MainActivity,"com.test.getpicture.file_provider",file)

                newIntent.putExtra(MediaStore.EXTRA_OUTPUT,contentUri)
                cameraLauncher.launch(newIntent)
}- 촬영된 사진저장하고 가져온다.
// 애플리케이션을 위한 외부 저장소 경로를 가져온다.
// xml/file_path.xml 에 등록한 경로를 가져온다.
        filePath = getExternalFilesDir(null).toString()

        cameraLauncher = registerForActivityResult(contract1){
            if(it?.resultCode == RESULT_OK){
                // Uri를 이용해 이미지에 접근하여 Bitmap 객체를 생성한다.
                val bitmap = BitmapFactory.decodeFile(contentUri.path)
                activityMainBinding.imageView.setImageBitmap(bitmap)
                // 이미지 파일이 계속 저장되므로 삭제해야한다.
                val file = File(contentUri.path)
                file.delete()
            }
        }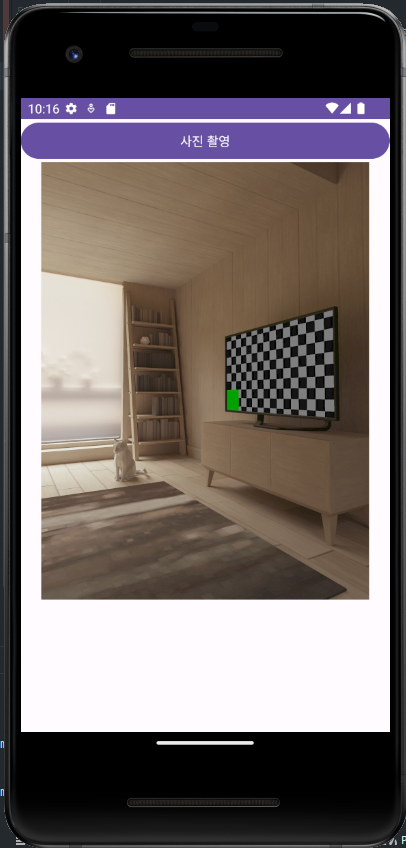
-
원래 카메라 촬영의 원위치는 가로이므로 가상 휴대폰에는 원 상태로 나오지만 실제 휴대폰은 가로로 나옴
-
EXIF: exchangeable image file format
-
이미지 파일에 기록되어 있는 회전 정보를 가져온다.
// 이미지 파일에 기록되어 있는 회전 정보를 가져온다.
    fun getDegree(uri:Uri):Int{
        // 먼저 이미지 파일의 exif를 받아와야 함
        var exifInterface:ExifInterface? = null
        if(Build.VERSION.SDK_INT >= Build.VERSION_CODES.Q){
            val photoUri = MediaStore.setRequireOriginal(uri)
            // 스트림을 추출한다.
            val inputStream = contentResolver.openInputStream(photoUri)
            // ExifInterface 정보를 읽어온다.
            exifInterface = ExifInterface(inputStream!!)
        }else{
            exifInterface = ExifInterface(uri.path!!)
        }
        var degree = 0
        if(exifInterface != null){
            // 각도 값을 가지고온다.
            val orientation = exifInterface.getAttributeInt(ExifInterface.TAG_ORIENTATION, -1)

            when(orientation){
                ExifInterface.ORIENTATION_ROTATE_90 -> degree = 90
                ExifInterface.ORIENTATION_ROTATE_180 -> degree = 180
                ExifInterface.ORIENTATION_ROTATE_270 -> degree = 270
            }
        }
        return degree
}- 가로 회전 변경 코드
  cameraLauncher = registerForActivityResult(contract1){
            if(it?.resultCode == RESULT_OK){
                // Uri를 이용해 이미지에 접근하여 Bitmap 객체를 생성한다.
                val bitmap = BitmapFactory.decodeFile(contentUri.path)

                // 이미지의 크기를 조정한다.
                // 이미지의 축소/확대 비율을 구한다.
                val ratio = 1024.0 / bitmap.width
                // 세로 길이를 구한다.
                val targetHeight = (bitmap.height*ratio).toInt()

                // 크기를 조정한 Bitmap을 생성한다.
                val bitmap2 = Bitmap.createScaledBitmap(bitmap,1024,targetHeight,false)

                val degree = getDegree(contentUri)

                // 회전 이미지를 생성하기 위한 변환 행렬
                val matrix = Matrix()
                matrix.postRotate(degree.toFloat())

                val bitmap3 = Bitmap.createBitmap(bitmap2,0,0,bitmap2.width,bitmap2.height,matrix,false)

                activityMainBinding.imageView.setImageBitmap(bitmap)
                // 이미지 파일이 계속 저장되므로 삭제해야한다.
                val file = File(contentUri.path)
                file.delete()
            }
        }

정말 좋은 정보 감사합니다!