📌 Ktor?
JetBrains에서 만들어진 Kotlin을 사용하여 연결된 시스템에서
비동기 서버 및 클라이언트를 구축하기위한 오픈 소스 프레임 워크
http통신을 위해 지금까지 Retrofit2를 잘 사용해왔는데, Compose UI 를 공부하면서 Ktor 를 접하게됐다.
이번 예제에서는 MockApi의 더미 api를 사용해서 User 데이터를 리스트 형태로 띄워볼 것 이다.
📌 결과 화면
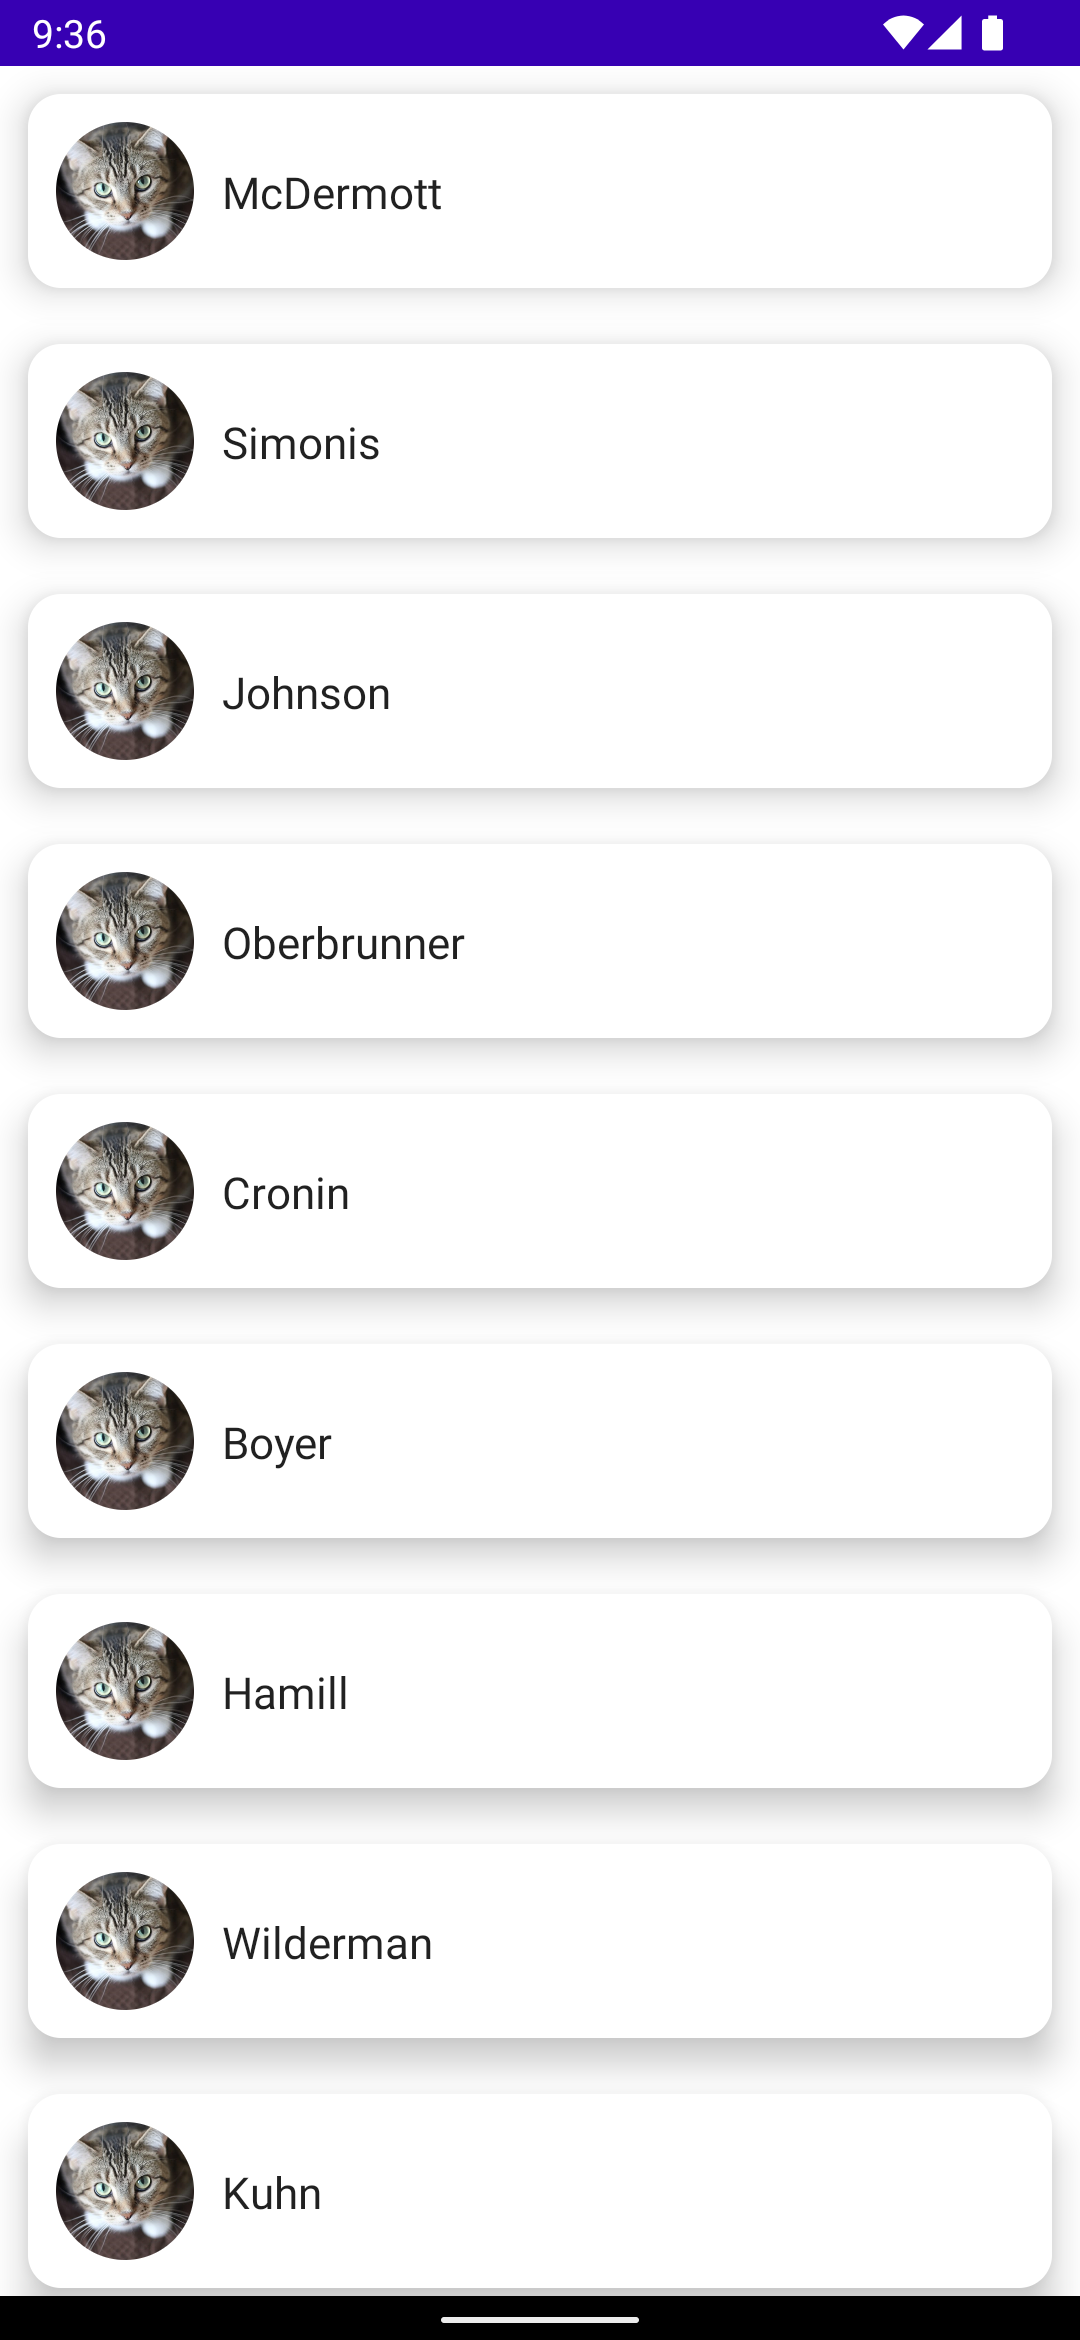 가져온 더미 데이터에 이미지 로드가 되지 않아서 그냥 고양이 사진을 넣어놨다.
🛠 Gradle 설정
build.gradle(app)
plugins {
...
id 'kotlinx-serialization'
}
implementation 'com.github.bumptech.glide:glide:4.14.2'
annotationProcessor 'com.github.bumptech.glide:compiler:4.14.2'
// ktor 네트워크
implementation "io.ktor:ktor-client-core:1.6.3"
implementation "io.ktor:ktor-client-serialization:1.6.3"
implementation "io.ktor:ktor-client-logging:1.6.3"
implementation "io.ktor:ktor-client-gson:1.6.3"
implementation "io.ktor:ktor-client-android:1.6.3"
implementation 'org.jetbrains.kotlinx:kotlinx-serialization-json:1.4.1'
def lifecycle_version = "2.5.1"
// ViewModel utilities for Compose
implementation("androidx.lifecycle:lifecycle-viewmodel-compose:$lifecycle_version")
build.gradle(Project)
plugins {
id 'com.android.application' version '7.3.1' apply false
id 'com.android.library' version '7.3.1' apply false
id 'org.jetbrains.kotlin.android' version '1.6.10' apply false
id 'org.jetbrains.kotlin.plugin.serialization' version '1.6.10'
}
@Serializable 오류 해결 방법
Serializer for class '...' is not found. Mark the class as @Serializable or provide the serializer explicitly
📌 KtorClient.kt
object KtorClient {

    //json 설정
    private val json = Json {
        encodeDefaults = true
        ignoreUnknownKeys = true
    }

    //http 클라이언트
    val httpClient = HttpClient{
        // json 설정
        install(JsonFeature){
            serializer = KotlinxSerializer(json = json)
        }

        // 로깅 설정
        install(Logging){
            logger = object : Logger{
                override fun log(message: String) {
                    Log.d("testt", "api log: $message")
                }
            }
            level = LogLevel.ALL
        }
        install(HttpTimeout){
            requestTimeoutMillis = 10000
            connectTimeoutMillis = 10000
            socketTimeoutMillis = 10000
        }

        // 기본적인 api 호출시 넣는 것들 즉, 기본 세팅
        defaultRequest {
            contentType(ContentType.Application.Json)
            accept(ContentType.Application.Json)
        }
    }
}
📌 User.kt
import kotlinx.serialization.Serializable

@Serializable
data class User (
    val createdAt: String,
    val name: String,
    val avatar: String,
    val id: String
)
@Serializable(직렬화)을 해줘야 json을 객체로 파싱을 할 수 있다.
📌 UserRepo.kt
import io.ktor.client.request.*

object UserRepo {

    suspend fun fetchUsers(): List<User>{
        val url = "https://615075ada706cd00179b745c.mockapi.io/users"

        return KtorClient.httpClient.get(url)
    }
}
api get 요청
httpClient.get() 메서드가 suspend function 이므로 suspend function 으로 만들어줘야 한다.
📌 UserVM.kt
import android.util.Log
import androidx.lifecycle.ViewModel
import androidx.lifecycle.viewModelScope
import com.bumptech.glide.Glide.init
import kotlinx.coroutines.flow.MutableStateFlow
import kotlinx.coroutines.launch

class UserVM: ViewModel() {

    val usersFlow = MutableStateFlow<List<User>>(listOf())

    init{
        Log.d("testt", "UserVm() init called ")
        viewModelScope.launch {
            kotlin.runCatching {
                // 에러 발생 잡기 위한 runCatching 블럭
                UserRepo.fetchUsers()
            }.onSuccess { fetchedUsers ->
                Log.d("testt", "UserVM() onSuccess ")
                usersFlow.value = fetchedUsers
            }.onFailure {
                Log.d("testt", "UserVM() onFailure ")
            }
        }
    }
}
kotlin.runCatching 블럭을 사용하면, 블럭 내부 로직 수행의 성공/실패 했을 때의 처리를 각각 할 수 있다.
📌 Composable
@Composable
fun UserListView(userVM: UserVM = viewModel()){
    // collectAsState() - flow 값 변화 감지 근데 state 이므로 값이 들어오면, 리컴포지션에 의해 뷰가 다시 그려짐
    val users by userVM.usersFlow.collectAsState()

    if(users.isEmpty()){
        Box(modifier = Modifier.fillMaxSize(),
        contentAlignment = Alignment.Center){
            CircularProgressIndicator()
        }
    }else{
        LazyColumn(){
            items(users){
                UserView(data = it)
            }
        }
    }
}

@Composable
fun UserView(data: User){
    val typography = MaterialTheme.typography
    Card(
        modifier = Modifier
            .fillMaxWidth()
            .padding(10.dp),
        elevation = 10.dp,
        shape = RoundedCornerShape(12.dp)
    ) {
        Row(modifier = Modifier.padding(10.dp),
            verticalAlignment = Alignment.CenterVertically,
            horizontalArrangement = Arrangement.spacedBy(10.dp)
        ) {
            // imageUrl = data.avatar 하면 되는데, ktor 로 가져온 더미데이터의 이미지가 로드가 안되서 그냥 고양이사진 넣어놨음
            ProfileImage(imageUrl = "https://product.cdn.cevaws.com/var/storage/images/_aliases/reference/media/feliway-2017/images/kor-kr/1_gnetb-7sfmbx49emluey4a/6341829-1-kor-KR/1_gNETb-7SfMBX49EMLUeY4A.jpg")
            Column() {
                Text(text = data.name, style = typography.body1)
            }
        }
    }
}


@Composable
fun ProfileImage(imageUrl: String, modifier: Modifier = Modifier){
    // 이미지 비트맵
    val bitmap: MutableState<Bitmap?> = remember { mutableStateOf(null) }
    val imageModifier = modifier
        .size(50.dp, 50.dp)
        .clip(CircleShape)

    Glide.with(LocalContext.current)
        .asBitmap()
        .load(imageUrl)
        .into(object : CustomTarget<Bitmap>(){
            override fun onResourceReady(resource: Bitmap, transition: Transition<in Bitmap>?) {
                // 이미지를 비트맵으로 받아서 준비가 됐으면
                bitmap.value = resource
            }

            override fun onLoadCleared(placeholder: Drawable?) {}
        })
    // bitmap 이 있다면
    bitmap.value?.asImageBitmap()?.let {
        Image(
            bitmap = it,
            contentDescription = null,
            contentScale = ContentScale.Crop,
            modifier = imageModifier
        )
    } ?: Image(
        painter = painterResource(id = R.drawable.ic_empty_user_image),
        contentDescription = null,
        contentScale = ContentScale.Fit,
        modifier = imageModifier
    )
}
Composable 은 xml 에서 View 라고 생각하면 될 것 같다.
ComposeUI 는 모든 레이아웃을 @Composable 어노테이션을 붙인 function 으로 만든다.
class MainActivity : ComponentActivity() {
    override fun onCreate(savedInstanceState: Bundle?) {
        super.onCreate(savedInstanceState)
        setContent {
            ComposeBasicTheme {
                // A surface container using the 'background' color from the theme
                Surface(
                    modifier = Modifier.fillMaxSize(),
                    color = MaterialTheme.colors.background
                ) {
                    UserListView()
                }
            }
        }
    }
}