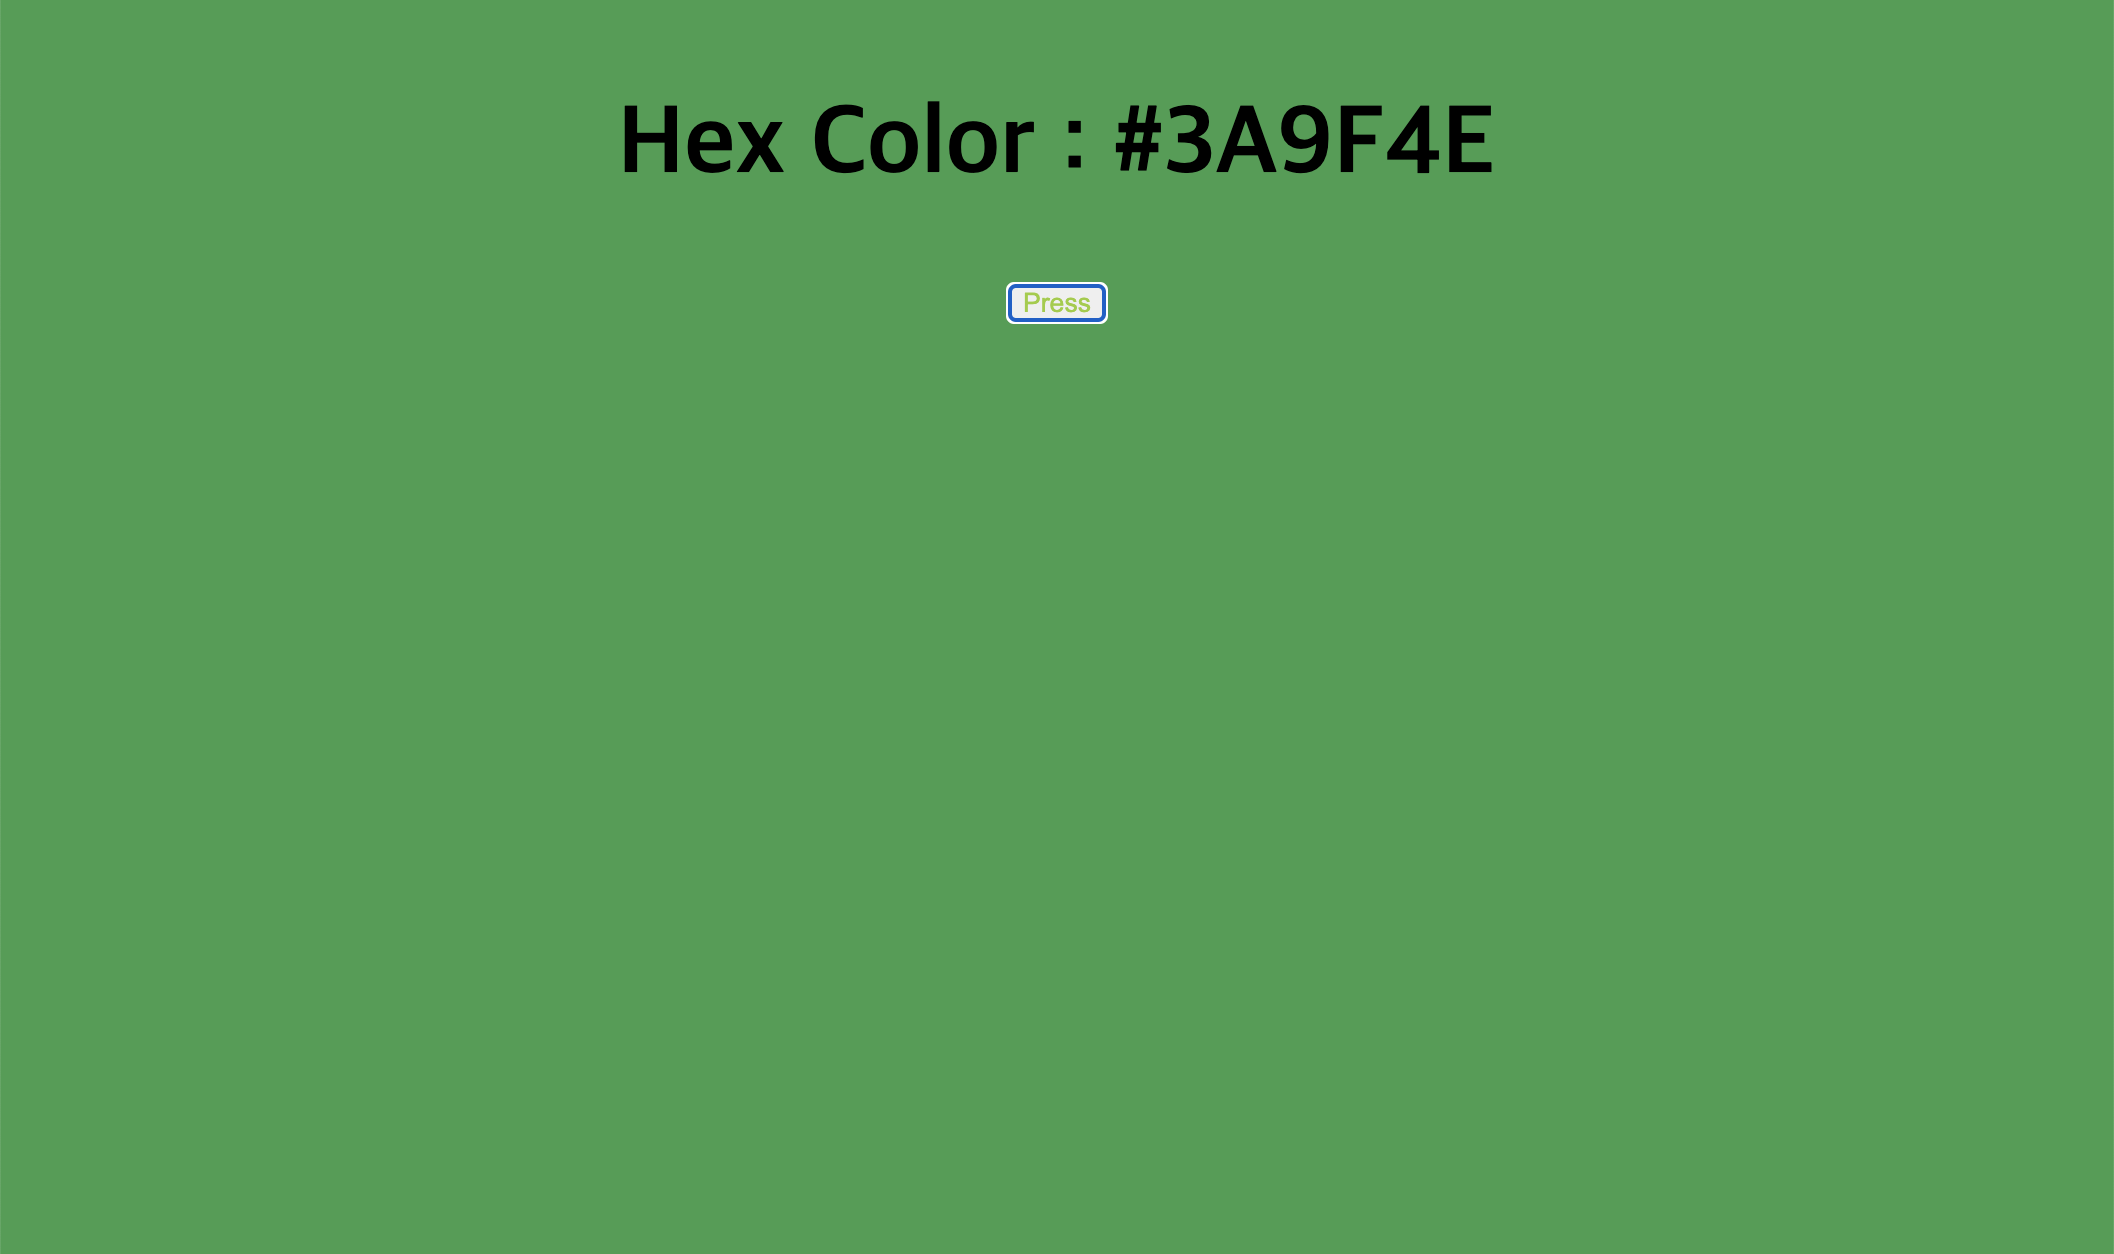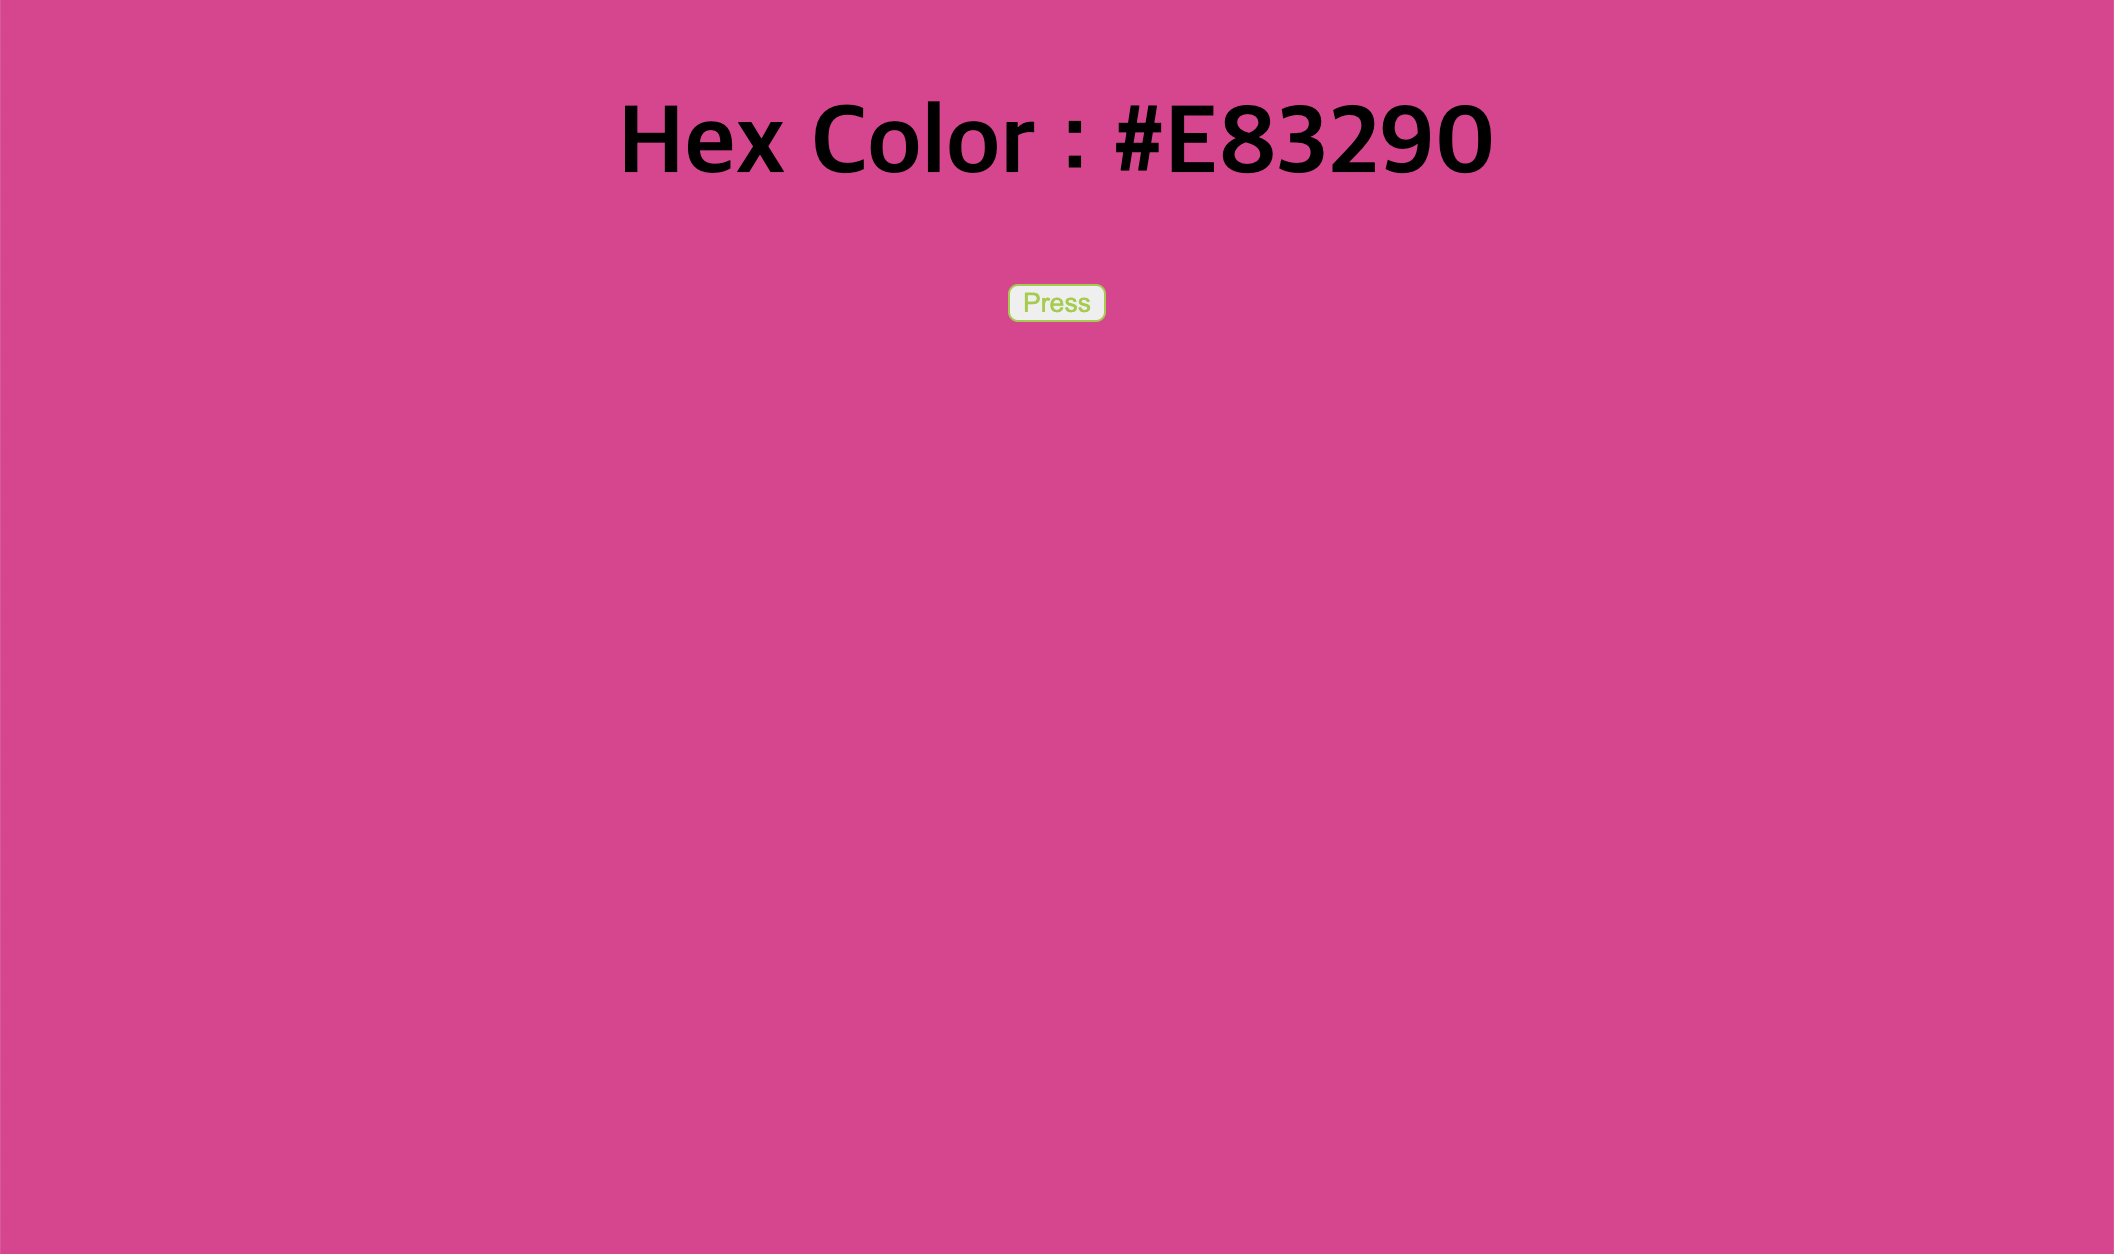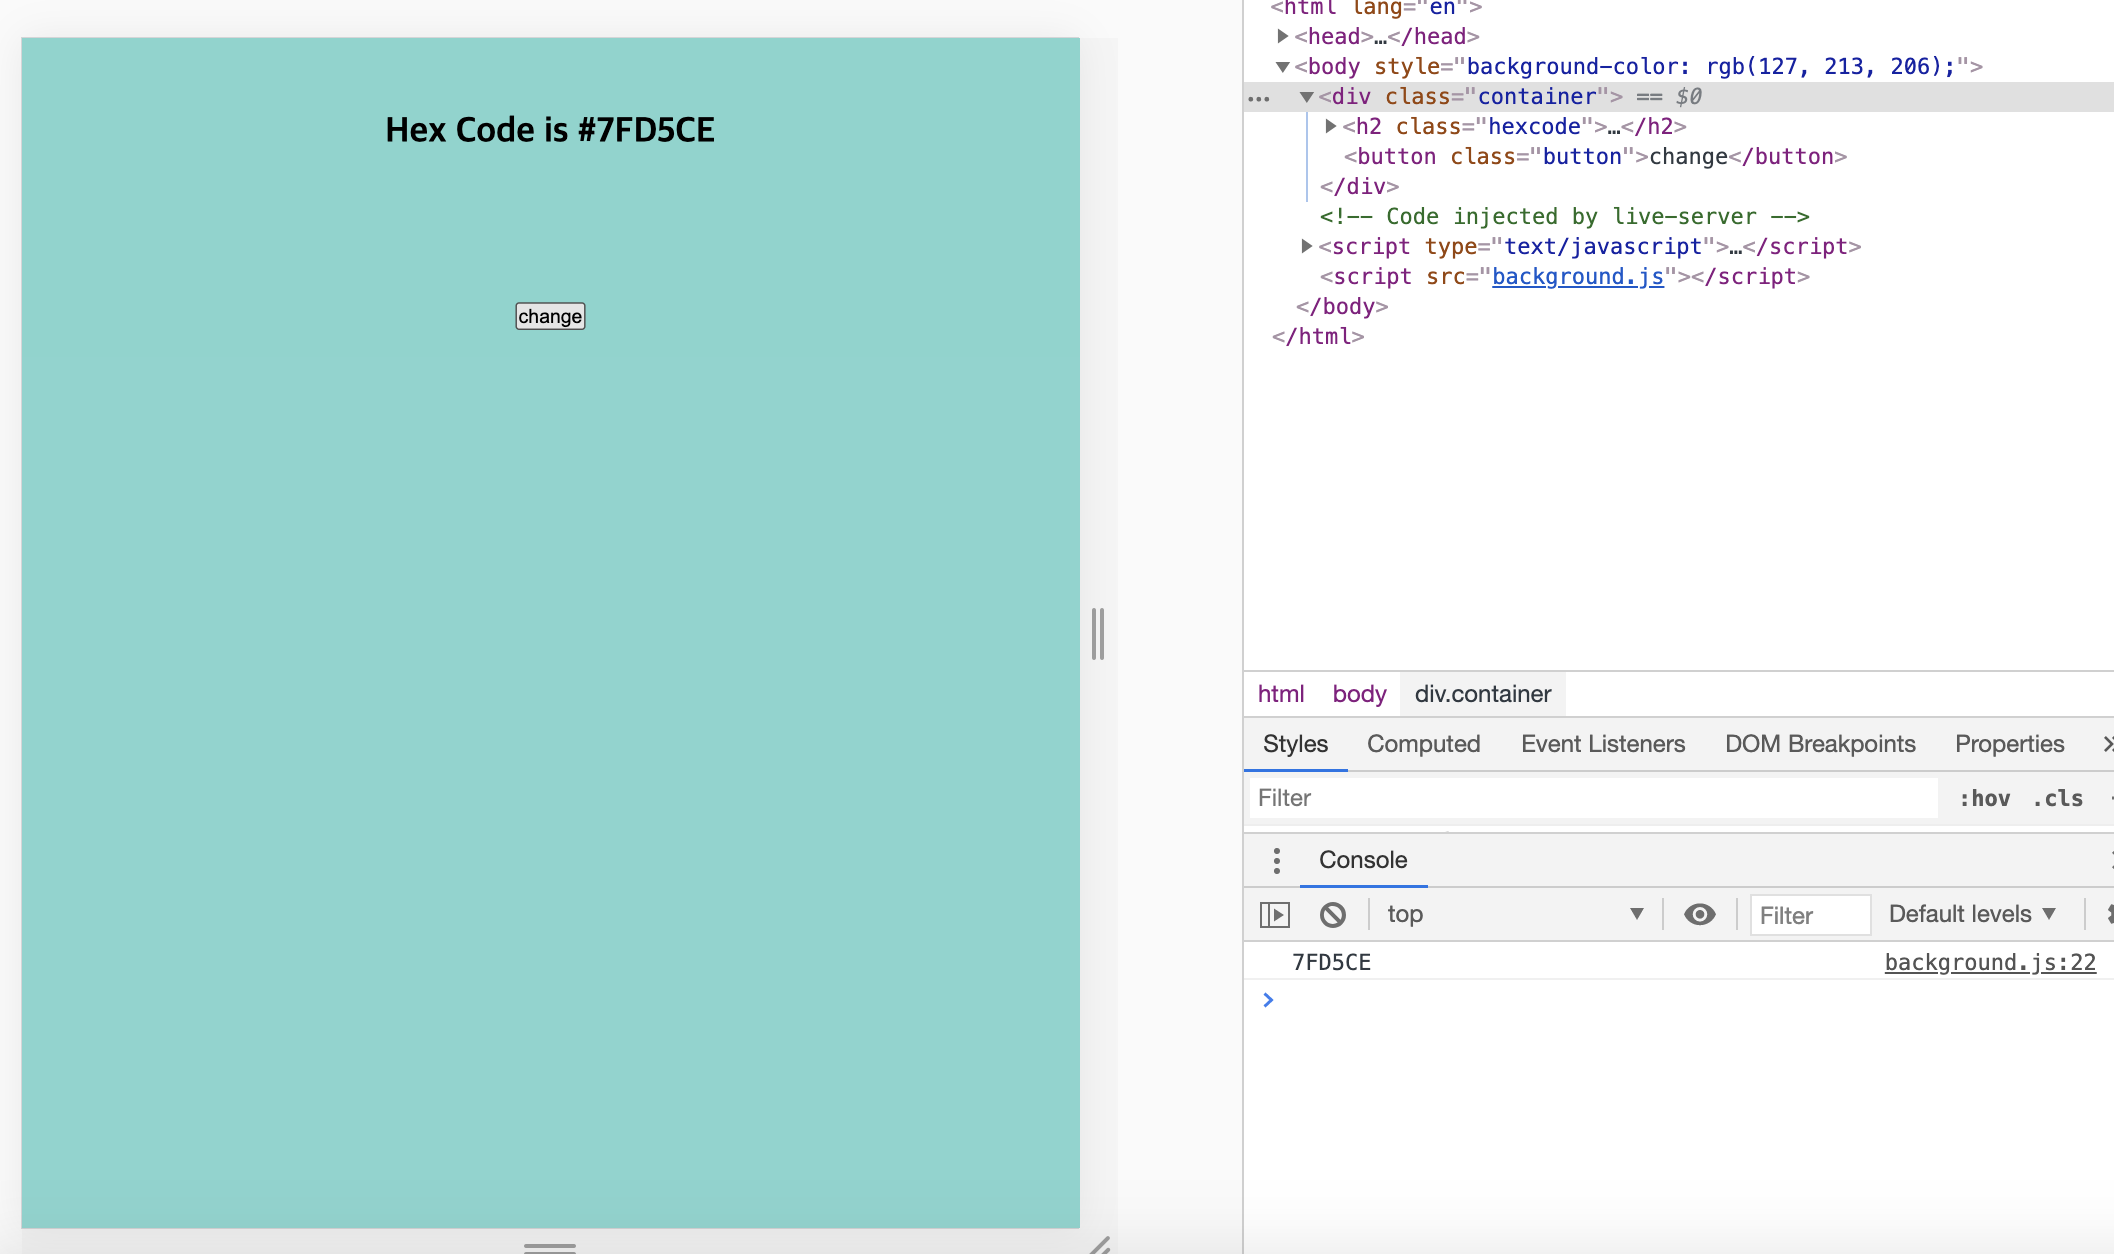

input 버튼을 누르면 배경색이 바뀌고 배경색에 맞는 hex code가 스크린에 출력된다.
일단 html은 hex code가 출력될 부분과 클릭할 button만 있으면 된다.
js를 보자. hex code는 알파벳과 숫자의 조합이다. 랜덤으로 조합이 될 알파벳(A~F)과 숫자(0~9)를 노가다로 손수 하나씩 적어서 배열에 넣는다.
- math.floor(math.random())
일단 배열에 있는 숫자와 알파벳 중 6개를 랜덤으로 골라야 한다. for문을 돌 때마다 랜덤 번호가 생성되고 그 번호(index)에 맞는 배열 요소가 새로운 배열에 담기는 될 것이다.
const btn = document.querySelector("button")
const span = document.querySelector(".hexcode span")
const body = document.querySelector('body')
const hex = [1, 2, 3, 4, 5, 6, 7, 8, 9, "A", "B", "C", "D", "E", "F"]

function colorHandler() {
    const temp = [];
    const hexLen = hex.length
}


function init() {
    btn.addEventListener("click", colorHandler)
}

init()
button, span, body는 html에서 가져오고 hex 배열에 요소를 담는다. btn을 클릭하면 colorHandler 함수가 작동하게 하고 colorHandler 함수 안에는 랜덤으로 뽑힐 아이템이 담길 temp 배열과 hexLen라는 hex 배열의 길이 변수를 만든다.
function colorHandler() {
    const temp = [];
    const hexLen = hex.length;


    for (let i = 0; i < 6; i++) {
        let random = Math.floor(Math.random() * hexLen)
        temp.push(hex[random])
    }
}
hex code는 6개로 이루어졌으니 for문에서 i < 6으로 하고 random이란 변수를 만든다. random은 for문이 돌 때마다 하나씩 hex 배열 안의 아이템을 랜덤하게 지정한다. 그리고 아까 만들었던 temp 배열에 담으면 끝!
function colorHandler() {
    const temp = [];
    const hexLen = hex.length
    for (let i = 0; i < 6; i++) {
        let random = Math.floor(Math.random() * hexLen)
        temp.push(hex[random])
    }

    let result = temp.join("")
    body.style.backgroundColor = `#${result}`
    span.textContent = `#${result}`
}
temp 배열을 result 문자열로 합치고 body와 span에 각각 결과를 출력하게 만들면 된다.
