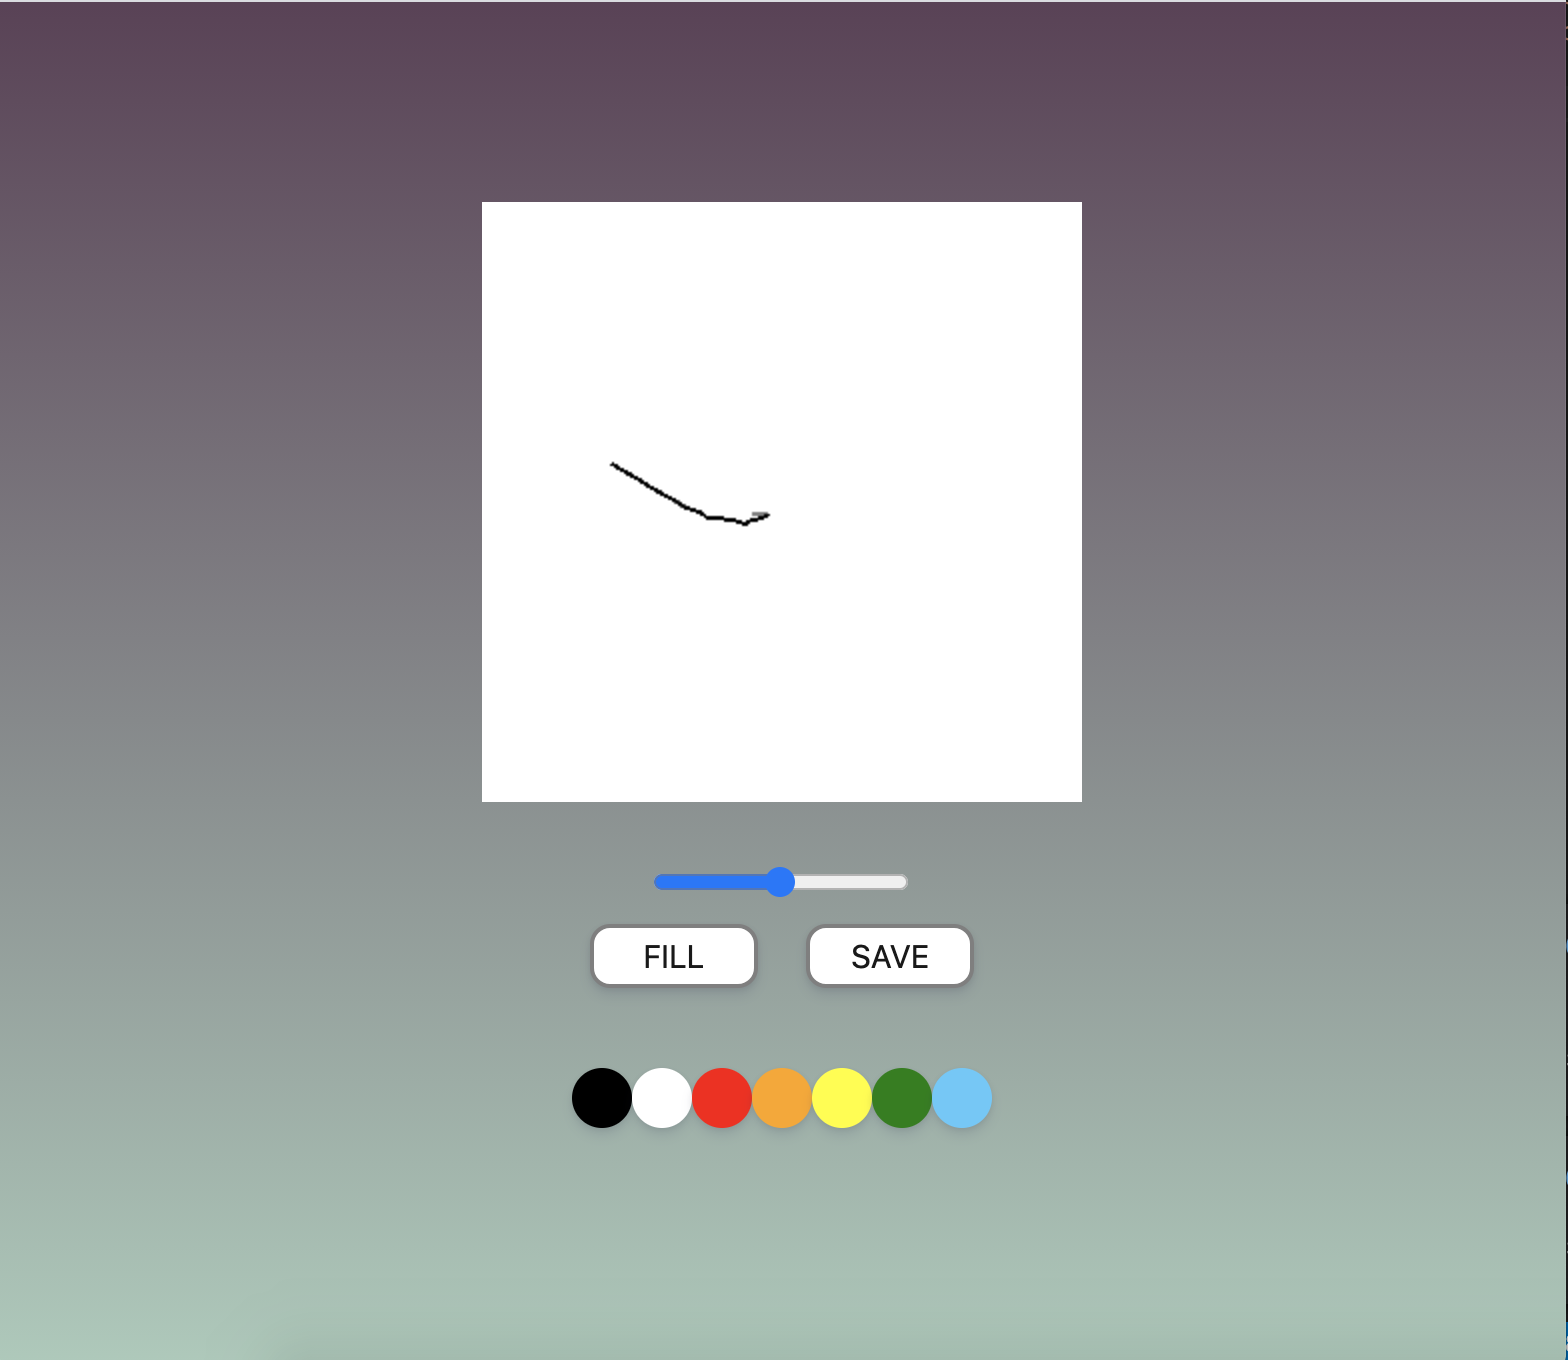
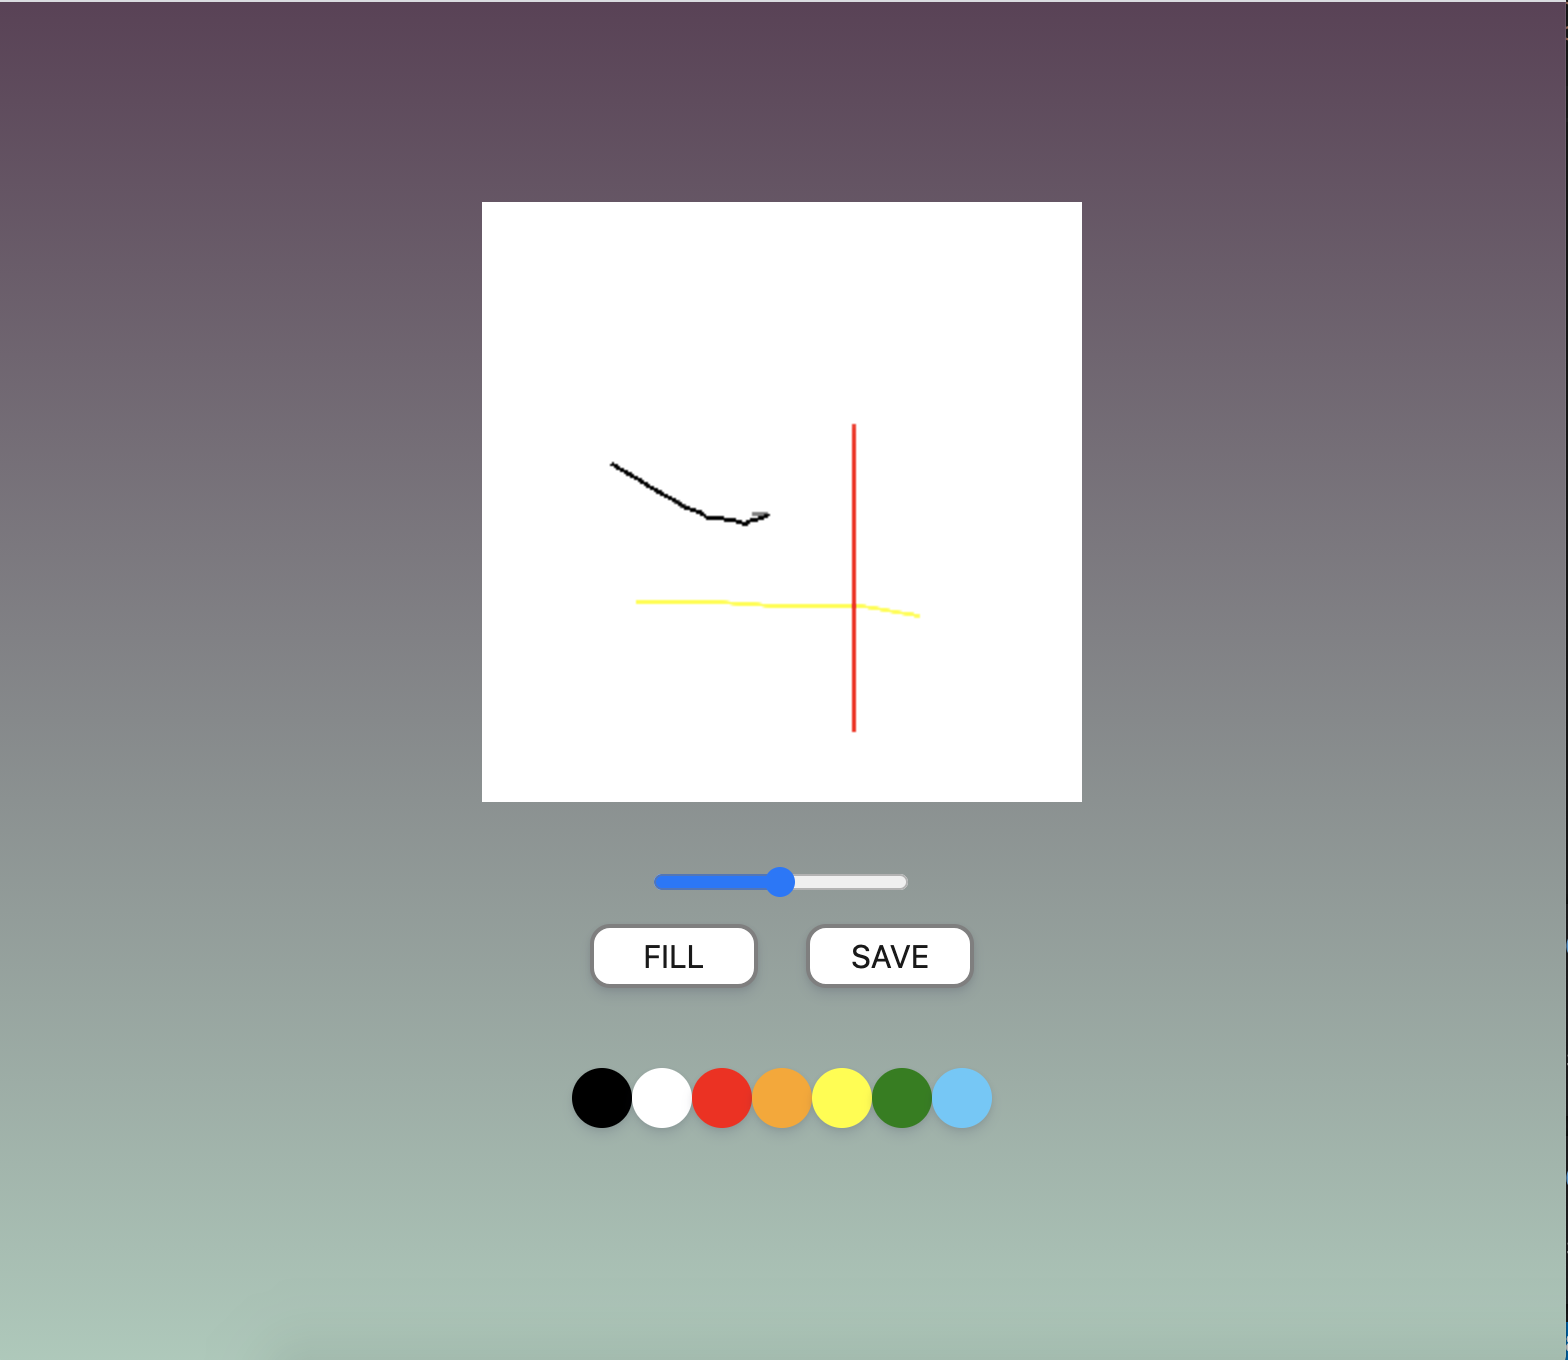
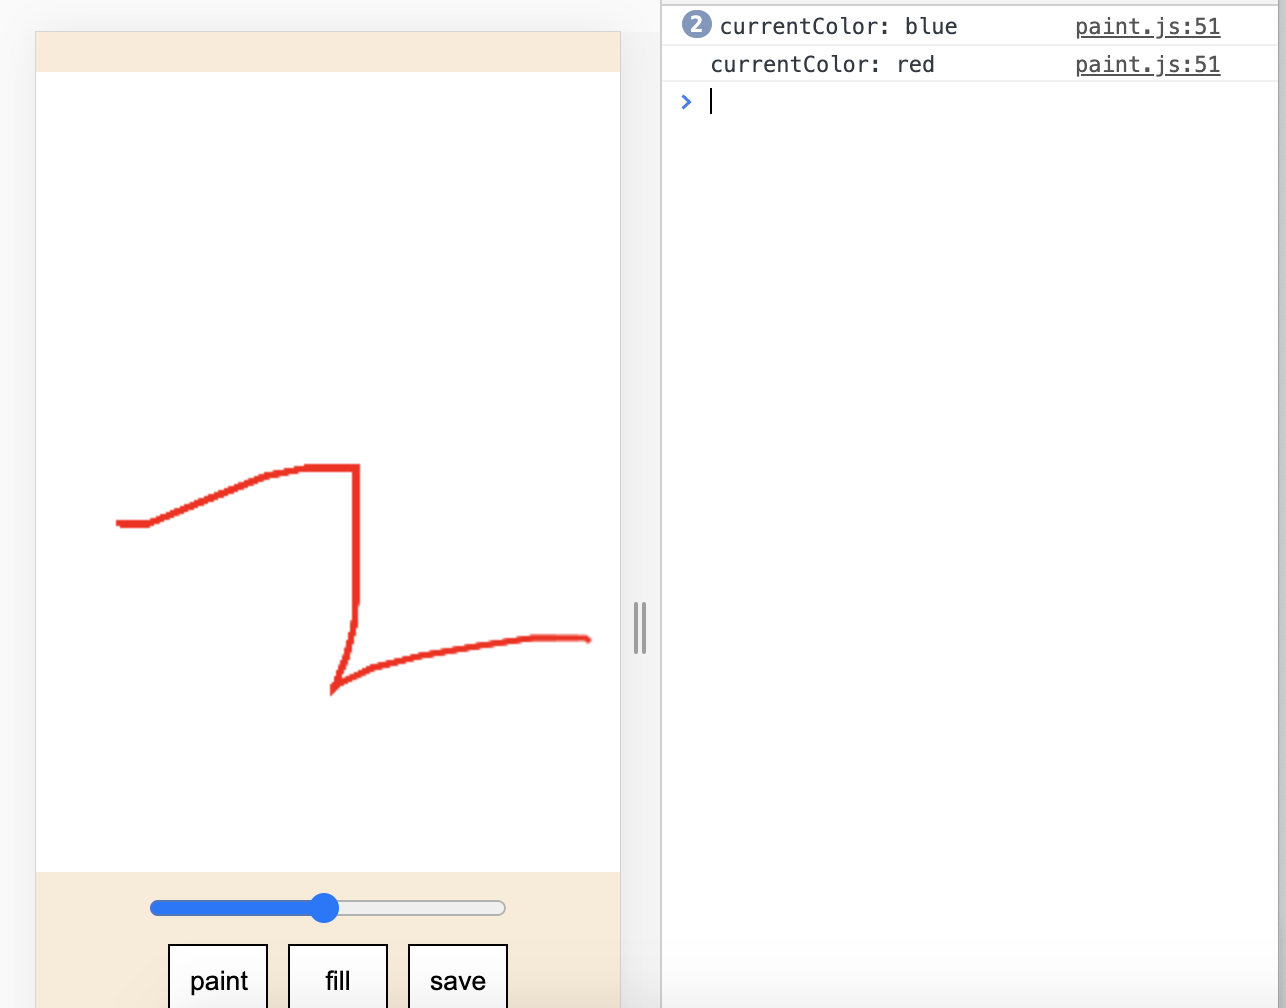
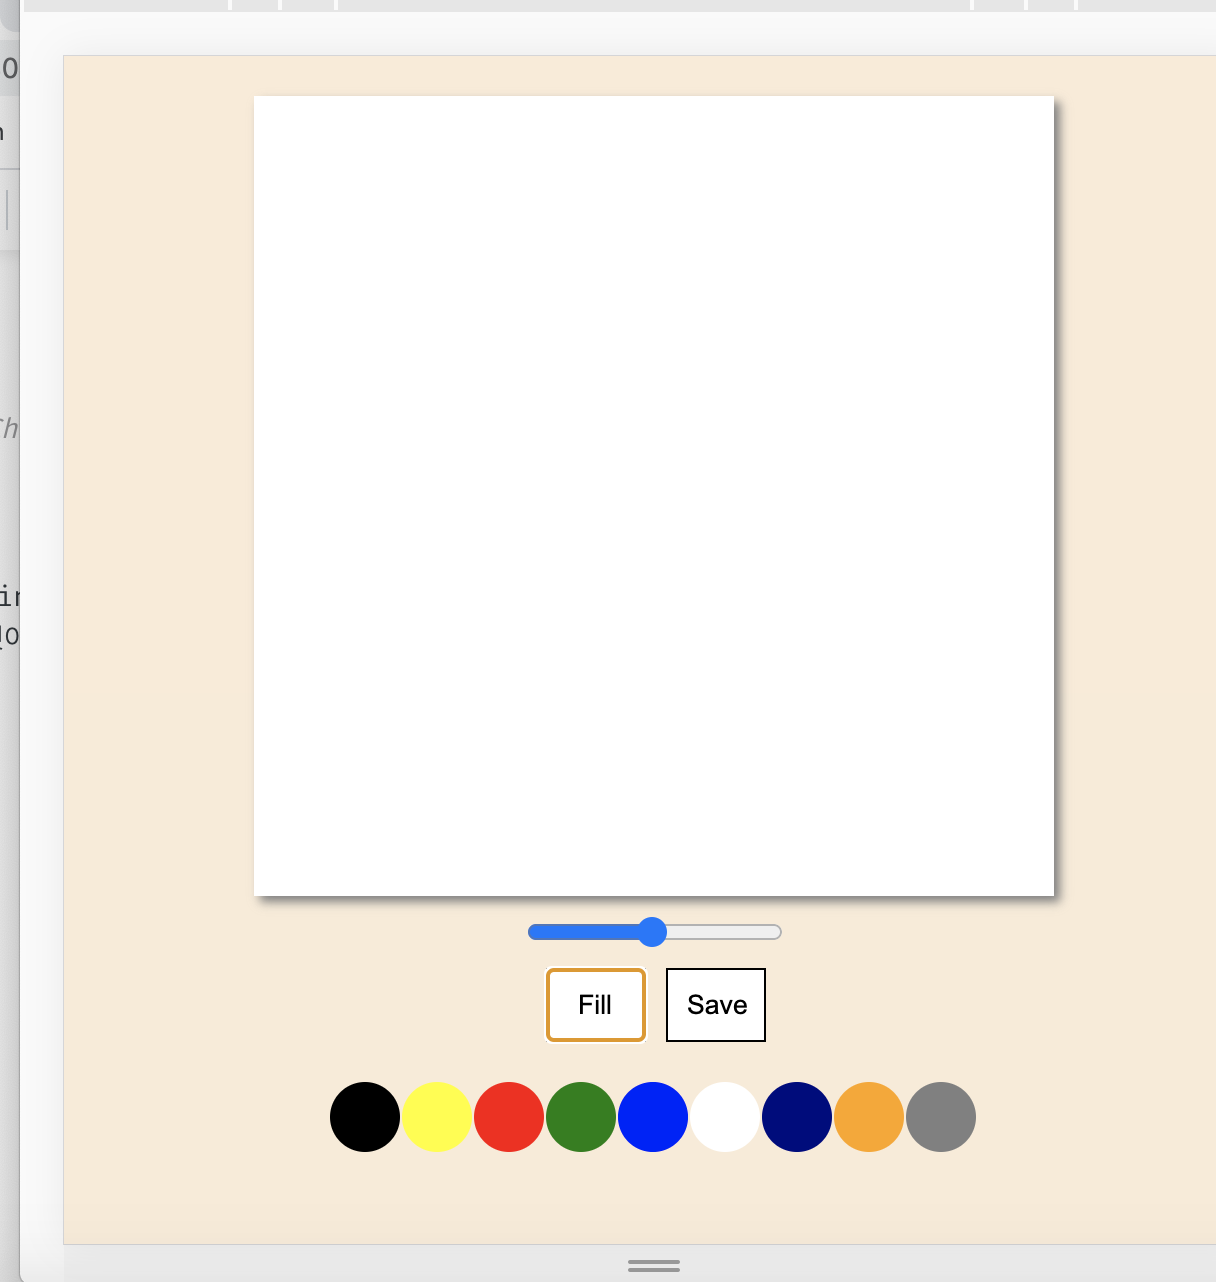
js로 만드는 그림판이다. 하단에 color를 누르면 색이 변하고 canvas 위에 그림을 그릴 수 있다. fill 버튼으로 누르면 canvas 전체를 채울 수 있고 range 버튼으로 두께를 조절할 수도 있다. 마지막으로 save까지 하면 완벽한 그림판!
일단 차근차근 생각해보면 canvas 위를 클릭하는 순간 paint가 실행되고 클릭을 떼면 paint가 멈춘다. 그리고 color 를 클릭하면 div에 담긴 background-color 정보를 가져와서 paint의 색이 바뀐다. range에 value를 가져와서 value를 바꿀 때마다 paint 두께가 달라지게 만든다. fill/paint 버튼에서 fill은 canvas 크기 전체를 색으로 채운다. save는 어떻게 하는지 모르겠으니 검색해본다!
html, css 생략
https://developer.mozilla.org/ko/docs/Web/HTML/Canvas
여기에 나와 있는 그림판 코드를 기반으로 만들 것이다.
const canvas = document.querySelector(".canvas")
const ctx = canvas.getContext("2d");
mozilla의 설명에 따르면 <canvas>(html 태그)는 getContext()메서드를 이용해서 그리기 함수들을 사용할 수 있다. getContext()는 렌더링 컨텍스트 타입을 지정하는 하나의 파라메터를 가지는데 지금은 "2d"다.
가장 먼저 할 것은 canvas 안에서 좌표를 구하는 건데 마우스가 움직일 때마다 좌표를 얻는 것이다.
function doPainting(e){
          console.log(e)

          }

canvas.addEventListener("mousemove", doPainting)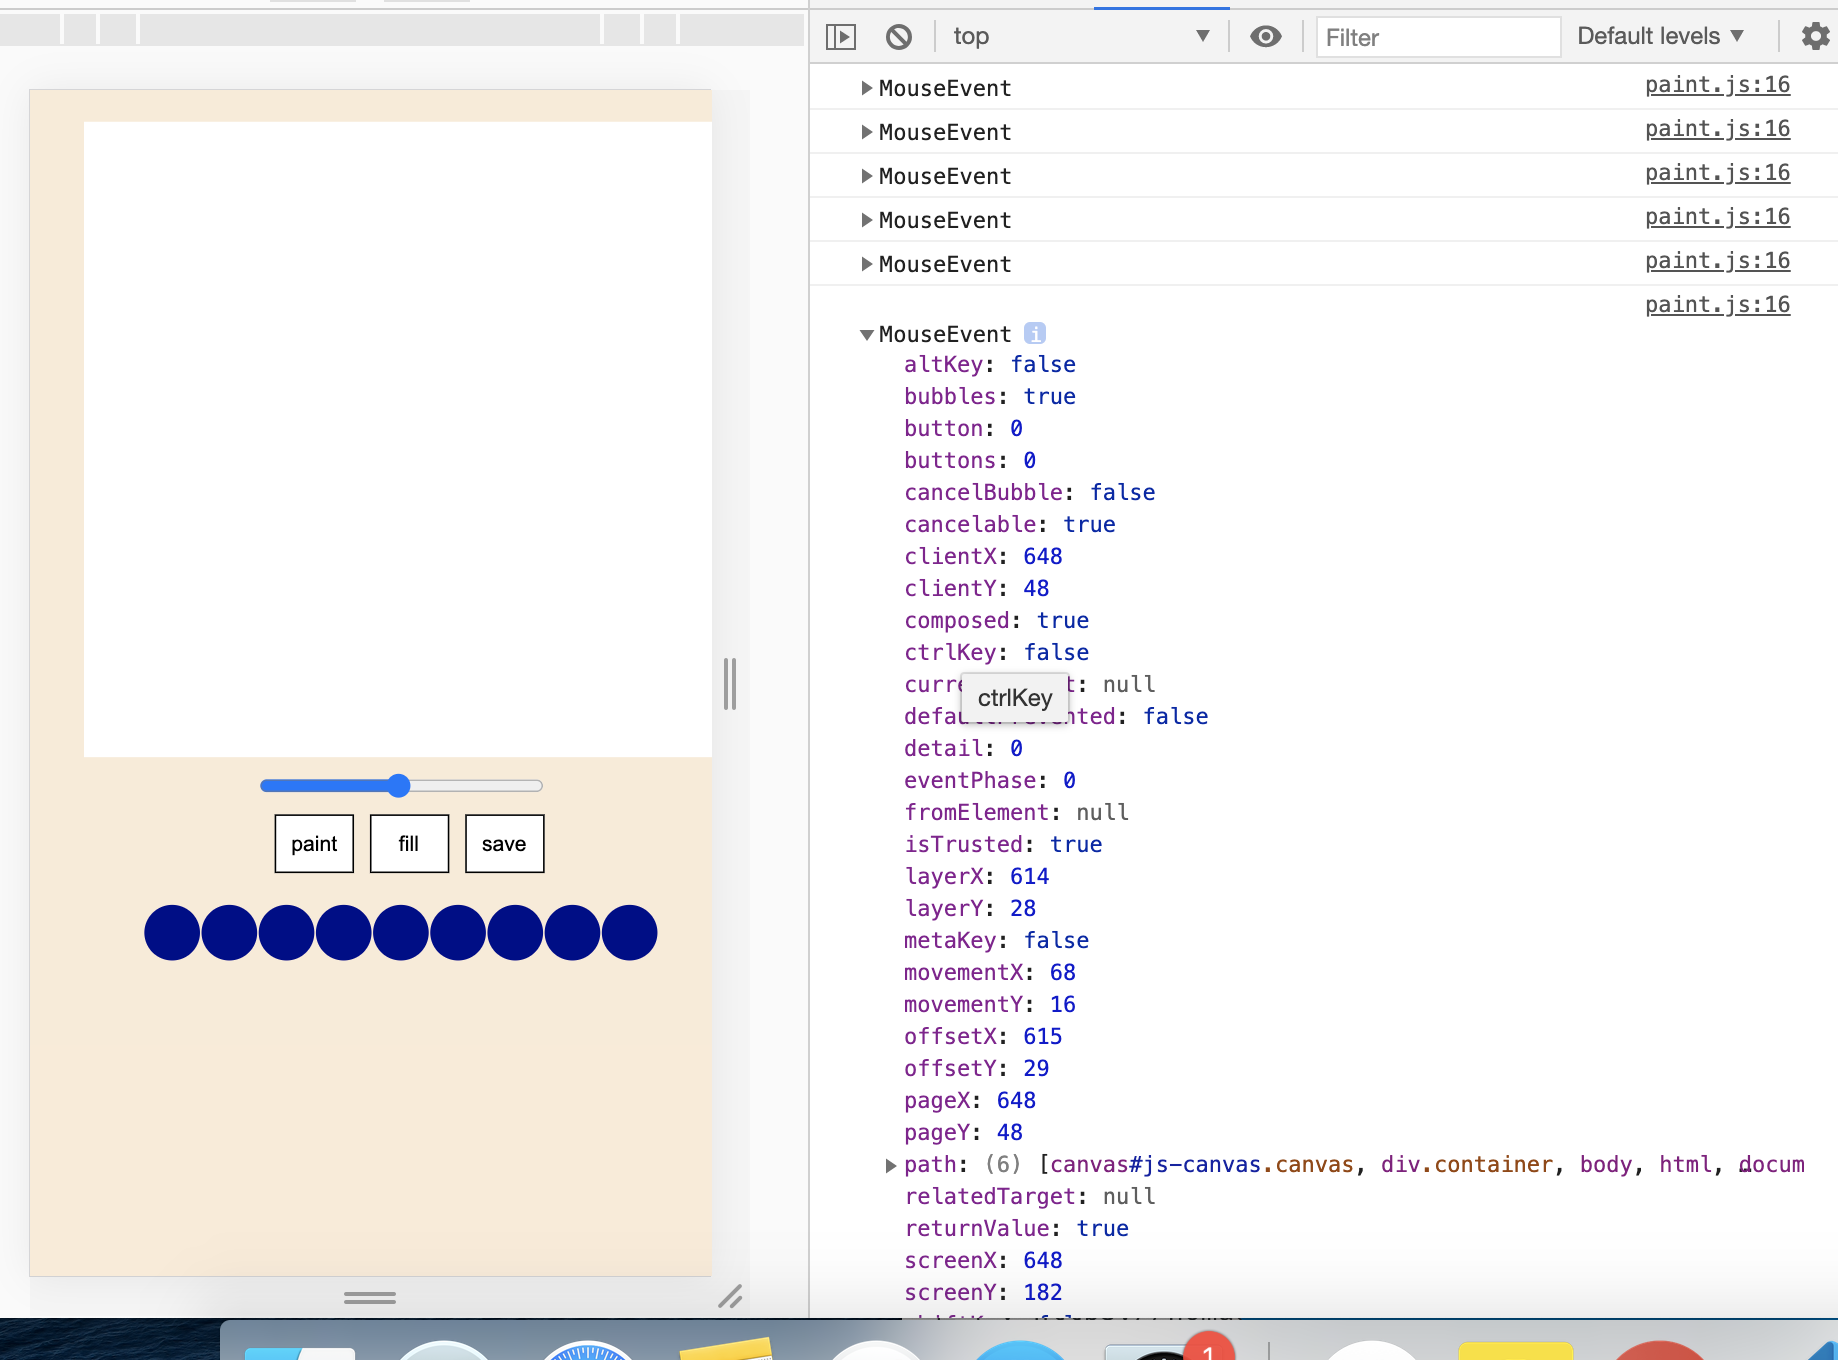
mousemove로 canvas 위에 커서가 움질일 때마다 이벤트가 발생한다. 여기서 얻어야 할 것은 x,y가 어딨는냐인데 client 와 offset 중 canvas 내의 마우스 좌표가 필요하니 offset을 가져간다.

그리고 painting에 관련된 함수를 만들어야 한다. doPainting은 실제 선이 그려지는 것이고 canvas 위를 그냥 움직이는 것과 그리는 것과 구분하기 위해서 let paint = false라는 변수를 만든다. 그리고 mousedown이 되면 paint가 시작되는 것이니 paint = true가 되고 마우스를 떼거나 canvas 밖으로 나가면 paint를 중단한다.
let painting = false;
let x = 0;
let y = 0;

function startPainting(e) {
     painting = true
}

function doPainting(e) {
     if(painting === true){
         x = e.offsetX
         y = e.offsetY
         console.log(x, y)
    }
}

function stopPainting() {
     painting = false;
}

canvas.addEventListener("mousemove", doPainting)
canvas.addEventListener("mousedown", startPainting)
canvas.addEventListener("mouseleave", stopPainting)
canvas.addEventListener("mouseup", stopPainting)
이제 mdn의 힘을 마구마구 빌릴 시간이다.
새로 추가 된 것들만
ctx.strokeStyle = "black";
ctx.lineWidth = 2.5;
canvas.width = 400;
canvas.height = 400;

function doPainting(e) {
    x = e.offsetX
    y = e.offsetY
    if (painting === true) {
        ctx.lineTo(x, y);
        ctx.stroke();

    } else {
        ctx.beginPath();
        ctx.moveTo(x, y);

    }
}
canvas의 크기를 지정해주고 strokeStyle, lineWidth로 색과 굵기를 정한다. 그리고 doPainting() 함수인데 이해하는 데 오래 걸려 삽질을 좀 했다.(지금도 헷갈림)
일단 선을 그리는 데 중요한 beginPath(), moveTo(), lineTo(),stroke()가 있다.
beginPath() 는 이름부터 선 만들기의 시작을 알리는 함수고 moveTo()는 마우스를 따라 x,y좌표까지 길을 정하는 함수다. 헷갈렸던 부분이 beginPath가 실행되면 moveTo와 lineTo로 그림을 그리는 것인 줄 알았는데 beginPath와 moveTo는 아직 페인팅이 시작되기 전, 그러니까 마우스가 캔버스를 돌아다닐 때 계속 실행되는 것이다(내가 이해하기론)
그리고 painting이 시작되면 실질적인 lineTo()와 stroke()가 실행되면서 마우스를 따라 선을 그린다.
색 바꾸기
html 태그에 style="background-color: yellow" 이런 식으로 color색을 지정해줘야 한다. 처음에 css로 했다가 js에서 찾기가 너무 힘들었다.
const colorBtn = document.querySelectorAll(".color")
모든 color들을 가져오고 잘게 분해해서 각 color들에 이벤트 리스너를 걸어주면 된다.
colorBtn.forEach(color => {
    color.addEventListener("click", function() {
        let currentColor = color.style.backgroundColor
        ctx.strokeStyle = currentColor
    })
})
위에 만들었던 ctx.strokeStyle를 클릭한 색으로 바꿔주면 끝이다.
굵기 바꾸기
const rangeBtn = document.querySelector(".color-range")

rangeBtn.addEventListener("change", function(e) {
    let currentWidth = e.target.value;
    ctx.lineWidth = currentWidth;
})
색 채우기
let filling = false;
ctx.fillStyle = "white";

function modeChange() {
    if (filling === true) {
        filling = false;
        mode.innerText = "Paint"
        handleCanvasClick()
    } else {
        filling = true;
        mode.innerText = "Fill"
    }
}

function handleCanvasClick() {
    if (filling) {
        ctx.fillRect(0, 0, canvas.width, canvas.height)
    }
}

mode.addEventListener("click", modeChange)
canvas.addEventListener("click", handleCanvasClick)
살짝쿵 헷갈렸던 부분이다. painting처럼 filling도 false를 주고 ctx.fillStyle = "white" 이건 나중에 클릭한 색으로 바꿀 것이니 일단 하얀색으로 지정해둔다.

버튼을 클릭하면 innerHTML이 바뀌는 것이다 filling = true 일 때 handleCanvasClick()
를 실행한다. 그 안에 있는 ctx.fillRect이 실행되면서 캔버스를 클릭하면 화면을 색으로 가득 채운다.
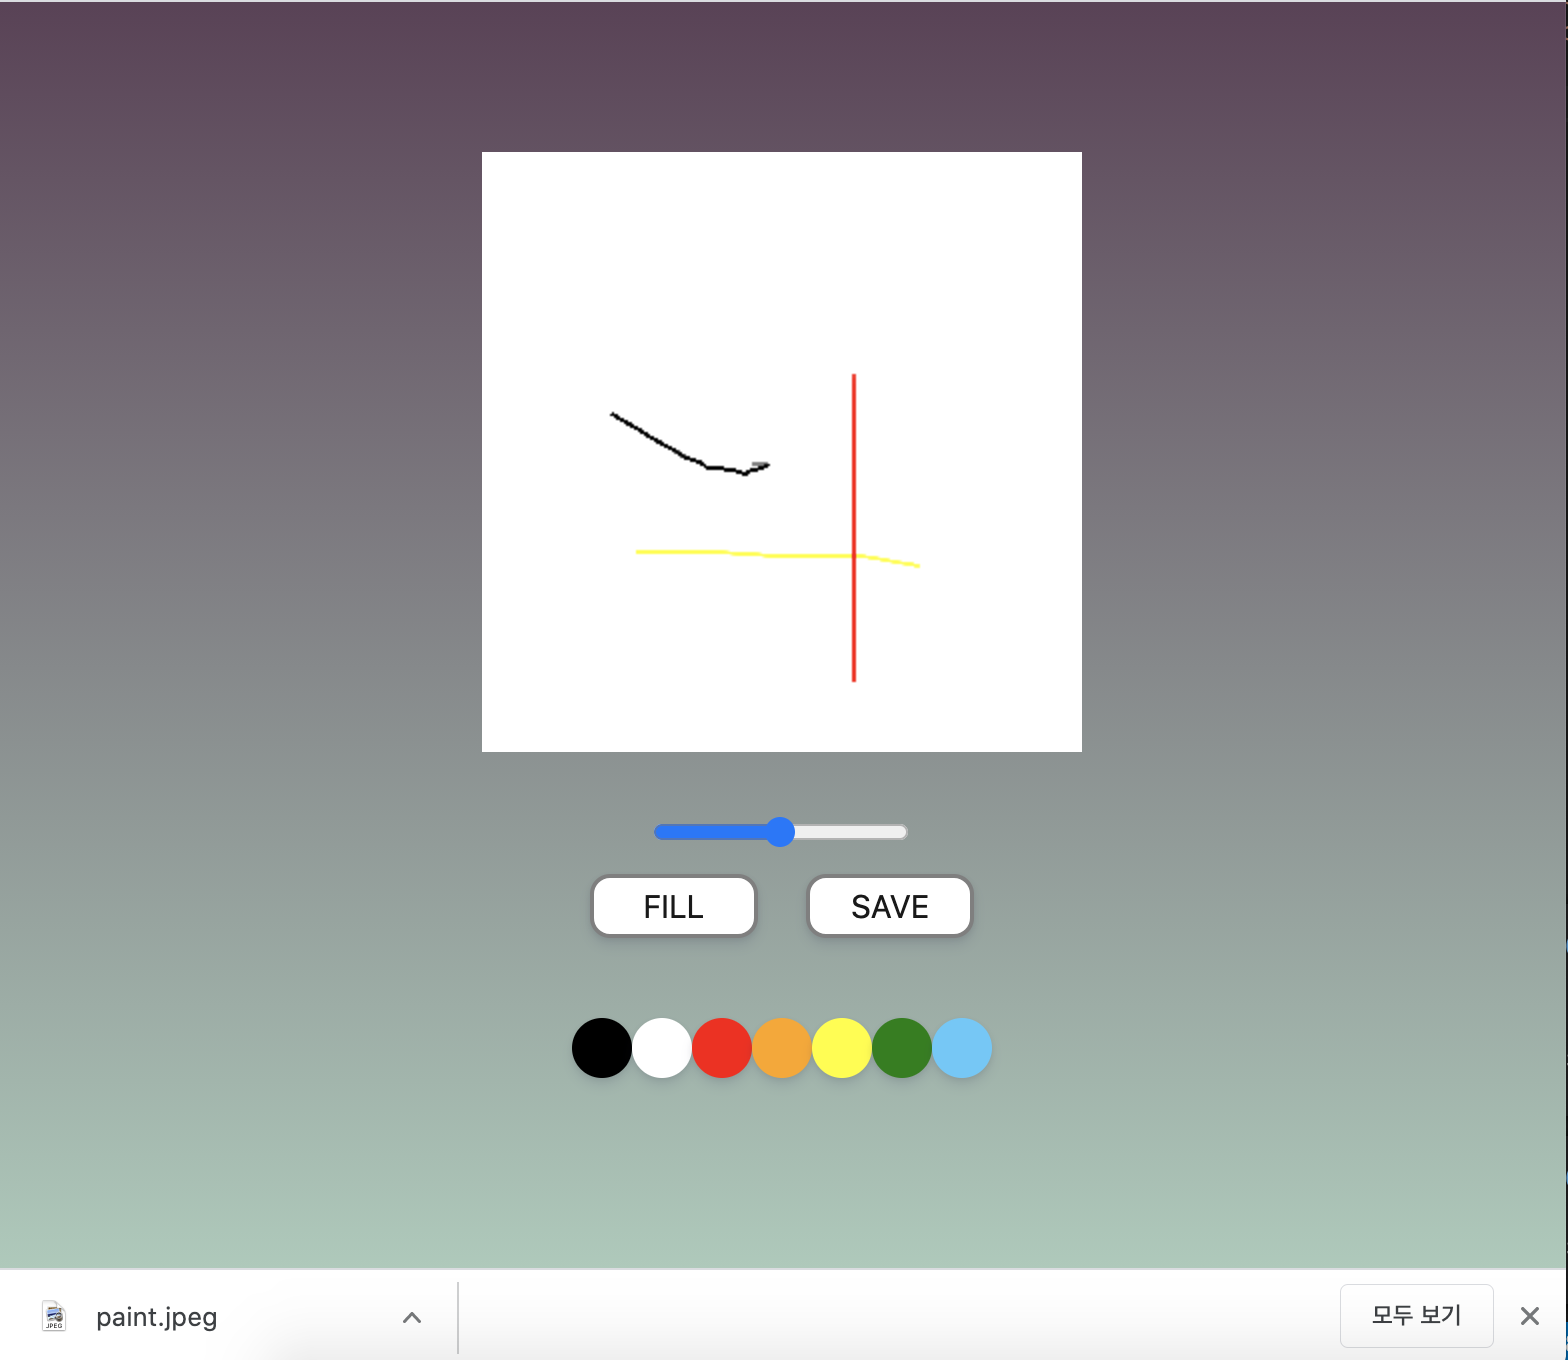
저장하기
HTMLCanvasElement.toDataURL() 라는 것을 사용한다. 간단하다. save 버튼을 누르면 그림판에 그린 것이 저장된다.
function handleSave() {
    const image = canvas.toDataURL("image/jpeg");
    const link = document.createElement("a")
    link.href = image;
    link.download = "Paint"
    link.click()
}

saveBtn.addEventListener("click", handleSave)
사실 어떤 방식으로 작동하는지는 잘 모르겠다. link 태그를 만들고 href를 걸고 canvas.toDataURL("image/jpeg")를 주면 된다. link.download 는 저장될 파일의 이름.
그림판 만들기 끝!
mdn코드
// When true, moving the mouse draws on the canvas
let isDrawing = false;
let x = 0;
let y = 0;

const myPics = document.getElementById('myPics');
const context = myPics.getContext('2d');

// event.offsetX, event.offsetY gives the (x,y) offset from the edge of the canvas.

// Add the event listeners for mousedown, mousemove, and mouseup
myPics.addEventListener('mousedown', e => {
  x = e.offsetX;
  y = e.offsetY;
  isDrawing = true;
});

myPics.addEventListener('mousemove', e => {
  if (isDrawing === true) {
    drawLine(context, x, y, e.offsetX, e.offsetY);
    x = e.offsetX;
    y = e.offsetY;
  }
});

window.addEventListener('mouseup', e => {
  if (isDrawing === true) {
    drawLine(context, x, y, e.offsetX, e.offsetY);
    x = 0;
    y = 0;
    isDrawing = false;
  }
});

function drawLine(context, x1, y1, x2, y2) {
  context.beginPath();
  context.strokeStyle = 'black';
  context.lineWidth = 1;
  context.moveTo(x1, y1);
  context.lineTo(x2, y2);
  context.stroke();
  context.closePath();
}
출처 :
https://developer.mozilla.org/en-US/docs/Web/API/HTMLCanvasElement/toDataURL
https://developer.mozilla.org/ko/docs/Web/API/Element/mousemove_event
https://developer.mozilla.org/ko/docs/Web/API/Element/mousemove_event
출처 : https://nomadcoders.co/javascript-for-beginners-2/lobby
