UILabel
https://developer.apple.com/documentation/uikit/uilabel
[ UILabel에 Base Class를 이용해 Padding을 넣는 방법 ]
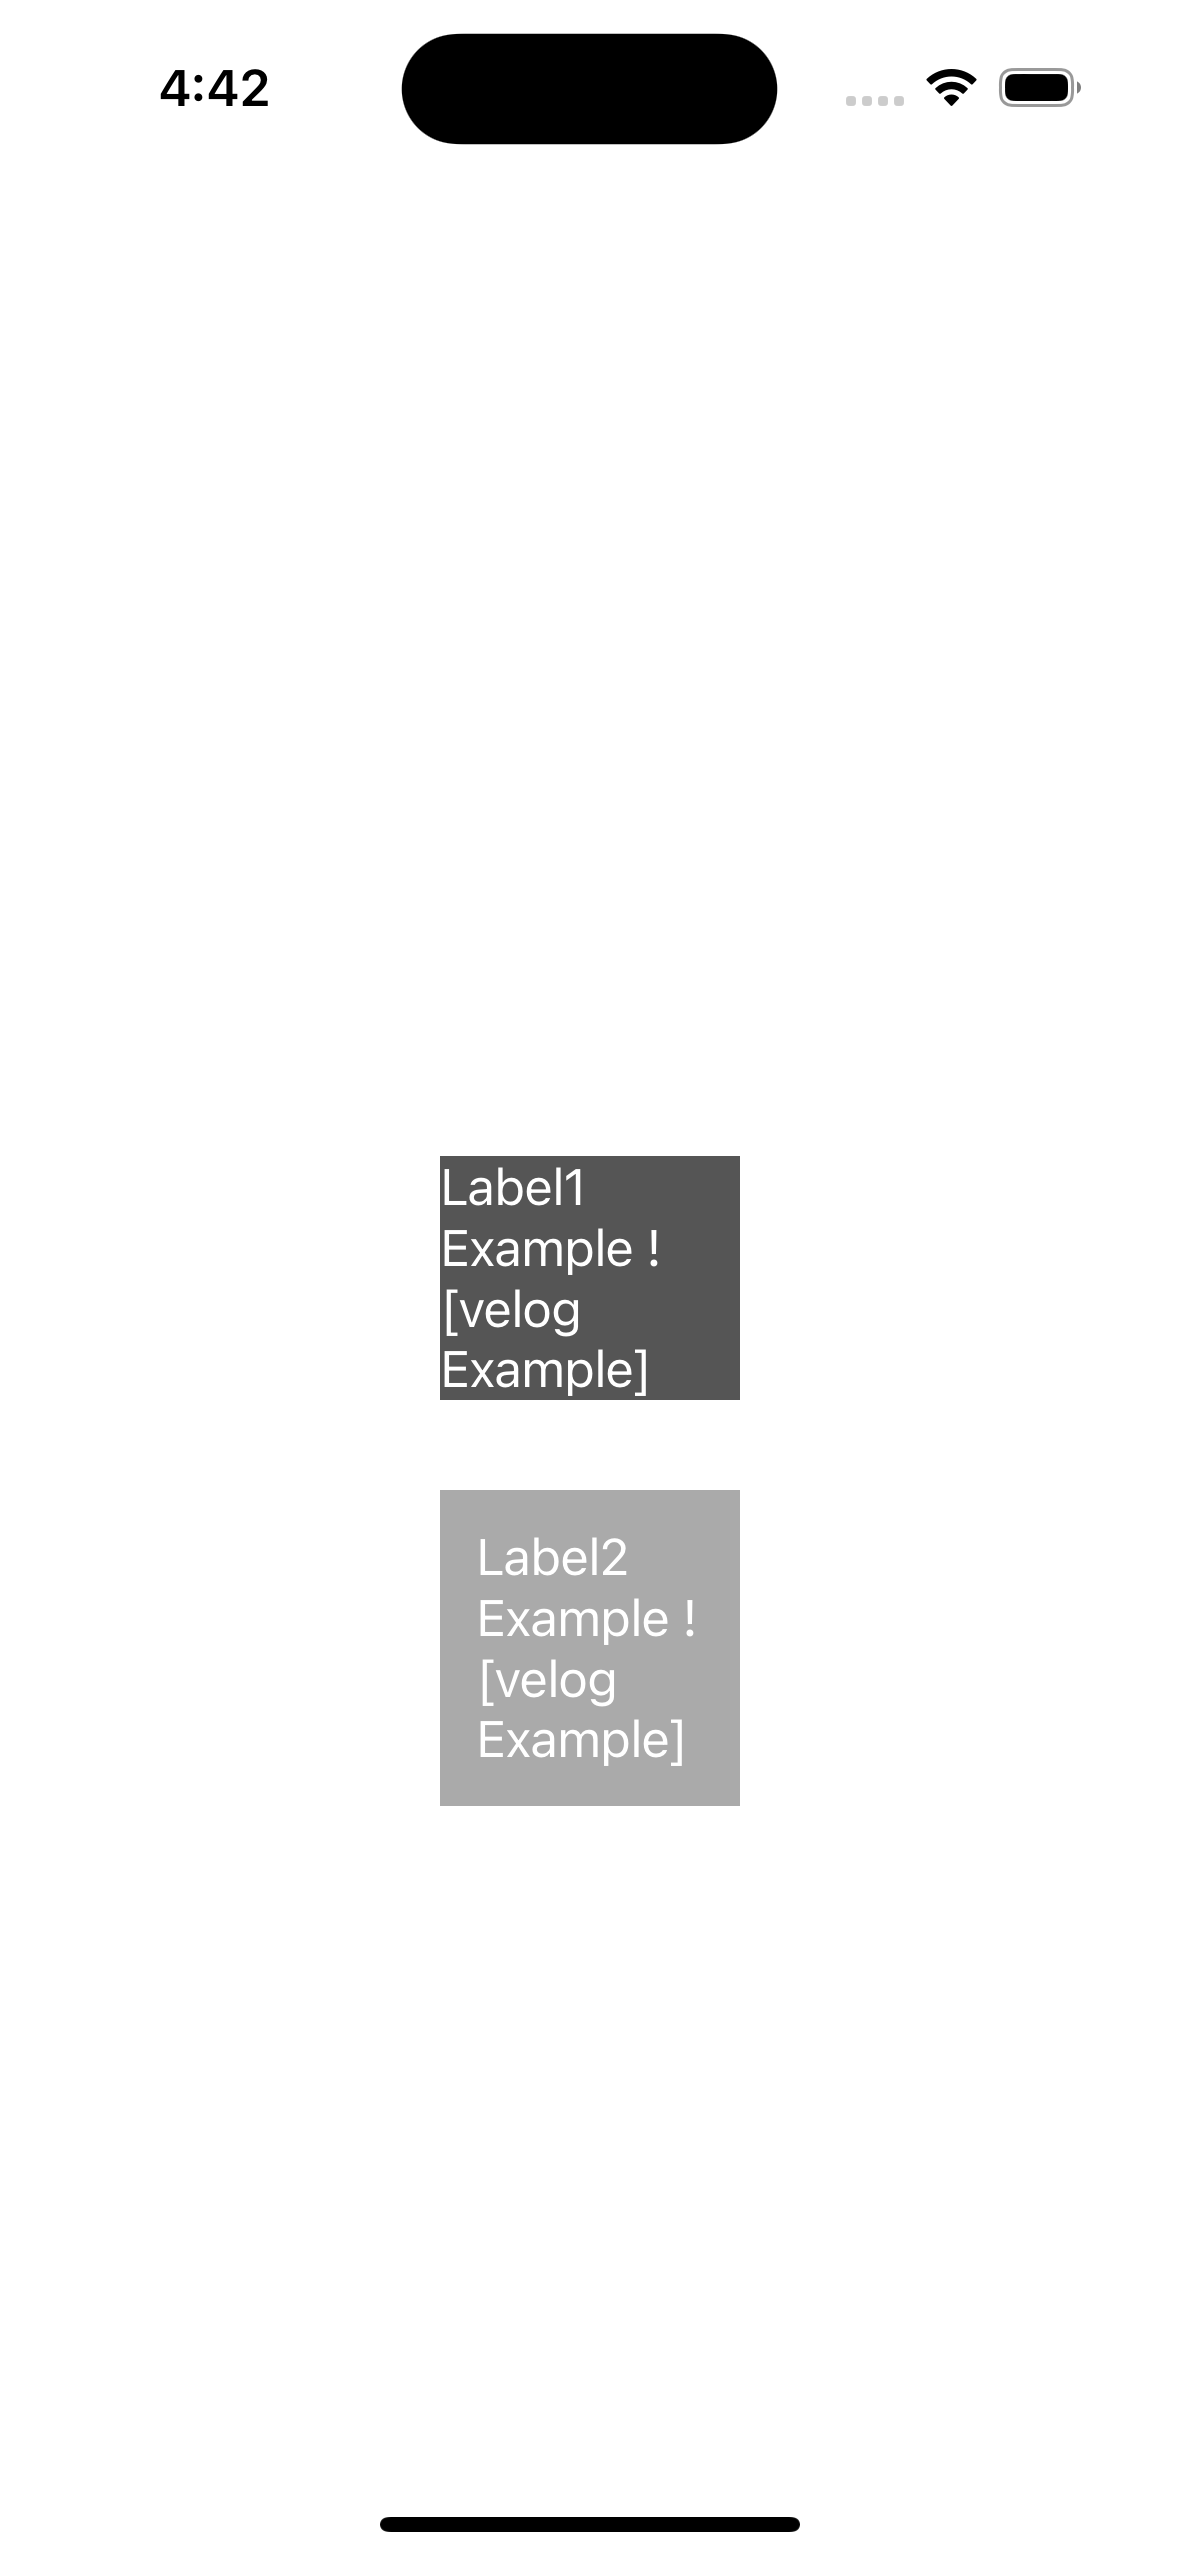
위 사진에서 Label1은 Padding 적용 전, Label2는 Padding 적용 후의 모습이다
1. Base Class
UILabel type인 Padding을 위한 Base Class를 만든다
import UIKit
class BaseLabel: UILabel {
    private var padding = UIEdgeInsets(top: 12.0, left: 12.0, bottom: 12.0, right: 12.0)

    convenience init(padding: UIEdgeInsets) {
           self.init()
           self.padding = padding
       }

    override func drawText(in rect: CGRect) {
        super.drawText(in: rect.inset(by: padding))
    }

    override var intrinsicContentSize: CGSize {
         var contentSize = super.intrinsicContentSize
         contentSize.height += padding.top + padding.bottom
         contentSize.width += padding.left + padding.right

         return contentSize
     }
}
2. 두 개의 Label을 만든다
 let label1 : UILabel = {
       let label = UILabel()
        label.backgroundColor = .darkGray
        label.textColor = .white
        label.text = "Label1 Example ! [velog Example]"
        label.numberOfLines = 5
        return label
    }()

    let label2 : BaseLabel = {
        let label = BaseLabel()
        label.text = "Label2 Example ! [velog Example]"
        label.backgroundColor = .lightGray
        label.textColor = .white
        label.numberOfLines = 5
         return label
}()- Label1은
UILabeltype으로 생성했고, Label2는 위에서 만든BaseLabeltype으로 생성했다 - 위의 사진을 보면, Label2는 top, left, right, bottom에 일정한 간격이 들어간 것을 볼 수 있다

CS 마스터를 향해 ..