💡 Node.js를 이용해서
create-react-app을 만드는 방법을 공부해 보자
🔴 Node.js로 다운로드
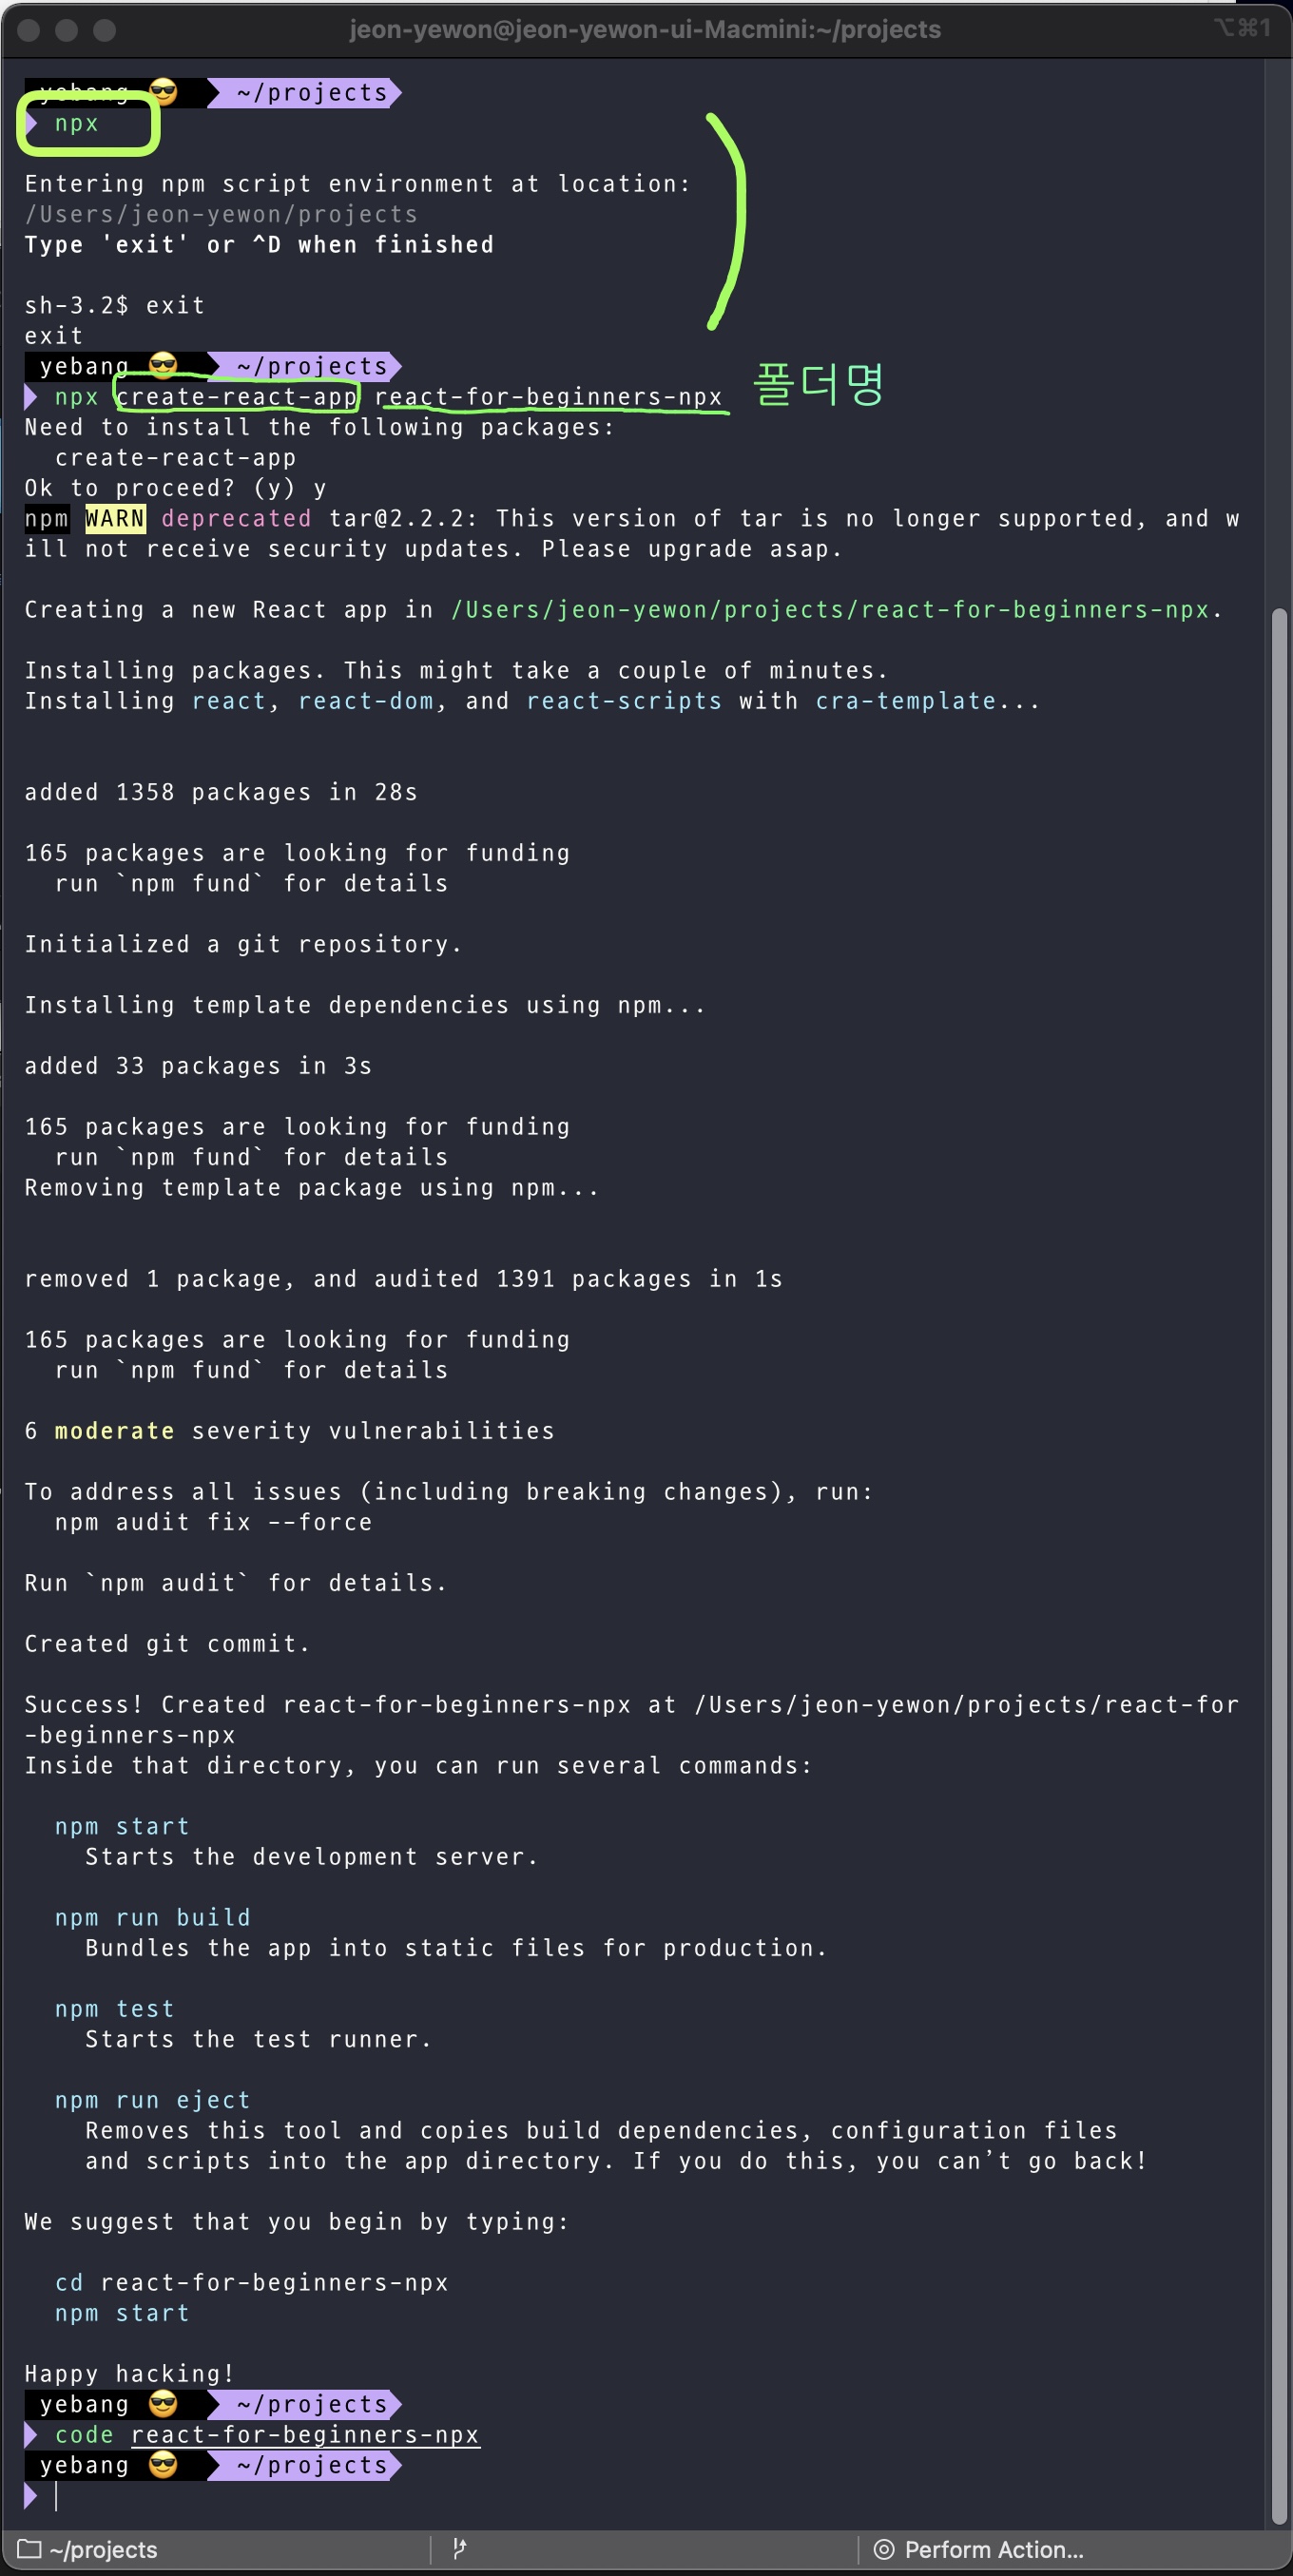
npx를 타이핑 해서 저런 식으로 나오면 잘 되고 있는 것이다.npx가 어디에 쓰는 것인지는 따로 찾아보고 정리해야겠다.npx create-react-app 폴더명폴더명은 자기가 하고싶은거 임의로 정하면되고, 설치가 될 때 까지 기다린다.
🟤 npm start
- 설치가 완료되면 vs코드로 폴더를 열어준다.
- 터미널을 열어서
npm start라고 명령어를 입력한다.
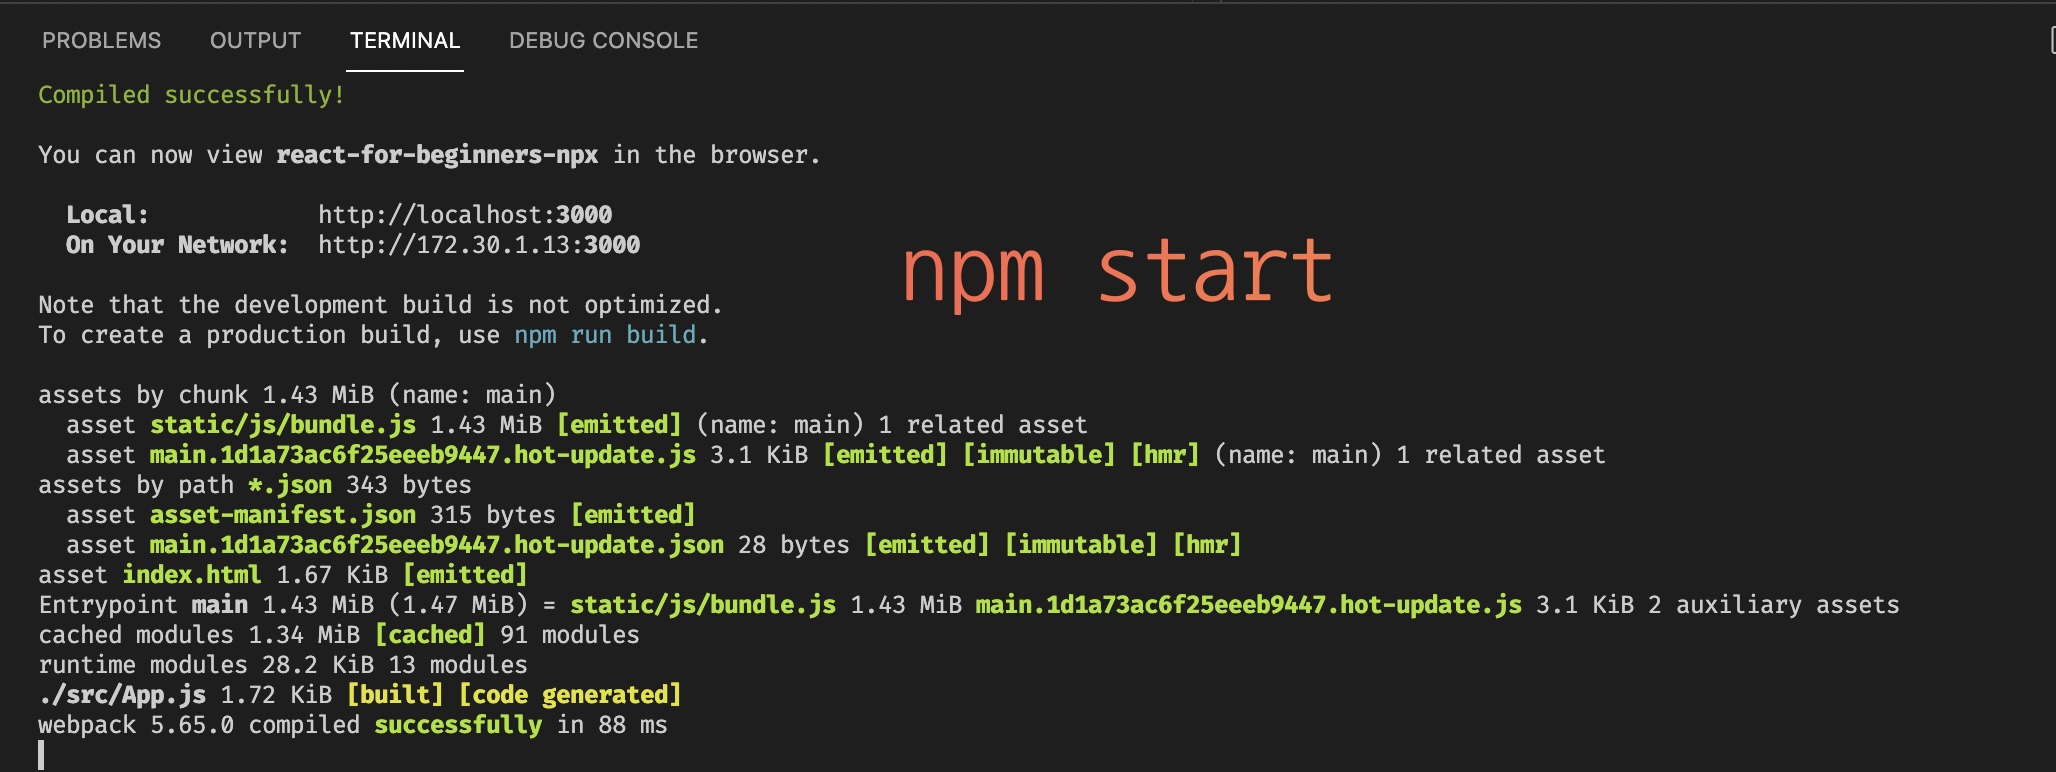
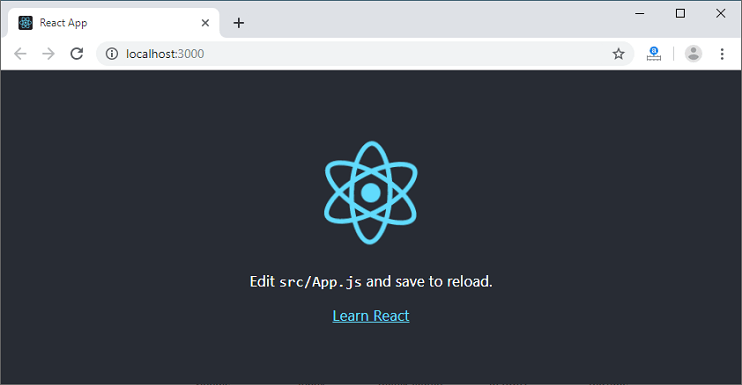
- 그럼 브라우저 새창으로 React 창이 하나 뜬다. (아마도 아파치와 같은 역할을 하는 것 같다!!)
🟠 초기 셋팅
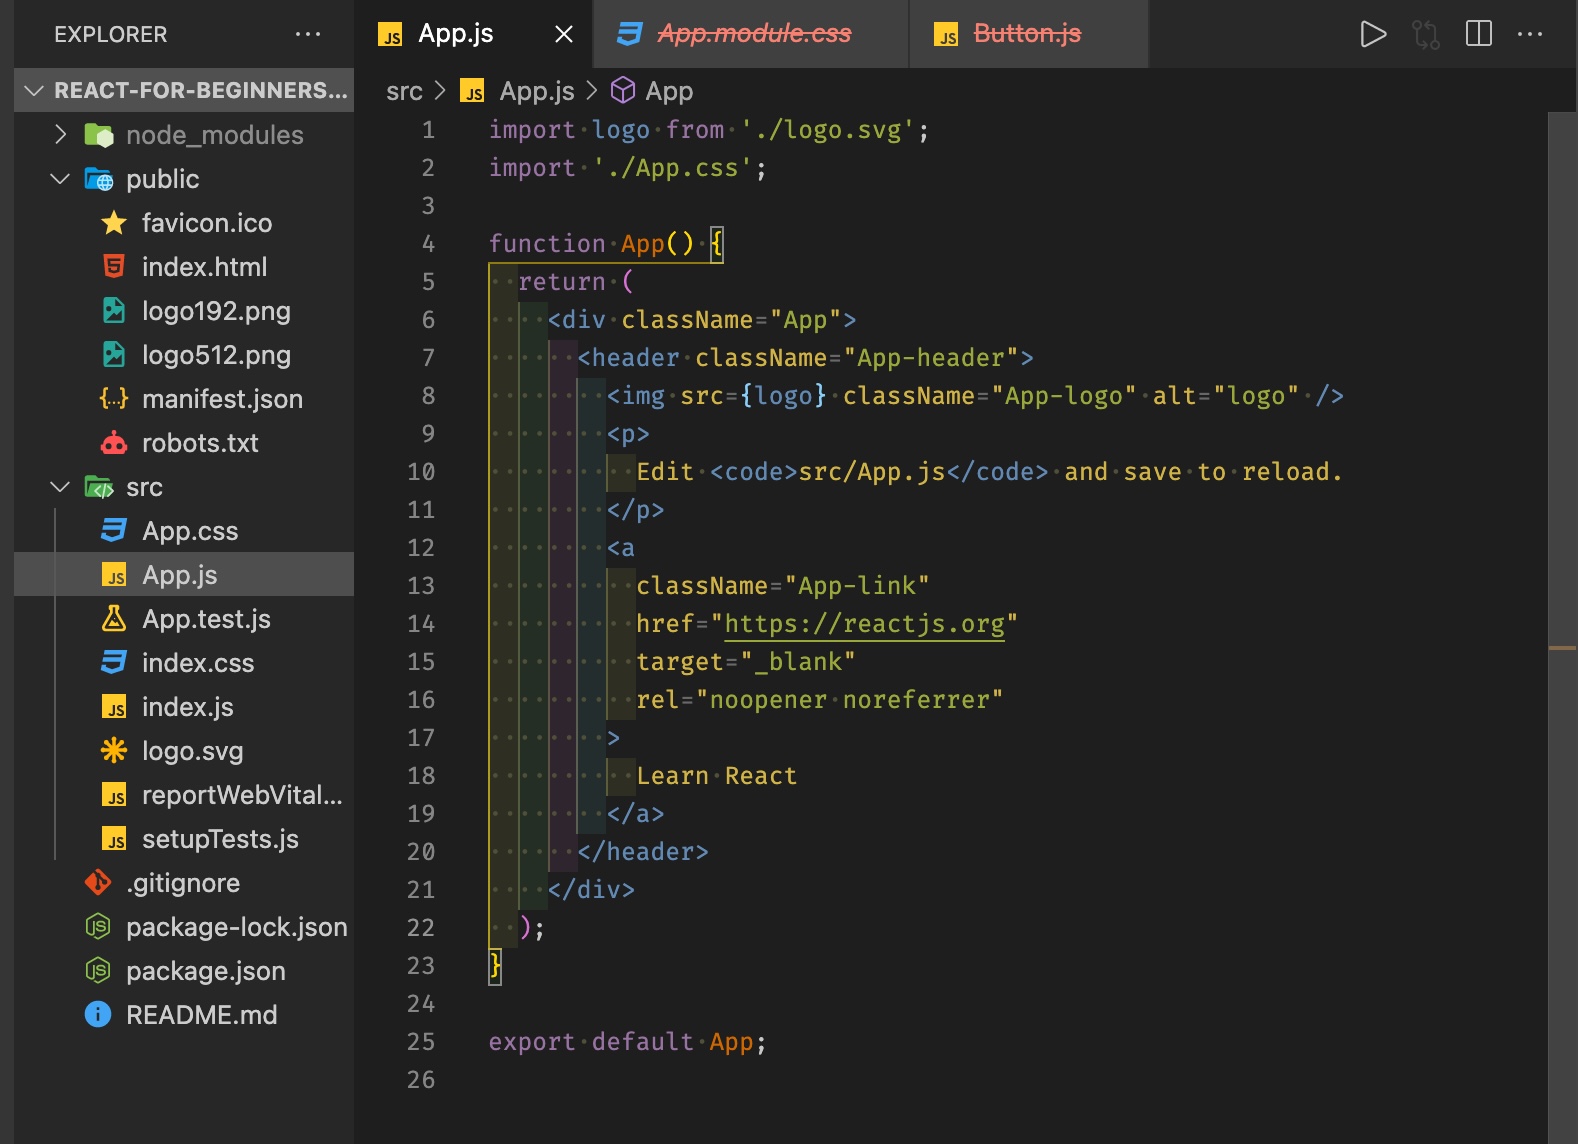
- 처음에는 파일이 이것저것 많이 다운받아져있는데 필요한 것만 남기고, 파일들을 다 지워준다.
App.js와index.js만 남기고 다 삭제해 주었다.
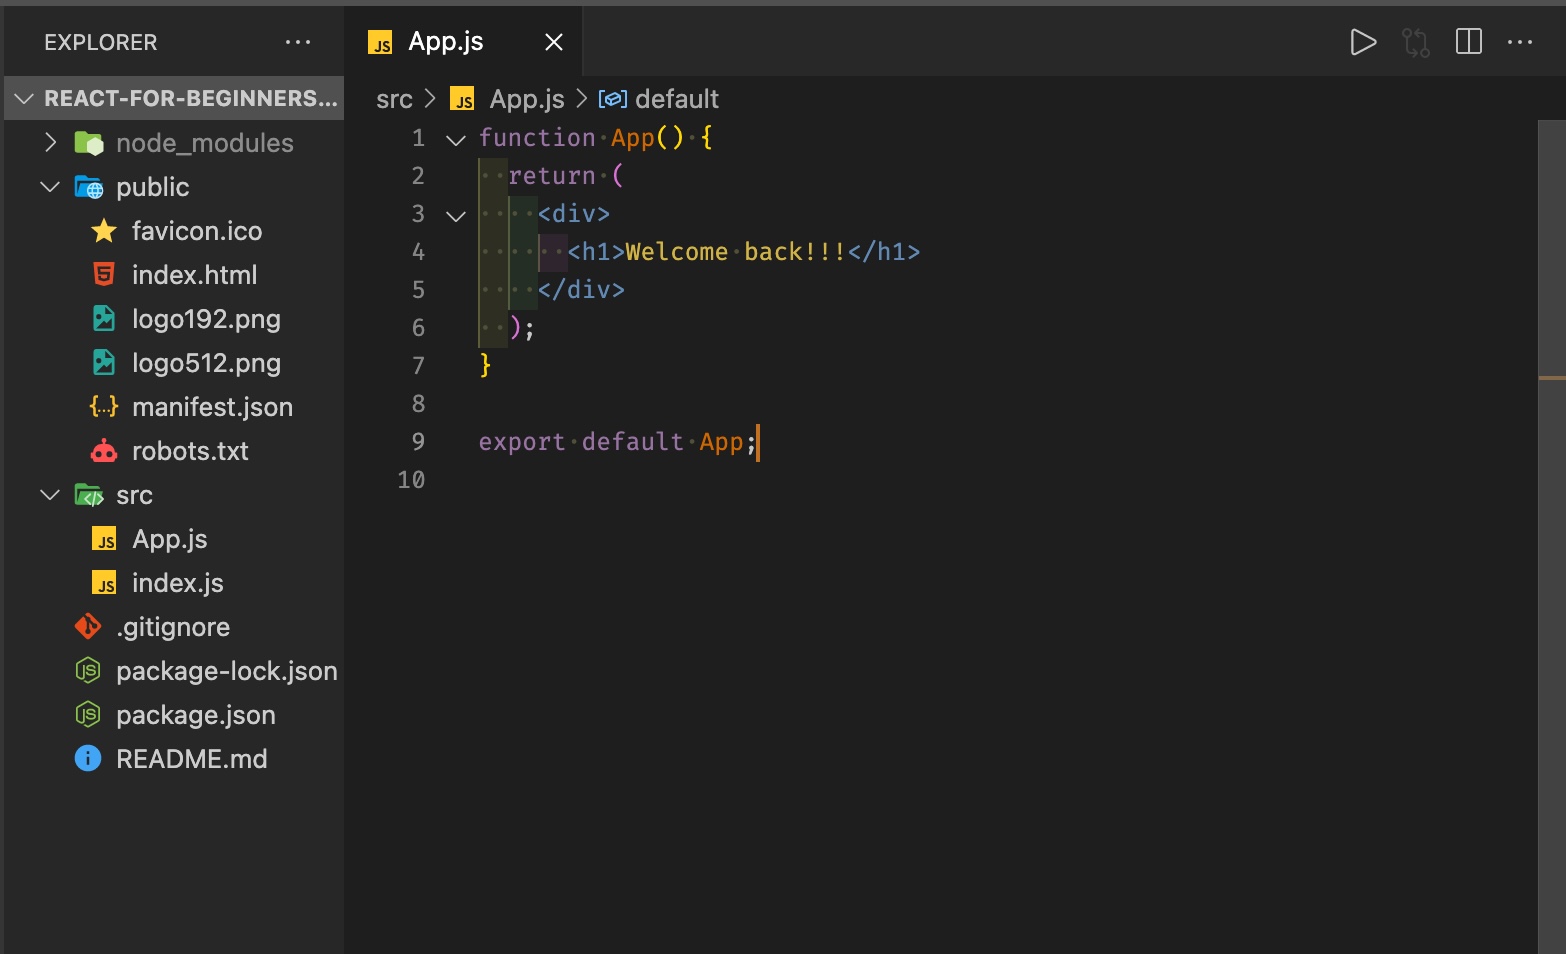

- 필요없는 내용들도 삭제해준다.
🟡 Button 컴포넌트 생성
🟤 <Button /> 생성
import propTypes from 'prop-types';

function Button({text}) {
  return <button>{text}</button>
}
Button.propTypes = {
  text: propTypes.string.isRequired,
}

// 외부로 export하기 위한 문장
export default Button;Button.js파일을 생성 후 ->Button컴포넌트를 만들어 주었다.- 외부로 export하기 위해서는
export default Button;문장을 작성해 줘야한다.
import Button from "./Button";

function App() {
  return (
    <div>
      <h1>Welcome back!!!</h1>
      <Button text={'Continue'} />
    </div>
  );
}

export default App;App.jsdiv태그 안에 Button 컴포넌트를 추가해준다.
🟤 propTypes 다운받기
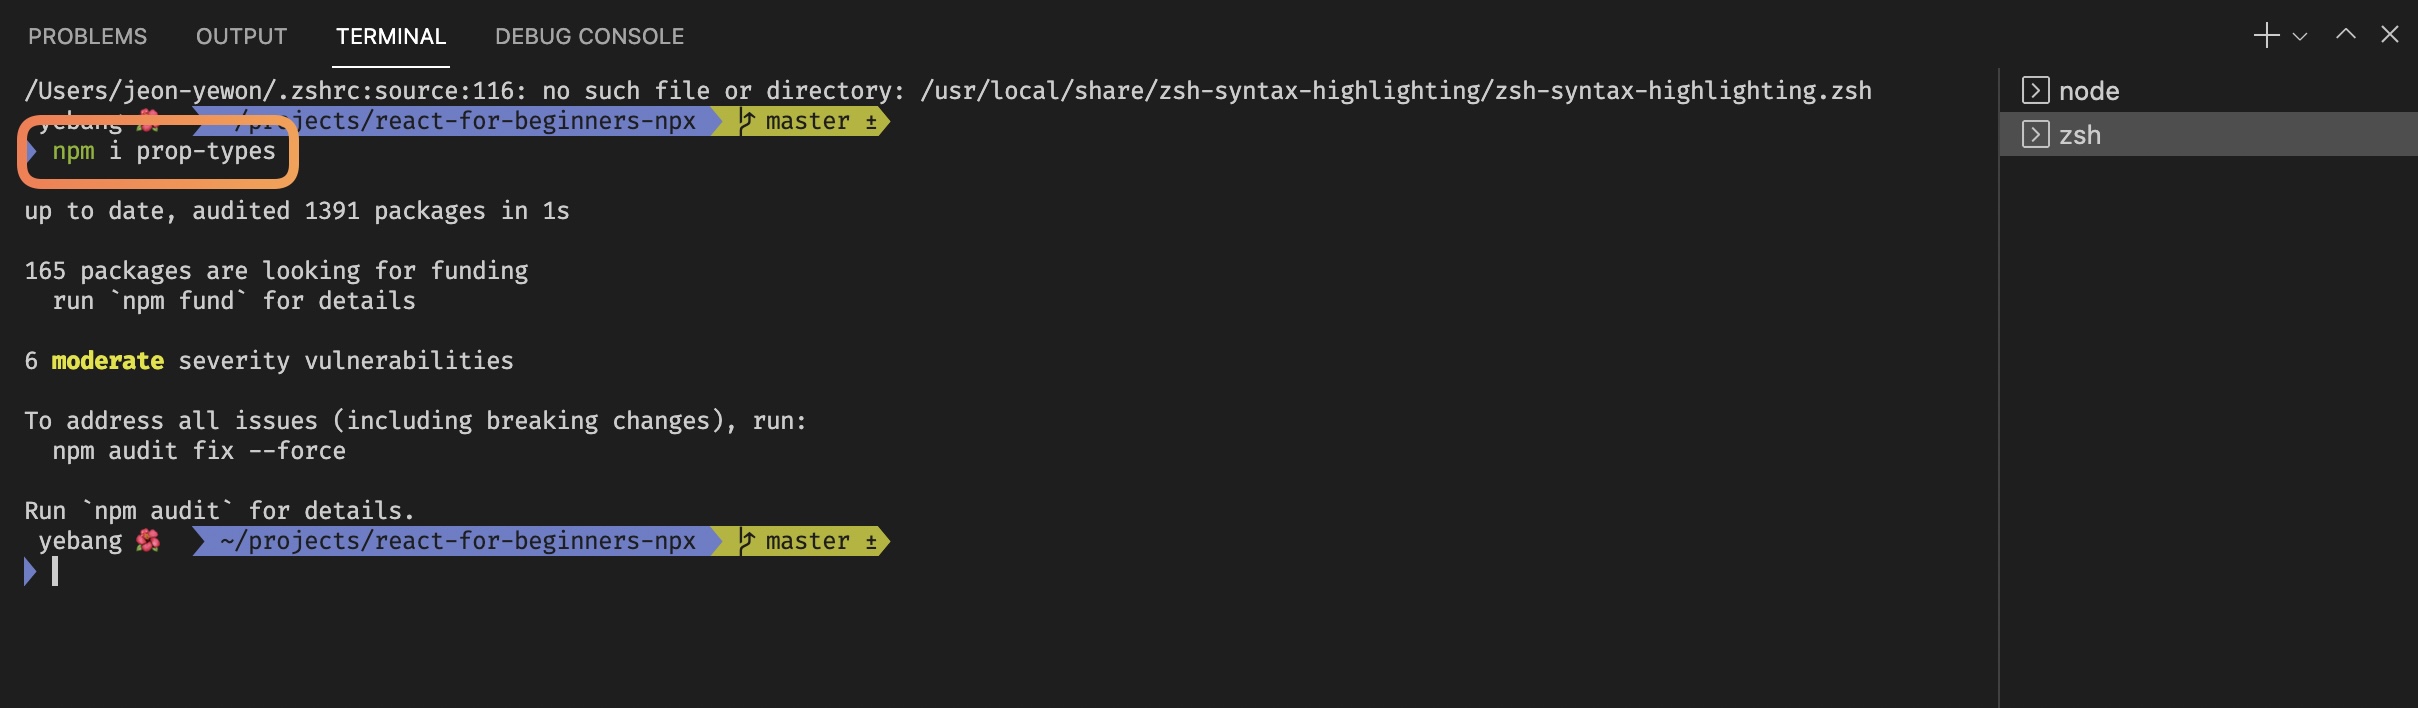
npm i prop-types라고 작성하면 설치가 된다.
🟤 propTypes import하기
import propTypes from 'prop-types';Button.js파일 젤 상단에 위에 코드를 적어준다.
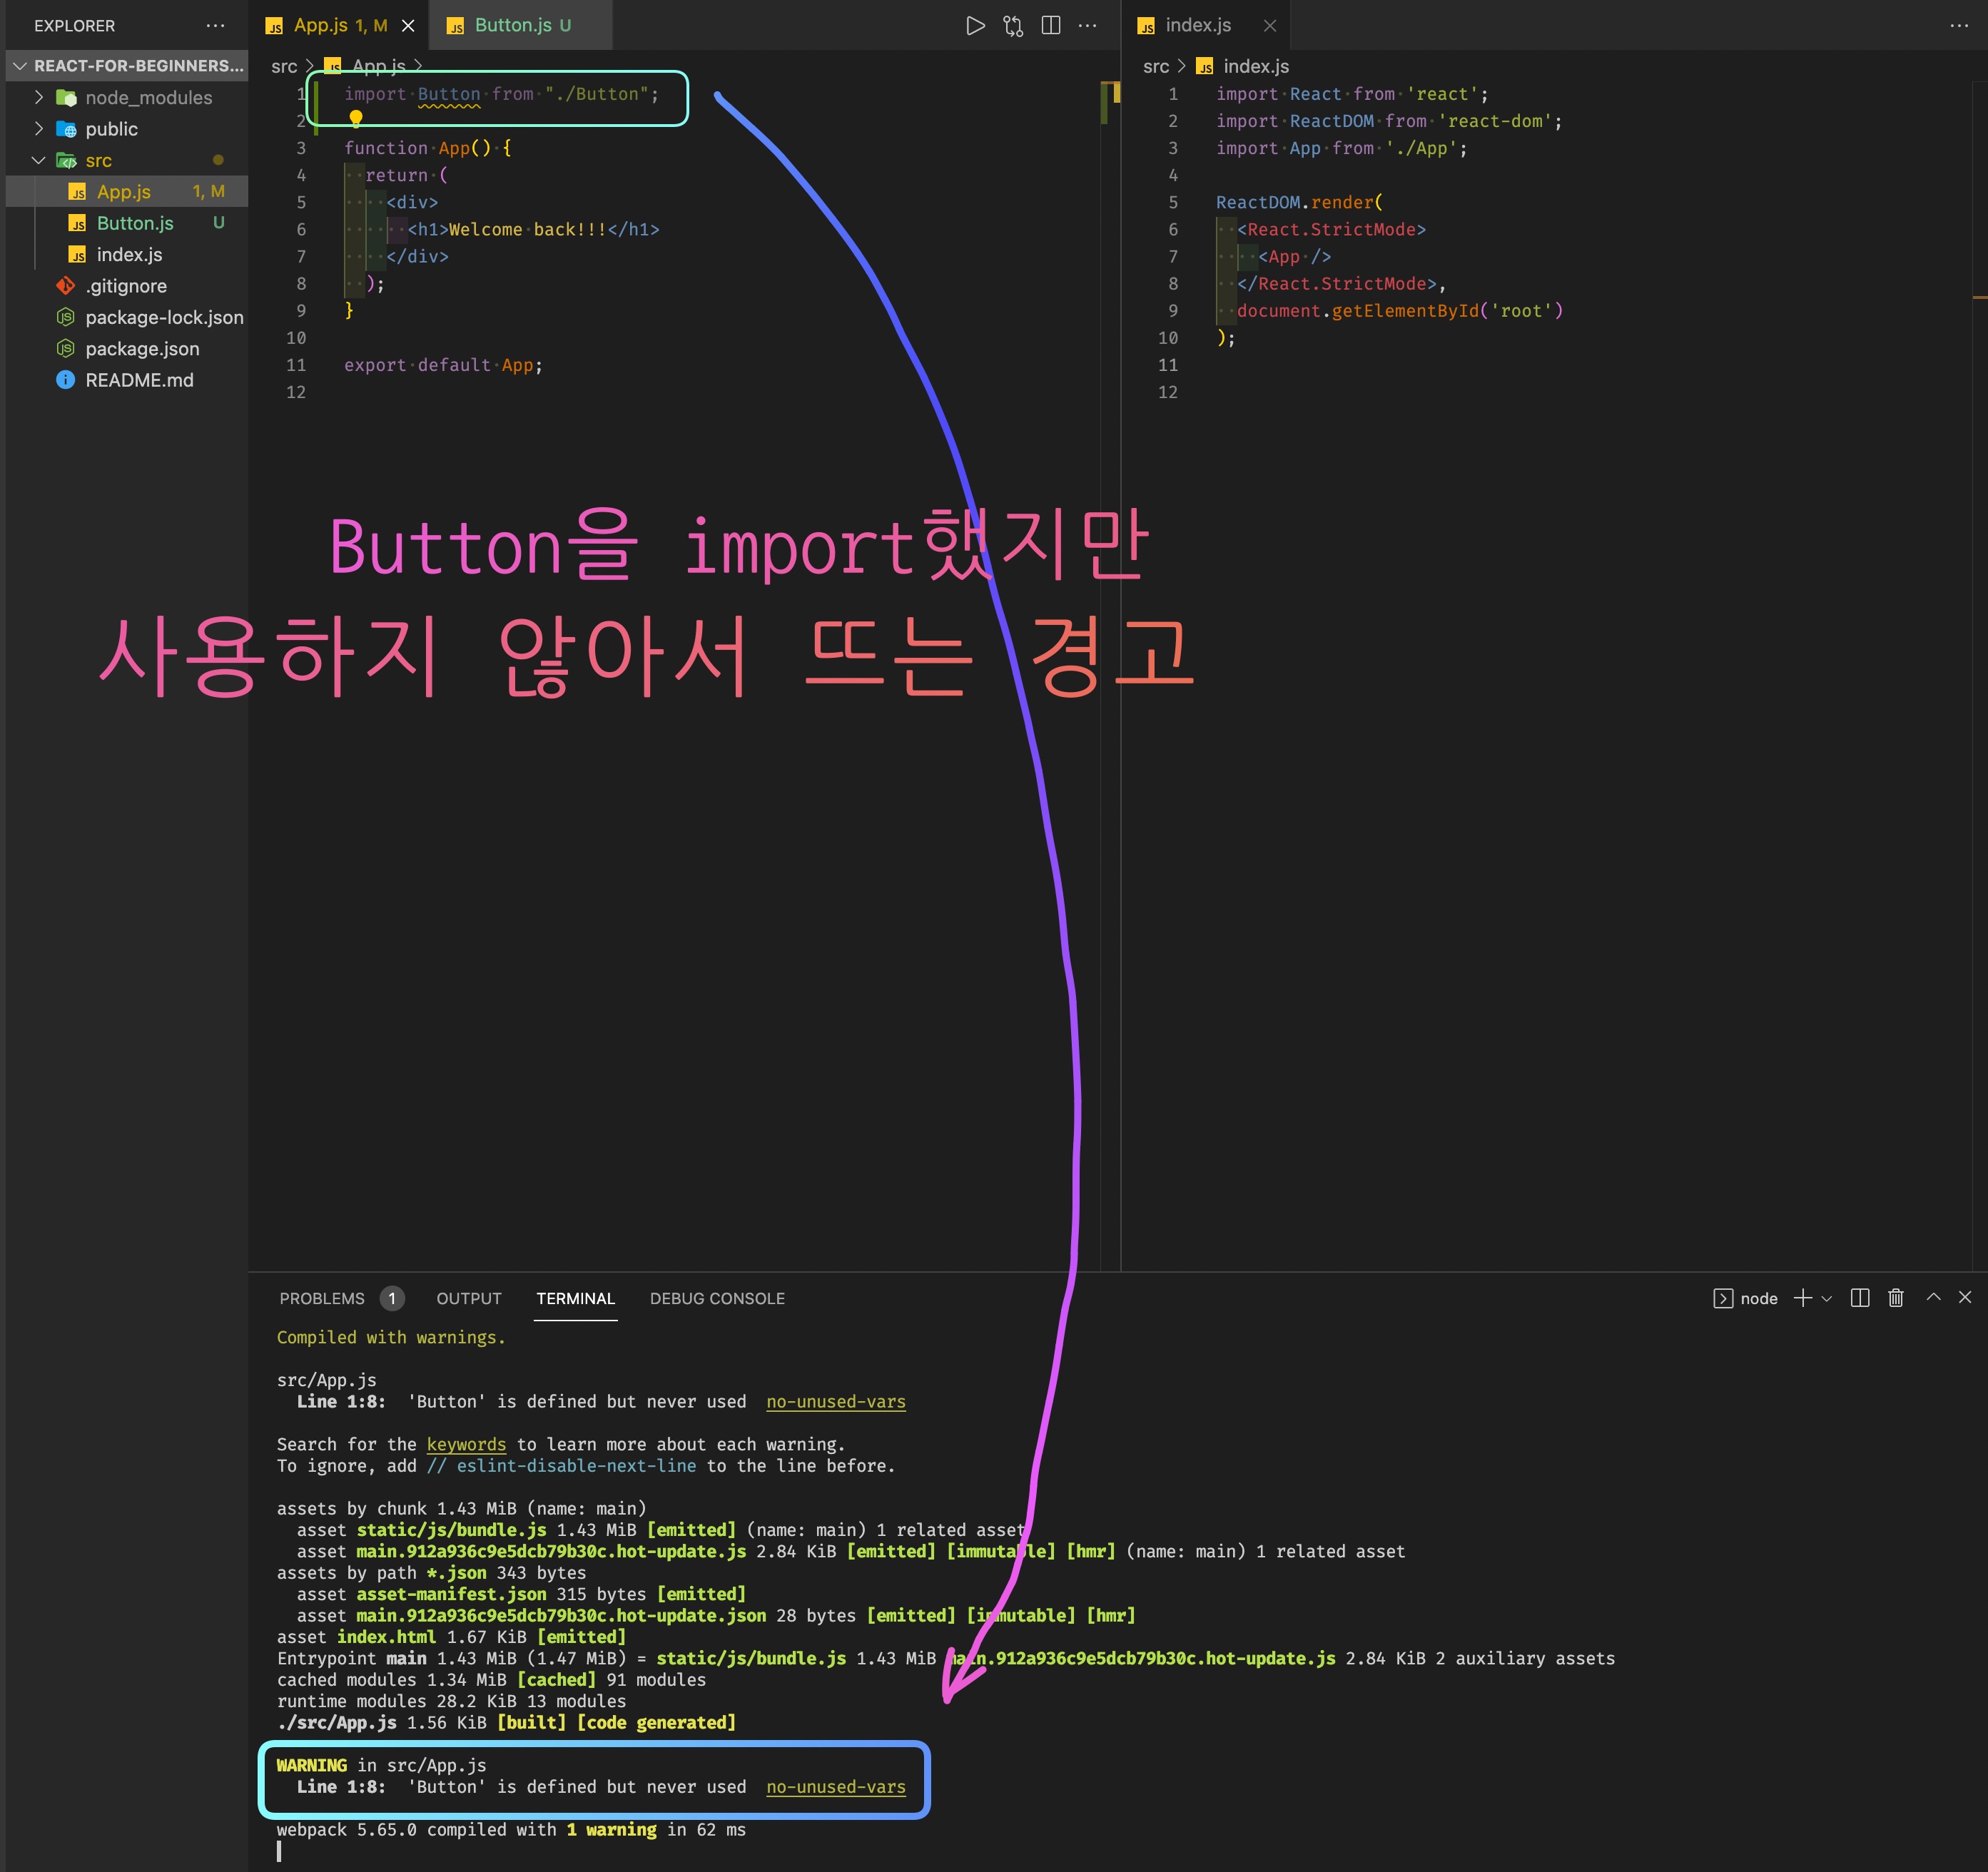
- import는 했지만 사용하지 않았다고, node.js에서 경고해준다.
Button.propTypes = {
  text: propTypes.string.isRequired,
}- 이렇게 import한 것을 사용하면 경고 문구가 사라진다.
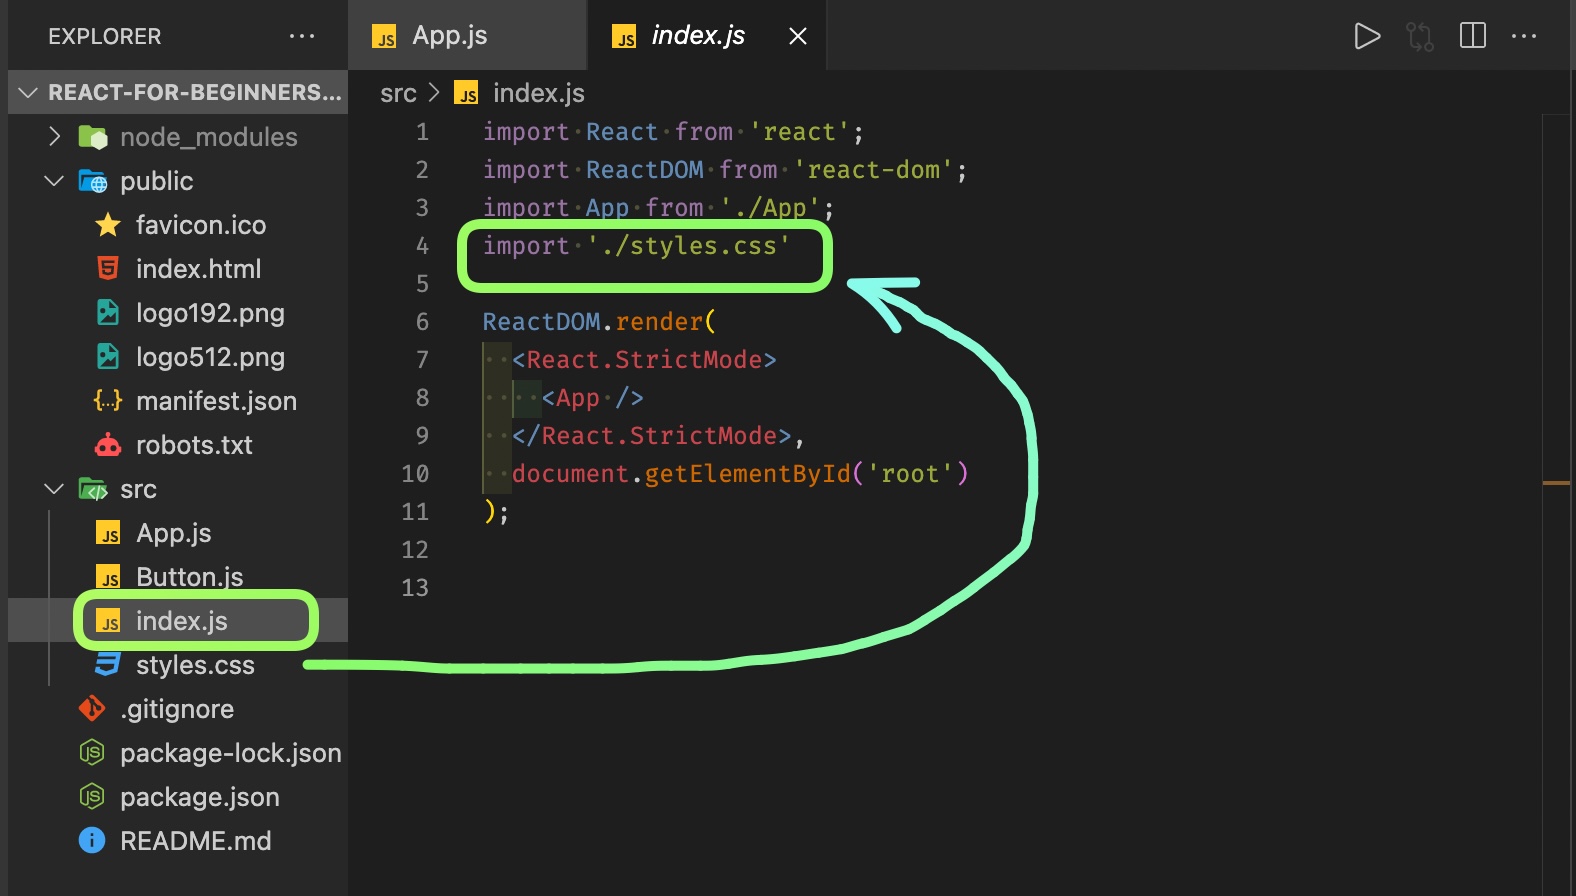
🟢 CSS 적용하기
🟤 외부 스타일 시트
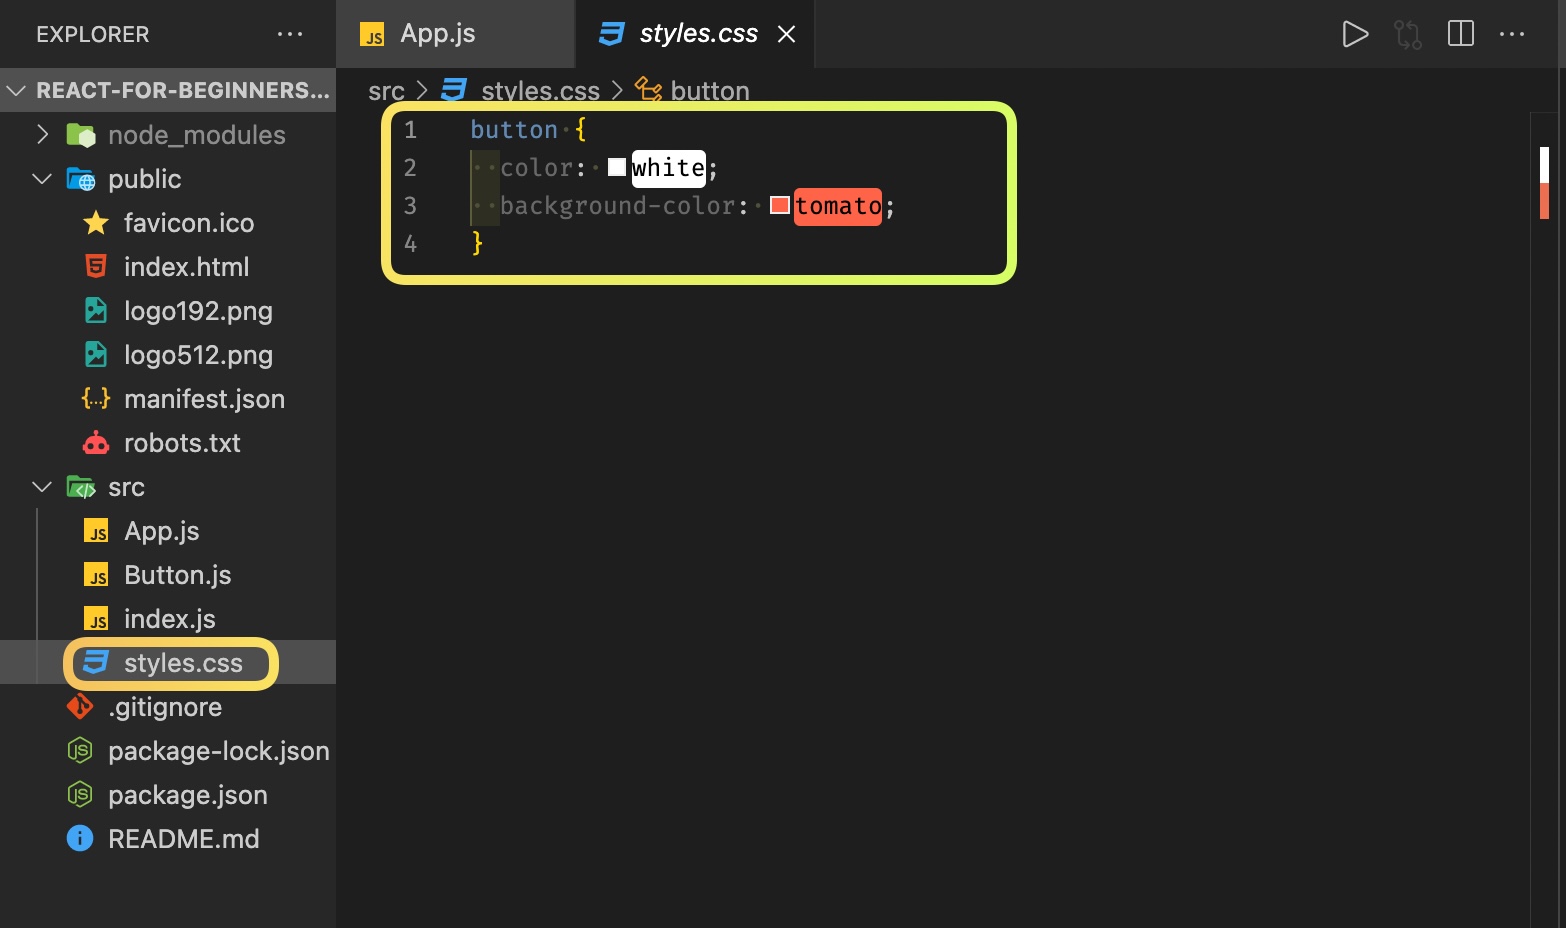
- 이렇게 외부 스타일 시트를 사용하면, 내가 꾸미고 싶지 않은 button에도 스타일이 적용된다.
- 이러면 react를 사용하는 이유가 없어진다.
🟤 인라인 스타일
import propTypes from 'prop-types';

function Button({text}) {
  return (
  <button style={{
    backgroundColor: "tomato",
    color: "white",
  }}>{text}</button>
  );
}
Button.propTypes = {
  text: propTypes.string.isRequired,
}

// 외부로 export하기 위한 문장
export default Button;- 컴포넌트 안에 스타일을 작성해준다.
- 하지만 이 방법도
<Button />이라는 컴포넌트를 쓰면 다 똑같은 CSS만 써야하는 제한성이 생긴다.
🟤 CSS 모듈화 시키기
.btn {
  color: #fff;
  background-color: tomato;
}Button.module.css파일을 생성해주고 위에 내용을 작성해준다.Button.js에 import 시켜준다.
import styles from './Button.module.css'
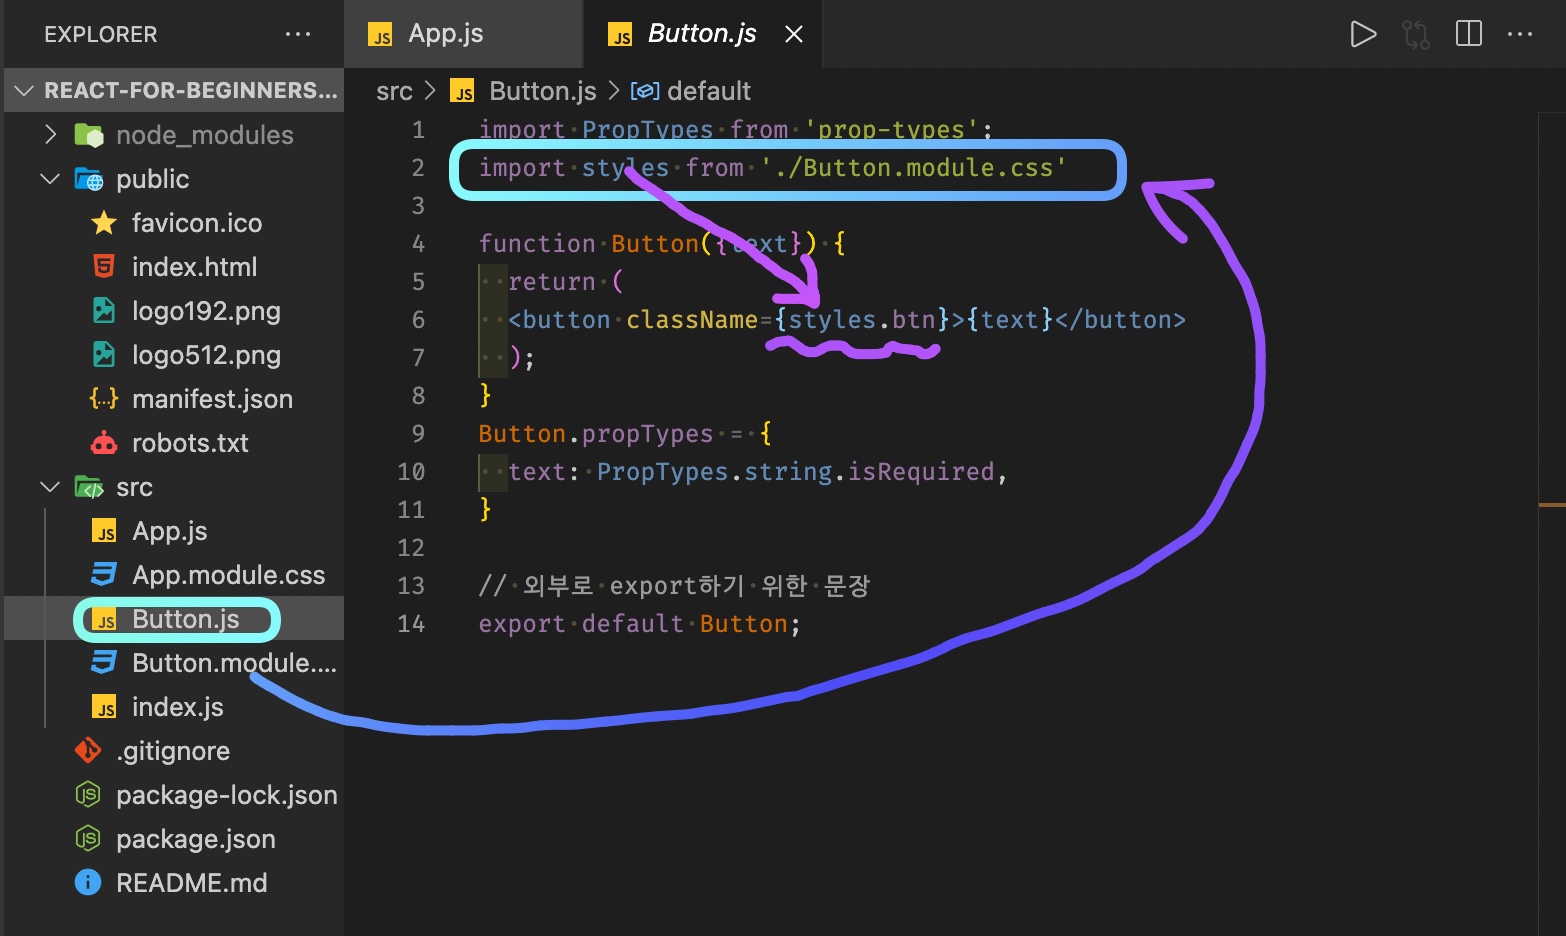
className속성에 저런식으로 작성하게 되면 해당 클래스를 가진 버튼만 스타일이 지정된다.
.title {
  font-family: -apple-system, BlinkMacSystemFont, 'Segoe UI', Roboto, Oxygen, Ubuntu, Cantarell, 'Open Sans', 'Helvetica Neue', sans-serif;
  font-size: 18px;
}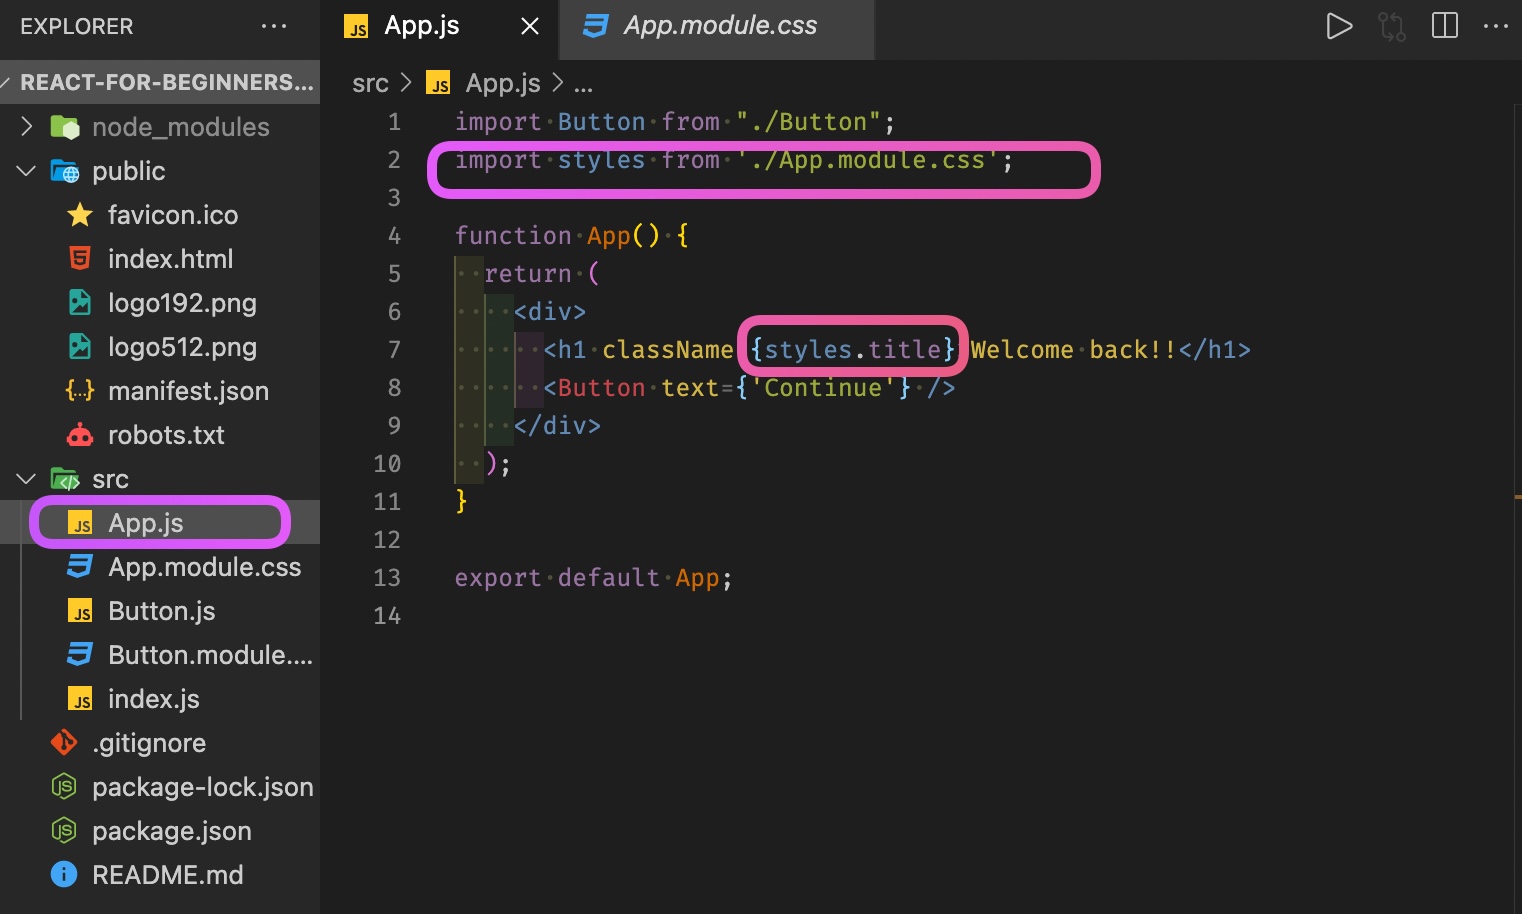
- 만약
.btn과.title의 클래스 명을 같게 해도

클래스명이 랜덤으로 주어지기 때문에 같게 해도 상관이 없다.
➕ 추가로 공부할 것
1.npx가 무엇인지?

앞으로 나아가는 중~