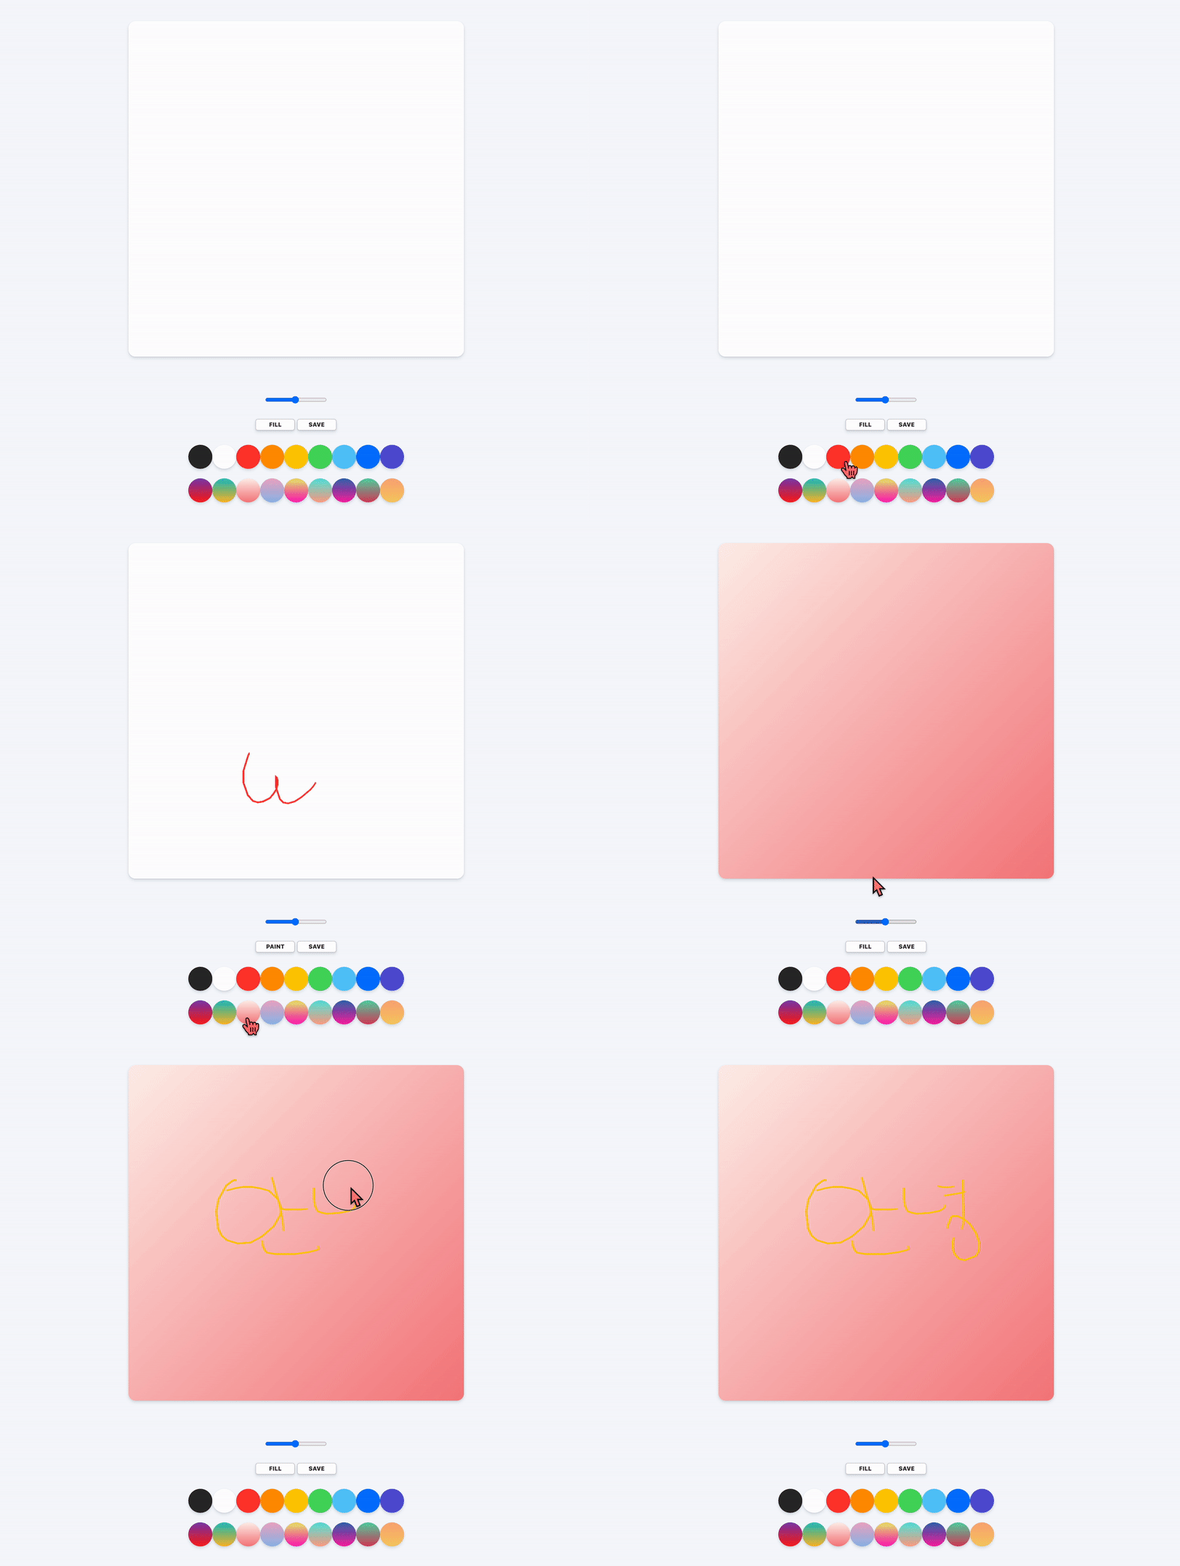
💡 노마드 코드 강의를 듣고, 그라디언트 배경화면 적용도 응용해봤다. 기존 코드는 노마드 코드 강의를 다시 들으면 이해할 수 있으니까 그라디언트 적용을 어떻게 한지만 기록해놓겠다.
⭐️ 완성샷
🔴 html
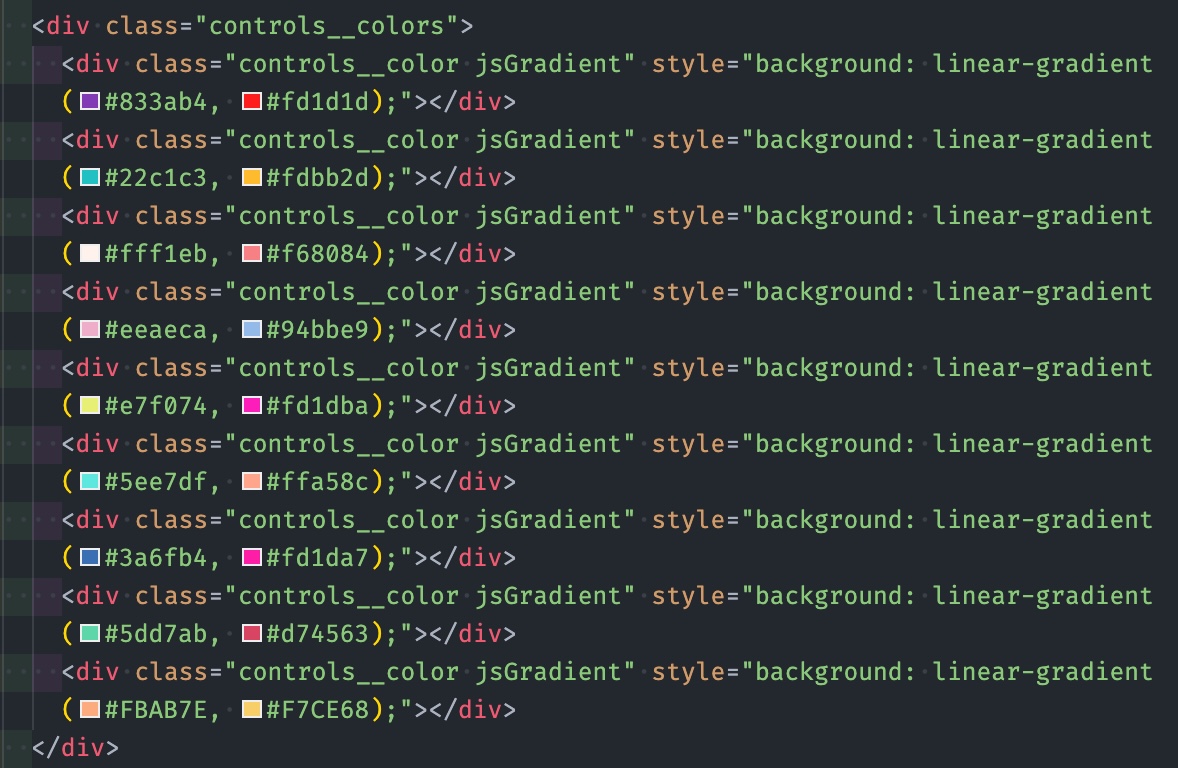
<div class="controls__colors">
  <div class="controls__color jsGradient" style="background: linear-gradient(#833ab4, #fd1d1d);"></div>
  <div class="controls__color jsGradient" style="background: linear-gradient(#22c1c3, #fdbb2d);"></div>
  <div class="controls__color jsGradient" style="background: linear-gradient(#fff1eb, #f68084);"></div>
  <div class="controls__color jsGradient" style="background: linear-gradient(#eeaeca, #94bbe9);"></div>
  <div class="controls__color jsGradient" style="background: linear-gradient(#e7f074, #fd1dba);"></div>
  <div class="controls__color jsGradient" style="background: linear-gradient(#5ee7df, #ffa58c);"></div>
  <div class="controls__color jsGradient" style="background: linear-gradient(#3a6fb4, #fd1da7);"></div>
  <div class="controls__color jsGradient" style="background: linear-gradient(#5dd7ab, #d74563);"></div>
  <div class="controls__color jsGradient" style="background: linear-gradient(#FBAB7E, #F7CE68);"></div>
</div>div#jsColors바로 아래div>.jsGradient*원하는 개수 만큼만들어준다.- 대신 그라디언트는 무조건
linear-gradient(색상1, 색상2)형식으로 삽입해야한다.
🟠 JS
const gradients = document.getElementsByClassName('jsGradient');

const handleGradientClick = (e) => {
  const gradient = e.target.style.background;
  // console.log(gradient);
  let grd = ctx.createLinearGradient(0, 0, CANVAS_SIZE, CANVAS_SIZE);

  const stringColor1 = gradient
    .substring(16, gradient.length - 1)
    .split('rgb')[1]
    .substring(1, gradient.substring(16, gradient.length - 1).split('rgb')[1].length - 3);
  const stringColor2 = gradient.substring(16, gradient.length - 1).split('rgb')[2];

  let grdColor1 = `rgb(${stringColor1})`;
  let grdColor2 = `rgb${stringColor2}`;

  grd.addColorStop(0, grdColor1);
  grd.addColorStop(1, grdColor2);
  ctx.fillStyle = grd;
};

Array.from(gradients).forEach(function (gradient) {
  gradient.addEventListener('click', handleGradientClick);
  // console.log(gradient);
});
🟡 JS 설명 1
const gradients = document.getElementsByClassName('jsGradient');
- 이 아이들이 HTMLCollectiondls 형식으로 출력된다.
🟢 JS 설명 2
Array.from(gradients).forEach(function (gradient) {
  gradient.addEventListener('click', handleGradientClick);
});- HTMLCollectiondls 형식으로 출력된 것을 배열 형식으로 바꿔준다.
- forEach문을 이용해 callback함수를 만든다.
- div 한개를 클릭할 때 마다
handleGradientClick()가 실행된다.
🔵 JS 설명 3
const handleGradientClick = (e) => {
  const gradient = e.target.style.background;
  // console.log(gradient);
  let grd = ctx.createLinearGradient(0, 0, CANVAS_SIZE, CANVAS_SIZE);

  const stringColor1 = gradient
    .substring(16, gradient.length - 1)
    .split('rgb')[1]
    .substring(1, gradient.substring(16, gradient.length - 1).split('rgb')[1].length - 3);
  const stringColor2 = gradient.substring(16, gradient.length - 1).split('rgb')[2];

  let grdColor1 = `rgb(${stringColor1})`;
  let grdColor2 = `rgb${stringColor2}`;

  grd.addColorStop(0, grdColor1);
  grd.addColorStop(1, grdColor2);
  ctx.fillStyle = grd;
};- 보라색 동그라미 설명 먼저 보고오기
- color가 그라디언트라서 2개이고, 2개 색상을 각각 출력해야하는데
.substring,.split를 엄청 사용해서 자르고 추출하고 해서 컬러 형식을 뽑아서 변수로 만들었다.
🟣 canvas 그라디언트
let grd = ctx.createLinearGradient(0, 0, CANVAS_SIZE, CANVAS_SIZE);

grd.addColorStop(0, grdColor1);
grd.addColorStop(1, grdColor2);

ctx.fillStyle = grd;
🟤 .createLinearGradient(0, 0, CANVAS_SIZE, CANVAS_SIZE); -> (시작x, 시작y, 캔버스 폭(끝x), 캔버스 높이(끝y)) -> 나는 배경색 지정이라서 저런 수치를 넣어주었다.
🟤 색상은 .addColorStop(0, 첫번째 색상명);, .addColorStop(1, 두번째 색상명); 이렇게 적용해주면 된다.
🟤 ctx.fillStyle -> 배경 색상은? -> grd 즉, 사진처럼 출력된다.


