
가비아를 이용한 도메인 구성
2023-05-02 업데이트
1. 가비아의 도메인을 구입
2. 도메인의 DNS 관리 접속
가비아 홈페이지 → 우측상단의 My가비아 → DNS 관리툴 → DNS 수정이 필요한 도메인 [설정] → 레코드 수정
-
DNS 레코드 수정

연결을 위한 IP 주소와 dev, prod 서버 설정을 위하여 도메인을 연결하여 준다.
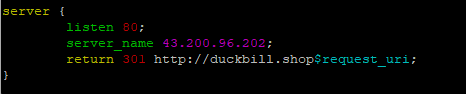
3. IP 접속시 리다이렉트 주소 설정
cd /etc/nginx/sites-availablesudo vi default
3. dev, prod 파일 생성
cd /var/www/html 위치로 이동
1. dev, prod 디렉토리 생성
- mkdir dev / mkdir prod
2. dev, prod 폴더에 html 파일 생성
```html
<h1> It Works! </h1>
```-
nginx 설정 파일 수정
1.cd /etc/nginx/sites-available
2.sudo vi default
3. main domain의 서버 네임 수정
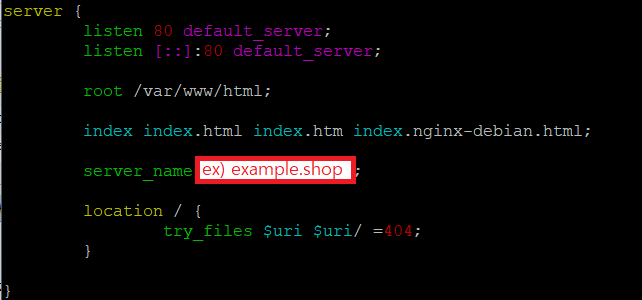
server { listen 80 default_server; listen [::]:80 default_server; root /var/www/html; index index.html index.htm index.nginx-debian.html; server_name dishcovery.site; location / { try_files $uri $uri/ =404; } location ~ \.php$ { include snippets/fastcgi-php.conf; fastcgi_pass unix:/var/run/php/php7.2-fpm.sock; } } -
서브 도메인 dev, miso 설정
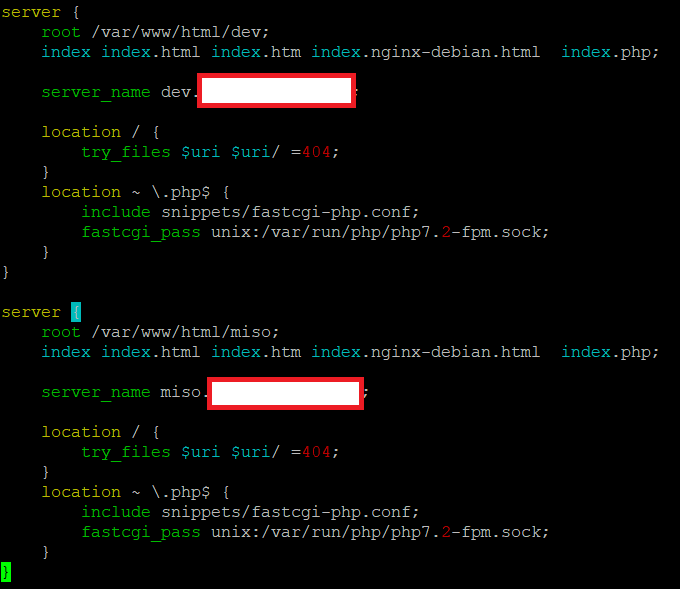
  server {
    root /var/www/html/dev;
    index index.html index.htm index.nginx-debian.html  index.php;

    server_name dev.dishcovery.site;

    location / {
        try_files $uri $uri/ =404;
    }
    location ~ \.php$ {
        include snippets/fastcgi-php.conf;
        fastcgi_pass unix:/var/run/php/php7.2-fpm.sock;
    }
}

server {
    root /var/www/html/miso;
    index index.html index.htm index.nginx-debian.html  index.php;

    server_name miso.dishcovery.site;

    location / {
        try_files $uri $uri/ =404;
    }
    location ~ \.php$ {
        include snippets/fastcgi-php.conf;
        fastcgi_pass unix:/var/run/php/php7.2-fpm.sock;
    }
}
같이 공부합시다~