230617 Get a free certificate from ZeroSSL and apply it to Spring Boot
Overview
SSL (Secure Sockets Layer) is an electronic document in which a third party guarantees communication between a client and a server.
Immediately after the client connects to the server, the server delivers the corresponding certificate information to the client, and the client can make a secure connection after verifying that the received certificate information is trustworthy.
Currently, it is recommended to connect to the Internet through HTTPS. Because HTTPS is one of the protocols that run on top of SSL, the data security provided by SSL is absolutely necessary to transmit data over HTTPS.
In this article, I will describe how to get certified ssl for free.
Zero SSL
It is a site that issues up to 3 SSL certificates for 90 days for free.
Although it is a short period of 90 days compared to paid certificates that are usually issued in increments of 1 year and 2 years, it seems to be a big advantage that it can be used for free.
How to get SSL issued.
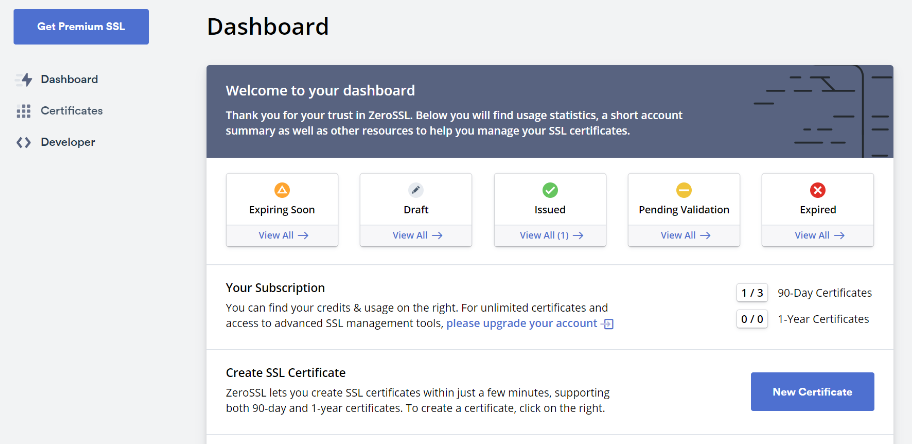
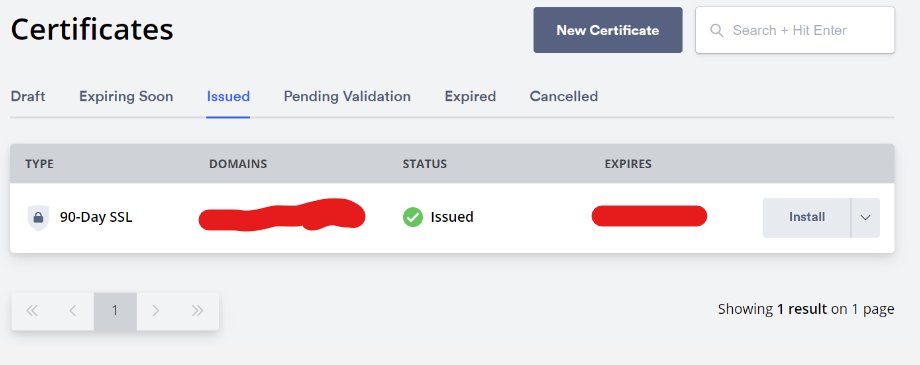
After signing up, click the New Certificate button on the Dashboard.
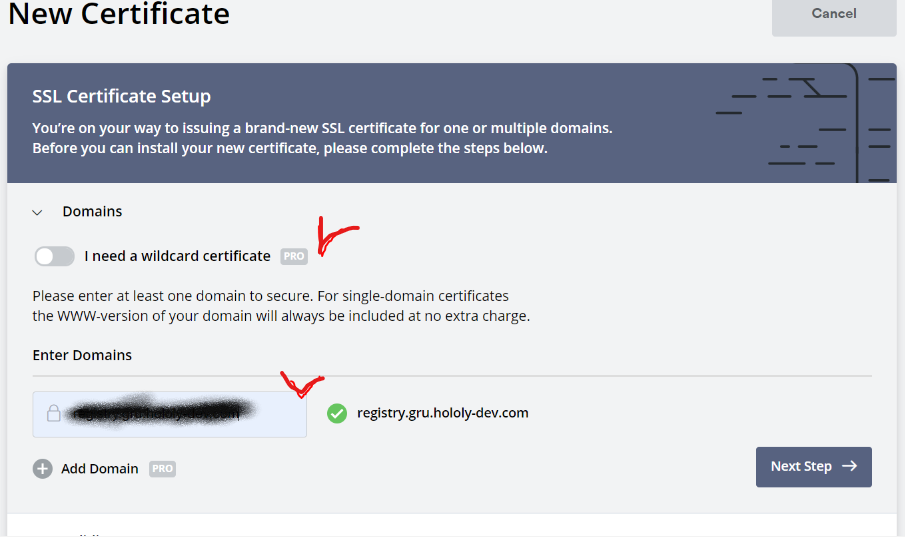
Next, enter the domain you want to issue ssl to. In this case, do not select wild cards. (Wild Card is a paid plan)
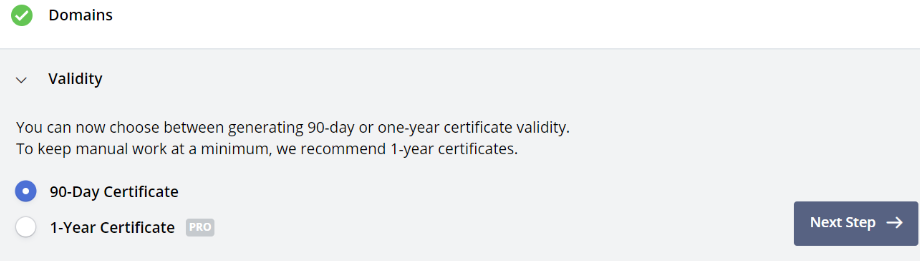
Select the certificate for the next 90 days.
Now we need to verify that the domain is a valid domain.
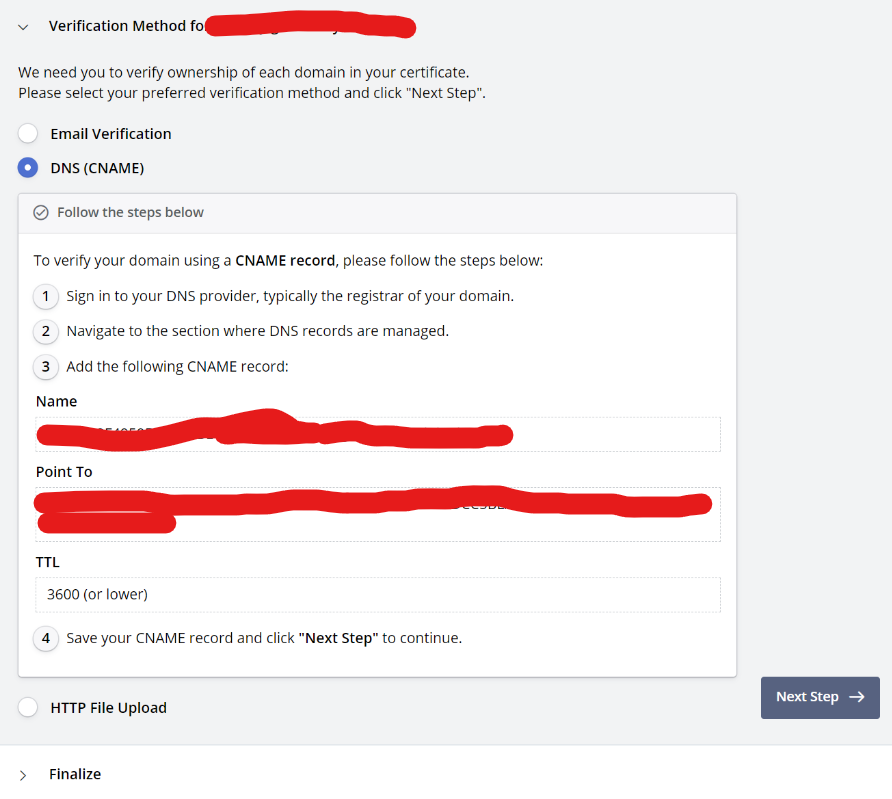
There are 3 methods as above.
Email Verification
Sending and verifying mail to the mail server (for administrators) written in DNS
DNS (CNAME)
Verify by adding CNAME record given by zerossl to DNS
HTTP File Upload
Verify by uploading the file to the desired file path in zerossl and setting it to be downloadable
Of the two, I will verify using method 2.
Add the CNAME record given by zerossl to your DNS records.
One thing to note is that you must remove the domain from the Name part and insert it.
ex)
_0123AB4F5678BEF91DBE238E3C4A67896.google.com Remove google.com from the back
Just write _0123AB4F5678BEF91DBE238E3C4A67896
I'll add the record and check if it's properly added with a tool like nslookup externally.
Since nslookup basically searches for A records, you need to set type=CNAME to find CNAME records.
If the target url is output normally, validate it and receive the certificate.
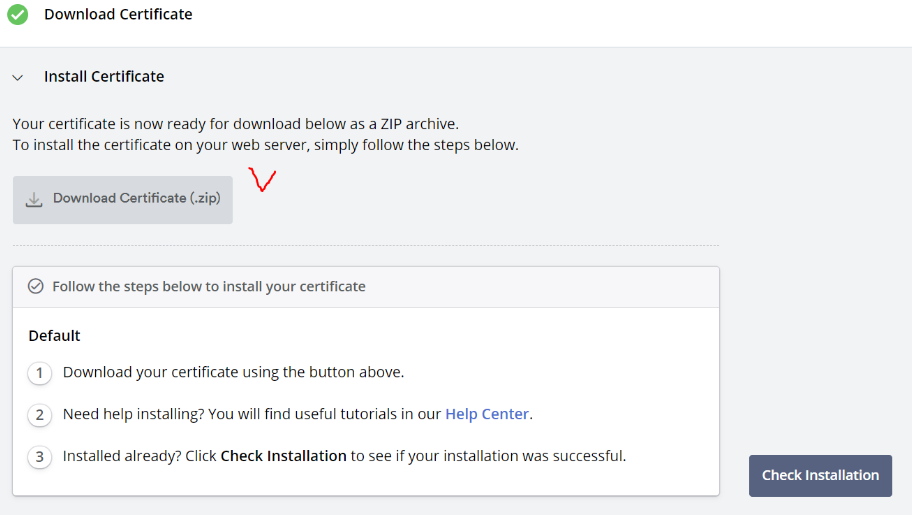
Lastly, there is a part to check the ssl installation, but you can skip this part.
Convert SSL certificate to Java keystore
Create a pkcs12 file with the downloaded certificate for use in Spring Boot.
Turn on Terminal and type the following. You will then be asked to enter your password, so enter it carefully so you don't forget it as you will need it later.
abc@abc:~$ openssl pkcs12 -export -out keystore.p12 -inkey private.key -in certificate.crt -certfile ca_bundle.crt
Enter password : make your password, we will use this password in the Spring boot
After entering the password twice, the keystore.p12 file is created as shown below.

Enforcing HTTPS in Spring Boot
Now, let's apply it in an actual Spring Boot project.
Put the p12 file you just created in the classpath.
Modify application.yml. Do not forget the password you entered earlier and enter it correctly.
server:
  ssl:
    key-store: classpath:keystore.p12
    key-store-password: your password
    key-store-type: PKCS12
Transfer HTTP request to HTTPS request redirect
implementation("org.springframework.boot:spring-boot-starter-security")SecurityConfig.java
@Configuration
public class SecurityConfig {

  @Bean
  SecurityFilterChain filterChain(HttpSecurity http) throws Exception {
    return http
      .requiresChannel(channel ->
          channel.anyRequest().requiresSecure())
      .authorizeRequests(authorize ->
          authorize.anyRequest().permitAll())
      .build();
    }
}
Now http requests are automatically redirected to https. Customers don't have to mess around.